My BB Senshi Exia and MG Crossbone Gundam Full Cloth are roaring their disapproval of this disruption of build order, but I decided to just go ahead and assemble MG Zeta Gundam Ver. 2.0 right away. ^^ This will become the first kit I reviewed on Ex so far that goes from pre-production straight into assembly I believe.

Because various unconventional design on this kit and the transformation gimmicks all seem too exciting to put it on hold. XD
Also, because not much panel-lining was applied, I'm not worried of messing up the ink (that easily) of the lines.
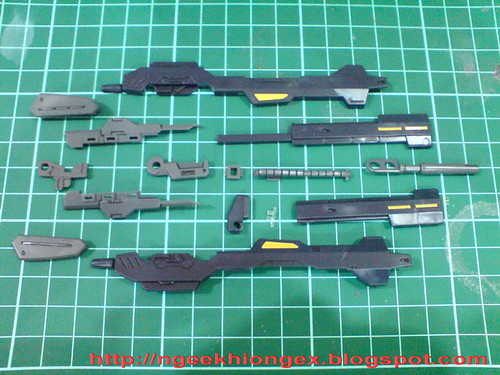
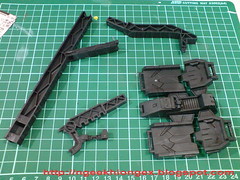
All parts of the beam rifle - no inner frame :)
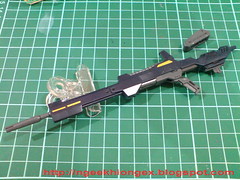
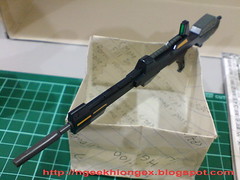
A rather long rifle it is. The E-pac can be detached.

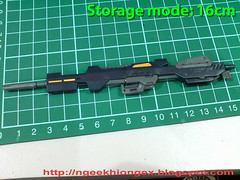
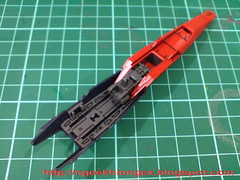
The rifle's body can be retracted in storage mode for the Waverider.
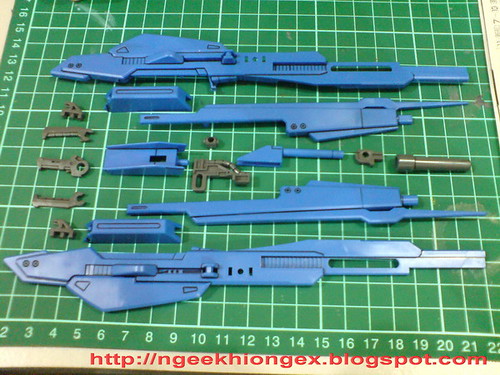
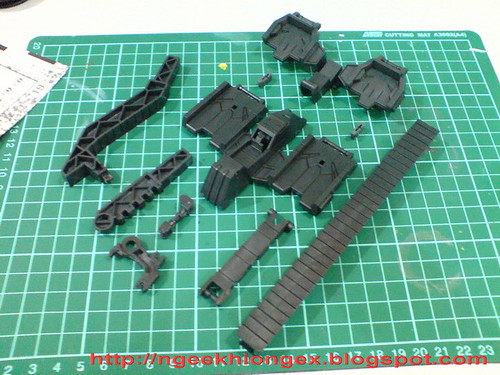
All parts for the Hyper Mega Launcher.
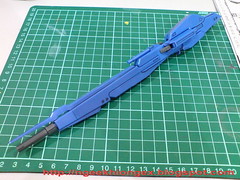


As with the beam rifle, the body of the launcher can be retracted when mounted on the Waverider.
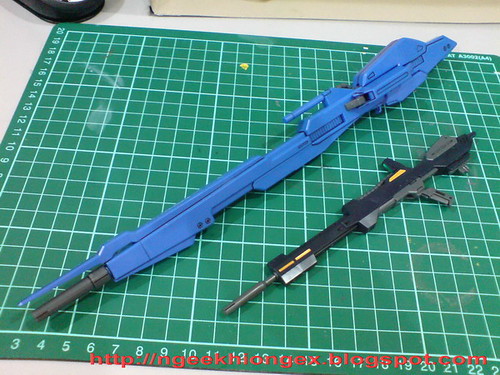
Size comparison between the two beam weapons.

All parts of the shield.
Seems rather simple as all the gimmicks are from the various hinge joints on the parts.


The shield can be retracted as well. ^^ This is a feature you don't get on Ver. 1.0.
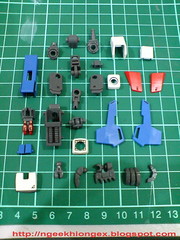
All parts of the launch pad/display base.
The main components of the base: display base, 2 extension parts (one meant for MG Gundam Mk. II Ver. 2.0) and the catapult.
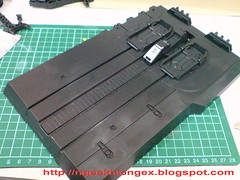
The display base with the catapult retracted and the display stand collapsed.
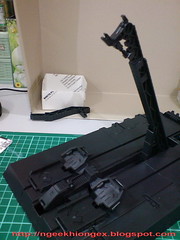
In order to deploy the stand, the catapult must be removed first, and then placed at the front of the base. The rear portion of the catapult can be lifted to show Zeta Gundam being launched from the deck. ^^
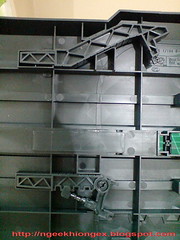
Two designated area beneath the base to store the 2 extension parts.
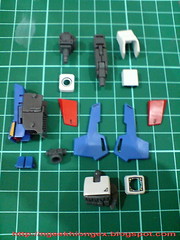
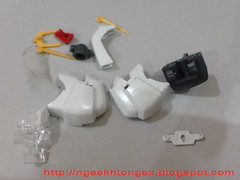
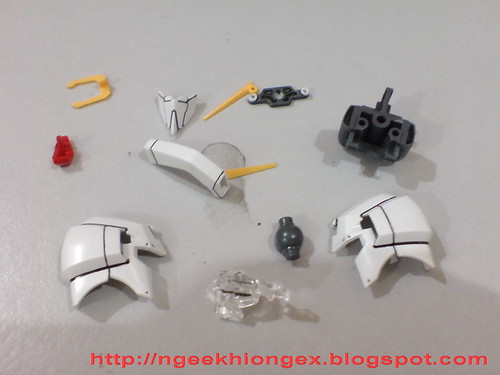
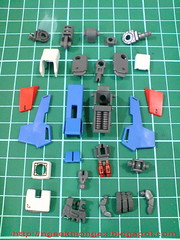
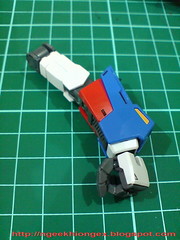
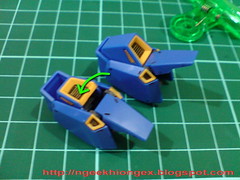
All parts of the right arm shown on the left.
The major components before the final assembly is shown on the right. No inner frame :)
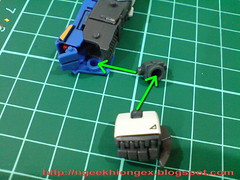
The polycap of the hand is to be assembled onto the forearm armor, so when you separate the armor, the hand unit will come off as well.
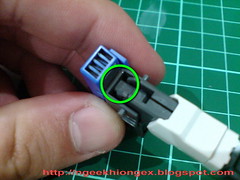
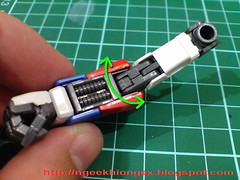
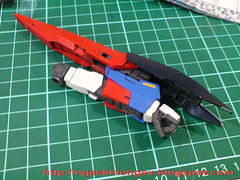
A very different design to connect the elbow joint to the lower arm as mentioned in Part 2, which allows Zeta Gundam to perform the "special" movement for the elbow as shown on the right. ^^
I can't recall if there's any other MG after Zeta Ver. 2.0 that has this kind of design.
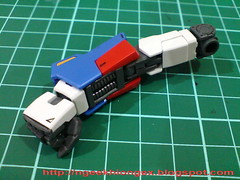
"Normal" articulation for the elbow is of course not a problem at all.
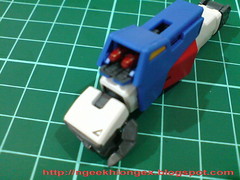

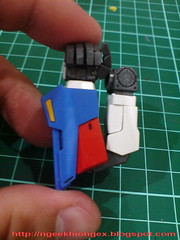
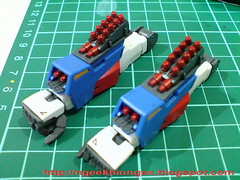
The forearm grenade launcher and holding the beam rifle.
The same parts and assembly method for the left arm.
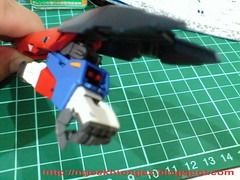
Mounting the shield onto the arm. The grenade launcher can still be shown. ^^
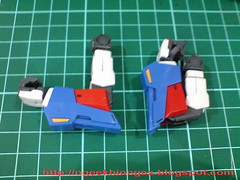
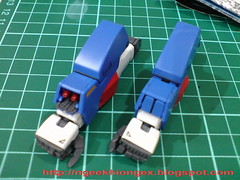
Both arms completed.
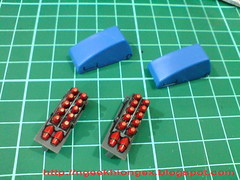
Just the grenades and their covers for the grenade cartridges.
And after this you will never get to see the painted red grenades inside the cartridges again. ^^;
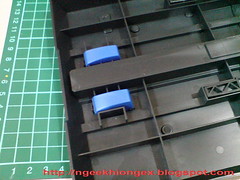
The 2 cartridges can be conveniently stored beneath the display base as well.
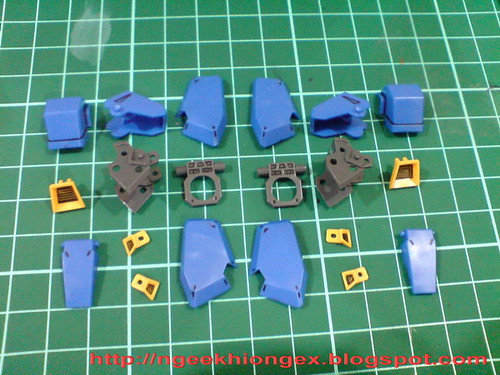
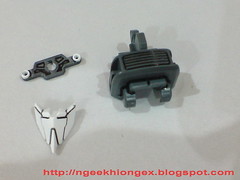
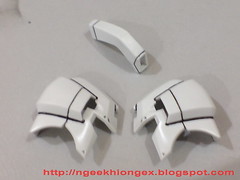
All the parts for the shoulder armors.
Foil stickers for the yellow verniers.
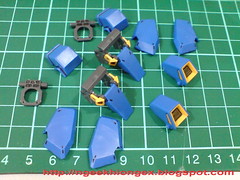
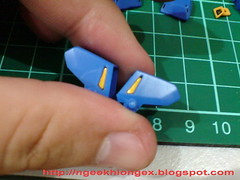
Completed the shoulder armors, no inner frame details :)
Despite the simple appearance, the thrusters can be retracted for transformation.
The work continues in the next review. ^^