Friday, November 30, 2012

1/1 HoiHoi-san Part 3

All the missing colors

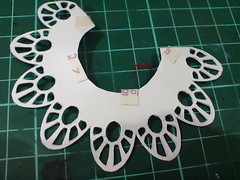
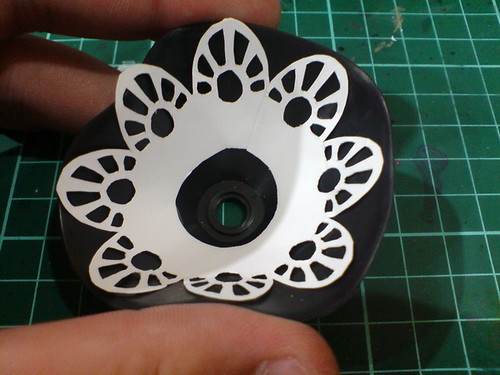
After completing the lace part for 1/1 scale HoiHoi-san in the previous posting, the next batch of work will focus on painting and detailing all the weapon parts, with missing color at critical level. ^^;


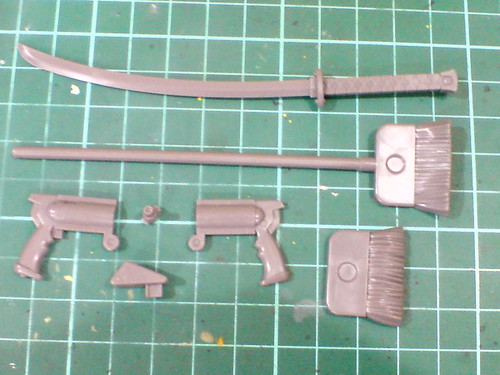
Just seven parts for all three weapons of HoiHoi-san, but each of them will need to be painted. ^^;


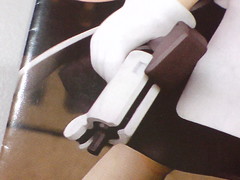
The painted weapon units as shown in the instruction manual.


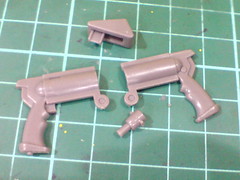
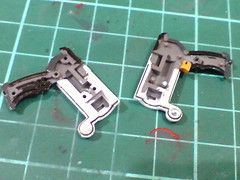
The main colors needed for the pistol are white, dark gray and black.


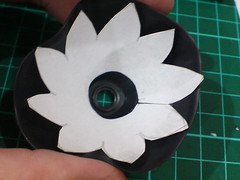
(Left) The parts are panel lined before starting the paintwork.
(Right) Bottle paints used for the parts: dark gray - Gaia Color 074 Neutral Gray IV, white - White Surfacer from Mr. Hobby


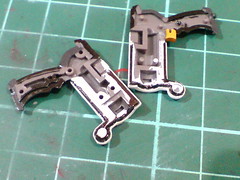
The handle and muzzle parts are painted using Gaia Color 022 Semi Gloss Black.


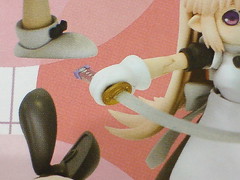
The little trigger is shown to be orange in the manual - like that on a toy gun. ^^
Learned from the work on Keropla Kururu Robo Mk-II, the color is mixed from Mr. Color GX 4 Chiara Yellow Gloss (more), Gaia Color No. 003 Bright Red Gloss (less) and Tamiya Color Acrylic Paint Mini XF-53 Neutral Grey (a tiny bit).


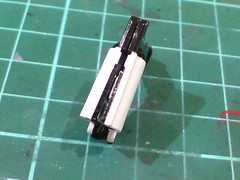
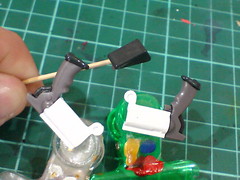
The black parting line in the middle of the pistol is painted using normal black marker.


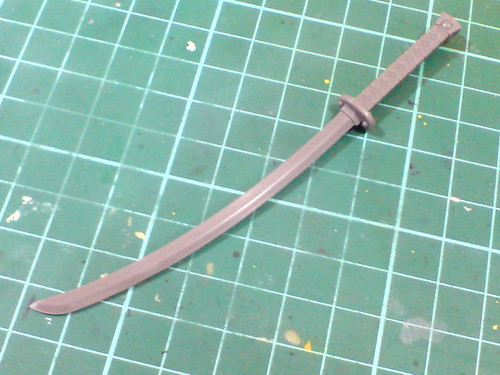
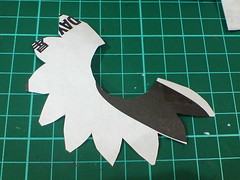
HoiHoi-san's katana 十六夜 will require a great deal of paint work as well.


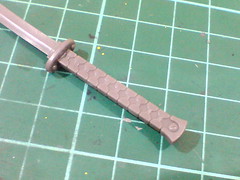
Four colors needed for the handle and cross guard: gold, magenta, silver and purple.


The handle is panel lined using Tamiya's Panel Line Accent Color (Black) before it's painted.


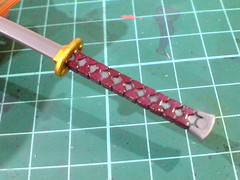
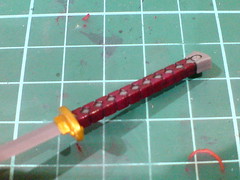
The cross guard is painted using Gaia Metallic Color No. 122 Star Bright Gold, while the handle is painted magenta.


The paint used for the handle is this one: Gaia Color 034 Primary Color Magenta.
This paint was originally bought for the missing color on HG 1/144 Mr. Bushido's Ahead, but it seems fitting for this part as well.


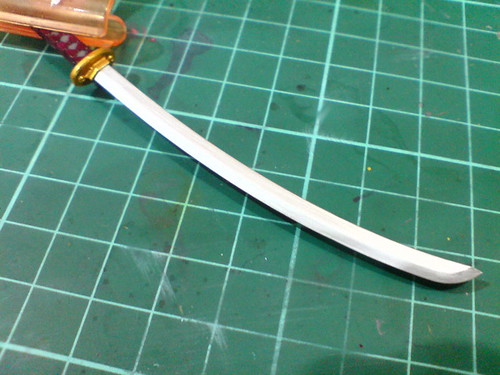
The blade is painted silver using Gaia Metallic Color No. 9 Bright Silver.


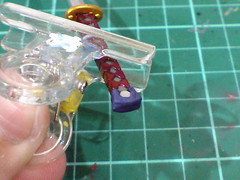
The pommel is painted using Gundam Marker GM19 Metallic Violet. The little round ornament near the pommel is painted silver using Gundam Marker as well.

So many missing colors and so many paints used just for five parts in this batch of postings. ^^; And again, the paint requirements feel like that "self-imposed obligations" I mentioned in the previous posting. ^^ It would be totally fine if I don't adhere to some of the colors shown in the manual, but I insisted on following it closely, mainly because I like the color scheme shown and I want the completed kit to have those colors. ^^ While the workload is considerable, I think it's worthwhile.

However, I'm not too sure about some of the colors on the broom though. ^^; I'll derive my own color scheme for it, which makes the paint work easier, to be shown in the next posting. ^^

1/1 HoiHoi-san Part 2

Just make sure the knife is sharp

The work on 1/1 HoiHoi-san after the introduction in the previous posting starts off with a part that is actually missing in the kit. ^^;


The lace around the bottom of HoiHoi-san's dress, although clearly shown on the box art and in the manual, is not included with the kit. ^^;


Given the smooth bottom face of the one-piece dress part, appending a DIY lace edge to it shouldn't be a difficult issue.
The main task would be making one then. ^^


Initial test using old calendar page.


Refinement with more accurate measurements.


Tested again with (poorly done ^^;) lace cutouts to get an idea of how many pedal needed for the entire part.


The final lace part to be used is designed using Adobe Illustrator.


Printed the pattern on a sheet of 120gsm paper.


The lace pattern is cut using scissors.


A few pedals will have to be cut away though, as they are overlaying on each others.


Just about right to begin the actual cutting process I think. ^^


A new sheet of the lace pattern is printed.


And then it's just a matter of primary-school paper artwork practice XD
The printed pattern is secured on the cutting board using paper tapes and all the little ovals and boxes in the middle of the pedals are cut away using a pen knife.


Once all the ovals and boxes are cut away, the outermost edge of the lace pattern is cut to "release" it from the paper. ^^


Double-sided tape is used to secure the lace pattern to the bottom of the dress part.


All done. ^^
Some of the cuts are evidently not smooth, but for something optional which isn't going to be seen very easily on the completed model, I think I can live with the flawed result. ^^;


All the discarded pieces from the entire work.

The lace pattern for HoiHoi-san's dress is something that kept bugging my mind ever since I got this kit back in September 2009. ^^; I consider it a "self-imposed obligation" to produce the lace pattern. Since it's part of the actual character design of HoiHoi-san, I must realize it on the model kit. As a result of that "self-imposed obligation", to make or not to make was not the question at all, but rather what material to be used. Magazine samples and online reviews have the lace patterns produced using either pla plate or actual fabric. Either one seems really troublesome to me so I decided to go with the easiest material (to find and to process), which is paper. ^^; The end result is not perfect, but I like it. ^^

Now that the lace pattern for HoiHoi-san's dress is done. I can ease my mind of what to do with the same part on Heavy Combat and Heavy Combat Nightmare versions. The image file can be reused, and I only need to find paper with the correct color to match the model kits. ^^

Moving on to some "conventional" painting and detailing next. ^^