Working on the parts from O Raiser this time.
For O Raiser, not only is the part count less, most of the parts are larger in size, so they should be easy to deal with.
Or maybe not? ^^
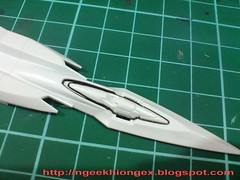
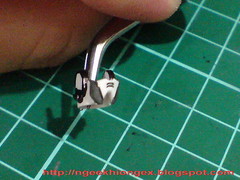
Sensor unit on the beak is painted in silver using Pilot Super Color Silver Extra Fine.

With all the details on the whole part panel-lined.
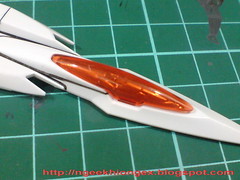
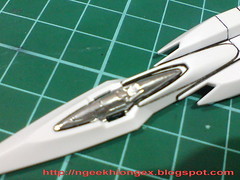
Test fitting with the canopy.
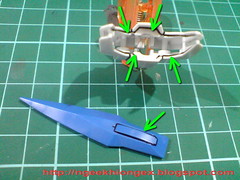

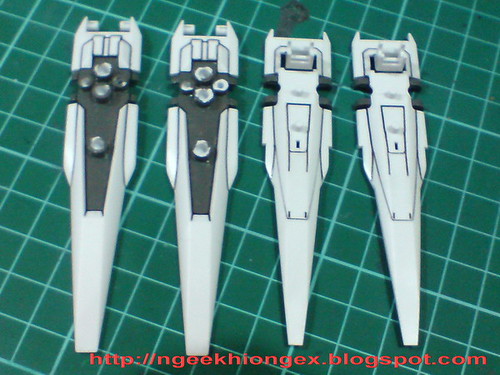
The landing skate and interior of the tail are painted in gray using Gundam Marker Gray.
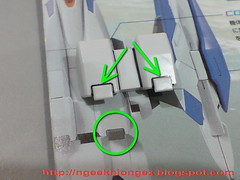
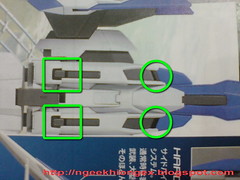
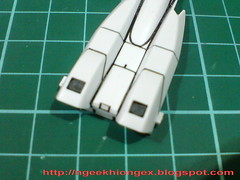
Referencing the manual, minor parts here get their gray paint treatment.
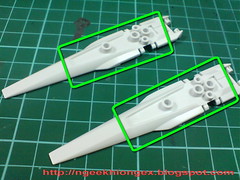
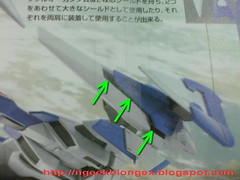
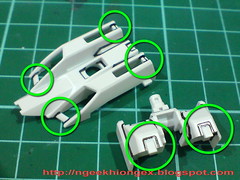
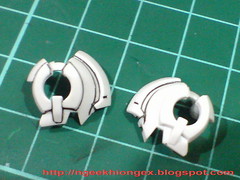
The interior of the binders need to painted in gray as well, but the entire area is wide, and some "valleys" too narrow and troublesome for Gundam Marker too handle.
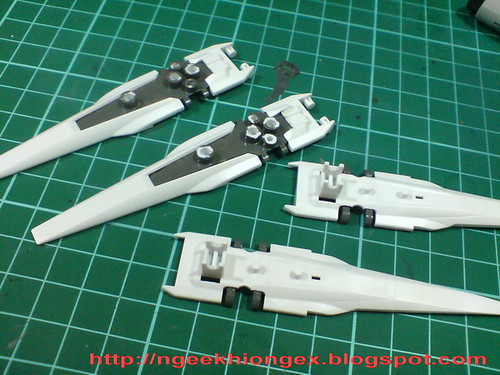
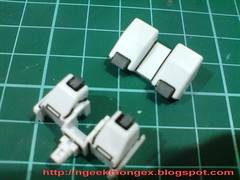
Hand painted all parts using using Gaia Color 074 Neutral Gray IV.
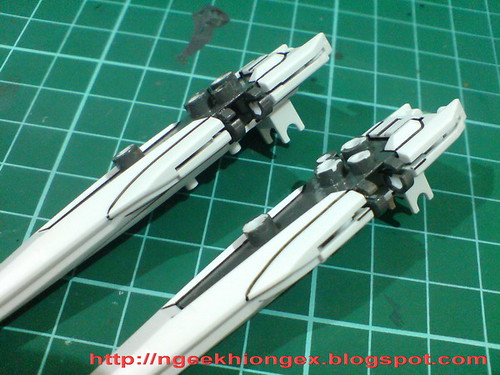
Test fitting all the binders. The joint section is the harder to paint since the parts are so close to the white wall.

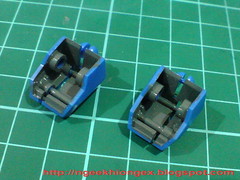

The interior of the shoulder armors is painted with Gaia Color as well, since the interior of the Twin Drive mount racks is painted so.
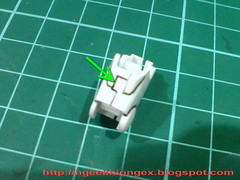
The mount rack section on the forearms is painted using Gundam Marker.

The tiny valleys on the top portion of the helmet are painted in gray, using toothpick this time. Not as complicated as the helmet of Gundam Exia luckily. ^^
A pair of tiny vents on the cheek are painted black using the panel liner.
Painted the edges of the GN Condenser portion black using normal marker.
Panel-lined the face vents as well.
All done for 00 Raiser and O Raiser. ^^ Very fast even though the work involves the use of all sorts of materials. ^^
Will leave all the parts for a while to give more time for all the panel lines to dry completely before assembling the whole thing. Will start on another review series after this. ^^


1 comment:
Man, its really coming along ^^
Can't wait to see the finished result.
Post a Comment