Assembling armor parts onto the inner frame of MG Infinite Justice Gundam in this posting.

Parts for the arms.
Very few parts, with the ones for the upper arm and forearm designed in one-piece parts that eliminates a lot of seam lines.


Both arms done.
Like the inner frame, the armors are simply mirror design of the opposite side.

Articulation of the elbow joint is not affected by the armors at all.

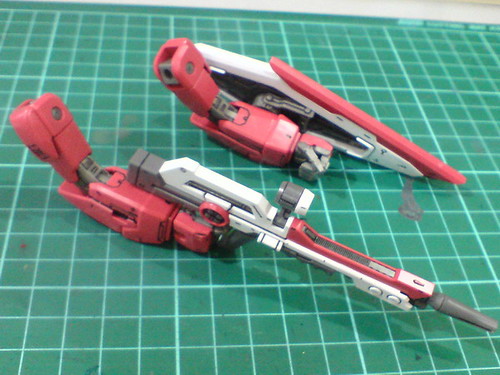
With the weapons done in Part 14 added.
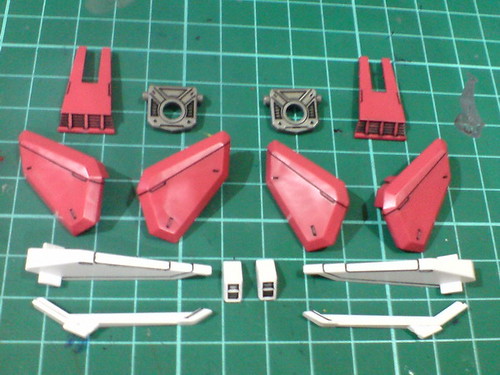
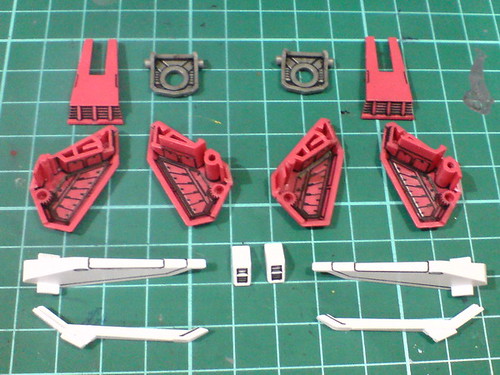
Parts for the shoulder armors.
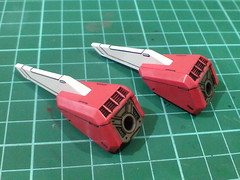
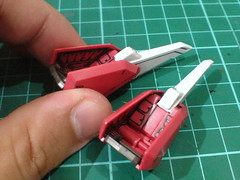
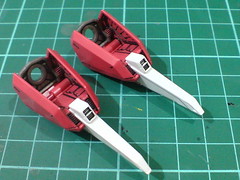
Fixed white spikes are deceiving reminiscent of Justice Gundam's beam boomerangs XD
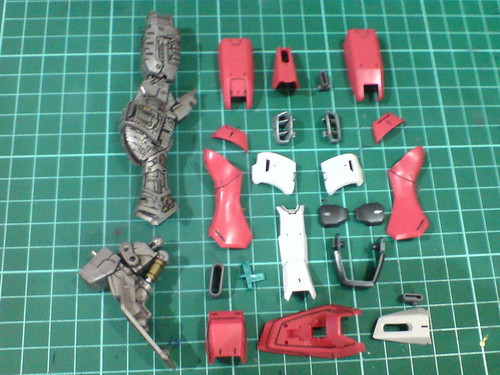
Parts for the right leg.
Plenty of parts thanks to the accurate color distribution for all of them.
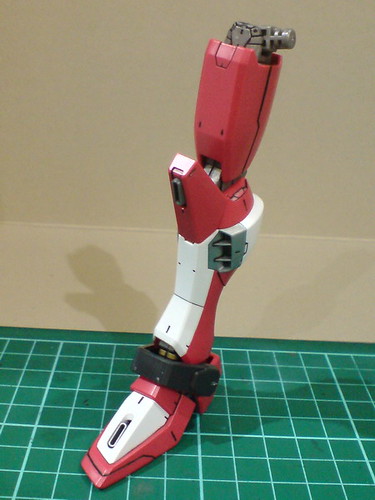
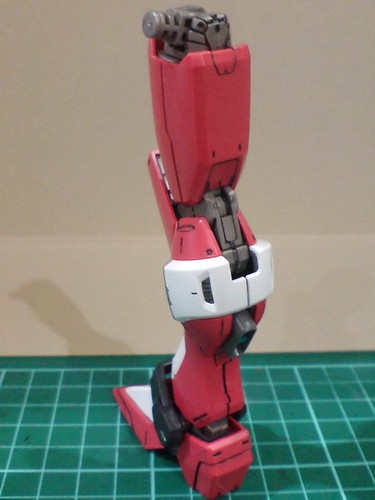
Right leg done.
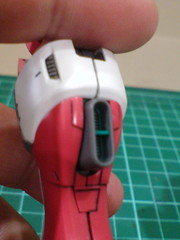
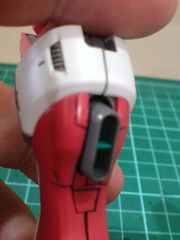
The thrusters on the calf are movable.
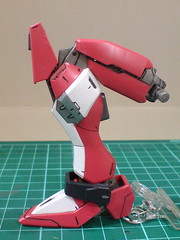

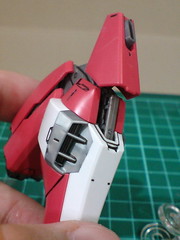
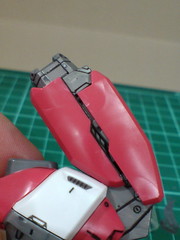
Apart from the cool armor split, it's great that some inner frame details of the knee and thigh can be seen through the slits. ^^
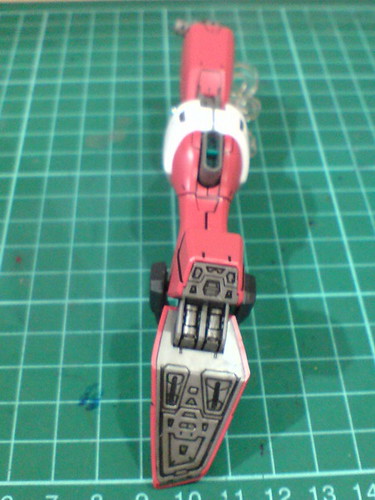
With all the details being covered up by the armors, the sole is the part with the most elaborate amount of mechanical details to be seen on the leg.
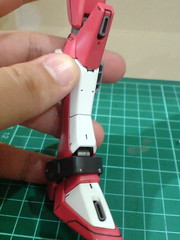
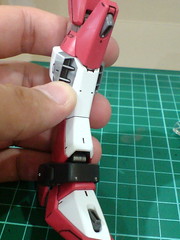
The beam cutters on the knee and foot are movable.
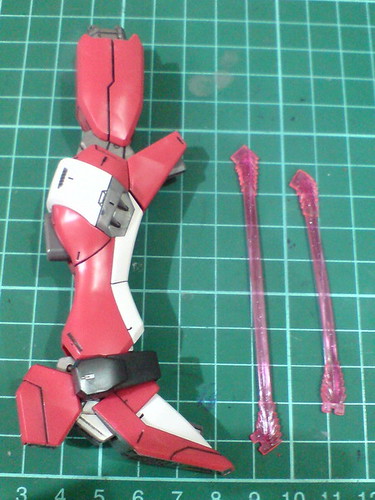
Two types of beam blades with different length and joints included.
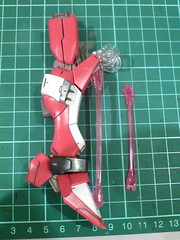
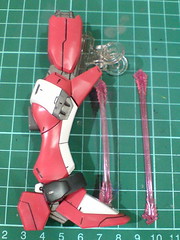
Long and short beam cutters.
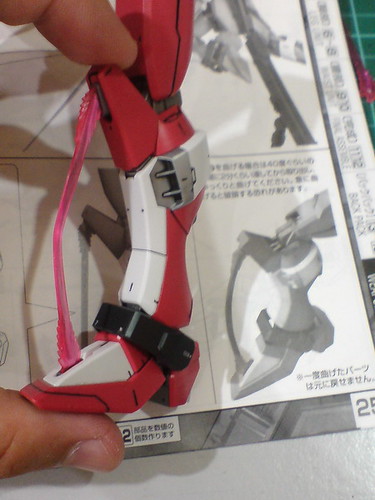
As shown in the manual, you can make the long beam cutter more cool-looking by "squeezing it outward". Then again, mine always bend to the wrong side unfortunately ^^;

Parts for the left leg.

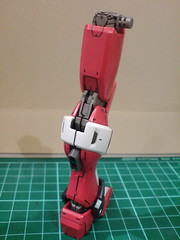
The same assembly as the right leg.

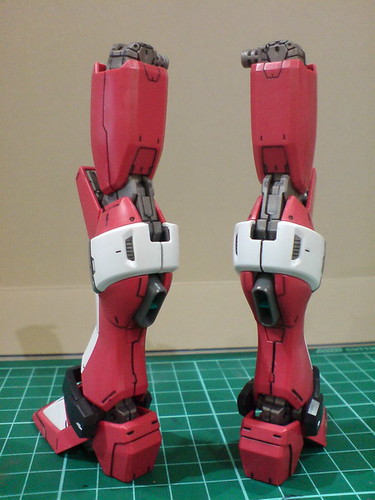
Both legs done.
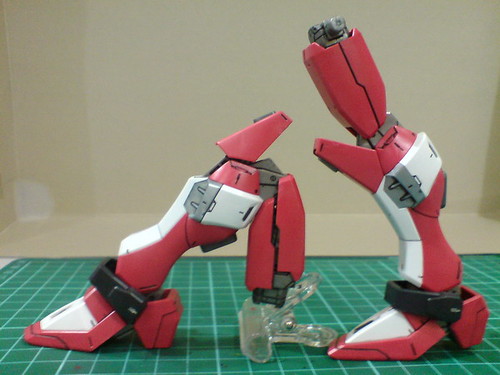
Just as articulated as the plain inner frame version. ^^
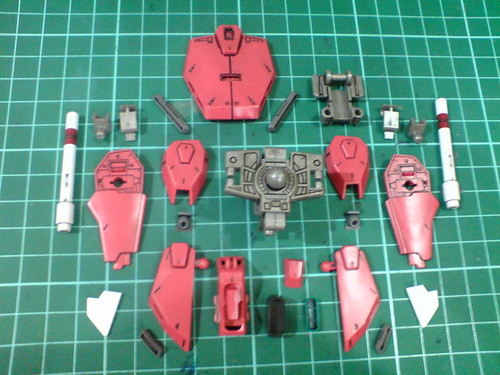
Parts for the waist.
Tons of parts since all the functional components of the waist are not part of the inner frame.
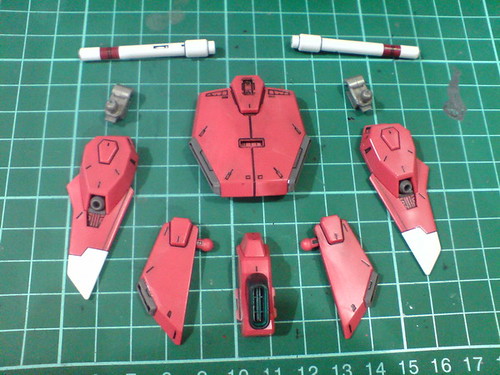
The major separable components.
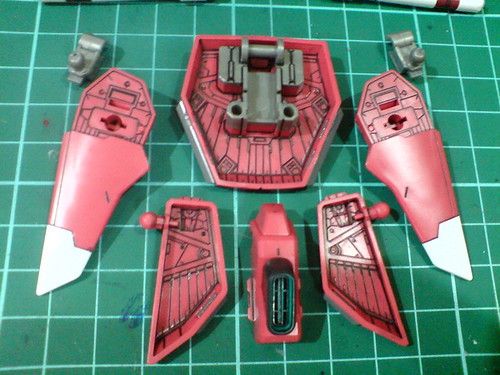
Very rich details behind the armor pieces.
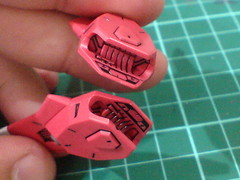
Details on the beam saber mount racks.
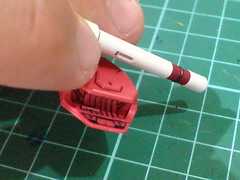
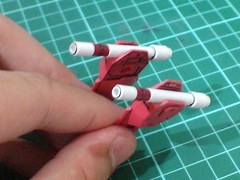
Clip-on mechanism to secure the beam sabers onto their respective mount racks.

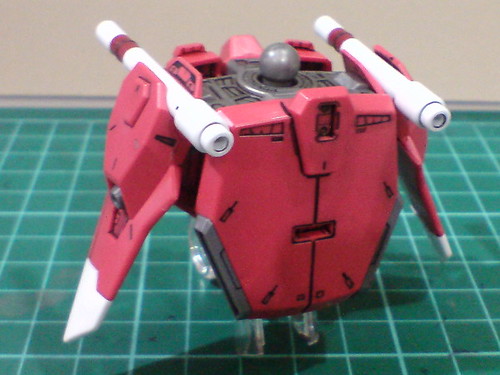
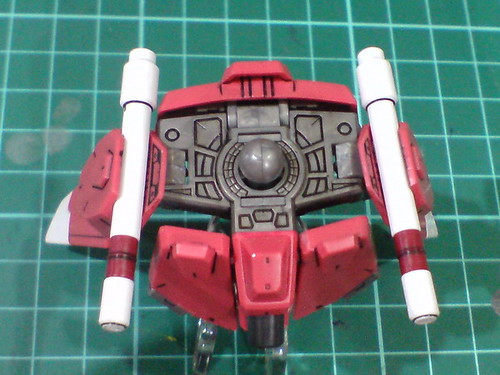
Waist done.
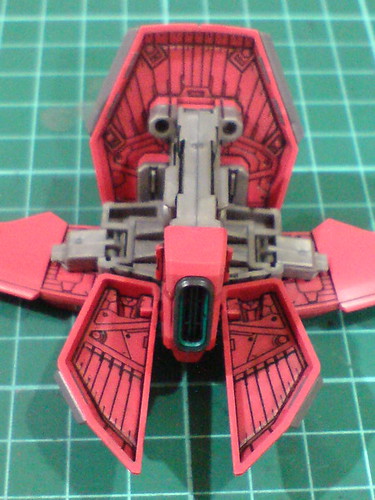
Another look at the details behind the armors.
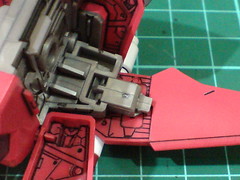
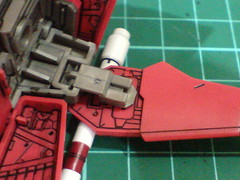

Special joint of the side skirt armor allows it to slide outward to avoid colliding with the main body when the armor moves upward.

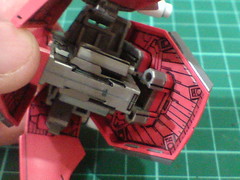
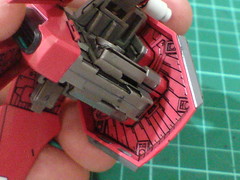
Expansion of the hip joints is secured by a part on the rear skirt armor.
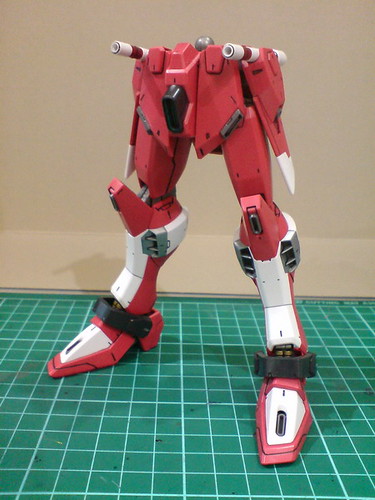
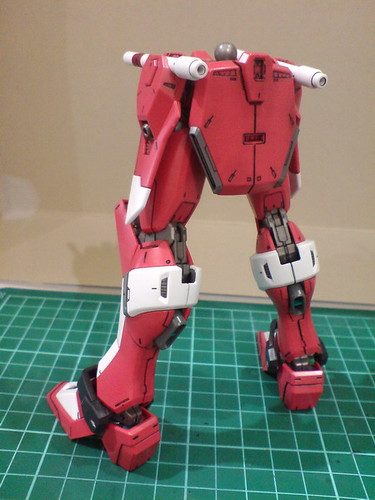
Lower body done.
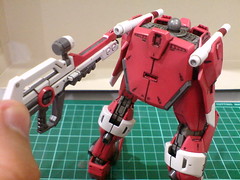
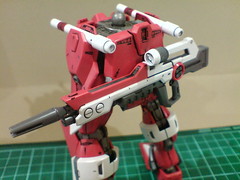
The beam rifle can be mounted to the lower portion of the rear skirt armor. This is a little deviation as compared the 1/100 scale version actually, to avoid the beam rifle hitting the beam sabers I believe.
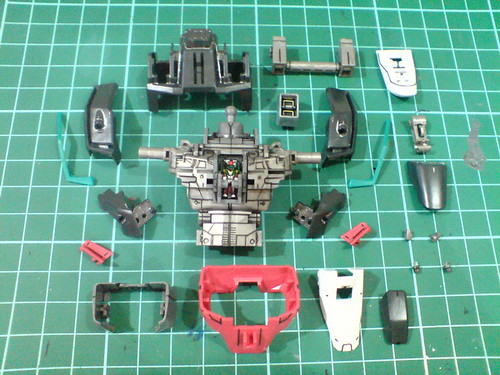
Parts for the body.

Assembled/major components from the armor pieces alone.

Silver and black panel line details behind some of the parts that I'm not sure if they are going to be seen in any way when the parts are assembled onto the inner frame. ^^;
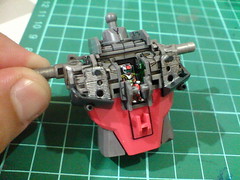
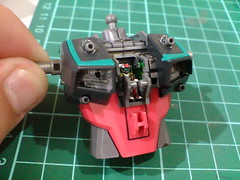
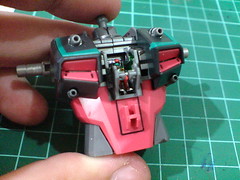
Very awesome two layers of chest vents before they are covered up by the pink chest pieces.
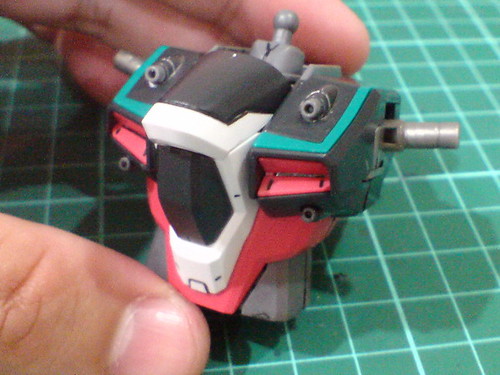
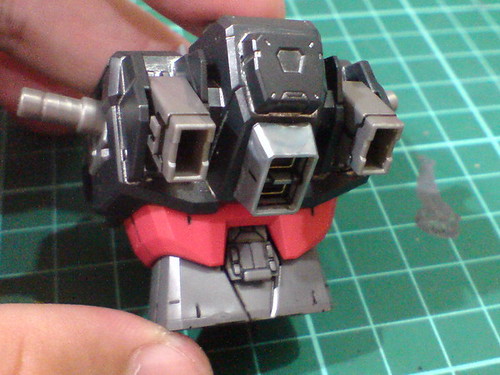
Body unit completed.
A very compact component this is. ^^
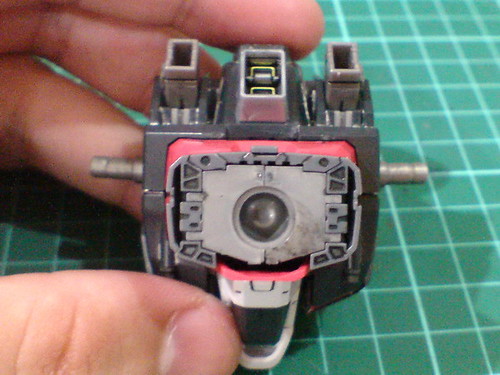
Some details on the edges beneath the gray waist part.
You can also see how precise it's holding the silver core block in the middle.. ^^

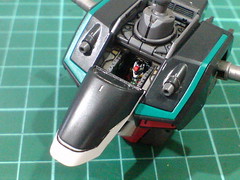
The same sliding mechanism as MG Strike Freedom Gundam to reveal the pilot cockpit.
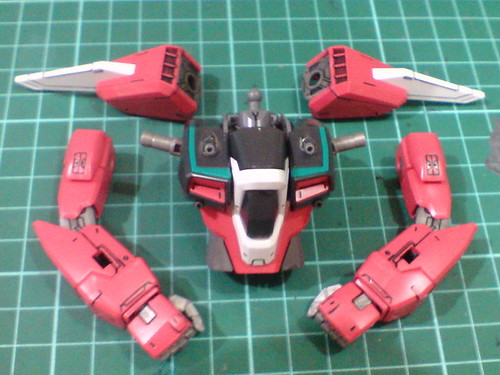


Upper body done.
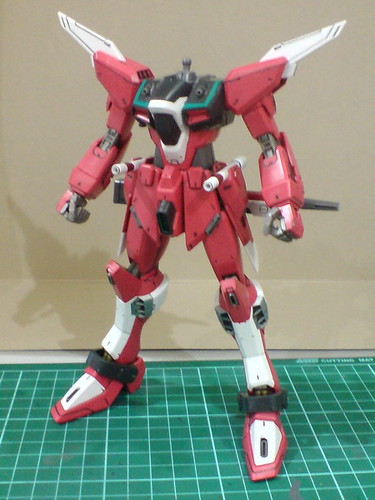
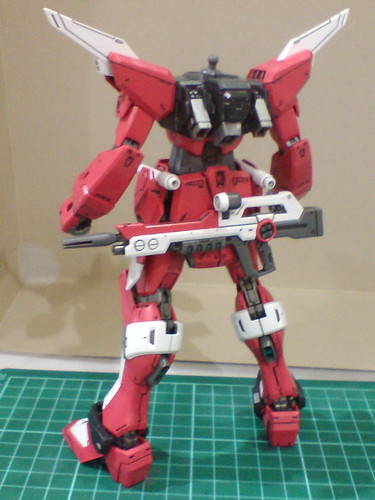
Adding on the lower half to complete the main Gundam body.
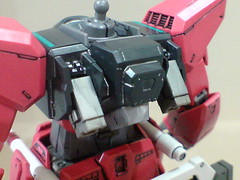

The twin connector on the back needs to be lifted upward and then pushed into the rear armor secure its position firmly before the backpack can be mounted.
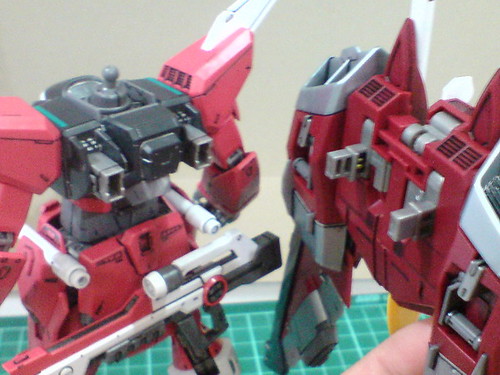
Connecting to the backpack.
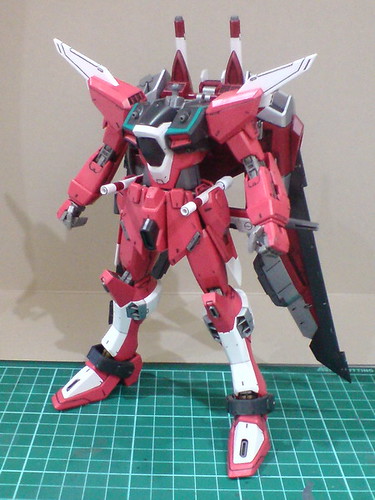
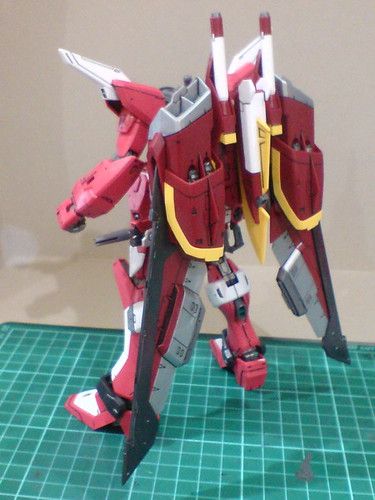
The head is all that is left right now. ^^
A headless kit is a mighty tease for the next posting XD


2 comments:
Shame on you NK teasing us with a headless kit!
Fabulous work as usual. I really like that you notice all of the little details that BanDai puts into their models. It helps me to appreciate them all the more.
I really must take my hat off to you in you paying attention to the little details of the kit
Post a Comment