Kotobukiya's BB Senshi series?
Starting on a new plamo project after the double feature review series on
Play Arts Kai Lightning and
Serah Farron. ^^
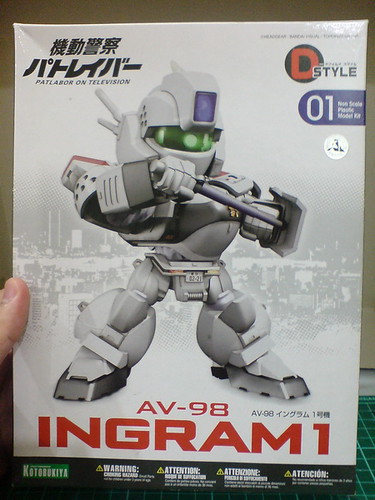
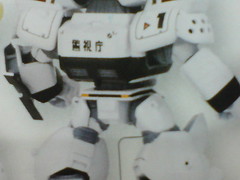
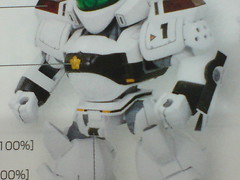
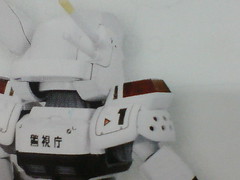
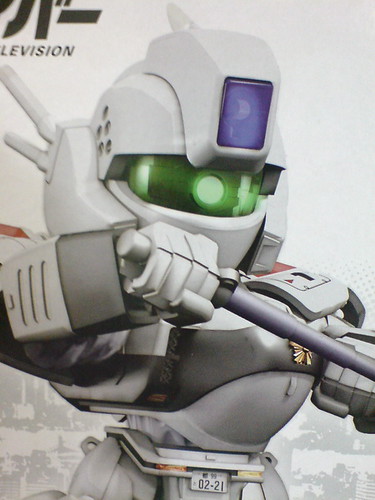
Released sometime in May 2010, this is D-Style Ingram Unit 1 from Kotobukiya. ^^ It's actually the first release from that plamo kit line, which features more than 30 kits from mecha series like "Mobile Police Patlabor", "Zoids", "Armored Core", "Muv-Luv", the Brave series and other Super Robot shows now. ^^ Among the releases, I collected quite a few from "Patlabor" and "The King of Braves GaoGaiGar". For the former, liking the characters (the Ingrams) is the main reason behind my purchases, but for
GaoGaiGar and
GaoFighGar, their deformed scale transformation and combination gimmicks make them seem like really fun kits to assemble and play with, and I do like the mecha design a lot as well. ^^ Majority of the D-Style kits in my collection are from "Patlabor", and since Ingram Unit 1 was the pilot release, I guess I should start with it as the first D-Style kit featured on my blog. ^^
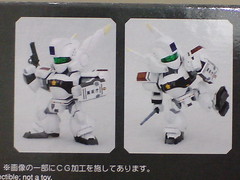
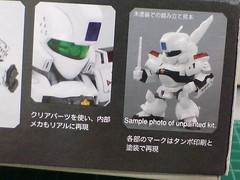
Because of its deformed scale, many compare the D-Style series to Bandai's BB Senshi line. Interestingly, I feel that I'm more inclined to agree with that comparison now than when the series was introduced back in 2010. Back then, the deformed scale is perhaps the only major connection between the two series. However, there are noticeably different design direction for the kits from either series. For Bandai's BB Senshi line, proportionately big heads plus short bodies and equally stumpy legs is the major design trait that I observed, especially on releases from the BB Senshi Sangokuden line. For Kotobukiya's D-Style series however, the kits are seemingly "overall" deformed version of the mecha they are based off. ^^
Over the last three years, I felt that Bandai has changed the deformed proportion of the kits in the BB Senshi line and seemingly, made them closer to releases from D-Style. ^^ Kits like
Delta Plus (released in February 2013),
Gundam AGE-FX (released in November 2012), and
Wing Gundam EW (released in June 2011) still feature big heads, but their bodies and legs are enlarged in proportion to give them a more "balanced" deformed look (that sounds super weird XD), essentially the design trait of the D-Style line as mentioned earlier on, and that's a very interesting development in my opinion. ^^ After three years, the inclusion of non-humanoid mecha from "Zoids" and many other unique features exhibited by the releases in in the D-Style line give it more distinctive differences than Bandai's BB Senshi series. There are more points to distinguish between the series than ever. However, with the similarity in proportion design as mentioned above, I'm seeing more similarities between the two lines instead. ^^
Disregarding the proportion design, and similarities/differences, there are many fun designs from either series that I enjoy very much. ^^ In my opinion, the fun part-swapping gimmick in Bandai's BB Senshi Sangokuden line to get multiple forms and transformation features on a single kit is just about the same as the design for
GaoGaiGar,
Raijin-Oh and other Super Robot-type D-Style kits. ^^ They are important releases as well, because their special gimmicks would be difficult, and very expensive to realize on normal scale kit designs. ^^; For that, both series are equally impressive in my opinion. I certainly appreciate Kotobukiya's effort in creating this plamo kit series. Without it, I think I'll still be waiting for an actual transformable merchandise of GaoGaiGar and GaoFighGar that I can afford. ^^
Back to the introduction of Ingram Unit 1:
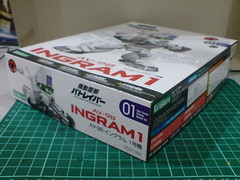

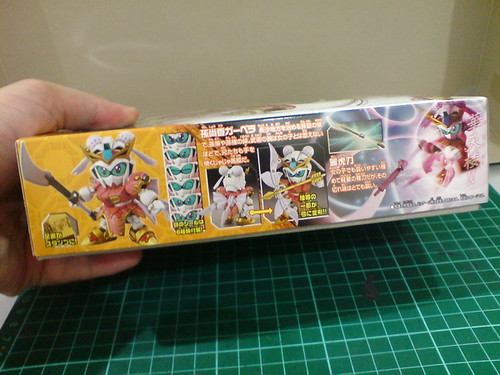
Side views of the model kit box.
The box is taller and wider than that of an average BB Senshi Sangokuden kit.

Introduction of the kit on the sides of box.
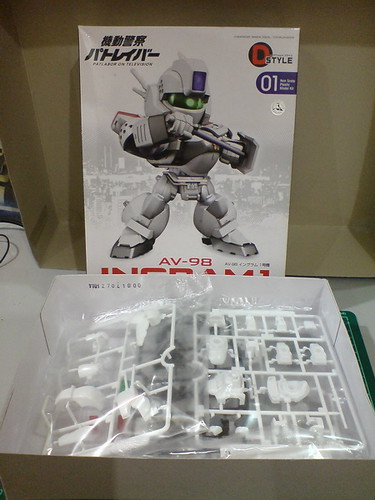
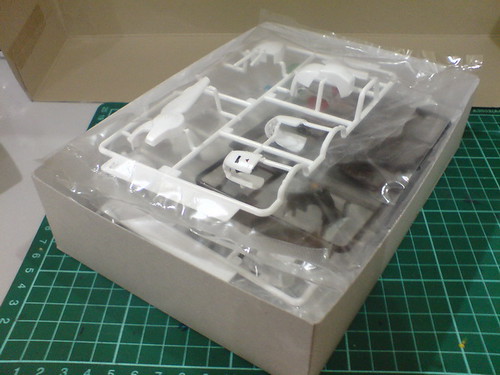
Box open.
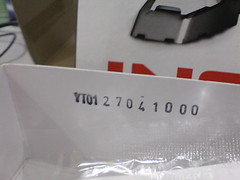
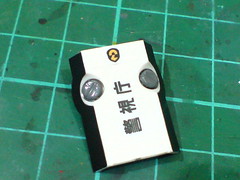
Factory production code (?) printed inside the box.
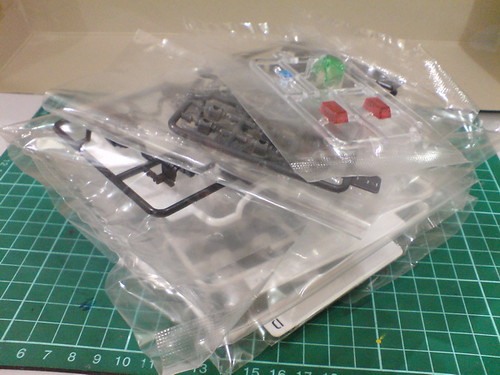
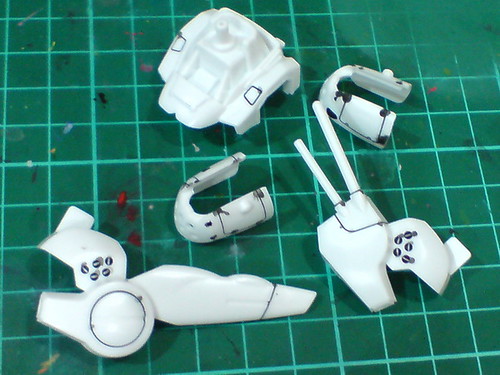
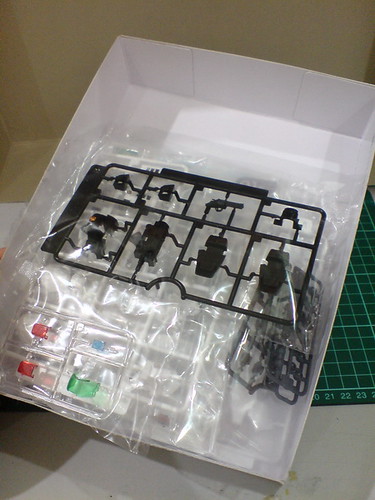
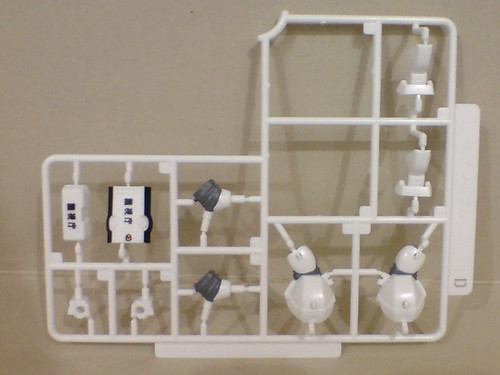
All runners.
Despite having more runners than an average BB Senshi Sangokuden kit, it's observable that the box is more spacious than it needs to be to hold the content. ^^
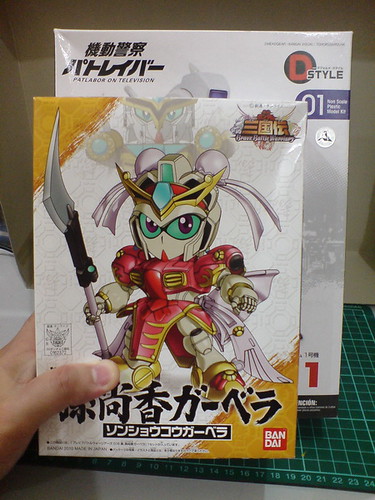
Size comparison of the box with that of Shin Sonshoko Gerbera from Bandai's BB Senshi Sangokuden line.
It's a little tight, but the content of Ingram Unit 1 can be arranged to fit inside Shin Sonshoko Gerbera's box. ^^

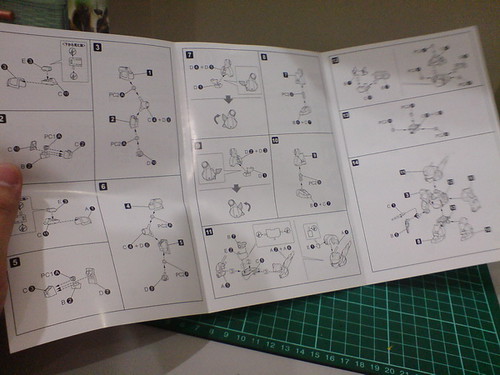
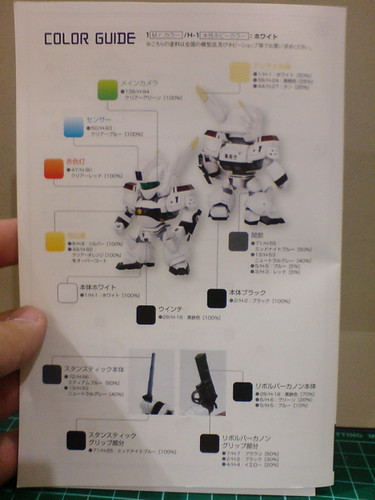
The instruction manual.

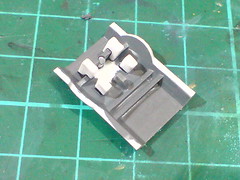
Order form for extra parts.
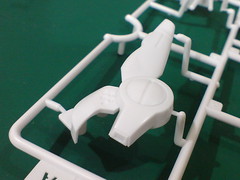
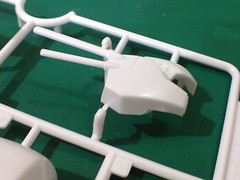
A look at the runners' design:
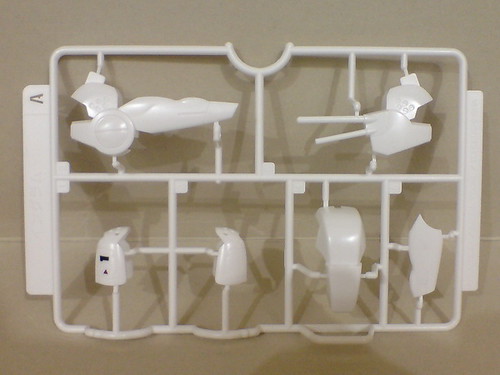
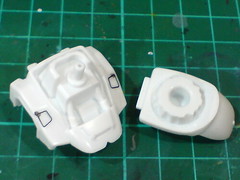
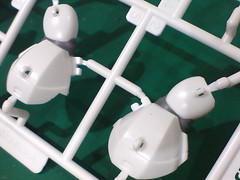
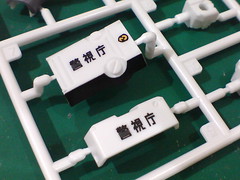
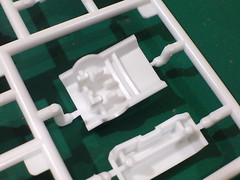
Runner A
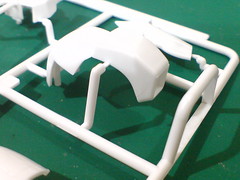
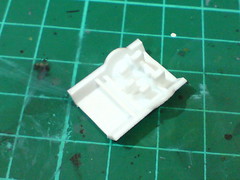
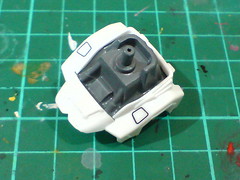
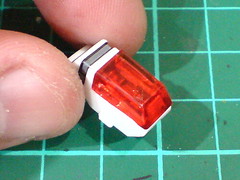
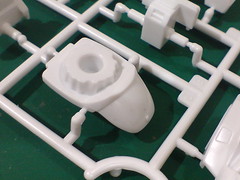
Large protruding parts for the head and shoulders. The shoulder armors' one-piece design looks pretty interesting. ^^


Tampo printed markings on the shoulder armors.
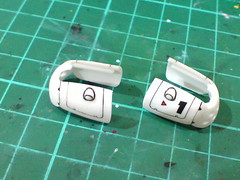
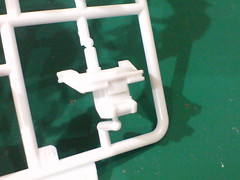
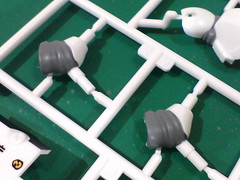
Runner B
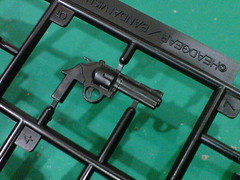
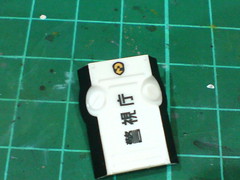
(Left) Pre-painted emblem on the chest.
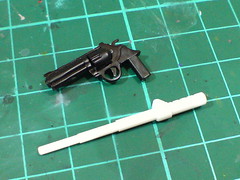
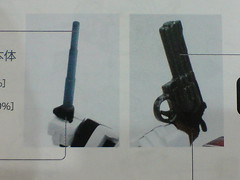
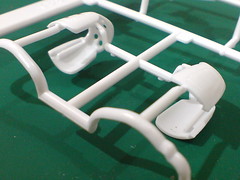
(Right) One-piece part for Revolver Cannon.
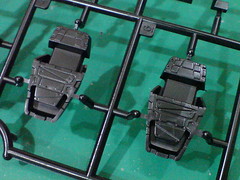
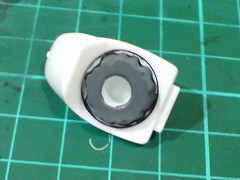
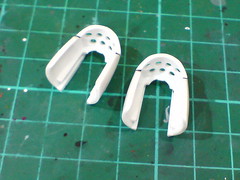
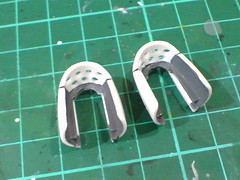
Intricate molded details on the soles.
Runner C

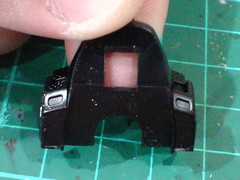
Pre-painted joint areas for the upper arm parts.
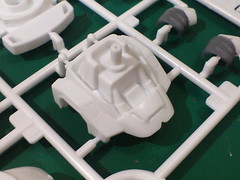
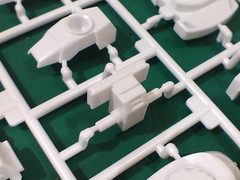
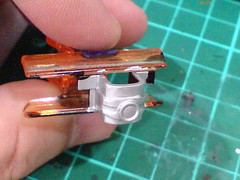
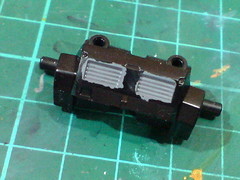
While smaller parts for the upper arms come pre-painted, larger parts for the body, waist and Stun Baton are not painted. ^^;
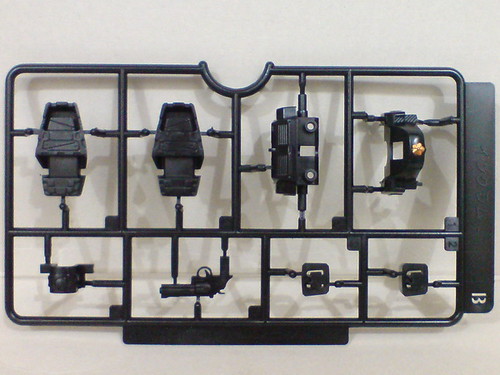
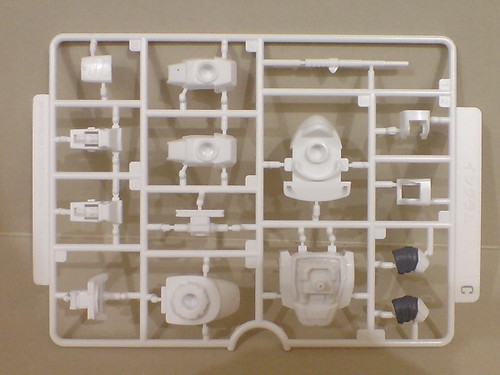
Runner D

Runner D has the most number of pre-painted parts. ^^
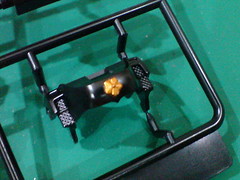
The tampo printed markings on the shield is very accurate - there's no black paint spilled over onto the edge behind the part at all. ^^
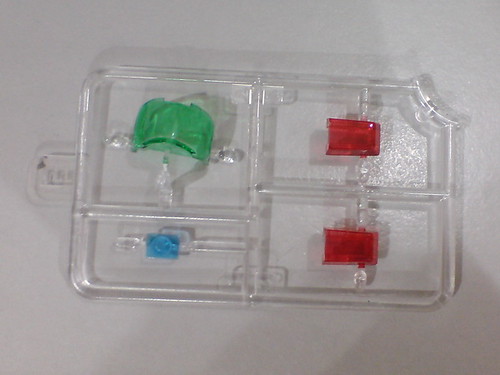
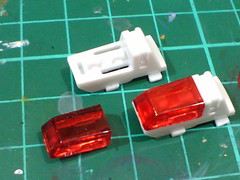
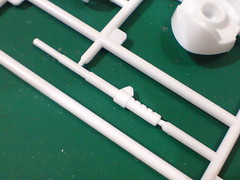
Runner E
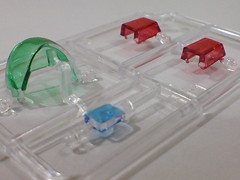
Clearly, the colors are painted onto the parts. ^^


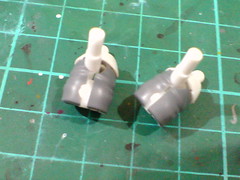
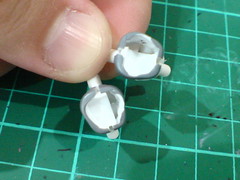
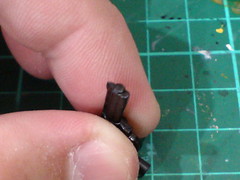
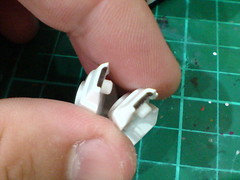
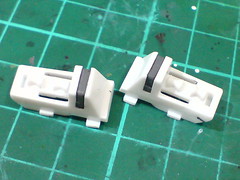
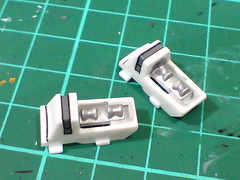
(Left) Loose leg parts that are stored in a separated plastic container.
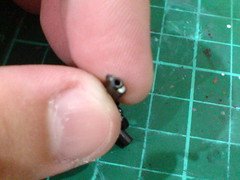
(Right) The parts were removed from Runner D during production for the hip and knee joints to be painted it seems.
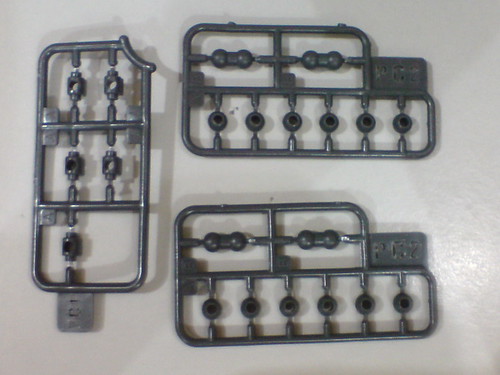
Three polycap sets included: one PC1 and two PC2s.
PC2 looks identical to the polycap set included for 1/1 scale HoiHoi-san, which has a very generic label of "PC".
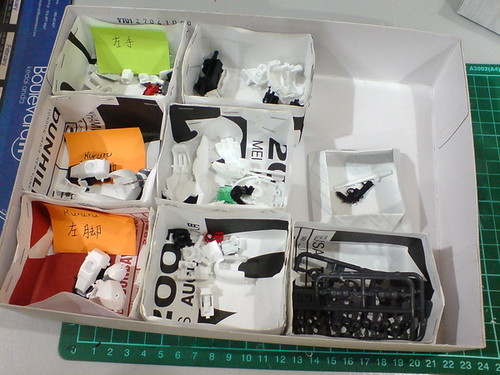
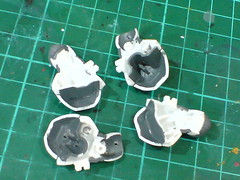
All removed parts are organized and stored in individual paper containers.
Will start painting and detailing certain selected parts from the kit in the next posting. ^^