Turning my attention to MG Johnny Ridden's Customized High Mobility Type Zaku II Ver. 2.0 this time.
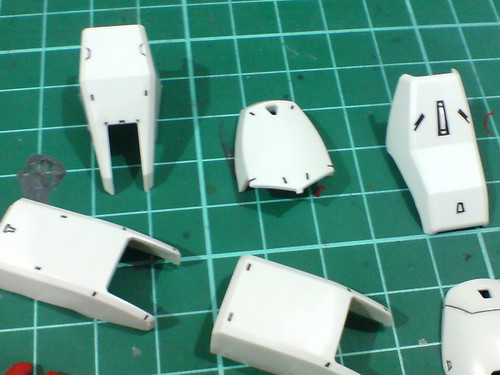
Not exactly too different from the work on MG Gundam Mk. II Ver. 2.0 shown last night, since I'm starting off this kit by working on parts for its legs as well. Then again, when it comes to the level of complexity...
As mentioned before, this is my favorite Zaku II variation, so I'm devoting a lot more attention to the details on this kit. ^^
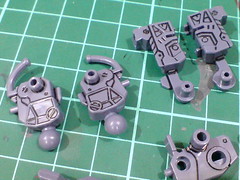
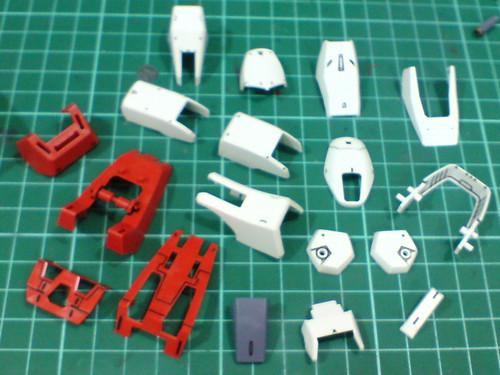
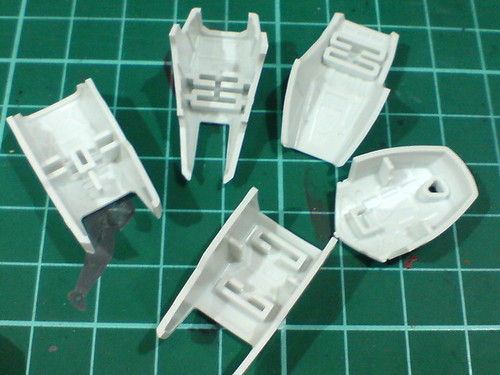
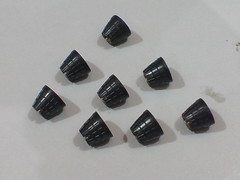
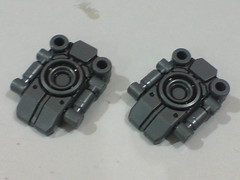
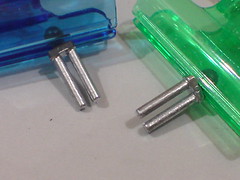
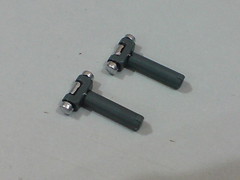
Repeated parts used on both legs that need to be painted.
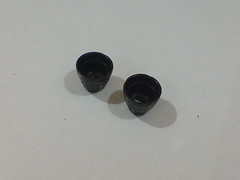
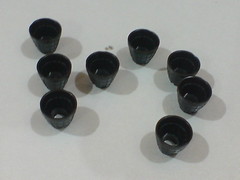
The design of the backpack thrusters is the same as the ones for the leg, so I'll just throw in those 2 so that the whole batch of thrusters can be painted in one go.

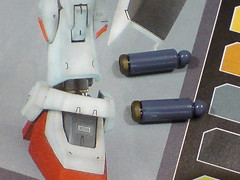
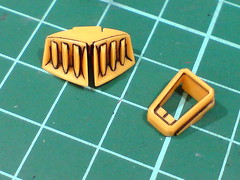
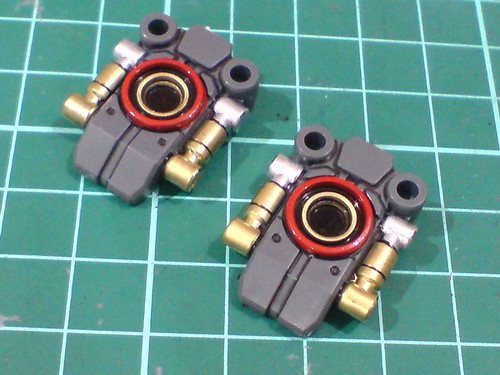
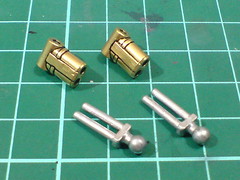
To make them look outstanding (and to complicate the work for myself as usual ^^;), 2 colors are planned for the thrusters.
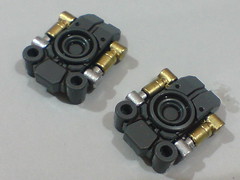
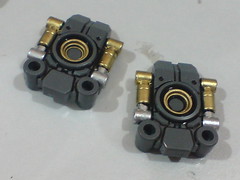
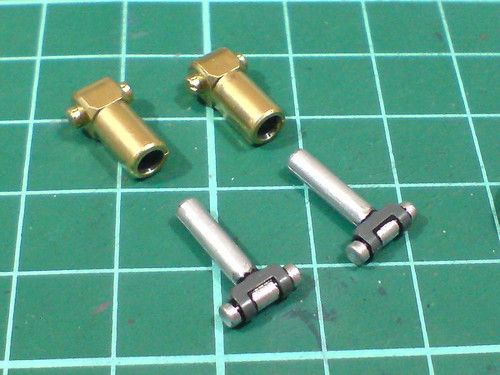
First color: gold for the innermost portion of the nozzle. Hand painted using Mr. Metal Color 219 Brass, which was first used on BB Senshi Sangokuden Choko Zaku III.
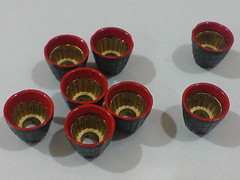
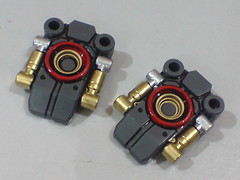
Second color: red for the outer layer including the mouth of the nozzles. Hand painted using Mr. Color No. 158 Super Italian Red Gloss, recently used on MG Shin Musha Gundam.
Cleaned off the excessive red paint outside the nozzle by swiping it off using a cotton swap dipped with thinner.
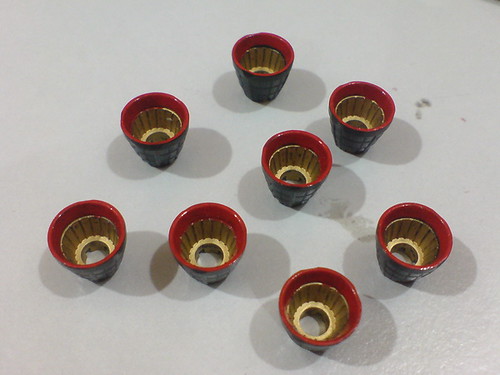
Paint result before the next step.
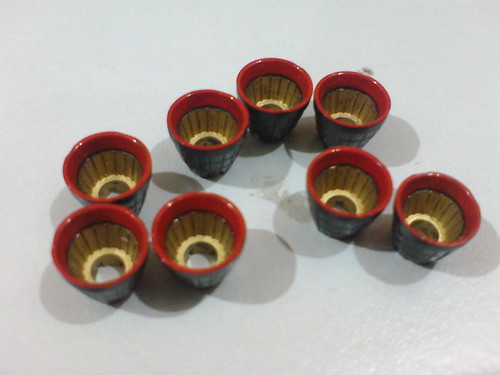
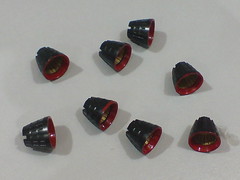
Reapply panel lines inside the nozzle when the paints have dried to separate between the gold and red areas.
Just like the work on MG Shin Musha Gundam's backpack thrusters, it's not an easy task panel lining the interior of a thruster nozzle. ^^;
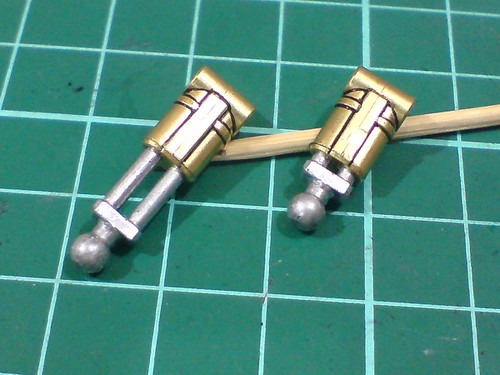
A lot of repetitive work panel lining the details for thrusters' exterior, but it's the last part of the work on the thrusters.
I really like how the thrusters turn out through the 2 painted colors. They are larger than the usual thrusters on other kits, so they can be considered as very important components for display. Some level of details given to them would be nice to bring out their interestingness. I'm not content with just a single color this time and went for 2 instead. ^^ But I do like the paint result very much, and since it's working for this unit, I think I will repeat it for the thrusters of another Zeon boss unit in my collection - MG Char's Gelgoog Ver. 2.0. ^^
Not so soon of course. ^^

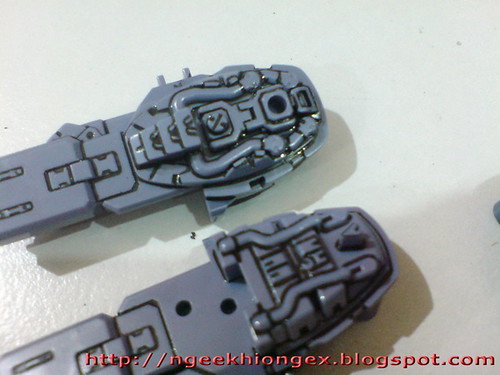
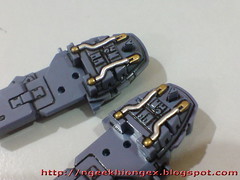
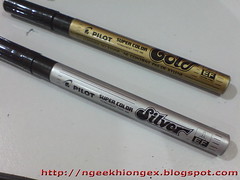
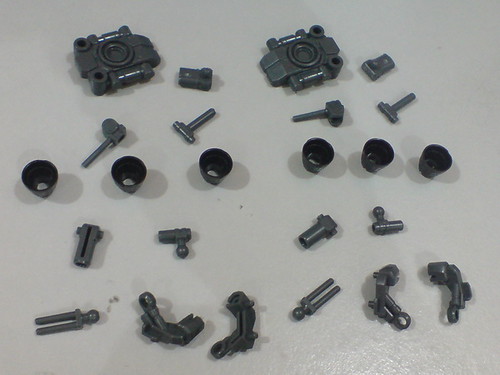
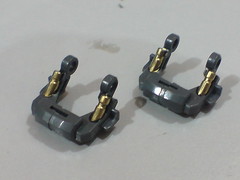
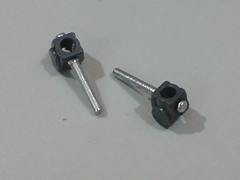
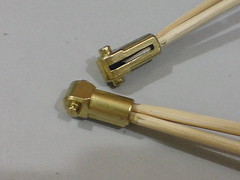
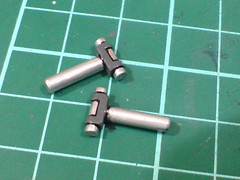
Painted gold and silver for the fixed hydraulic pipes on the foot parts using Gundam Marker Gold and Pilot Super Color Silver Extra Fine.
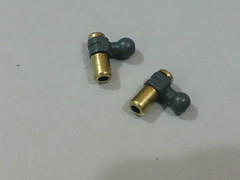
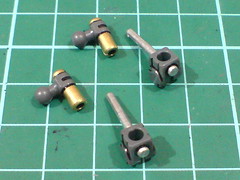
Painted gold and red for the thrusters following the standard set by the 8 thrusters done before this.
Painted using Gundam Marker Gold and Red.
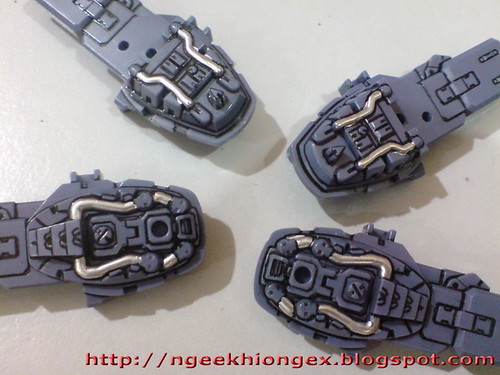
Result after cleaning off excessive paint and reapply panel lines.

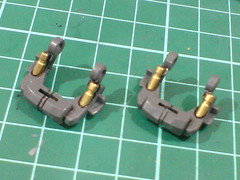
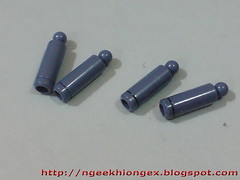
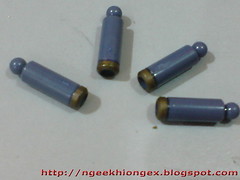
Gold and silver for the fixed hydraulic pipes on another sets of parts for the feet.
Gold is still from Gundam Marker, silver is from a normal pen this time since the areas to be painted in this color are very small.
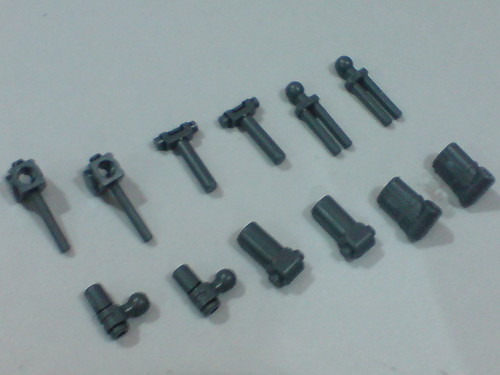
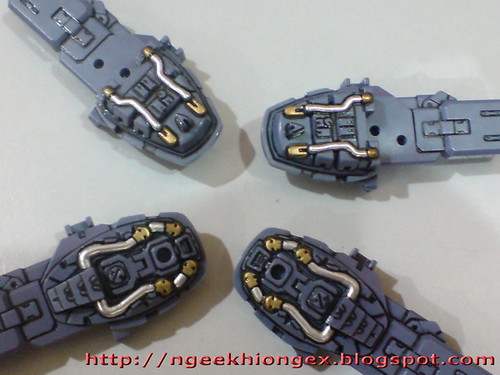
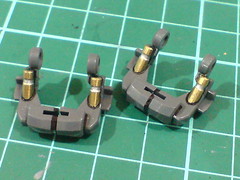
Sets of hydraulic pipes for the ankle, heel and knee.

The ankle set.

The heel set.
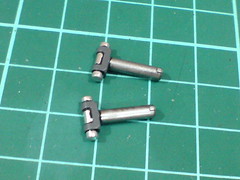
The knee set.
All 6 sets are painted using Gundam Marker gold, Pilot Super Color Silver Extra Fine (for small areas) and Zebra Paint Marker Silver (for majority of the pipes). Not much explanation given to them for the images shown above, but the entire work is very slow. Panel lining the borders is one thing, painting the different sections is another, waiting for the paint to dry before applying the next layer of paint is very important too. All in all, patience is an invisible tool that dictate the outcomes of all the paint work, regardless of how great the painting tools used. Working at snail speed is too common for all my model kits, so a lot of waiting is no problem-mo for me at all XD
Too much delicate work on Gunplas for a while already. A bit of mood change is required (again) XD