Friday, July 31, 2009

July Loot

A Wall of Exia!

My favorite trio of Gunplas for July ^^

MG Exia, HG 1/144 Gundam RX-78-2 Ver. G30th, and BB Senshi Sangokuden Tenshouryu Koumei Nu Gundam ^^


New type of multicolor material for the GN Stripe, clear green panels with molded text inside them, new design of the manual, plus the box art straight-out-of-the-box awesome points of this MG. ^^


Love the new HG Gundam RX-78-2 for its details and intrinsic value (Gundam 30th Anniversary); love Tenshouryu Koumei Nu Gundam for its gimmicks and clear green parts. ^^

With the arrival of MG Exia, there's this unstoppable urge to take this photo:


A wall of 7 Exias & 1 Astraea

A comparison of the GN Sword:


MG Exia's GN Sword is actually shorter and broader (fatter) than the 1/100 scale version.

Didn't expect that at all. I was hoping MG Exia would have a longer, slimmer and sharper GN Sword following the fashion of its GN Long and Short Blades. ^^;

Anyway, seeing that silver is molded for the GN Sword, I'm more determined to paint the GN Swords left from my All Exia Project now. The sequel to that project is definitely coming. ^^

Thursday, July 30, 2009

Figma Takara Miyuki Summer Fuku Ver.

"Absorption? Naruhodo"

As anticipated after the announcement of Konata Izumi Summer Fuku Ver. not too long ago.

Max Factory's Figma Takara Miyuki in Summer Fuku will be released in September at 2,500 Yen (inclusive of tax). ^^


Apart from her new fuku and face expression, it seems she has a new type of elbow design as well (as compared to the winter fuku version). A figure of Nyamo is included as well.

Also included is the head part of Minami Iwasaki, which is compatible with Figma Miyuki Winter Fuku Ver. A much more "accurate" package than Konata Izumi Summer Fuku Ver. + head part of Yutaka Kobayakawa, since Minami is just as tall as Miyuki.

Then again, another part isn't that accurate :3

Most definitely going to be my second Figma XD

Tsukasa Hiiragi + head part of Hiyori Tamura has been announced as well, leaving Kagami Hiiragi with Patricia Martin?

I wonder how will Kagami's two other friends, Ayano Minegishi and Misao Kusakabe are going to be released then ^^

Images from Amiami.

Tuesday, July 28, 2009

MG Unicorn Ver. Ka Part 5

With lipstick

The head is the component of this MG that requires the most painting. ^^

Well, actually it's just those three V-Fins and horn on his head that deserve the honor XD

Another part painted (panel-lined actually) is the mask. I painted the air vent on that part red, even though the more conventional color is black/dark gray as according to the manual. I didn't wanted it to be in black since I'm not using that color for any of the white parts. Red seems like a good color to me, as there's a piece of Psycho Frame behind the mask. I'm thinking that maybe the color to be seen from the air vents is red, shining from the Psycho Frame behind them on the mask, instead of black.


Yellow for the interior surface of the transformable V-Fin.
Very easy as it is, a lot of time was spent shaking the Gundam Marker and trying it out to get the best color.


When the paint for the V-Fin had dried, gray goes in for the base of the V-Fin, same goes for the horn.


Done with the few tiny parts. ^^

The tool used to panel-line the air vents on the mask is just a normal red gel ink pen. Draw on the lines, and wipe the excess ink clean after that. The ink left in those slits becomes the red air vents. That's all. ^^

Shiny red Psycho Frame will be in Part 6 ^^

Friday, July 24, 2009

MG Unicorn Ver. Ka Part 4

Thank goodness it's UC

Work on the pilot figures and cockpit this time. And as compared to MG Destiny, both the figures and cockpit are so much more relaxing to do for me. ^^


With reference to the pilot suits (called Normal Suit) used in the Universal Century, I just outline the pattern on them, and done. ^^

The way to do it is the same as discussed for MG Destiny - paint the whole figure using panel-liner and then wipe all the excess paint clean using a piece of tissue, cotton swap and toothpick. The black ink from the panel-liner will stay in the intended lines and done. Since the suit is all white, I get to skip the painting part for the suit, which saved me from a lot of troubles. XD


Painted the visor black. Green and light blue are good alternatives as well.


Normal Suit may be a bit boring as compared to rather stylish ones as seen in SEED/Destiny and the latest Gundam Double O, but they are definitely way easier to work with when it comes to Gunplas. ^^

Also, a bit of add-on for the cockpit - adding in the computer screens.

Very much the same thing I did for HG 1/144 Tieren Ground Type.


Three panels of screens to be added.


Taking measurements for each of them, more like estimates actually, since they are of such tiny size. ^^; The colors I chose are green x2, and silver x1.


All the stickers required can be obtained from the foil sticker sheet included. Tweezers and sharp knife are very important tools here. ^^


Done with both the figures and cockpit. ^^


Panel-lined all the parts for the body's inner frame as well.

Next review will be on the component that requires the most painting. Almost too simple to guess eh? ^^

Monday, July 20, 2009

MG Unicorn Ver. Ka Part 3

Almost there?

Without bothering to panel-line the armors, there isn't much work for panel-lining the parts actually. ^^

Almost all the parts for the body are done after this review.


Parts for the waist.


Parts for the shield.


Parts for the arms.


Parts for the shoulder armors.


Parts for the right leg.


As with Part 2, the interior of the thrusters for the rear skirt armors and right leg is painted with Gundam Marker Gold.

Work on the body, including the pilot cockpit and figures in the next review. ^^

Saturday, July 18, 2009

My First Nendoroid, Third Transformers Figures

Moe & mecha, again ^^


Haruhi haven't arrive yet, so Miyuki who arrived yesterday becomes my first Nendoroid. ^^ Also in is Transformers Alternity Convoy featuring Nissan GT-R Super Black Ver., which is my third Transformers figure.

Previously, I have this "odd" combo of moe and mecha coming in together which also featured Miyuki - the Figma version with Yamato's Macross Zero 1/60 Complete Transformation SV-51γ Nora's Unit.

Anyway, 私は本当にみゆきが好きです! ^^

Wednesday, July 15, 2009

MG Unicorn Ver. Ka Part 2

Simplicity is complicated

Was pretty convinced of my plan beforehand, but looking at the comments in Part 1 (thanks very much for all the useful input ^^), I started to think again, but in the end, I decided to just move on with the original plan.

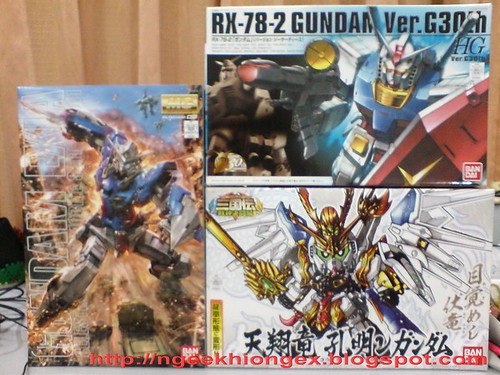
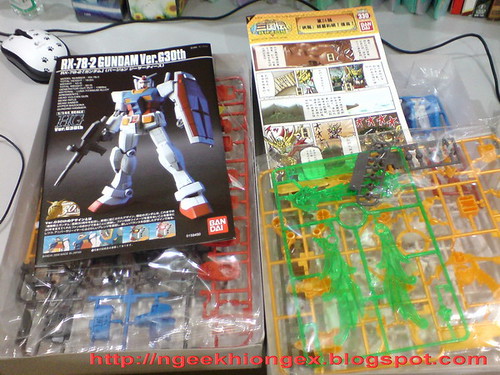
The reason for me to be so stubborn (^^;) is because of the original design of Unicorn Gundam I saw when it was initially announced:


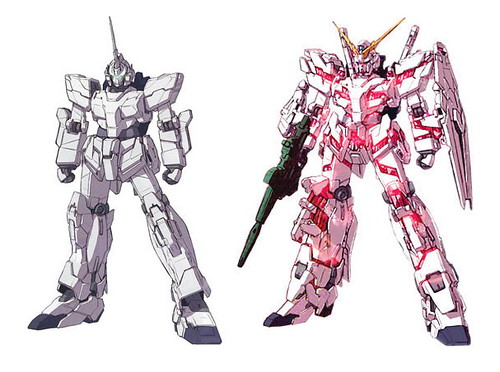
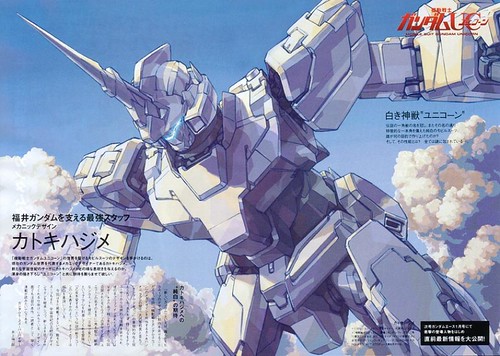
One of the very few MSs with the most complicated transformation gimmick, but with the most simplistic exterior design (Unicorn Mode).

So, the three major questions I asked myself regarding the work on this MG:
- Panel-line or no panel-line for the armor?
- Marking or no marking?
- Panel-line or no panel-line for the psycho frame?

I ended up with no for each of them, which is kind-of surprising for me as well, because that would mean that the work is going to be extremely easy (theoretically) as well.

Firstly, for the armor pieces linked to the transformation, the gap between them are very obvious, and obviously, they require no panel-lining at all (not exactly workable anyway). For parts not linked to the transformation on the other hand, most visibly the shoulder armors and upper arms, the "panel-lines" between the parts are very subtly shown.


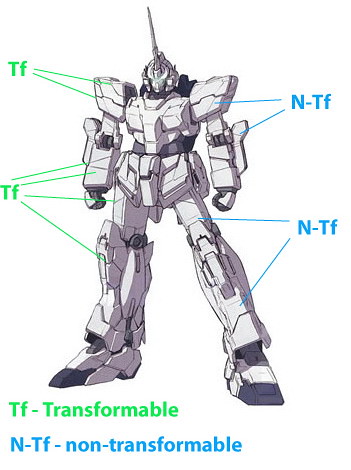
I was pondering on why it was done so in the illustration and I realized that the designer wanted to distinguish between transformable and non-transformable parts to the audience, when we were unaware that the gimmick is there.

So, no panel-line at all for all the armor pieces. Let the gaps between transformable parts define themselves, while letting the lines between the non-transformable parts remain subtle by not panel-lining them at all. To prevent them from looking like gaps, that's another way to see it I suppose.

No marking, a very natural choice for me I suppose, since I wanted to keep to the original design of Unicorn Gundam which has no marking at all. But on top of that, I'm even more concerned about damaging any of those decals and clear stickers, be it during applying them, or during the transformation process.

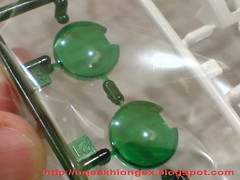
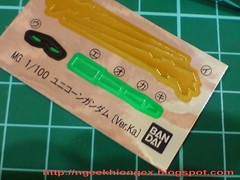
No panel-line for the Psycho Frame as well. The Psycho Frame is like ruby encapsulated in the body of Unicorn Gundam in my perception. Ruby itself doesn't emit light like the Psycho Frame, but it does look different when viewed from different angles - how light bounces off its surface. This characteristic can be seen on the two ABS runners for the Psycho Frame. At first glance, they seem to be in bright pink. When you look closer, it's actually red. I bet it's going to look different when there are parts behind and around it in the complete model.

Anyway, the reason I decided not to panel-line the Psycho Frame is so that nothing extra would "steal" the show of those parts. It's better to let the Psycho Frame shows off its different shades of red when viewed from different angles, rather than to have extra lines and colors to complicate it I believe.

Also, I can't imagine having to panel-line the Psycho Frame as well when it's already pretty hard for my eyes to look at those two runners, ^^; With that said, those who are wondering why there was not a single Psycho Frame part in the intro yesterday now know why I suppose. ^^ None of them has been cut out from runners yet. I will focus of them in one go later.

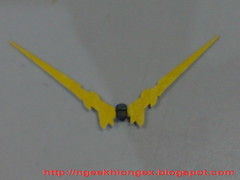
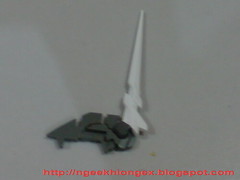
For the V-Fin, it'll be yellow with no panel-line on the details. A very obvious decision when I decided to go for the original look. The yellow V-Fin would stand out well against the white armor and red Psycho Frame of the complete model, which is the primary reason for it to be given such a color in the first place I believe.

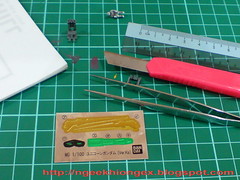
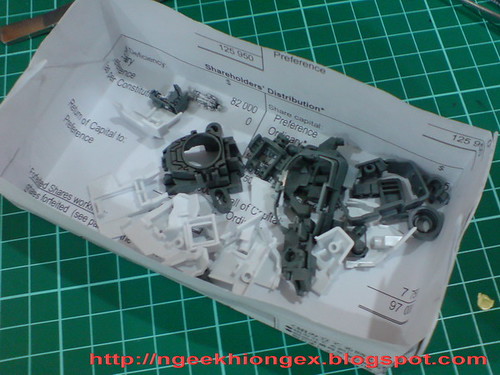
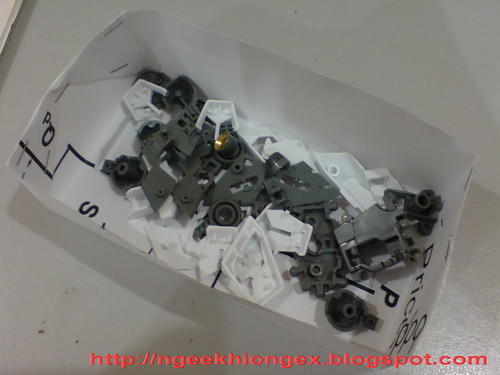
With all those considerations out of the picture, time to start working on the model. A significant number of parts are going to be "as they are", but there are a lot others that do require panel-lining and a bit of painting. Almost all the parts that are neither white nor red fall under this category.

I get to work a bit of my own painting preference on some of them as well. As long as they won't alter the original feel, I'm OK to give them a go.

Two of such treatments are shown in this review.


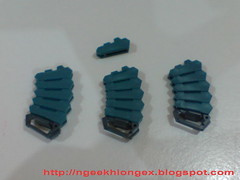
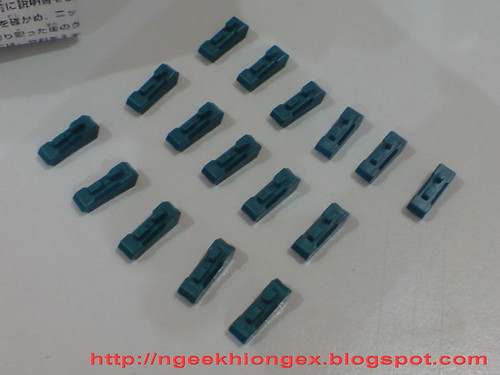
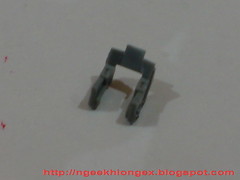
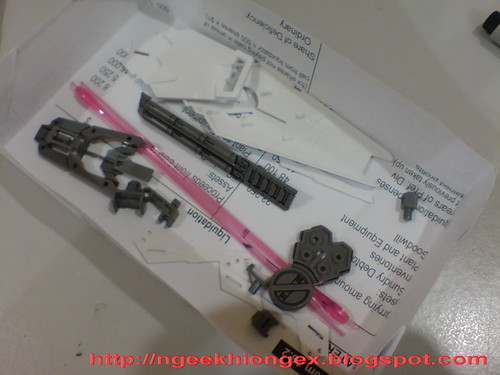
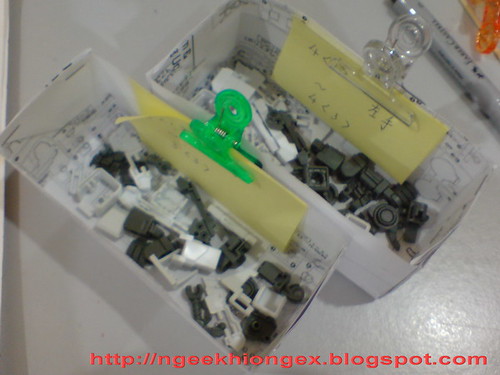
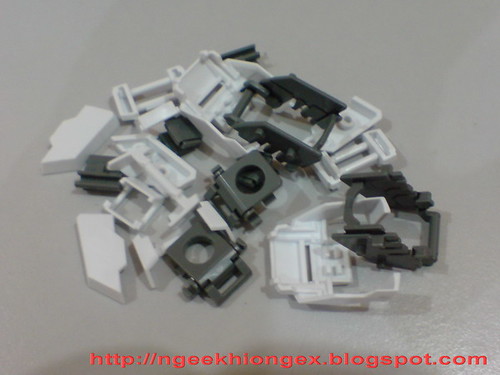
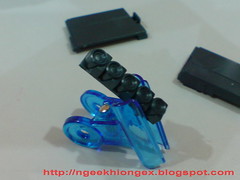
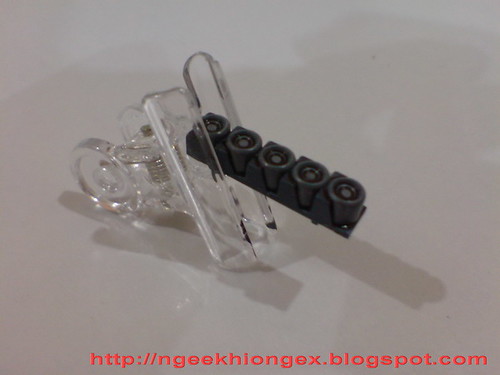
Lego-style magazine clips for the Beam Magnum. ^^

Panel-lined all the connectors on top of the 16 clips. In a much simpler manner, I could have just done that for the one sitting on top of the three 5-clip stacks, but since they can be stacked at will (just like Lego bricks XD), I didn't want to place a limitation on which has to be on top of the stack all the time.


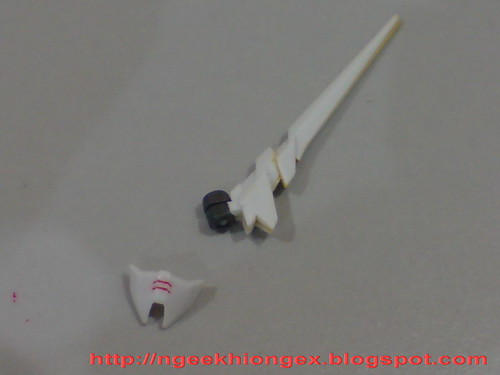
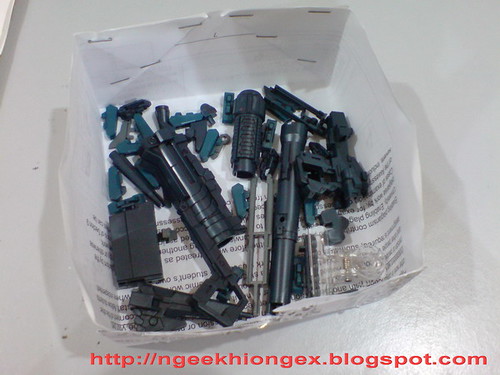
Painted gray (from Gundam Marker SEED Basic) for the end of the rockets protruding from the bazooka's magazine to separate them from the casing. The initial plan was red actually, following the example of Nu Gundam's Hyper Bazooka, but then it would seem too outstanding for me, especially in Unicorn Mode when there is no red part on the Gundam itself. So gray they are.

Done with the work on the two weapons ^^


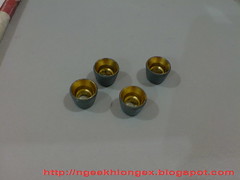
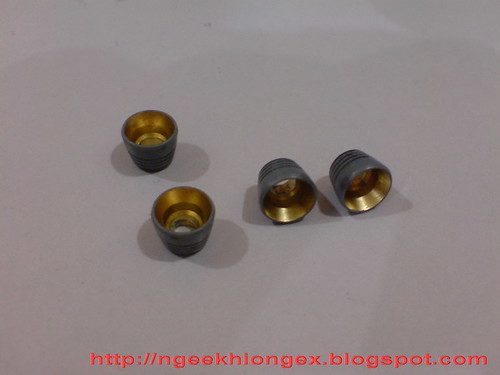
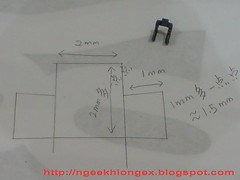
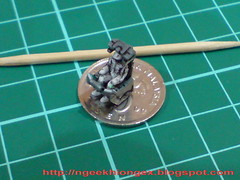
Painted gold (from Gundam Marker BB Senshi Sangokuden) for the interior of the thrusters. These four are for the backpack, but the other four for the rear skirt armors and legs are going to be painted like this as well, since all of them are identical.

Unicorn Gundam only has these eight rocket thrusters, at least these are the ones included for the model. Being small, I wanted something a bit different to allow them to look more powerful. I never tried gold for thrusters before, so in the color is. ^^

Done with the backpack, as well as the left leg ^^


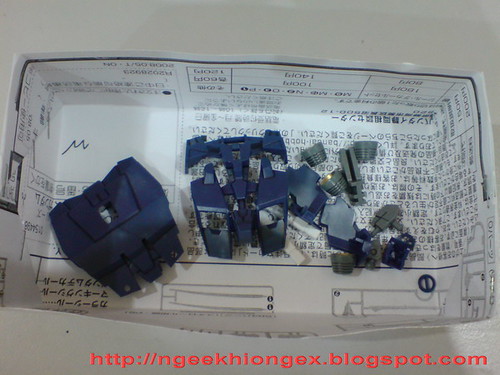
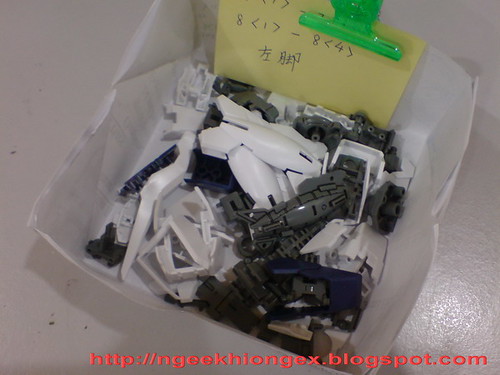
Way faster than MG Destiny this time XD