Showing posts with label Tools. Show all posts

Saturday, February 20, 2016

Fixing HGUC Sinanju

Simple, but most important to complete

A bit of Gunpla work after the review on Play Arts Kai Meryl Silverburgh, but it's something I didn't plan for in the beginning. ^^;

It's always not a good thing to be talking about fixing up model kits, since that automatically means that something has broken in the first place. ^^;

Getting the kit fixed in the end is the payoff, and even though the experience gained from the work can be considered a side benefit, the same cannot be said about the shock and regret that I felt the moment when the kit was broken. ^^; Even for kits that I did fix in the past, like HGUC Gundam RX-78-2, Zaku III and Master Grade Zaku II, I always hoped I had never broken them to begin with. ^^;

Then again, with more tools and materials obtained over the years, I'm glad that I have more options in fixing up my model kits now so I don't feel too depressed everytime I broke something. ^^;


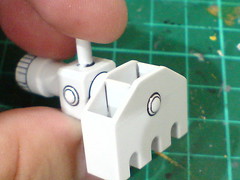
The HGUC Sinanju I assembled in mid November 2010 has been without its backpack for a few days now ...


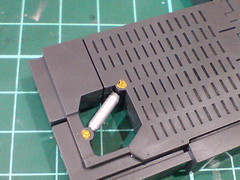
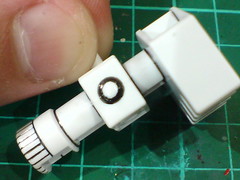
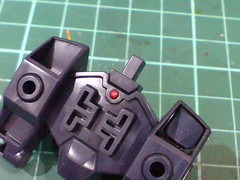
... after I broke the binder connector of its left wing. ^^;

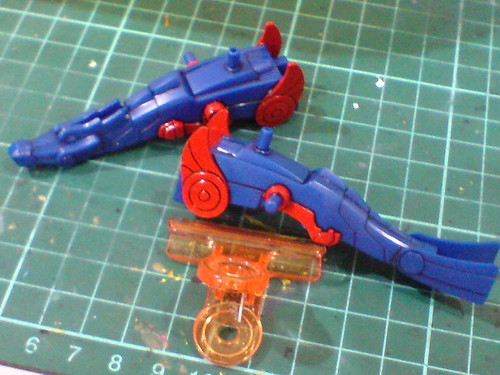
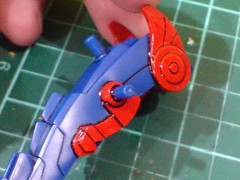
I suppose the peg has become quite stiff after it was put in a fixed pose on my office desk for a long time. When I was adjusting another pose for it recently, the binder connector just snapped when I tried to move it with a little extra force. ^^;

Even now, I can still remember the "No~~~" in my head when the peg snapped. XD

Tuesday, January 19, 2016

HG Build Custom GP Base Part 2

Gunpla work with Adobe Photoshop

Starting to work on HG Build Custom GP Base after the introduction in the previous posting, with the focus being the information card for the base's display screen. ^^


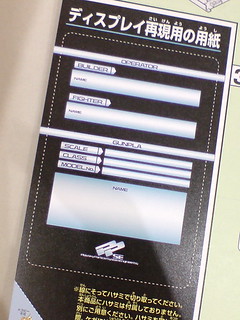
The template for the information card included with the kit, ...


... versus the GP Base display screen as seen in "Gundam Build Fighters". ^^;

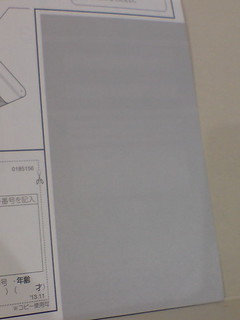
As mentioned in the previous posting, the information card template included inside the instruction manual is only useful if you're alright with having only a blank screen for all the kits to be displayed with the GP Base, and you are willing to cut out that portion of the manual in the first place. Personally, I prefer to have different screens that can represent the Gunplas on display accurately, not just in terms of the information of the kits, but with display elements as seen in the anime as well. ^^

For that matter, handwriting on the information card cut out from the instruction manual was never one of the options when I was pondering on what to do with this kit. ^^;

Sunday, January 17, 2016

HG Build Custom GP Base Part 1

Can't have HG Build Strike Gundam without this accessory

Second Gunpla work (sort of) in 2016 XD


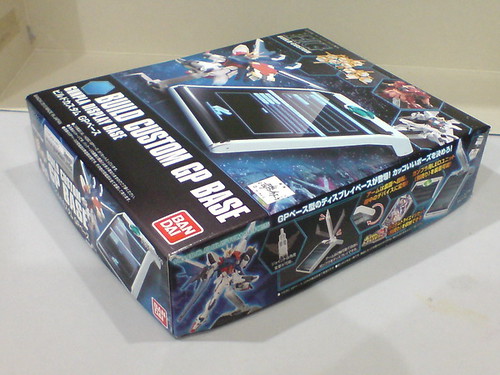
With the completion of the work on HG 1/144 Build Strike Gundam Full Package in the previous posting, this accessory is a natural follow-up to that kit due to its in-universe connection. As a matter of fact, the increased price of the overall kit notwithstanding, I think it wouldn't be out of place if it was included with HG 1/144 Build Strike Gundam Full Package and subsequently offered as a separate kit. ^^

Monday, November 30, 2015

HG 1/144 Gundam Barbatos Part 5

Special Zeon touch and cosmetic finishing

Continuing with the work on HG 1/144 Gundam Barbatos after Part 4. ^^

Despite grouping them into this particular posting, a lot of the work here, at least at the beginning would seem very similar to that in Part 4. ^^


The rear side of the calf and side skirt armors are painted black to emulate depth in those areas.

Saturday, August 29, 2015

Cleaning Gunplas

Dust-off

Slotting in an eleventh-hour Gundam-related posting before the end of the month, after the extensive focus on the two Deluxe Class Arcees from "Transformers: Prime" earlier on. ^^

While this posting would seem more suited to be published around Chinese New Year in mid February, as it represents situations that may be faced by Gunpla collectors while doing their spring cleaning, I think the topic is still general enough to be discussed now. ^^

One can always prepare early for next year's spring cleaning. XD
In line with a couple of postings I did on repairing and maintaining some of my old kits in the past, this one is about cleaning dust off old Gunplas that have been standing inside my display cabinet since forever. ^^; Master Grade Ground Type Gundam is here as the first example to demonstrate how serious the dust issue has become for my old Gunplas over the years: ^^;


Since my display cabinet has been jam-packed with kits of different scales since the beginning to maximize its shelf space, taking the kits out in proper order so that they can be returned to their "original" shelf positions later is very much an endeavour in its own rights. ^^;

Despite the trouble, I did clean my cabinet Gunplas in the past, albeit with unfortunate, troublesome aftermath. ^^; To avoid the same problem from happening again, I found a new tool to clean my models, which I'm going to talk about in this posting.

And no, it's not Zippo lighter fluid. ^^

Saturday, July 25, 2015

BB Senshi Sangokuden Shin Enjutsu Zssa Part 5

New method, new paint

After silver and gun metal in the previous posting, another important color needed by BB Senshi Sangokuden Shin Enjutsu Zssa, one which is much harder to paint will be featured in this batch of work. ^^


Parts featuring details to be painted in metallic green.

Tuesday, June 30, 2015

HMM Zoids 1/72 Red Horn Part 8

Invisible vents and fake beam cannons

Continuing with the work on Kotobukiya's HMM Zoids 1/72 Red Horn after the previous posting: ^^


(Left) Forgot to add these two large vent parts from the backpack to the paint work in Part 5.
(Right) The image in the instructional manual seems to indicate that the vents should be painted gray.

Thursday, June 25, 2015

HMM Zoids 1/72 Red Horn Part 4

When optional paint work and detailing is given priority

Continuing with the work on Kotobukiya's HMM Zoids 1/72 Red Horn after the previous posting: ^^


The targeted areas on the head and frill parts are painted using Mr. Gundam Color UG09 MS Gray Zeon Semi Gloss.

Wednesday, May 13, 2015

SRW OG 1/144 ART-1 Part 3

ART-1, why you so colorful?

Continuing the heavy paint work on selected parts of SRW OG 1/144 ART-1 after the previous posting. ^^


Tiny slits on the leg parts are painted yellow.

Thursday, March 19, 2015

Soul Stage Act 4 for Humanoid Clear Part 2 [Final]

Cross-Act bonuses

Continuing the review on Soul Stage Act 4 for Humanoid Clear after the previous posting. ^^


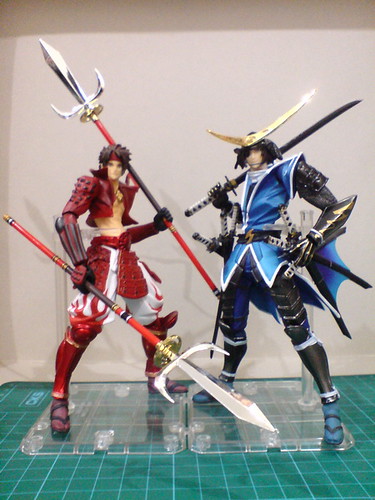
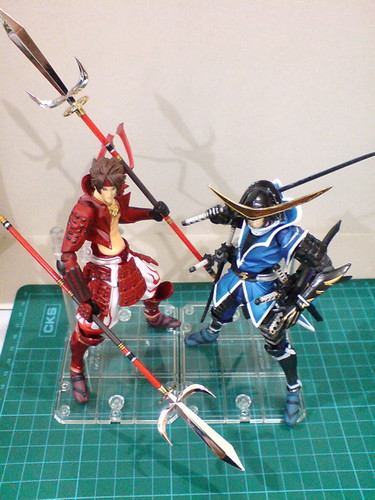
The base connection feature can be used to display more than one figures on a single base, and it's particularly applicable if the figures are connected to one another, like Revoltech Yamaguchi Sengoku Basara Sanada Yukimura, and Date Masamune in this example.

Tuesday, March 17, 2015

Soul Stage Act 4 for Humanoid Clear Part 1

Act 3.5

A longer-than-usual overdue review this is. ^^;


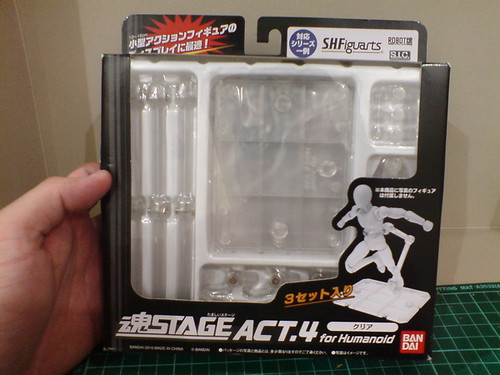
Released in June 2010, this is the Soul Stage Act 4 for Humanoid Clear display stand set from Tamashii Nations.

Monday, December 15, 2014

ZCGirl 1/6 Sniper Muriel Black Ver. Part 2

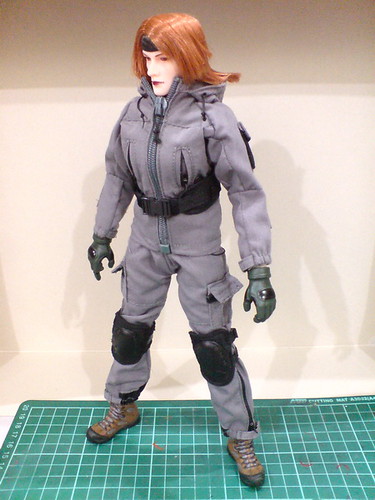
Messy hair business

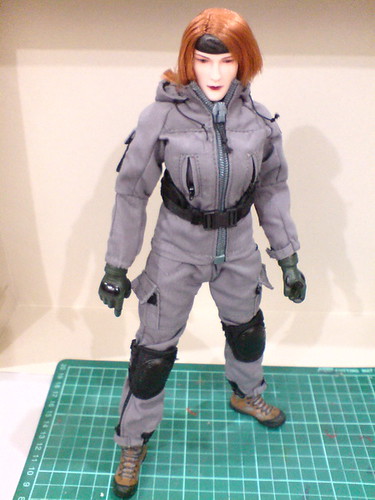
Still focusing on the plain, straight-out-of-box form of ZCGirl's 1/6 Sniper Muriel Black Ver. after the introduction in the previous posting. ^^


Friday, September 19, 2014

System Base 001 Part 4

A more normal chapter from the plamo work log

Adding in more paints to selected parts from System Base 001, after starting off with silver in the previous posting. ^^


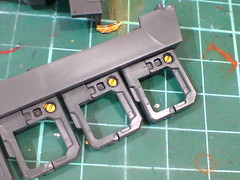
Minor screw-like details on all the parts are painted gold using Gaia Metallic Color No. 122 Star Bright Gold.

Thursday, September 18, 2014

System Base 001 Part 3

Plamo bath time

The even more laborious work on System Base 001 is up next, after the putty work in the previous posting. ^^


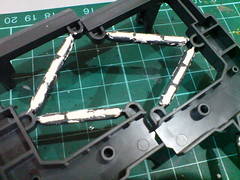
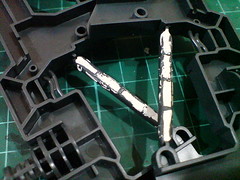
Larger chucks of hardened putty is been shaved off the pipes using a pen knife.

Wednesday, September 17, 2014

System Base 001 Part 2

Bring in the toothpaste

The more laborious part of the work on System Base 001, according to my plan, begins with this posting. ^^

Before that, excessive Tamiya panel liner paint on all the parts from the panel lining applied in the previous posting needs to be wiped away using thinner-soaked cotton swabs first.


Some paint work has been planned for some of the parts, so I'll be revisiting some of the details to reinforce them with normal panel liner. ^^

System Base 001 Part 1

One super large part after another

Reviewing another unique plamo kit this time, after King Exkaiser from Kabaya's Brave Legend Brave Gum shokugan set in the previous posting. ^^ Not a mecha on it own, but it's mighty useful to support other completed model kits, and action figures. ^^

Saturday, May 3, 2014

BB Senshi Sangokuden Kochu Gundam Part 5

Returning the sensor

The last round of painting and detailing on BB Senshi Sangokuden Kochu Gundam after the previous posting. ^^

Quite a bit of additional work is planned for the sensor part of Ryuurin Gouretsukyuu (龍燐剛烈弓) to realize new details on an otherwise all-white component. ^^


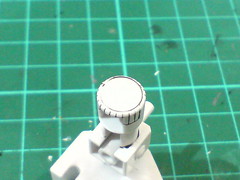
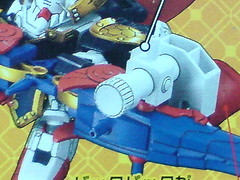
The white round spot that protrudes to the front is supposedly the main sensor of the giant crossbow I suppose, but with its blandness, it certainly doesn't look that way. ^^;


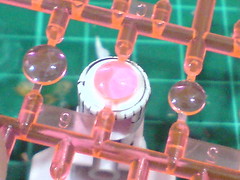
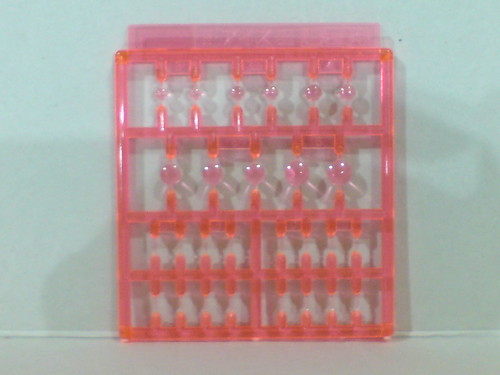
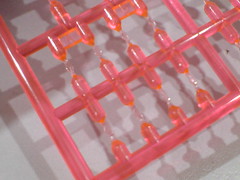
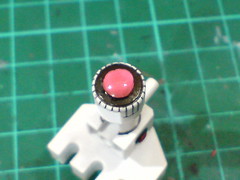
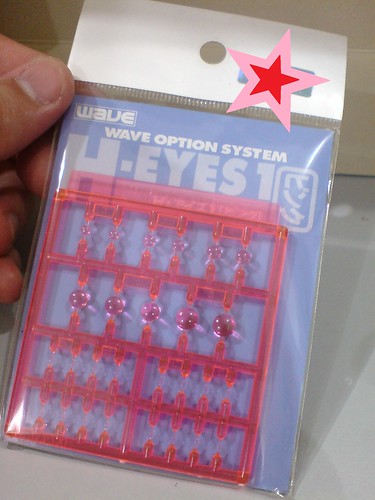
Clear pink part from H-Eyes 1 (Pink) from Wave can be used to realize the additional sensor. This is the largest piece on the runner, even though I would much prefer it to be bigger. ^^
The green type was previously used to realize the jewels on the weapons of Sonsaku Physalis Gundam and Tenshouryu Koumei Nu Gundam, as well as the targeting sensors on Master Grade Sinanju Ver. Ka's beam rifle and bazooka, so this would be the first deployment for the pink type. ^^


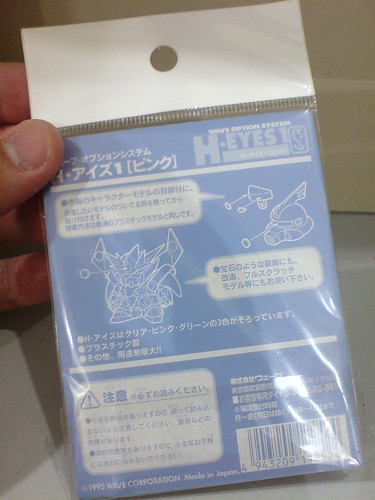
H-Eyes 1 (Pink) from Wave.


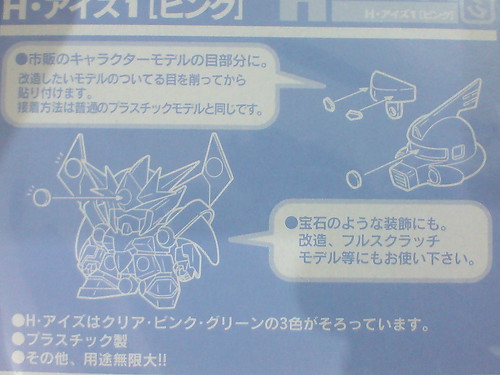
Simple instruction on the application of this option runner behind the package's backdrop.


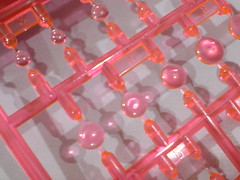
Round mono-eye pieces, and polygonal Gundam-type eyes of various sizes are included with the runner.
Besides the molded color of the entire runner, everything is exactly the same as H-Eyes 1 (Green).


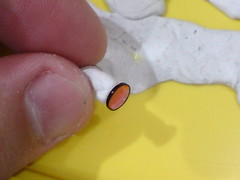
(Left) To create the "frame" of the scope, the edge of the scope is painted black using normal marker.
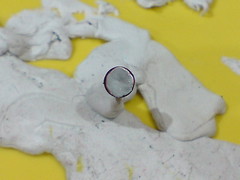
(Right) The underside is painted silver using Tamiya Enamel Paint X-11 Chrome Silver to give the scope a shiny base. ^^


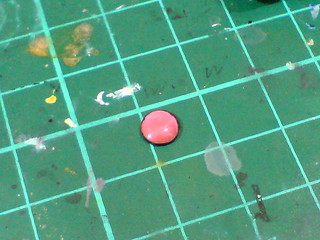
This is how the pink scope piece looks like from the top now.


(Left) Additional jewels (?) around the weapon part are going to be painted in the same way as the jewel on the V-fin (see Part 3), since their designs are pretty much the same.
(Right) The "frame" is painted black using normal marker first.


All the jewels are painted using Mr. Hobby GX202 Mr. Metallic Color GX GX Metal Red.


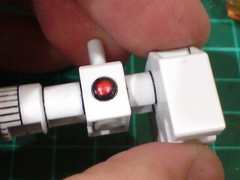
Back to the main sensor: the base is painted using Gaia Metallic Color No. 020 Gun Metal, before the pink scope piece is placed on top of it. Plastic cement is used to secure the connection.


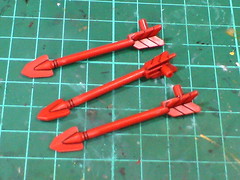
Simple panel lining for the three arrow parts, as well as the giant backpack.


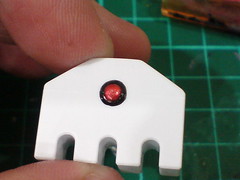
A tiny jewel on top the backpack is painted with Mr. Hobby GX202 Mr. Metallic Color GX GX Metal Red.


Refinement for the two giant Ryuurin Gouretsukyuu blocks painted in Part 3.
Sharpened toothpick is used to scratch off spilled red paint in some of the tight corners of the parts.


Closeups on the panel lined wings and dragon head.


Refinement for the rear side of the two parts.
Tamiya's Panel Line Accent Color (Black) is used to highlight the details deep inside the parts.


With excess panel liner paint wiped away using cotton swab soaked with enamel thinner.


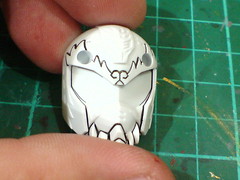
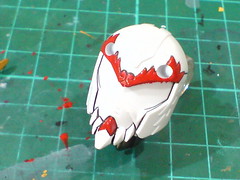
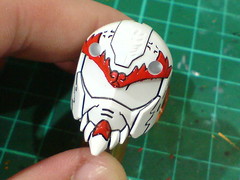
Panel lining for the helmet and head parts.
"Circling" all the tiny rivets one by one is a repetitive but rather fun process. ^^


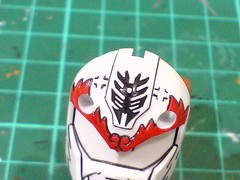
Apart from the goatee, the "eyebrows" of Kochu Gundam are also painted red (using Gaia Color No. 003 Bright Red Gloss) to give him a more striking appearance when assembled in the future.


The rest of the face details are panel lined using normal panel liner.


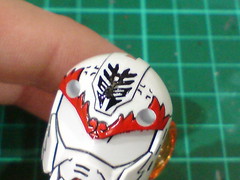
(Left) Tamiya's Panel Line Accent Color (Black) is used to outline the character's family name on the forehead.
(Right) The character can be fully seen after excess panel liner paint around the area is wiped away using cotton swab soaked with enamel thinner.


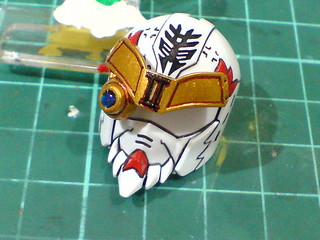
Test fitting the painted parts to see how Kochu Gundam's face would look like with the option sensor unit (see Part 3) attached to it. ^^

Done with the head, the entire work on Kochu Gundam is finished. ^^ Despite having a heftier package than most other kits from the same line as mentioned in Part 1, the overall work is not too difficult in my opinion, especially with comparison to Koshin Gyan completed in early March, and Sonshaku Physalis Gundam in November last year. The lack of curvy ornaments on its armors certainly helps with the reduction in paint work difficulty I believe. ^^

Anyway, all the parts will be kept in its box for a while before the final assembly. ^^