Continuing with the work on 1/72 Transformable VF-25S Super Messiah Valkyrie Ozma Lee's Unit after the previous posting. ^^
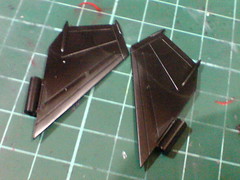
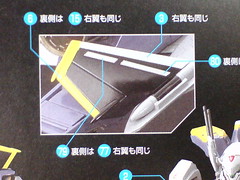
The rear edge area of the vertical stabilizers are going to be painted.
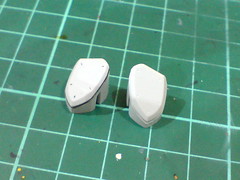

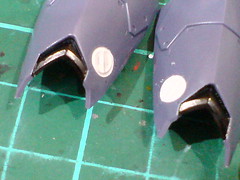
Another pair of parts requiring yellow paint identified: the lower side of the caps above the hip armors (from the Super Pack).
As shown on the instruction manual, marking seals in the form of waterslide decals and clear stickers are given for these parts, but given the projected difficulty of setting the seals onto non-flat surfaces, I opted to paint the targeted area instead.

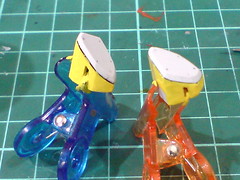
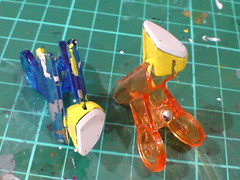
The vertical stabilizers and armor caps were painted using Mr. Color GX 4 Chiara Yellow.
The amount of paint applied to the armor caps exceeds what's needed for that area I believe. ^^;
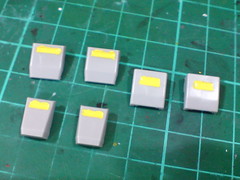
Another bunch of parts not shown earlier on that were selected to be painted alongside the previous four parts were the sunken bars behind the hand armors.
Unlike the previous four parts, these hand armor parts were painted because the work seemed simple. ^^

The front edge on the vertical stabilizers were painted using White Surfacer from Mr. Hobby first, then Gundam Marker White to realize the intended colors for that area.
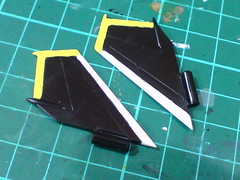
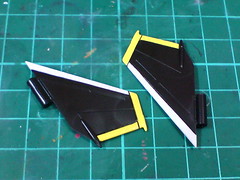
(Left) Excessive white and yellow paints that crossed over the "borders" ^^ (molded lines between the edges and the fin plates) were scratched away using a knife.
(Right) Panel lines added to sharpen the details between the painted and unpainted areas.
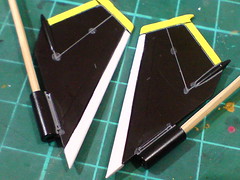

(Left) The minor line details on the black area of the fins were added using Tamiya's Panel Line Accent Color (Gray).
(Right) With excessive panel liner solution wiped away using cotton swab soaked with enamel thinner.
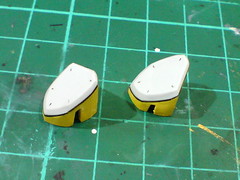
Normal panel liner was used to realize the line details around and on top of the two armor caps.
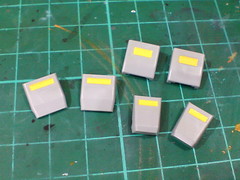
Excessive paint behind the hand armors were simply scratched away using a knife.

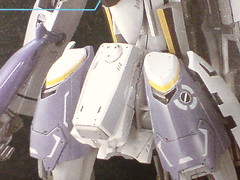
A much simpler paint work as compared to the rest as shown earlier on: small sunken areas on top of the hip armors (from the Super Pack) should be in black.
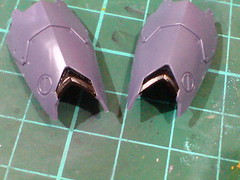
The small-sized targeted areas were painted using Gundam Marker Black.

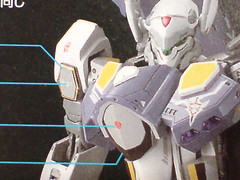
The minus mold details on top of the armors, plus a protruding pentangular area above the chest armor (from the Super Pack) need to be painted white.

The targeted areas were painted using White Surfacer from Mr. Hobby first, then Gundam Marker White.
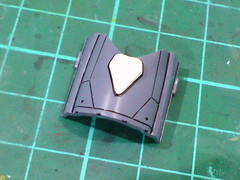

Excessive white paint on the chest armor was scratched away using a knife. Panel lines were added using a combination or normal panel liner and Tamiya's Panel Line Accent Color (Black).
As such an obvious armor part to be seen on the completed model, the detail treatment on it is definitely crucial. ^^
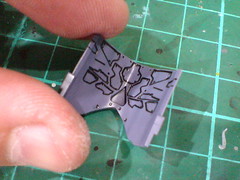
The elaborate molded details behind the armor part were panel lined as well.
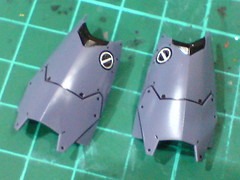
(Left) For the minus mold details on the hip armors, only excessive white paint that went beyond the sunken molded lines were scratched away using a knife. The rest can be covered up using panel lines drawn on top.
(Right) Panel lines applied to the entire part.
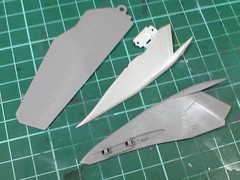

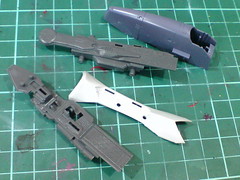
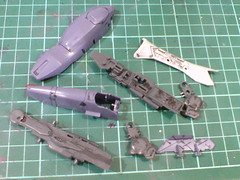

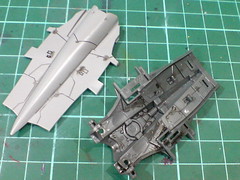
Mass panel lining on various parts using Tamiya's Panel Line Accent Color (Black). ^^
After going through crazy molded details on some of the parts, I'm glad that I've obtained and started using Tamiya's Panel Line Accent Color (Black) before beginning the work on this Macross kit. ^^; Many of the details are not only extremely intricate and elaborate, they are molded in areas that would be a challenge for normal panel liner to reach. ^^; That doesn't mean that the more "conventional" panel lining method I use isn't needed for this kit though. Working through the parts, I also identify quite a number of them in which my usual panel liner would be of great service to realize the parts' details. ^^
On the other hand, the sheer amount, and very interesting design of the details do make me look forward to the actual assembly process to find out how they would look on the completed model even more. ^^


No comments:
Post a Comment