It just occur to me, looking at the list of previous postings for the past few months that there were very few reviews on cuties. ^^; I do have a few in my collection pending for appearance on this blog, so I thought why not start on one to change the mood of blog a bit, which has been all about model kits for quite a while now. ^^;
It's more like clearing out reviews on some of the older items. ^^; Starting with her:
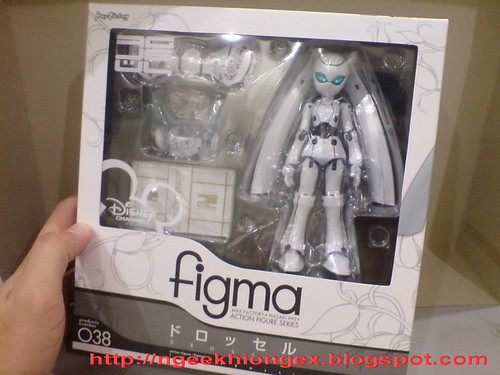
Max Factory's Figma Drossel.
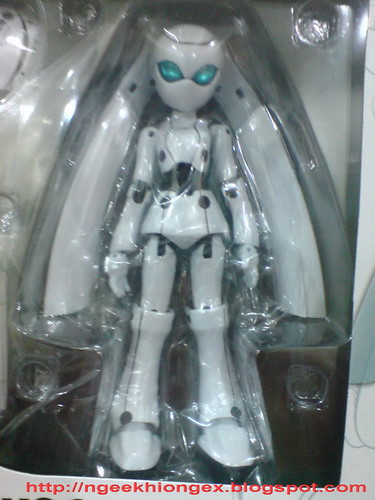

Like many of my other purchases, I bought this action figure without knowing what series she originated from. That's kind-of "common" for me, ^^; since I don't watched a lot of anime that are outside the mecha genre (even that, I must say there are quite a number of really popular or classic ones that I haven't seen). Sometime I only know certain characters from publicity (trailers, teaser, commericals and others) or when other fans blog about them. Story-wise, no. For the Figma series, you can be sure that plenty of the characters released in the past are beyond my knowledge. ^^;
With that said, I only know the details about Drossel after looking up on the character from websites and digging up video clips of her. From the CGI series "Fireball", Drossel, or Drossel von Flügel, or the really awesome full name Drossel Juno Vierzehntes Heizregister Fürstin von Flügel (from Wikipedia) is a mecha princess of a massive castle set in a futuristic world. Each episode in the series is extremely short - less than 2 minutes each. So for the entire series of 13 episodes, you can storm through that in half an hour. XD
The entire series is very much about the interaction between Drossel and his robot servant Gedächtnis on very random topics, which are supposedly lighthearted jokes that you would either understand, or maybe not ^^; Even more random than "Cromartie High School", another really funny anime shorts series that I watched and enjoyed very much, and that's the really fun thing about "Fireball" and Drossel. ^^
My favorite episode is Episode 1, where Drossel finds out the lighting function of her eyes.
Video clip is from Youtube. Follow this link to the website if you can't see anything.
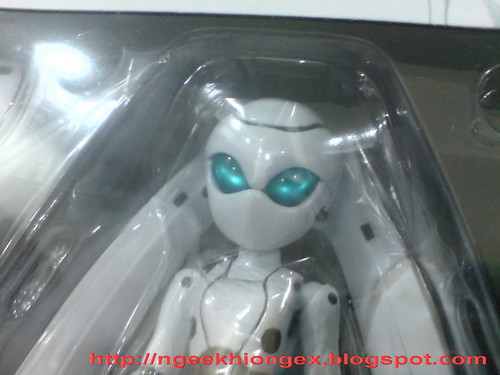
For me, without watching, or even knowing "Fireball", I find the design of the character extremely appealing. ^^ The overall white color scheme is very simplistic, yet very nice to see. ^^ I'm also attracted to the very beautiful clear blue eyes of the figure. On top of that, the nifty design point of Drossel that I like very much is those artistic deco printed on some of her extra equipments. Those are some really elegant details that aren't common on robot design.
Then again, after you watched through the series, elegance is not exactly the right word that can be used to describe Drossel I'm afraid XD

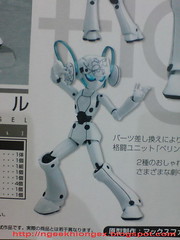


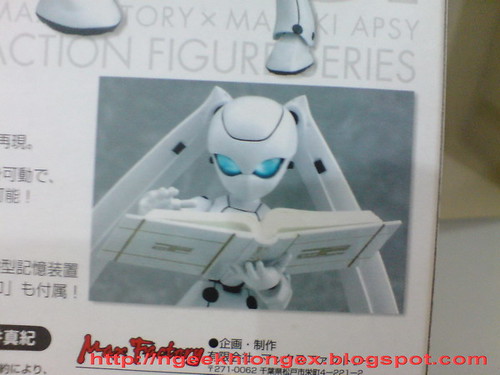
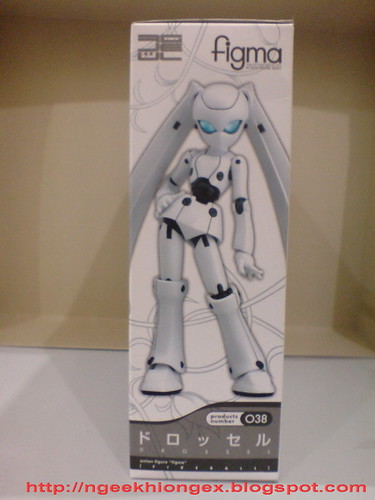
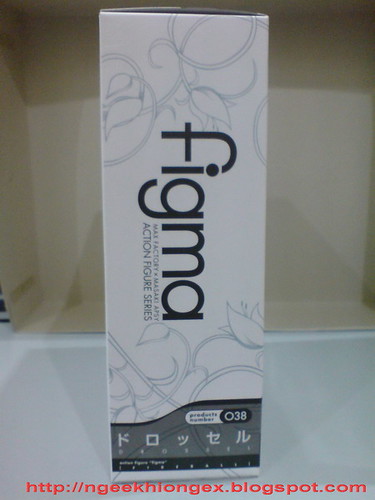
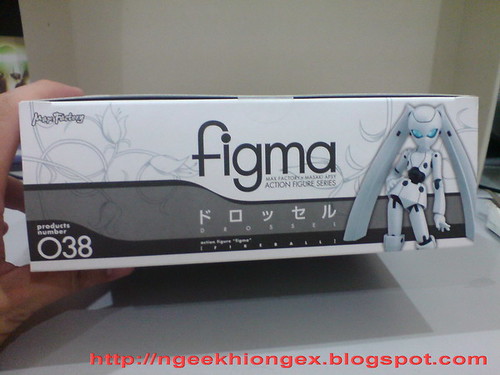
Package design follows the same simplistic color scheme and artistic flowery deco of Drossel.
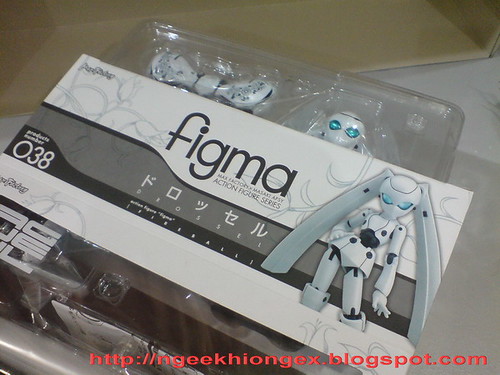
Box open.

Backdrop is the castle Drossel lives in, which is featured as the opening and closing credits of each episode in "Fireball".

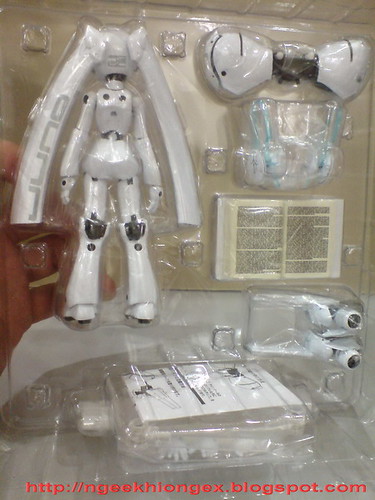
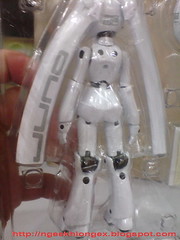

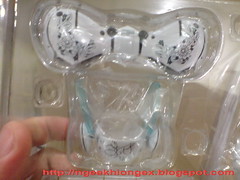
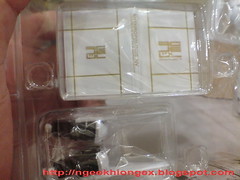
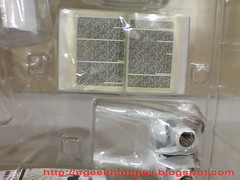
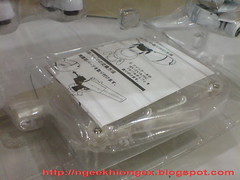
Comes with instruction manual on how to attach some of the accessories onto the figure.
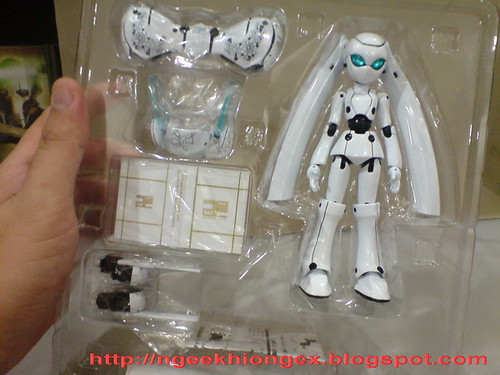
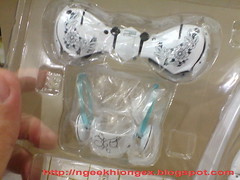
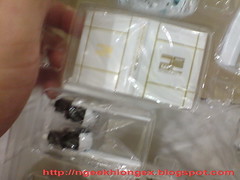
All the accessories have their own plastic packaging on the tray.
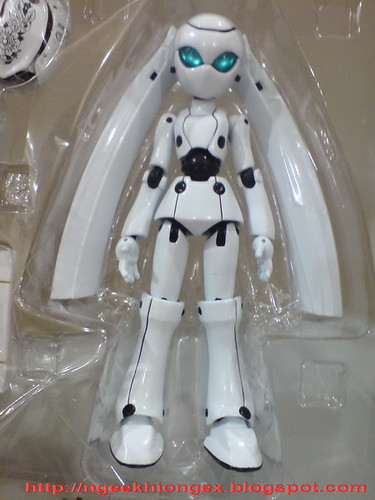
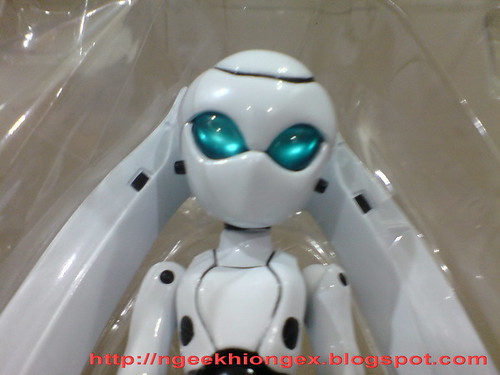
Very beautiful eyes. ^^
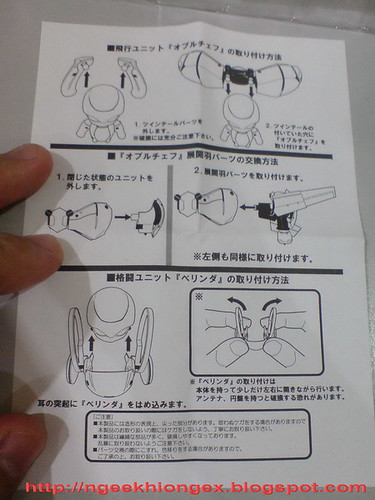
The manual.
Drossel off the box and a look at the different accessories in the next posting.







 Posts
Posts


