It's been almost one month since I last worked on MG Infinite Justice Gundam. Time to resume. ^^
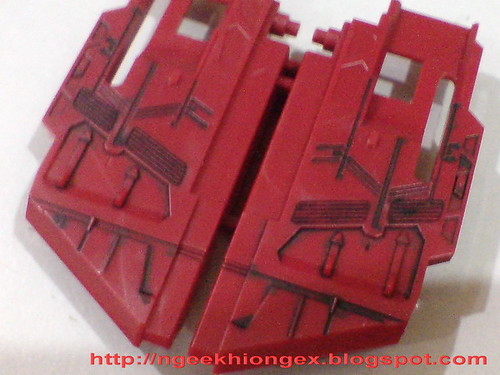
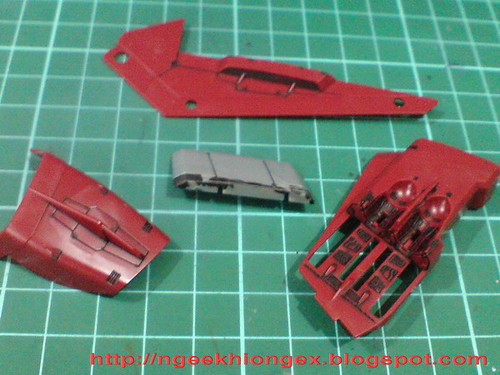
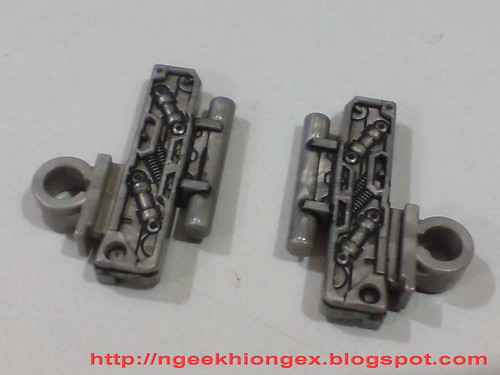
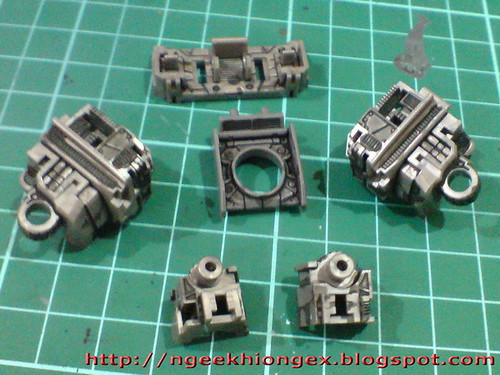
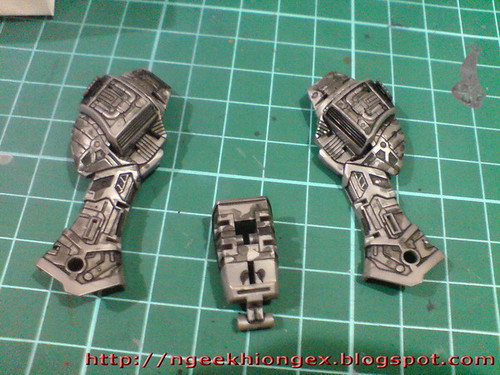
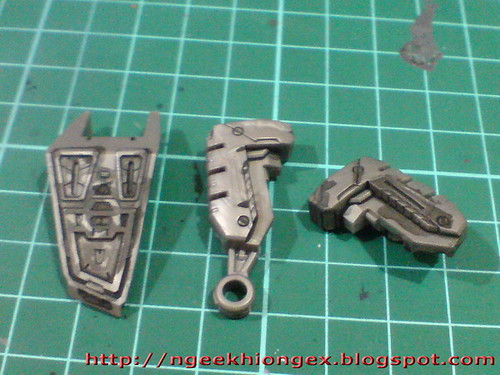
One of great features of this MG kit, or rather Gundam SEED or SEED Destiny MGs in general is the excessive details on all its parts, especially the mechanical details of the inner frame or the interior of the armors. I've already decided not to panel-line the latter except for the ones that will be exposed on the completed model, but looking at the inner frame of this kit, I'm betting myself unable to finish everything in 10 months if based on the same method from the work on MG Gundam F91 or the earlier Destiny Gundam. ^^;
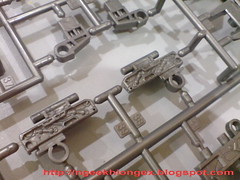

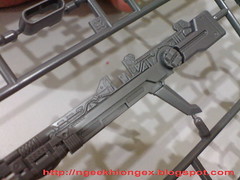

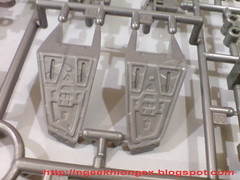
That's of course quite a discouraging thing to realize, so I'm going to try on something else this time to get around all the tiring panel-lining work.
The truth is, this is the actual method of panel-lining that you will find in most tutorials or guides. This is the original idea of panel-lining instead of my usual method of drawing the lines on every single piece of parts. In Chinese, panel-lining is 渗线 - literally "infiltrating lines". My usual method would be 画线 ("drawing lines") instead. ^^;
The tools used are:
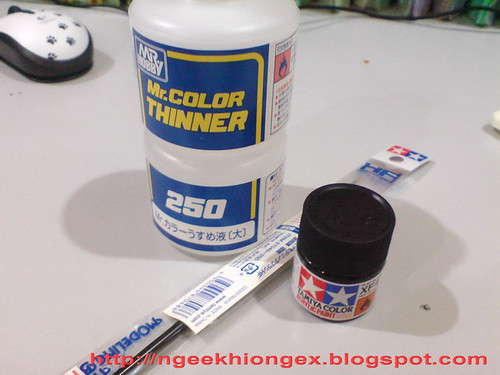
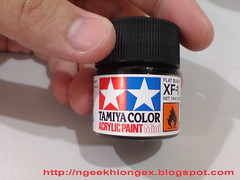
Tamiya Color Acrylic Paint XF-1
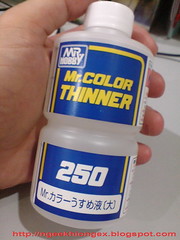
Mr. Color Thinner 250
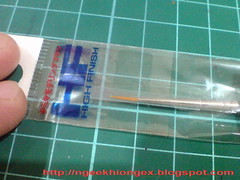
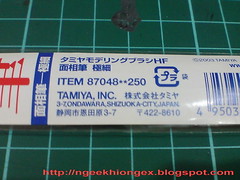
Tamiya Modeling Brush HF Super Fine
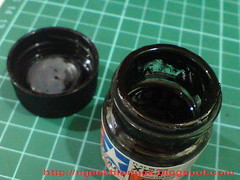
The idea is to dissolve the black paint with thinner, ...
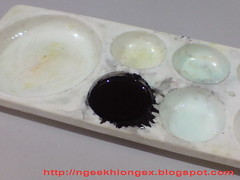
... and then land drops of paint onto the parts using the brush, basically letting the paint to run free on the parts and infiltrate the various details on them.
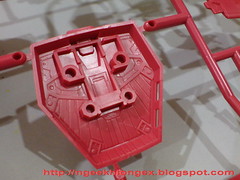
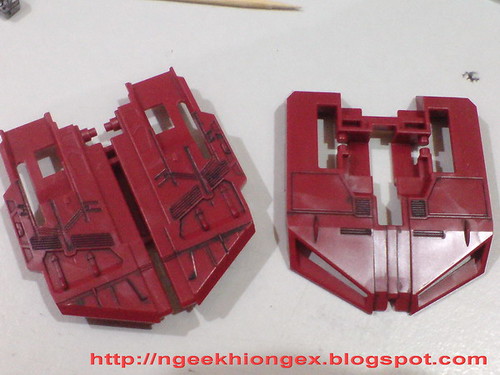
The result on one of the backpack parts:
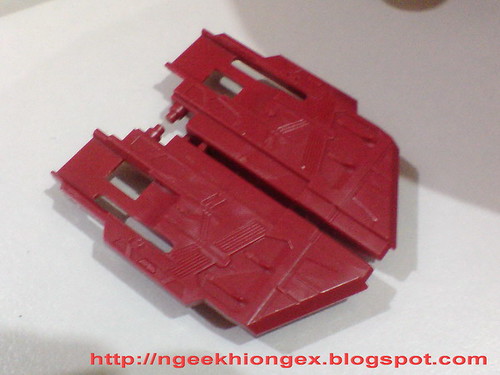
Before
After
Very simple, and it's super fast too. ^^ Most of the line details are taken care of very quickly, which would probably take quite a while if done otherwise - my usual method of drawing the lines one by one. ^^;
What come after this is to clean off the spilled over paint with cotton swap socked with thinner or just toothpicks.
While the method is very simple and fast - as you can see from how much details done above, there are quite a few drawbacks - maybe just for me though:
(1) To not waste the paint and thinner, I have to complete most of the parts, if not all of them in one go. This means quite a change to my usual method of modeling. ^^; I prefer the freedom of choosing a few parts to panel-line from time to time depending on my schedule (or mood XD). So it could be more parts done on one night, fewer on another night, vice-versa. For this particular posting, the work is still tiring for me, not from the amount of details to deal with, but to try to get as many parts done as possible to make full use of the paint. So, on the "tiring" part of the work that I'm trying to avoid as mentioned at the beginning of this posting, somehow I didn't get to enjoy that benefit anyway. ^^;
(2) The panel-lining work is easy, but cleaning up on the unwanted spilled paint is going to be quite a hassle. The controlled accuracy using a pen in my usual method of work is lost since there's no way to control the flow of the paint.
(3) From (2), cleaning up the paint must be completed in one go as well so that the paint won't dry off and become hard to clean with the cotton swaps. Ultimately, I believe I'll need to clean off the paint with toothpick instead since I couldn't finish all the parts done in this round.
On the other hard, the good thing about panel-lining in this style is that since it's done directly on the plastic parts - unpainted parts to be exact, the paint doesn't stick to the surface. I suppose that's all thanks to the glossy finishing on all the parts. So the paint would come off like cleaning dirt off glass windows. All the panel-lines would stay since they are deep in their valleys. Just the spilled over painted would be cleaned off.
In a way, that makes it manageable for me to not finish all of the panel-lined parts in one go. ^^ So the next few round of postings would be about my odyssey of cleaning up the parts and panel-lining some other parts that I didn't want to get done through this method and some parts. ^^


3 comments:
aha~ panel line wash. looks like it works using acrylic paint, yeah, unpainted kit but using enamel should be easier and cost effective, as enamel paint can be dissolved using zippo lighter fluid.
then again, as long as it works, any step or tips are useful ^^
wow. you are a god in terms of gundam modelling to me.
actually talking about the zippo lighter fluid, when using the gundam panel liner, 1 will get quite thick lines, but if use the zippo fluid on some cotton or tissue then wiped it on the surface after panel lining, it would give a thinner line finish
Post a Comment