Friday, January 3, 2014

1/72 Transformable VF-25S Super Messiah Valkyrie Ozma Lee's Unit Part 8

The most difficult parts to paint

Continuing with the work on 1/72 Transformable VF-25S Super Messiah Valkyrie Ozma Lee's Unit after the previous posting. ^^
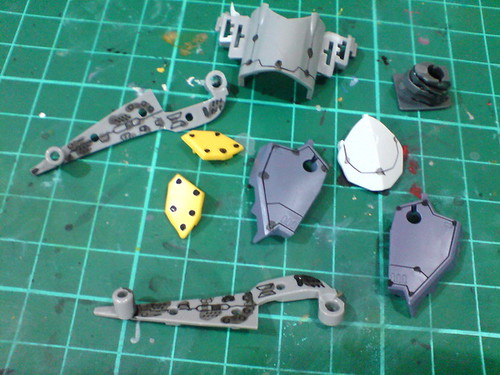

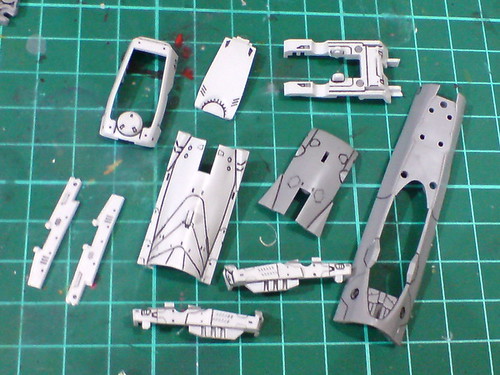
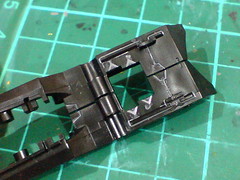
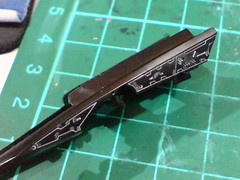
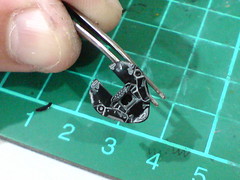
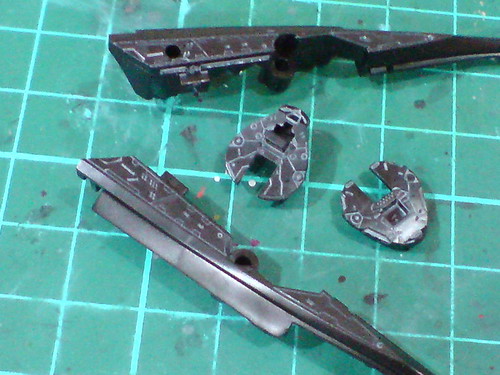
Tamiya's Panel Line Accent Color (Black) used on additional body parts that aren't grouped with the fuselage (detailed in the previous posting).
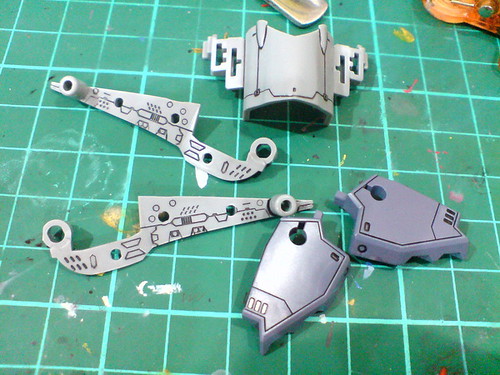

With excessive panel liner paint wiped away using cotton swab soaked with enamel thinner.
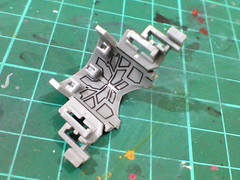

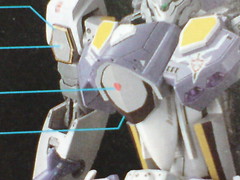
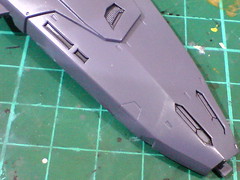
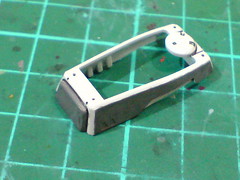
(Left) Like the Super Pack chest armor detailed in Part 4, the details behind the Valkyrie's own chest armor were panel lined as well.
(Right) The elevated details behind the neck part looks pretty interesting. ^^


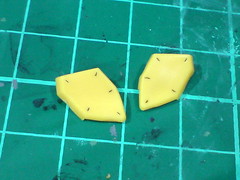
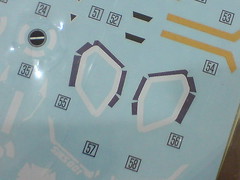
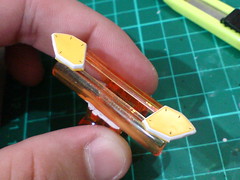
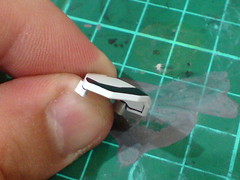
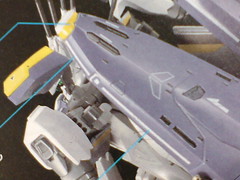
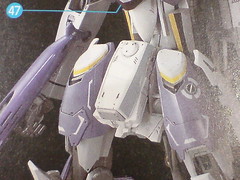
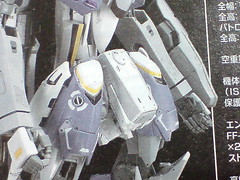
The two yellow panels above the Super Pack chest armor have white and gray stripes around the parts. Given the size, and sharp corners of the parts, it won't be easy to wrap the marking seals around them to realize the details.


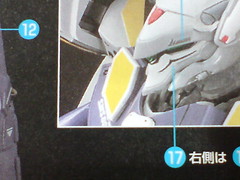
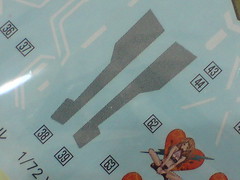
Since the chest panels' stripes aren't clearly shown in the instruction manual, the marking seals for the parts prove to be more helpful in indicating their colors. ^^;


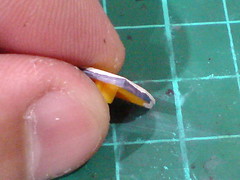
All six sides on each yellow panel were painted white using Gundam Marker.


When the paint has dried, excessive white paint on top the panels was scratched away using a knife.


All except the two forward-facing sides were painted using Gundam Marker Mecha Gray.
The paint work was really difficult given the parts' small size, compounded by the fact that there's no clear border between the two stripes. ^^; Just make sure it's straight and roughly half in width on the side you're painting on" was the guideline I set for myself for the paint work. ^^;


(Left) Almost unavoidably, one or two sides' paint result didn't turn out well. ^^;
(Right) The excessive bit of mecha gray paint spilled over onto the white stripe was scratched away using a knife, but that cause tiny bits of white paint to be chipped off as well. ^^;


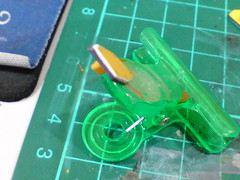
The areas with chipped white paint is "corrected" by painting another layer of white stripe on top of the original one using a sharpened toothpick. ^^


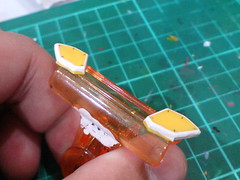
Test fitting the painted parts to see how the chest panels would look like when the parts are assembled. ^^
The lighter base color of the parts, and simple detail design were perhaps the motivations behind my decision to go ahead and paint the details, as compared to the shoulder armor parts (Part 6) in which the opposite decision was made. ^^


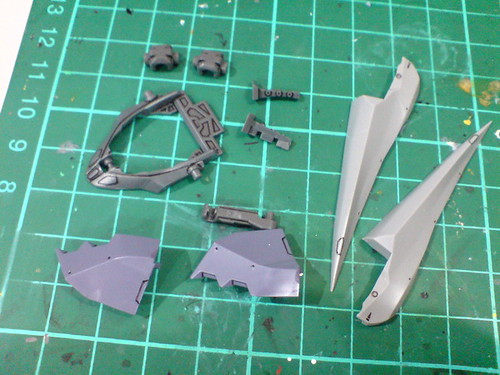
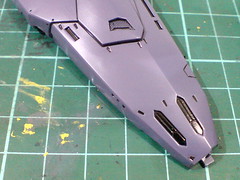
Simple panel lining for some of the other body parts.


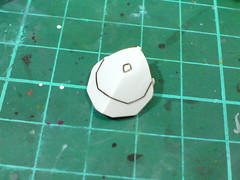
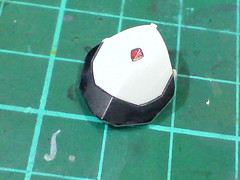
The chest plate also have details, in red and black that can be realized without using the marking seals provided. ^^


(Left) The red diamond was painted using normal sharp-tipped marker, while the black area was from Gundam Marker paint.
(Right) Excessive black paint around the edges of the part was scratched off using a knife.


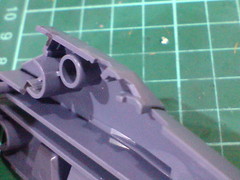
Referencing the components on the instruction manual, the micro-missile ports, and vents (?) on the Super Pack booster units should be painted black.


The targeted areas are painted black using normal marker.


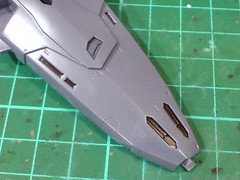
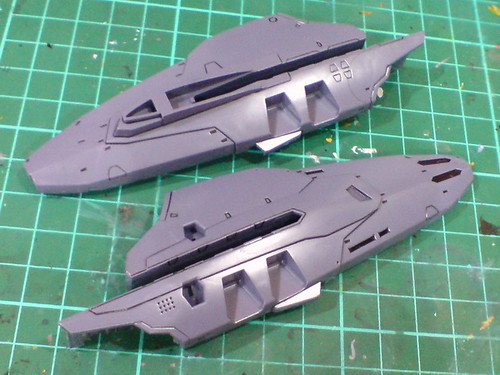
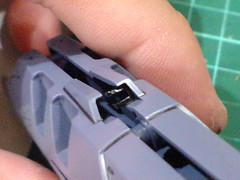
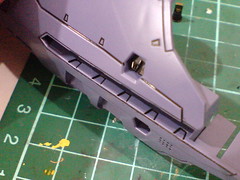
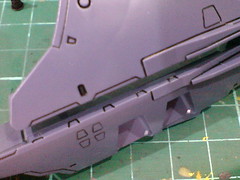
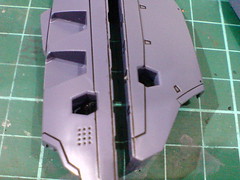
Despite their size, the two booster unit parts feature relatively simple details that weren't difficult to panel line. ^^


Line details in tight corners were realized using both Tamiya's Panel Line Accent Color (Black) and normal panel liner.


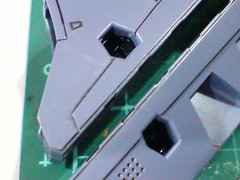
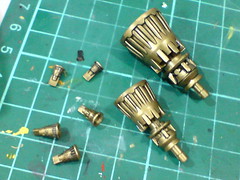
All the ports on the two parts are going to be painted black to simulate depth inside them.


The ports were painted using black whiteboard marker ink.


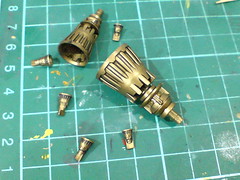
(Left) Tamiya's Panel Line Accent Color (Black) was used to realize all the thruster nozzles' exterior details with ease. ^^
(Right) With excessive panel liner paint wiped away using cotton swab soaked with enamel thinner. Some of the more obvious molded details were redrawn using normal panel liner.
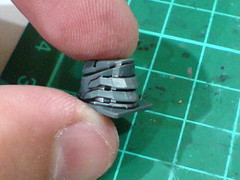

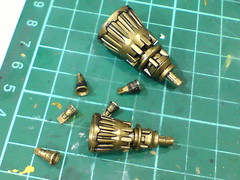
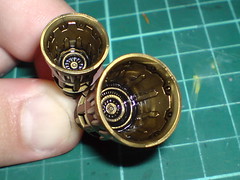
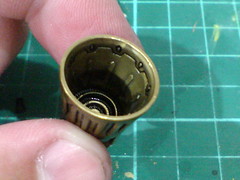
Tamiya's Panel Line Accent Color (Black) proved to be a crucial tool to realize the interior details of the thrusters, which are much more elaborate than that outside the parts. ^^
Normal panel liner was used to draw the line representing the outermost ring.


The panel line and paint work was repeated for parts of the other booster unit and thrusters. ^^

Done for the body's and main booster units' detailing, only parts of the head, and dorsal thruster remain before the entire work on this Macross kit is done. ^^

Thursday, January 2, 2014

1/72 Transformable VF-25S Super Messiah Valkyrie Ozma Lee's Unit Part 7

Another glorious panel lining day

On the second day of 2014, the business with 1/72 Transformable VF-25S Super Messiah Valkyrie Ozma Lee's Unit carried forward from last year continues. ^^

Much like Part 6, panel lining is still the main focus for this batch of detailing work on various selected parts from the kit. ^^


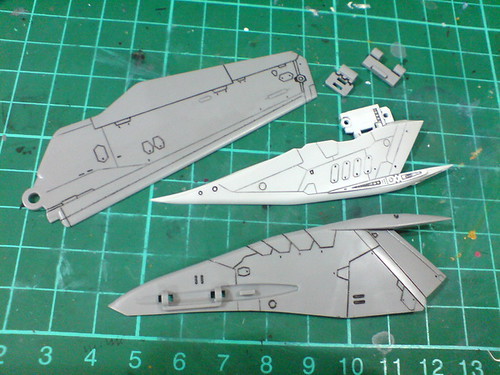
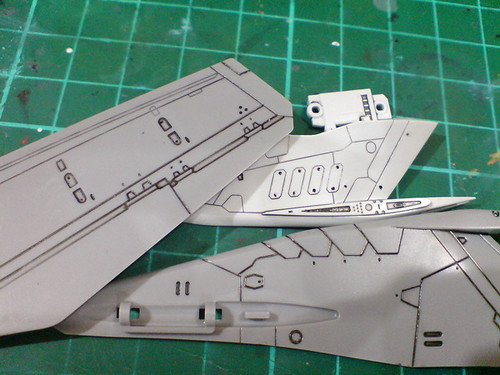
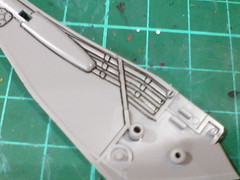
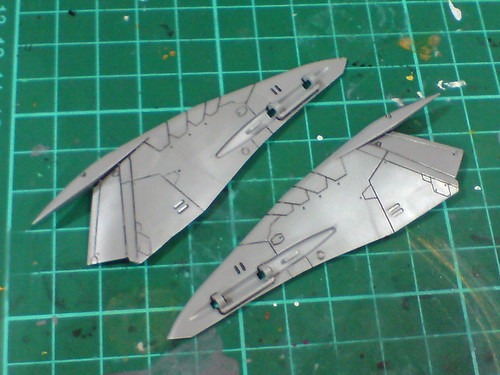
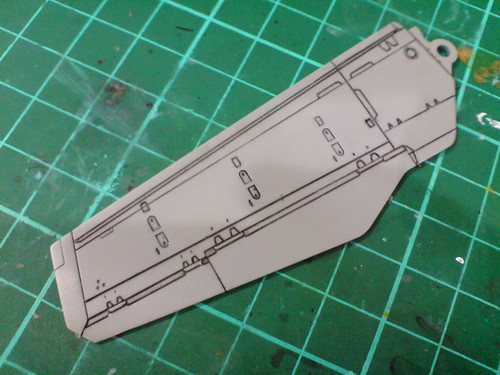
The super-fine details in front and behind the wing, and those on the two wing compartment parts were done using a combination of Tamiya's Panel Line Accent Color (Black) and normal panel liner.


Between the thin and thick lines, which are the ones from Tamiya's panel lining solution, and which are the ones from normal panel liner should be easy to differentiate I suppose. ^^


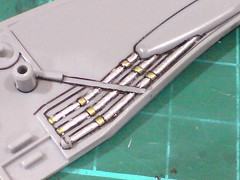
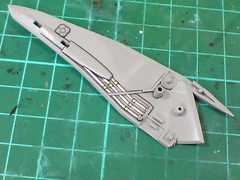
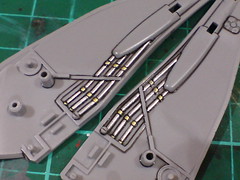
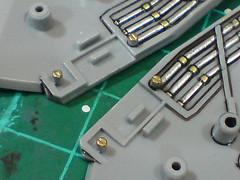
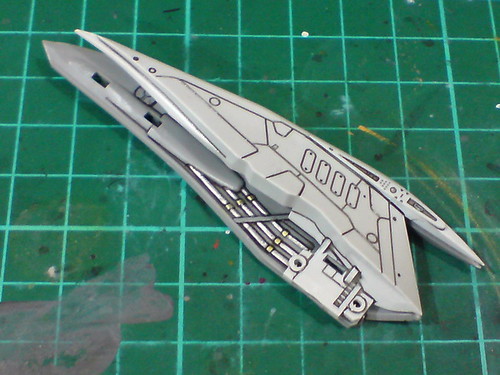
A couple of pipes behind one of the wing compartment parts were painted gold and silver using normal pens.


The paint work is repeated for the same part from the other wing.


Excessive gold and silver paint from the work is scratched away using a sharpened toothpick. The more minor spilled paint is covered up by redrawing the panel lines around the pipes.


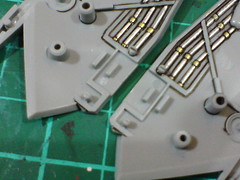
Referencing the components on the instruction manual, each of the wing compartment parts have two protruding pins that can be seen on the completed model. They are small-sized but still notable details not to be missed. ^^


The tip of the pins were painted gold using Gundam Marker to highlight the details.


Panel lined the top side of the two wing compartment parts.


Much of the line details realized using Tamiya's Panel Line Accent Color (Black) on the other wing part was unfortunately wiped away together with the intended excessive panel liner paint. ^^;


Normal panel liner was used to show the details on the wing, and the other wing compartment part.


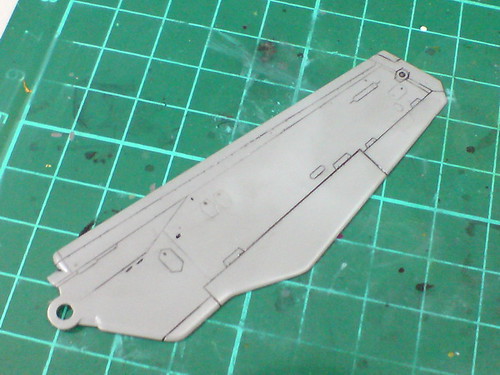
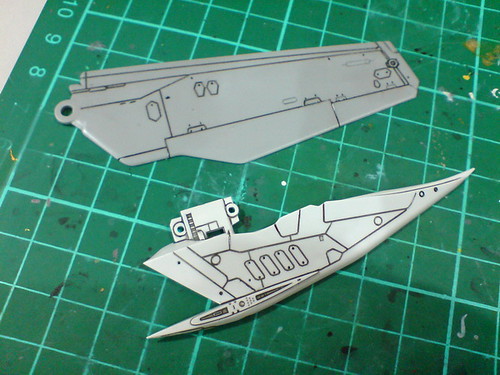
Details on the other face of the wing.


Test fitting the detailed parts to see how the completed wing compartment would turn out when assembled. ^^


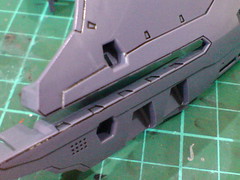
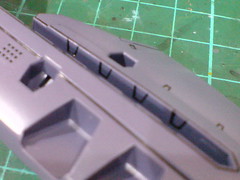
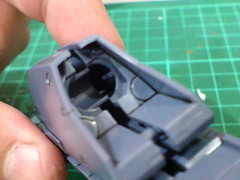
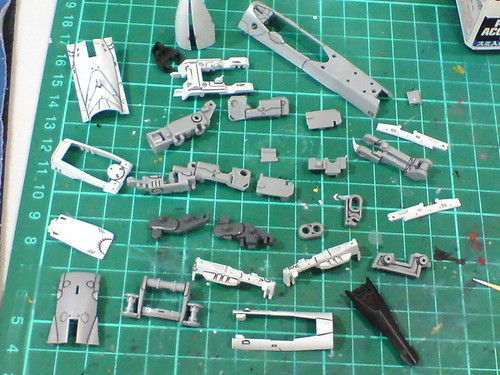
Panel lined the fuselage parts.


Fuselage parts with the most elaborate of molded details.


Realizing that there are elaborate molded details on some of the black parts, and that they cannot be seen clearly with black panel lines, Tamiya's Panel Line Accent Color (Gray) was used to realized the details.


With excessive panel liner paint wiped away using cotton swab soaked with enamel thinner.


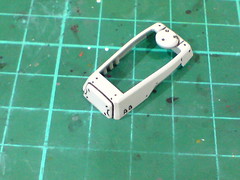
Found out that the crotch piece has three sides that should be painted gray after the part was panel lined. ^^;


Referencing the component on the instruction manual.


Marking seals are given for the part, but since there'll be quite a lot twisting and turning involved for it during Gerwalk to Battroid mode transformation, and the fact that the paint work itself seems relatively simple (^^), I decided to paint the gray stripes.


(Left) Painted all three targeted spots using Gundam Marker Gray.
(Right) The bottom edges were painted as well to give the gray areas a more complete look when it's viewed from different angles when the model is assembled later on.


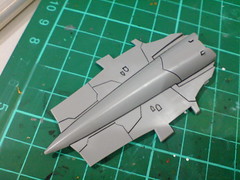
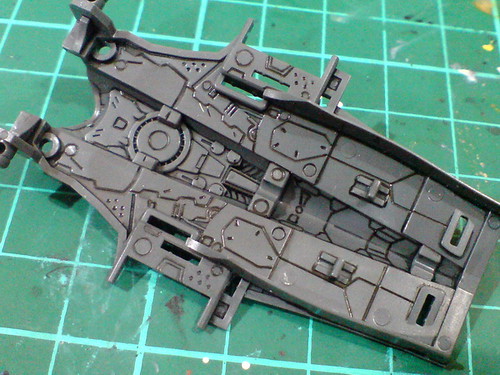
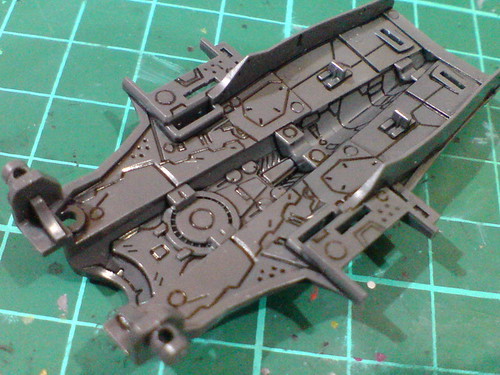
(Left) The back part, one of the largest single-piece parts in this kit feature really simple line details, ...
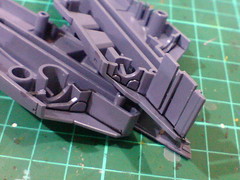
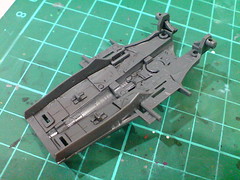
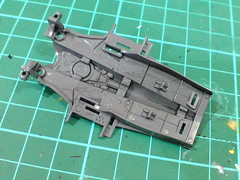
(Right) ... but its corresponding inner frame part has undoubtedly the most elaborate molded details for a single-piece part in this kit. ^^


Tamiya's Panel Line Accent Color (Black) was only helpful for a few deep slits, Majority of the details don't take the panel lining solution well because of the part's ABS quality, and that they are situated on a rounded surface.


A glorious plamo piece for those who enjoy drawing line details onto parts using normal panel liner. ^^


Despite the hard work, the level of details on the part is simply amazing to behold. ^^

While the number of parts involved is lower than that in Part 6, the amount of panel lining is the same if not more I think. The back's inner frame part alone contains more line details than some of the arm and leg parts combined. ^^

Will move on to the Super Pack parts next. ^^

Wednesday, January 1, 2014

Random (87)

Happy 2014!

http://farm9.staticflickr.com/8077/8332755652_d53082950c_z.jpg

Enjoy your holidays and hobby. ^^