Counting down to the arrival of the new year, but it's still too early to call the work on 1/72 Transformable VF-25S Super Messiah Valkyrie Ozma Lee's Unit done. ^^;
As the title suggests, panel lining the parts is the main focus of this posting. ^^
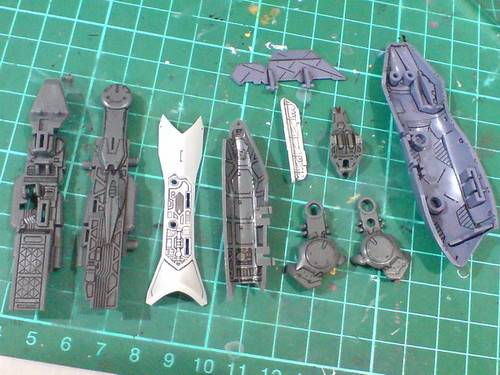
From the previous posting, excessive Tamiya panel liner paint on the leg parts was wiped away using thinner-soaked cotton swabs, before some of the more outstanding line details were redrawn using normal panel liner.
Details on parts with smooth, curvy surfaces that cannot be realized properly using the Tamiya panel liner solution were drawn using normal panel liner as well.
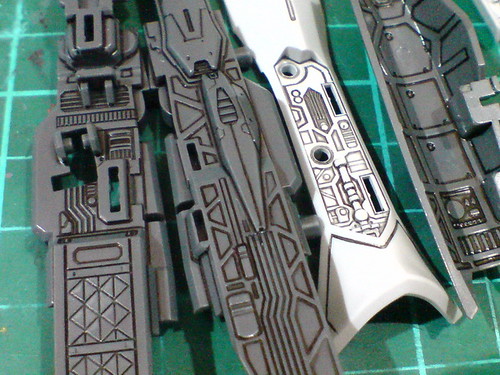 ^^
^^A closer look at some of the most intricate molded details on a few selected leg parts.
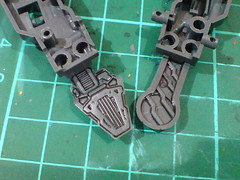
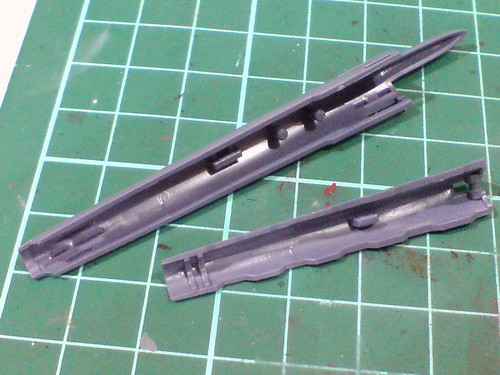
Elaborate details behind the leg frame's part were panel lined as well.
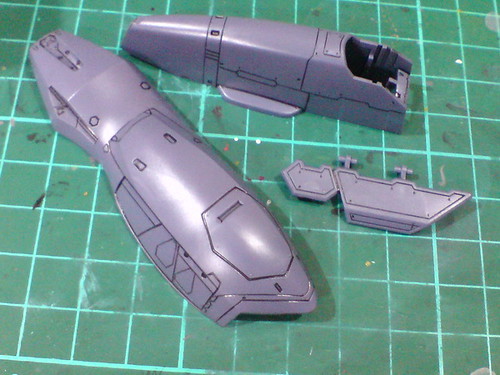
Details on the three Super Pack parts of the leg were done using a combination of Tamiya's Panel Line Accent Color (Black) and normal panel liner.
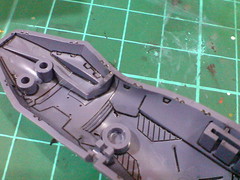
To address the difficulty of reaching into some of tight corners, Tamiya's Panel Line Accent Color (Black) was used to realize most of the details behind the main armor part.
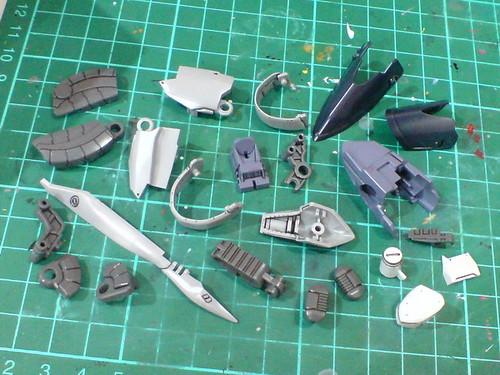
Panel lining for the other leg parts which feature fewer or simpler details on each of them. ^^
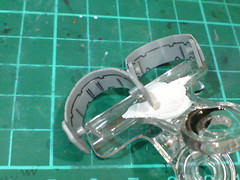
Following the curved surface to panel line the details behind the ankle and heel guards was quite a challenge. ^^
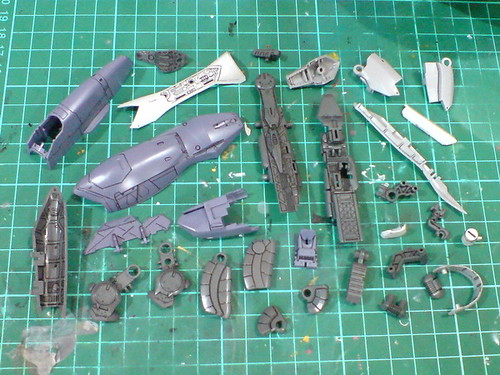
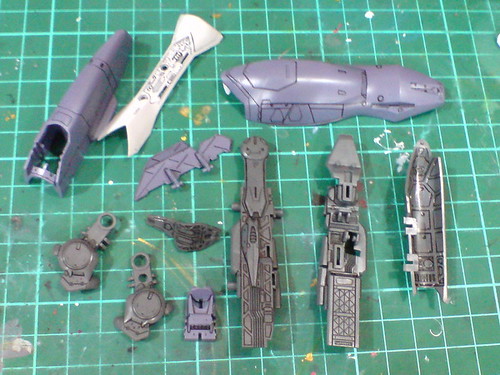
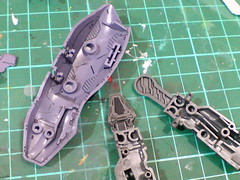
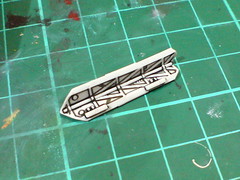
The same panel line work was repeated for parts from the other leg. ^^
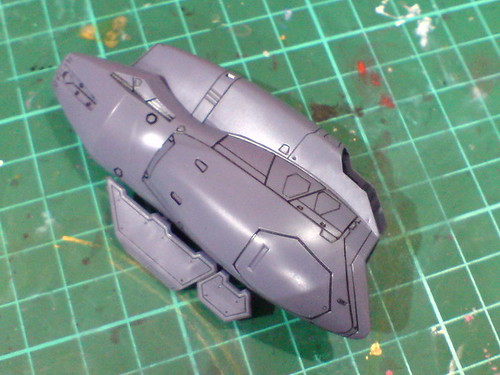
Test fitting the Super Pack parts to see how the leg armor would turn out when assembled. ^^
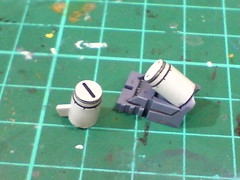
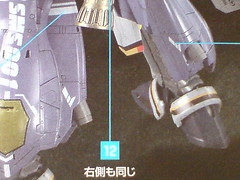
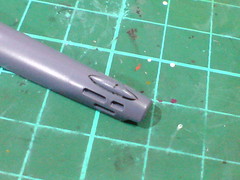
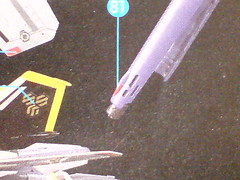
Looking at the completed model shown on the manual, the pair of cylindrical caps on the calves should be painted in gray, but I like the line details on them so much (especially after going through the trouble of drawing the lines onto the parts ^^;) that I decided to omit the paint work so that the details can be seen more clearly. ^^
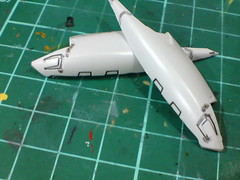
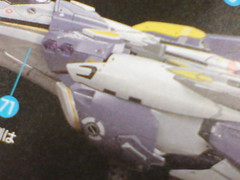
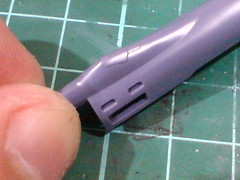
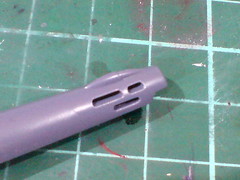
Referencing the components on the instruction manual, three slits on each side skirt armor part should be painted black.
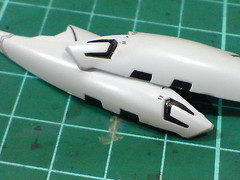
The targeted areas were painted using normal sharp-tipped marker and panel liner.
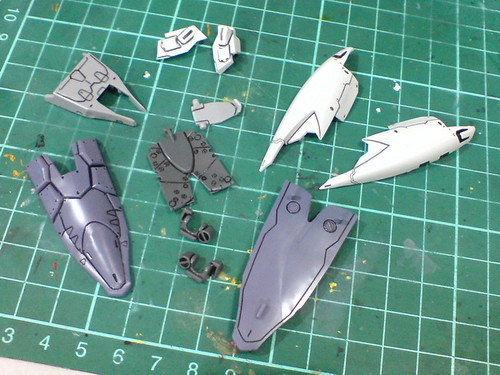
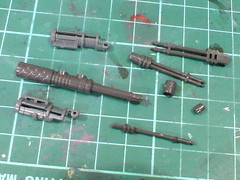
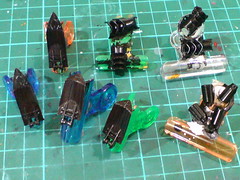
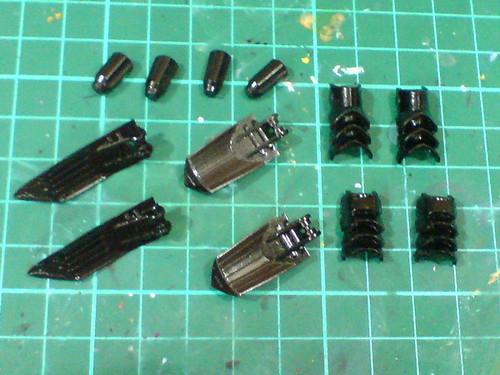
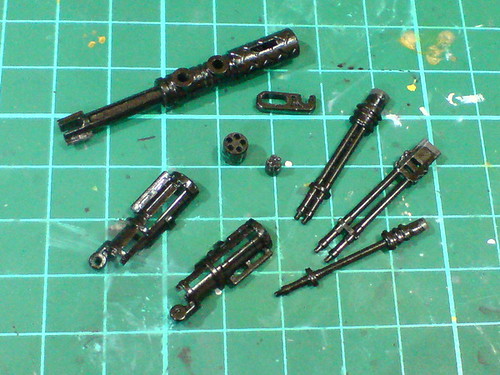
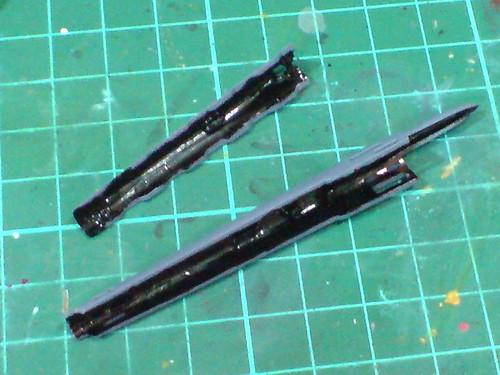
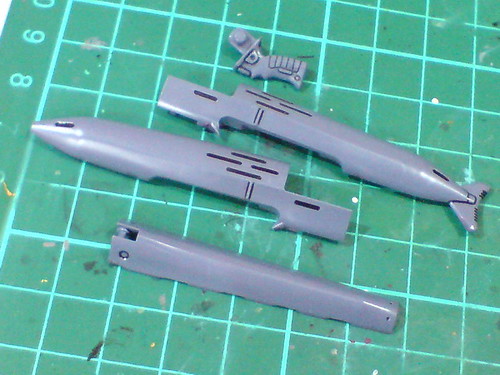
Panel lined the shield, missile pod, and side skirt armor parts.
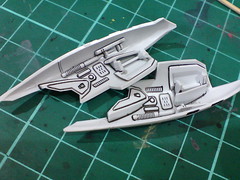
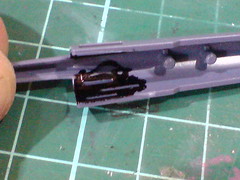
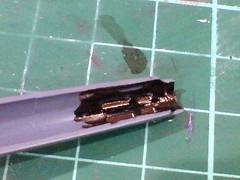
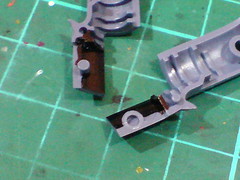
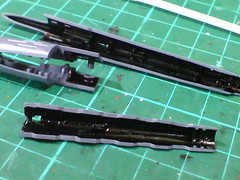
The elaborate details behind the side skirt armor parts were done using a combination of Tamiya's Panel Line Accent Color (Black) and normal panel liner.
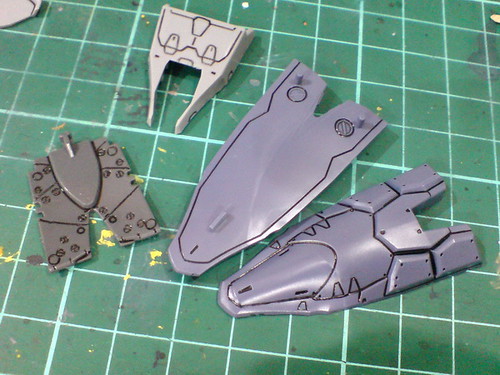
The shield parts.
The "original" shield - the part with the flat surface should be in light gray following VF-25S Messiah Valkyrie's main color theme. It's actually a new part appended with pegs and tab to mount the extra Super Pack armor, which is why its color was changed in the first place. I don't feel that the color is obtrusive, so I decided to leave the shield unpainted. ^^
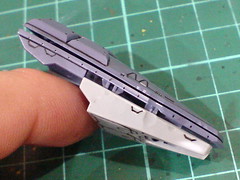
Test fitting the parts to see how the completed shield would turn out when assembled. ^^
Molded details on all sides of the shield parts were panel lined as well.
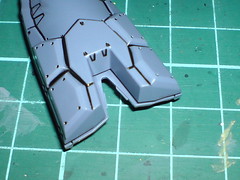
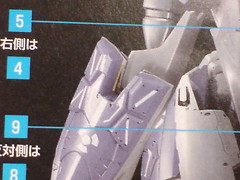
The exposed "valley" on top of the shield features a narrow V-shaped detail in black and yellow, which can be realized via one of unused marking seals, but since I decided not to be bothered about the shield's actual color, the same goes for that special detail as well.
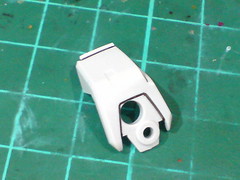
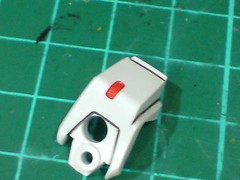
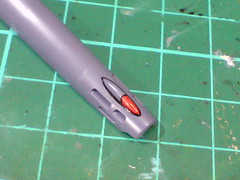
A sunken tab on the shoulder armor was painted red using normal marker.
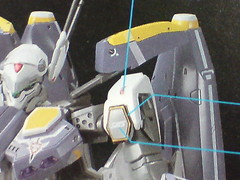
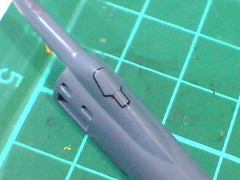
A small part in front of the shoulder armor features textual label plus tiny, intricate black and yellow stripes around the part. Even though I made the point in Part 4 to paint the parts with non-flat surfaces and not to use their designated marking seals, looking at the complexity of the paint work ahead, especially painting yellow on dark gray part, I'll need to make an exception for this part I guess. ^^;
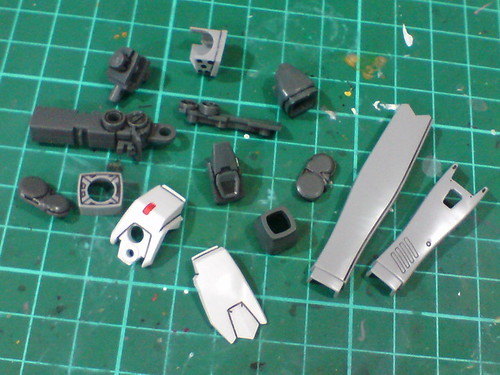
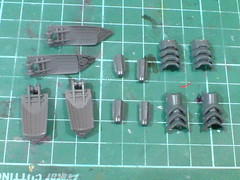
Normal panel lining for the other arm parts.
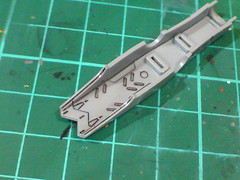
The molded details behind the forearm armor were panel lined to highlight their "existence", even though they are not going to be seen when the model is assembled. ^^;
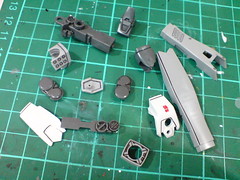
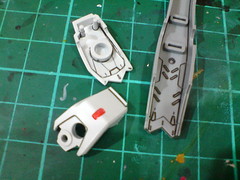
The same detailing is repeated for parts of the other arm.
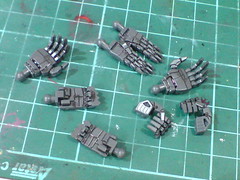
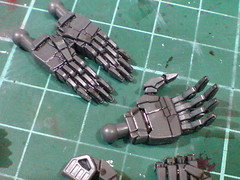
All the hand units were panel lined using Tamiya's Panel Line Accent Color (Black).
I normally don't apply any panel line to hand units, but the molded details of the parts, and their intrinsic design seem too interesting to be left untreated.
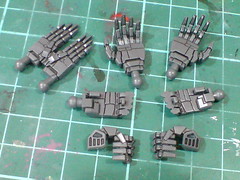
Excessive panel liner paint on the parts was wiped away using thinner-soaked cotton swabs.
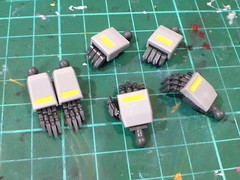
Test fitting the hand units with their respective armor parts painted in Part 4 to see how the completed components would turn out when assembled. ^^
Unlike the previous posting, this round of work felt like a major leap in progress. ^^ Still, there are many remaining parts waiting to be painted and detailed before the entire work can be concluded. ^^


 Posts
Posts


