I suppose I'm happy enough with the images of MG F91's inner frame completed in the previous review. Time to complete the entire model by putting on the armor parts. ^^
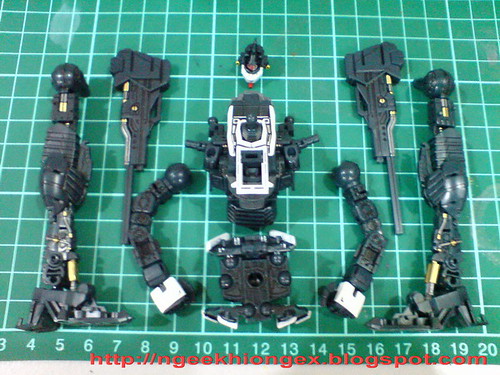
Separating the inner frame components.
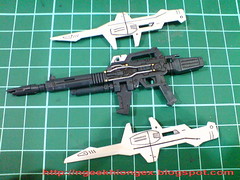

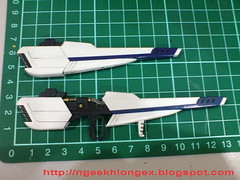
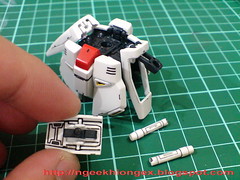
Just two parts for the body of the beam rifle.

Both being in the color scheme of black and white, the beam rifle sure looks like that from HGUC Nu Gundam.
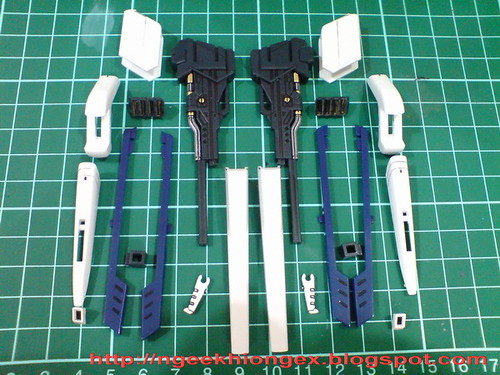
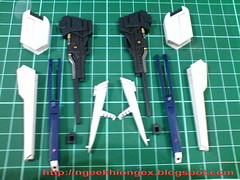
External parts for the VSBR.
A lot more parts are for the armors, body and second handle.
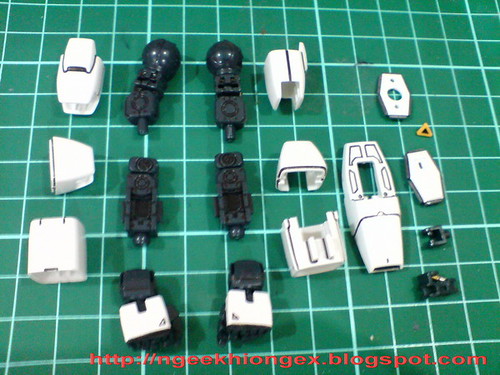
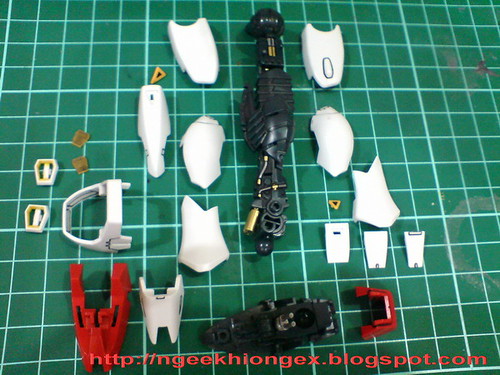
Armors parts for the arms. Just 3 for the left arm, but more for the right arm thanks to the beam shield generator.
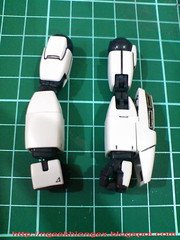

Arms completed, and comparison with Nu Gundam. The same size, but with an inner frame built for it.
Articulation of the elbow.
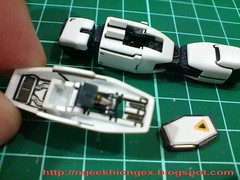
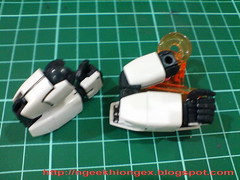
Details behind the right arm's armors, including the tiny hydraulic pipes of the beam shield generator. ^^

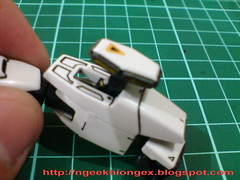
Slide the beam shield generator out ...
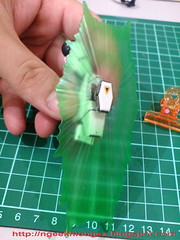
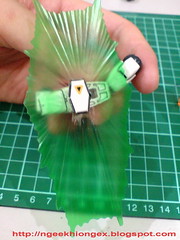
... and fit the beam shield into the 6 slots on the sides of the generator.
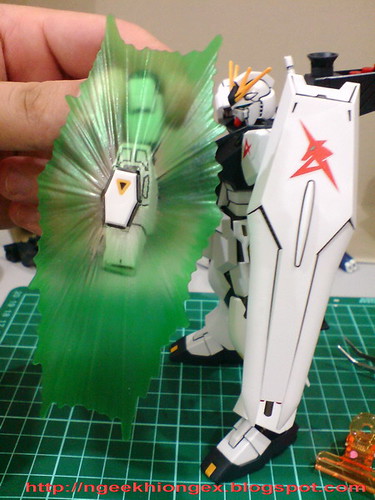
The beam shield is definitely bigger than Nu Gundam's solid shield, but I would prefer a solid shield anytime. ^^
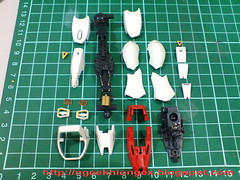
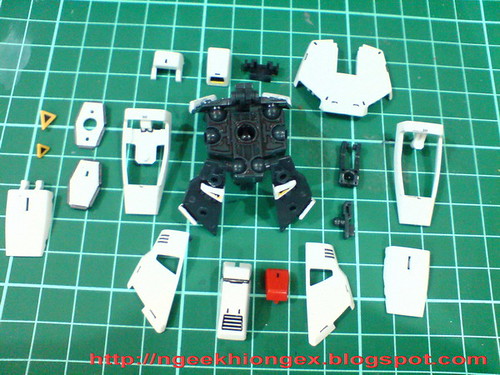
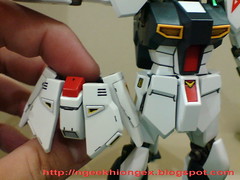
Armors and other parts for the leg.
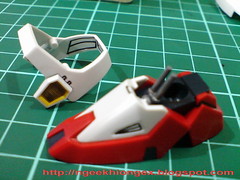
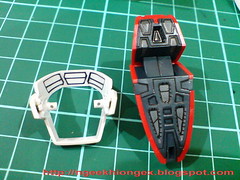
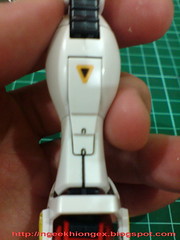
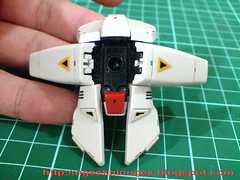
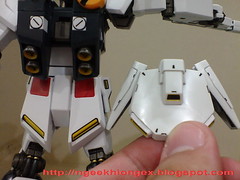
Some details behind the ankle guard and beneath the foot.
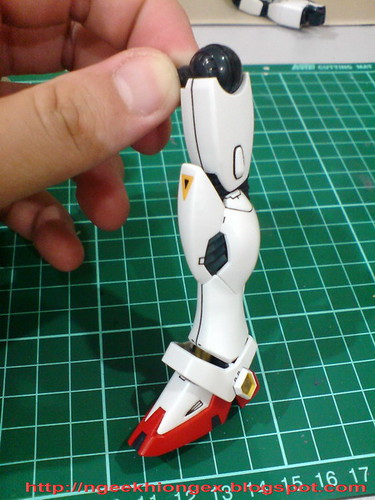
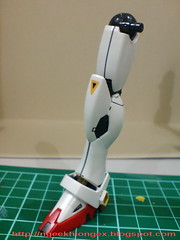
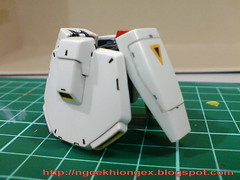
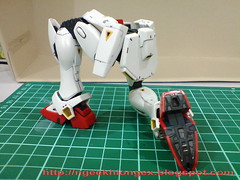
The left leg is completed.

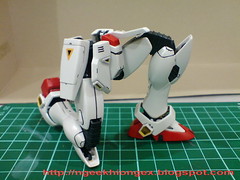
Articulation of the knee joint. Looks like there's no change to that ability as compared to just the frame.
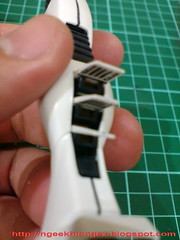
Flips the 3 panels on the calf one by one to reveal the extra thrusters.
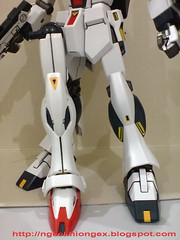
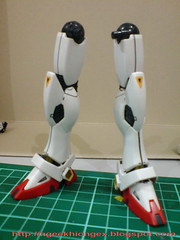
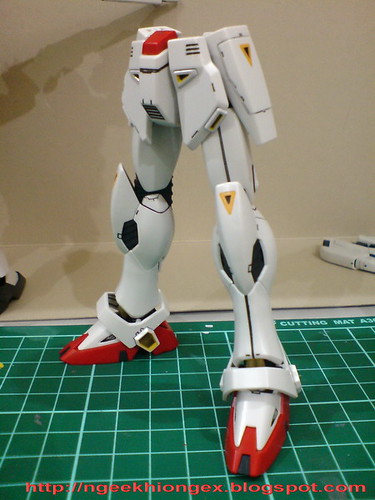
Same height and just about the same size when compared to Nu Gundam.
Repeat all the steps for the right leg.
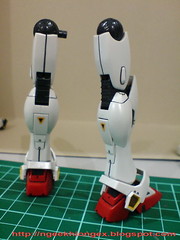
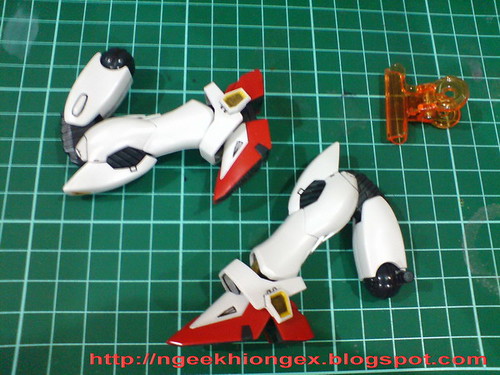
Both legs are now completed.
Parts for the waist, plus a backup beam shield generator exactly like the one on the left forearm.

Looks pretty simple from the outside, ...
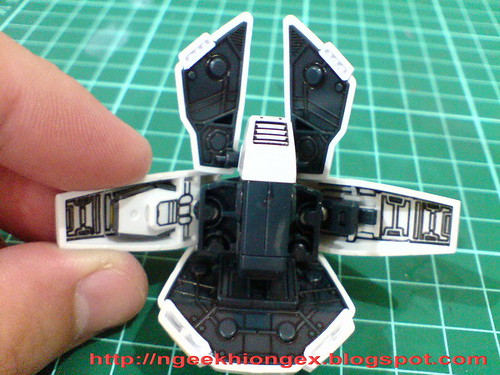
... but plenty of details beneath the skirt armors.
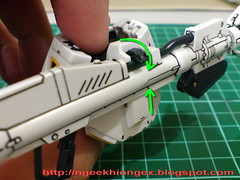
Storing the two beam sabers.
I find detaching the side armor to fit the beam saber is be much easier than to really follow the instruction in the manual. ^^
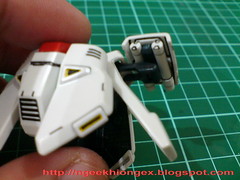
The grip-type mount rack on the rear skirt armor to mount beam launcher.
Much bigger in size as compared to Nu Gundam's waist.
Attaching the two legs to completed the lower body.
Kneeling ability perfectly retained even with all the armors on.
Armor on for the shoulder, body and head in the next review.


No comments:
Post a Comment