Started my work on MG Zeta Gundam Ver. 2.0 from its arms.
For those who don't know this, this MG features a very unique design for the elbow joint. All other kit's elbow joints are connected directly to the frame of the forearm, which is pretty straight forward and appropriate according to human anatomy. MG Zeta Gundam Ver. 2.0 however, features elbow joint that is connected to the armor of the forearm instead. Thanks to that, not only can the elbow bend upwards like all other kits, it can move sideways as well. ^^
However, the disadvantageous part of this feature is disconnected elbow and forearm. You can't have the arms assembled without putting on the armors. If you're used to seeing a complete inner frame for an MG kit from my reviews in the past, I'm very sure that won't be available this time. ^^;
Of course that can only be seen clearly when the model is assembled, but for now, that feature makes my work in this review pretty simple. ^^

All parts for the left arm.


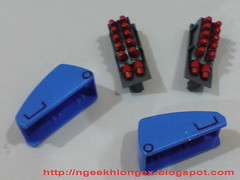
Some optional details painted for the wrist part and grenade launcher compartment doors.

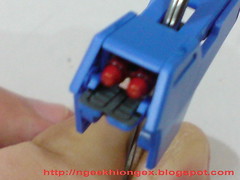
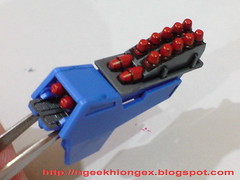
Painting the interior of the grenade launcher compartment door gives a sense that there are two layers to the design - blue armor and gray mecha.


Painted some portion of the hand armor in gray accordingly the manual.


Just simple panel-lining for all other parts from both arms.


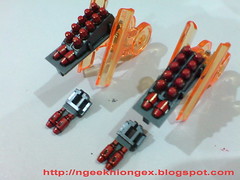
Grenades (cartridge x2, forearm x2) are painted in red using Gundam Marker Red.

Panel-lined.


To be enclosed in their cartridge cover, you won't be able to see them that easily anymore after the assembly. ^^
Will be working on the legs after this.


2 comments:
Nice, great start.
I just bought this same kit recently. :D
How did you paint the red grenades and the grenade launcher door? direct from gundam markers or with a brush? did you do any masking?
Post a Comment