Going into Hyper Mode for this round of review, with more work done on a few components of the MG as compared to previous reviews ^^
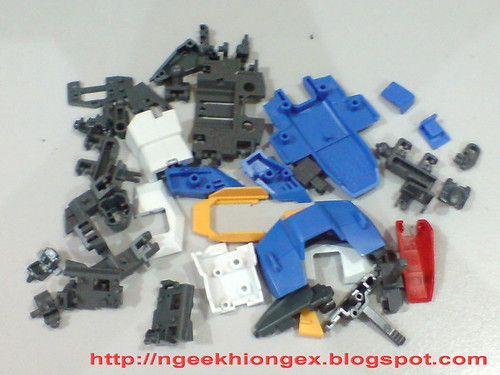
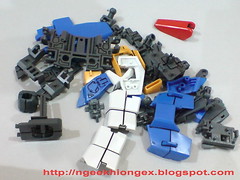
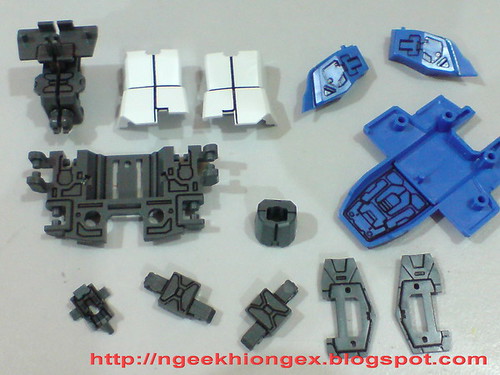
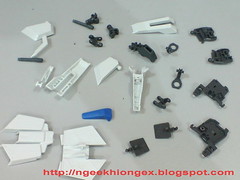
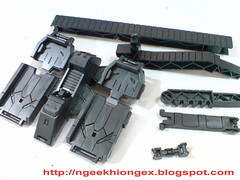
All parts for the body.
A lot more parts than the body module of other MGs thanks to the transformable gimmick of Zeta.
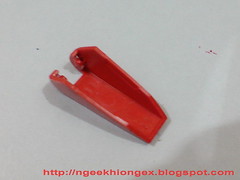

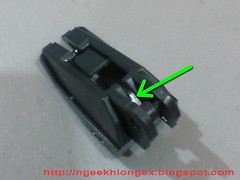
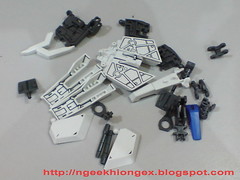
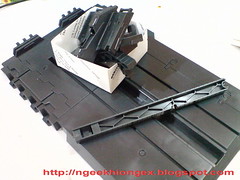
Painted the interior of the cockpit hatch in gray using Gundam Marker Gray to give it a sense of having two different layers - mecha (interior) and armor (exterior)
The interior of the cockpit should be painted to reflect its 360 degree panoramic design.
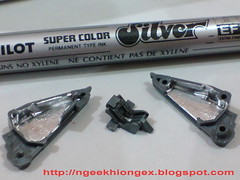
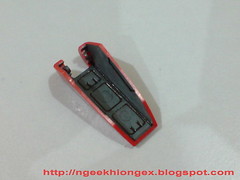
Painted the entire visible area of the cockpit's interior in silver using Pilot Super Color Silver that has sharp tips to reach for very narrow space.
The silver painted area should be able to be spotted (but not so clearly I suppose) when the parts are assembled.
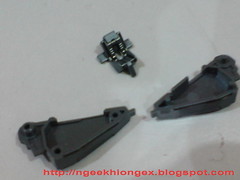
The rest of the parts just receive simple panel-lining.
Parts with the most details (most work needed).
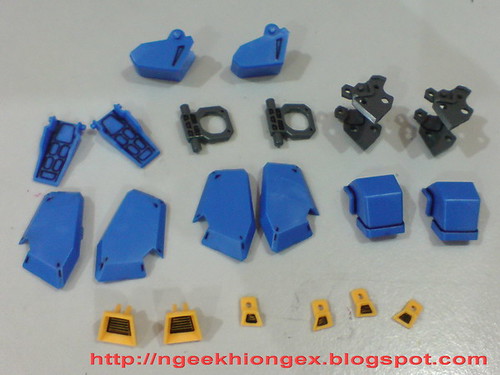
All parts for the waist.
No fancy stuff, just panel-lined all of them.
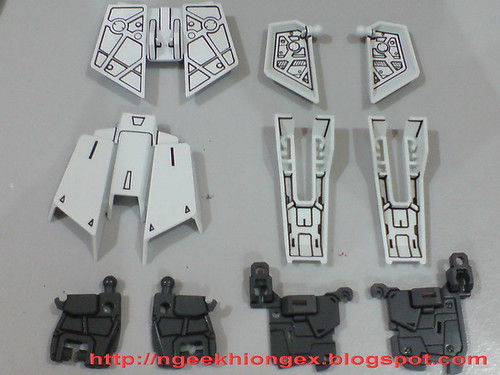
Parts with the most details (most work needed).

All parts for the shoulder armors.
Just simple panel-lining for all of them as well.
Large parts for the display base.
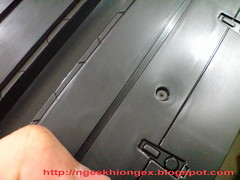
Just simple panel-lining for the details as well.
Because of the size of the parts, I could use my Faber-Castell Ecco Pigment Liner of the size 0.3 without any worry that the line would look too thick. ^^


1 comment:
Hello NK, your work looks good even without using an air brush. Since you are embarking the project parts by parts, I suggest that you put some top coat to your kits (semi-gloss or flat which ever you liki). My first kit with top coat was MG Exia (applied flat coating) and its looks way better than out of box build. And try grey panel lines on white parts...looks more realistic IMHO. Keep up the good work mate.
Post a Comment