Continuation of HGUC Black Tri Star's Customized Zaku I's assembly after the previous posting.
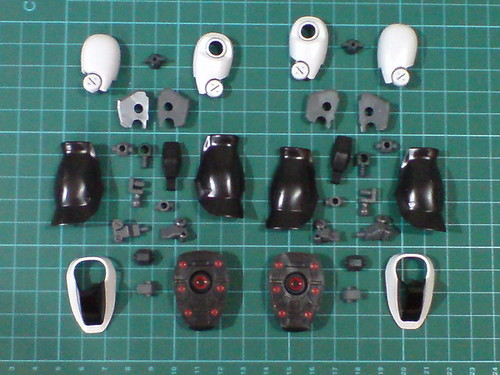
Parts of the legs.
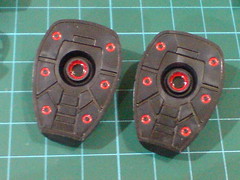
All the thrusters on the soles were painted in Part 2.
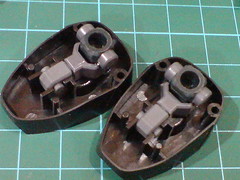
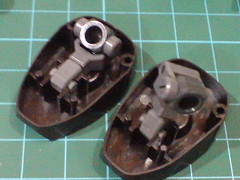
A look at how the ankle joints work on this kit: the polycaps near the front part of the feet allow the ankle joint to hinge upward and swivel from side to side. The ankle joints' own polycaps are capable of swinging back and forth as well.
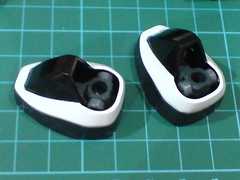
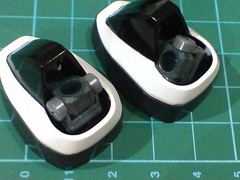
Unfortunately, when the feet are completed, much of the articulation capabilities mentioned above are greatly reduced. ^^;
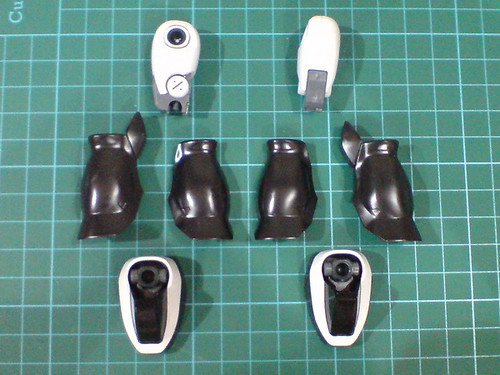
Major components of the legs before the final assembly.
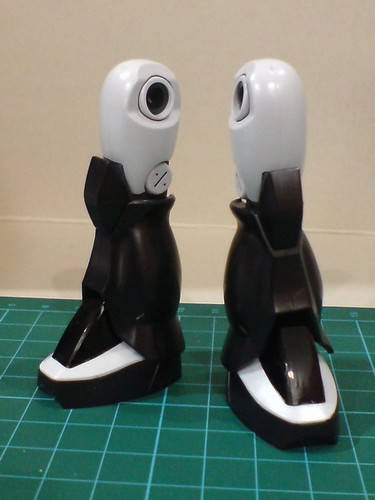
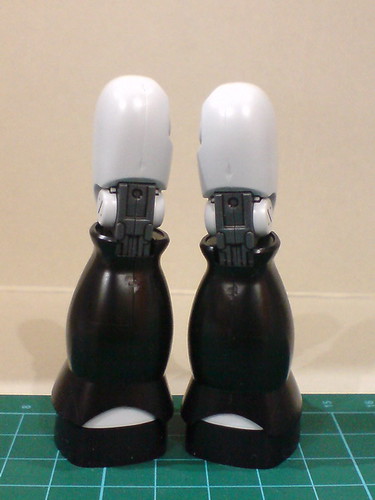
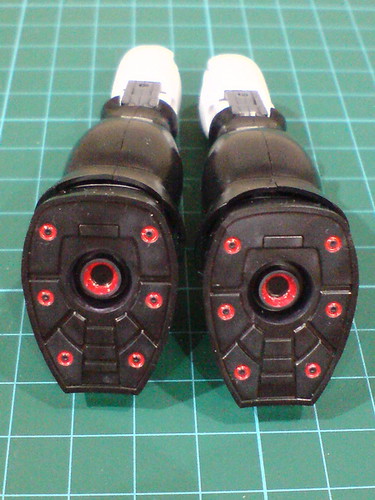
Both legs are now completed.
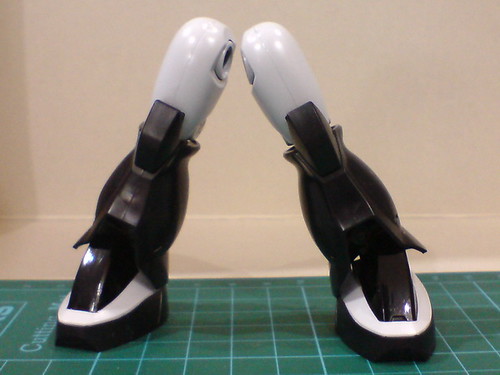
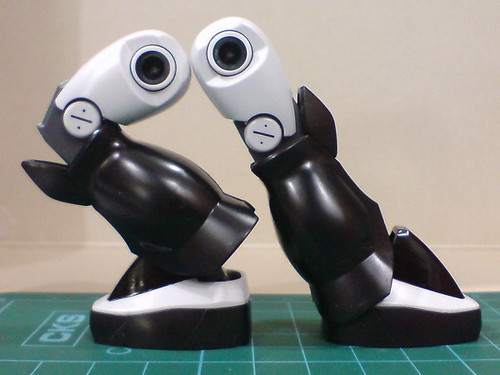
Standard articulation range for the knees and ankles, but the various components feel like they are about to be detached to enable the poses shown in the two images above. ^^;
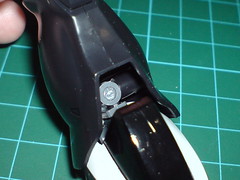
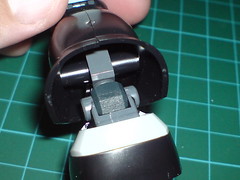
A look at the ankle joint inside the leg.
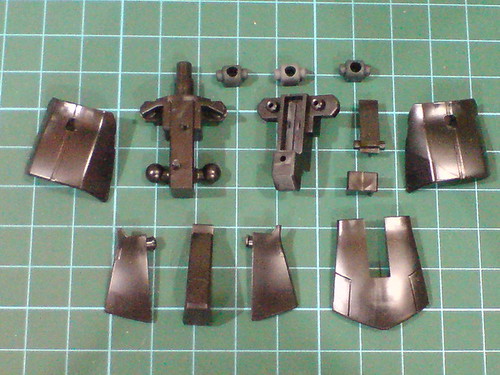
Parts of the waist.
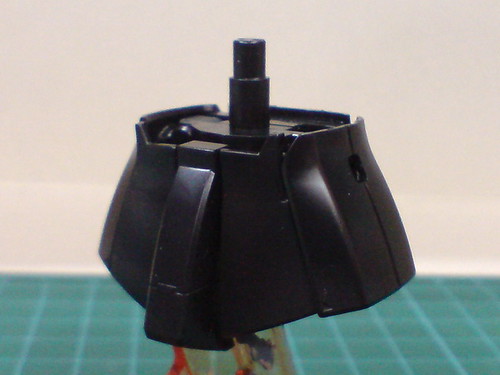
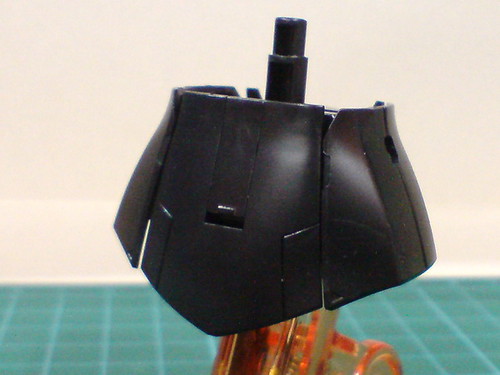
The waist is completed.
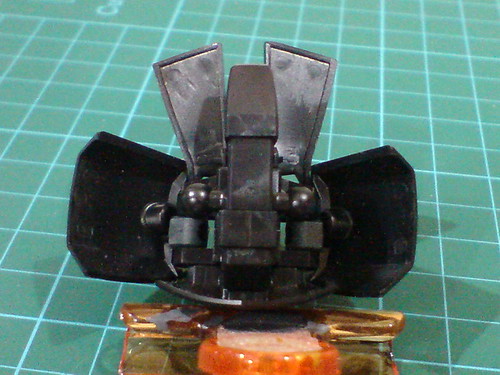
No details whatsoever behind the skirt armors. ^^;
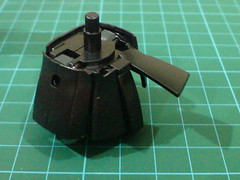
The result of separating the front skirt armor in Part 3, each half can now be lifted independently. ^^
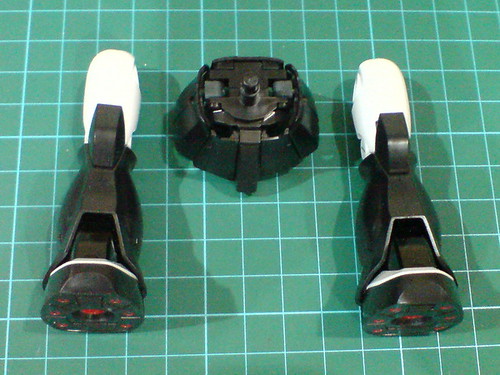
With the legs completed earlier on.

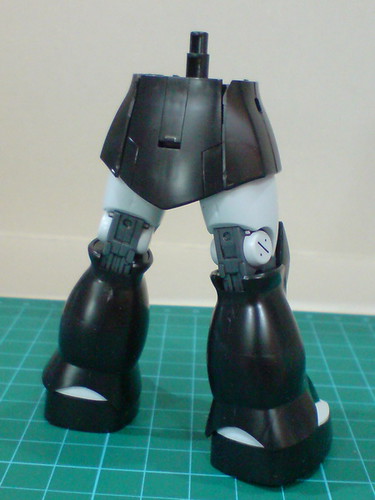
The lower body is completed.

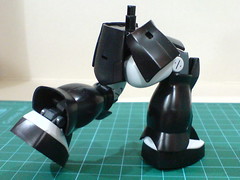
While the knee is capable of a 90-degree bend, the thigh is just too short for the other knee to reach the surface to show off a natural-looking kneeling pose.
For some reason, the hip joints seem to be extremely tight on this kit of mine. I feel like I'm about the break the joints trying to adjust the thighs. ^^;
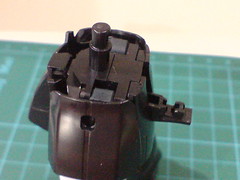
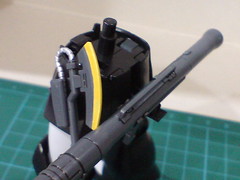
The mount rack behind the rear skirt armor can be lowered to hold the 280mm Zaku Bazooka.
Both side skirt armors have a slot to hold the Heat Hawk, but given the position of the peg on that weapon's mount rack, it's meant to be tabbed onto the left skirt.

Parts of the body.
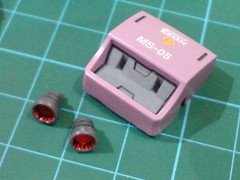
The backpack's mecha component and the thruster nozzles were painted in Part 2.
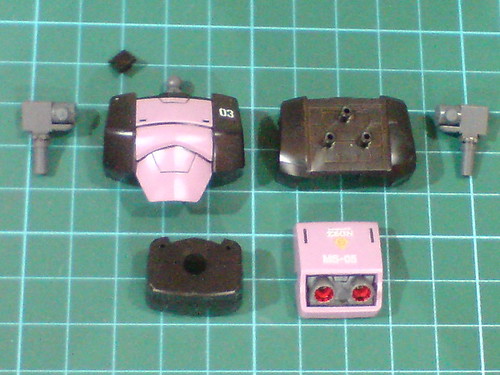
Major components of the body before the final assembly.
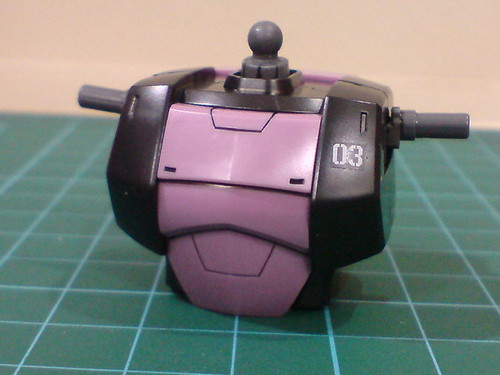
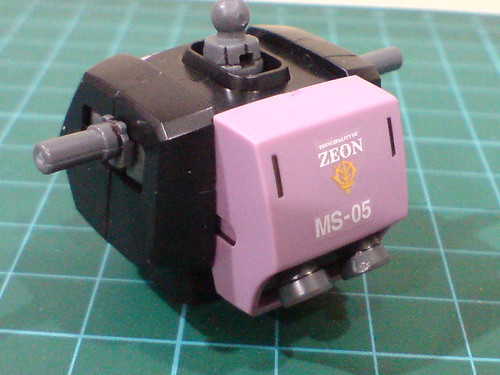
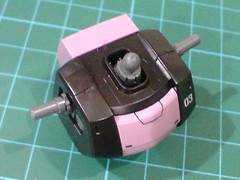
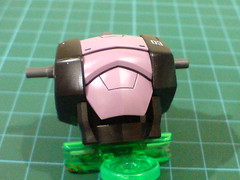
Done for the body module.
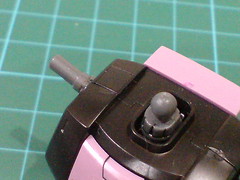
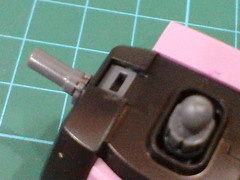
Very well hidden by the black square part, there's a rectangular peg slot on the right shoulder block to hold the bazooka rack.
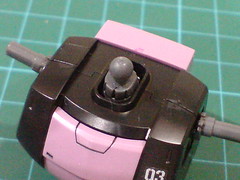
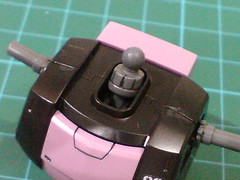
Pretty wide range of backward tilt for the neck polycap.
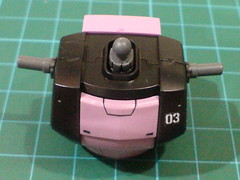
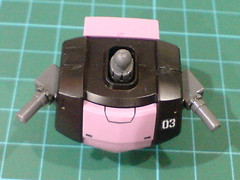
The shoulder joints can swing to the front.
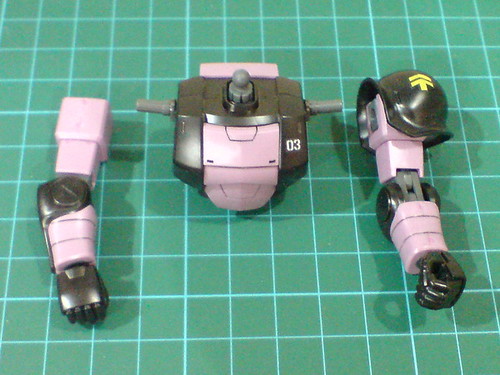
With the arms completed in the previous posting.
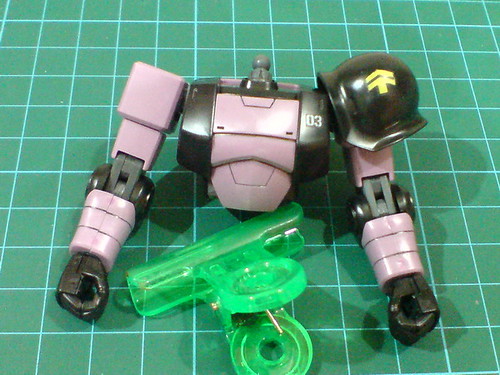
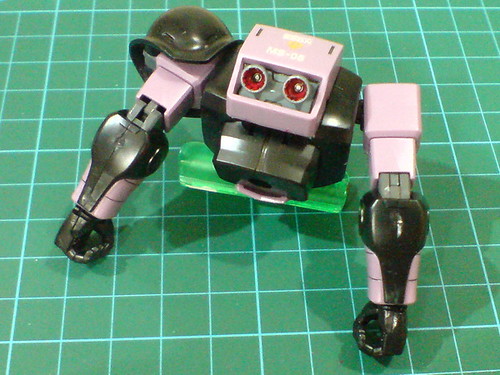
Done for the upper body.
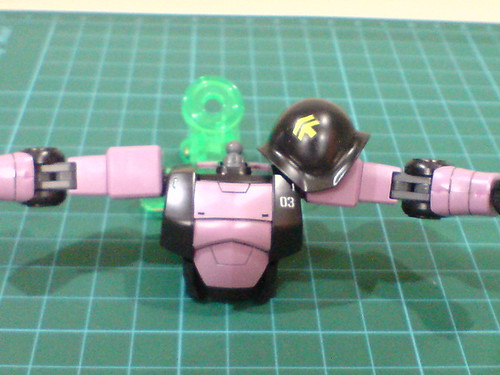
The arms can be lifted from the side for 90 degrees.
The right shoulder armor would be hitting the head in this though. ^^;
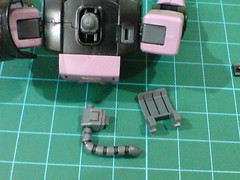
Two parts to form the bazooka rack.
According to the instruction manual, the bazooka rack's purpose is to protect the joint when the bazooka is deployed.
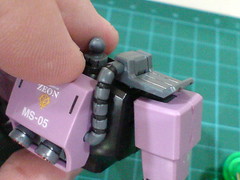
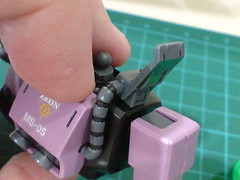
The rack itself can be hinged upward to not obstruct the right shoulder's movement.
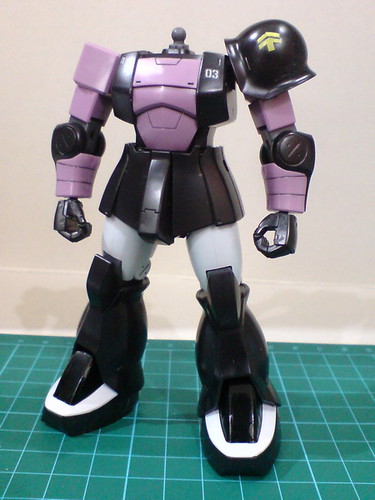
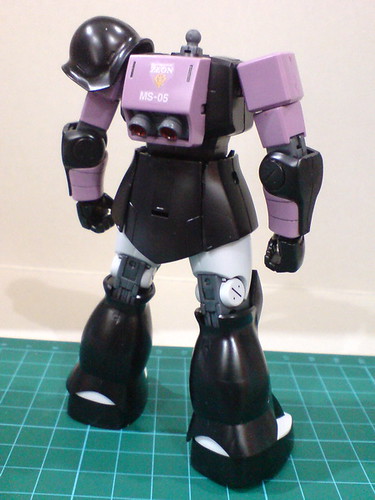
Only the head remains now. ^^
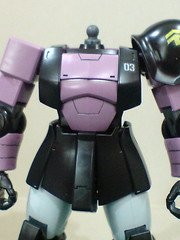
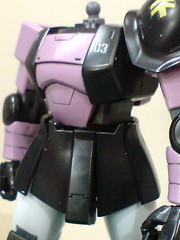
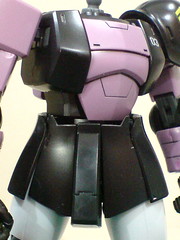
Pretty wide side-to-side rotation for the waist. ^^
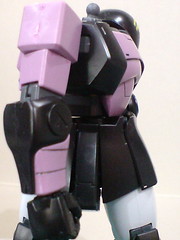
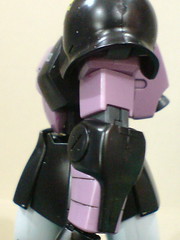
The upper body can be pulled upward to release the waist from the skirt armors' limitation, thus having greater range of side-to-side rotation. ^^
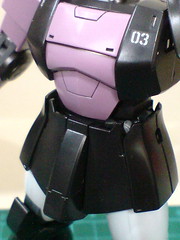
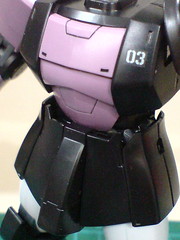
There's a little gap in front of the abdomen to accommodate a slight degree of forward tilt.
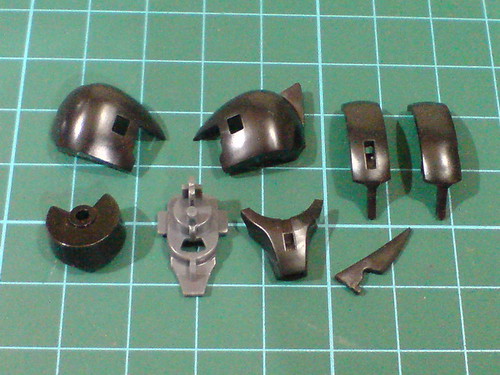
Parts of the head.
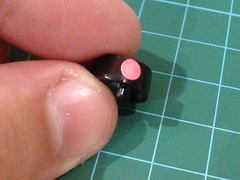
(Left) The tab beneath the google part is the "position marker" of the mono-eye camera's foil sticker. ^^
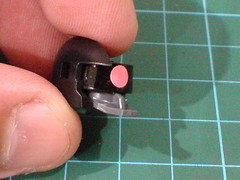
(Right) Another check for the sticker, using the gray joint part this time before securing all the parts. ^^

Grunt unit and commander type head parts can be configured for Zaku I.
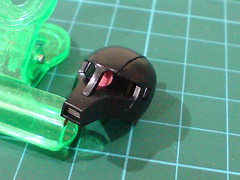
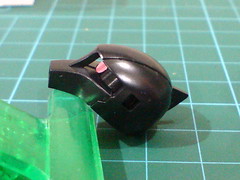
The grunt unit type, which is the designated configuration for this unit.
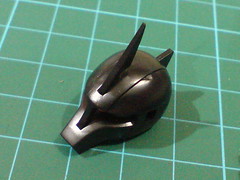
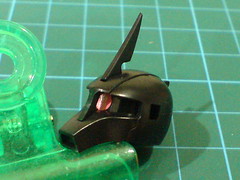
The optional commander type configuration.
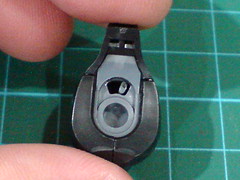
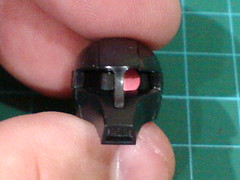
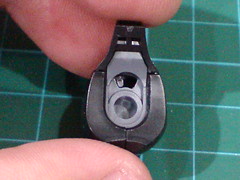
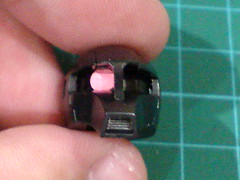
A tab beneath the head can be used to adjust the mono-eye camera's horizontal position.
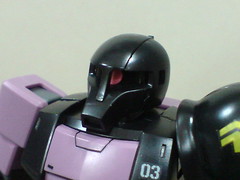
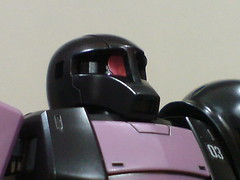
Connected to the neck joint.
With that, the assembly of HGUC Black Tri Star's Customized Zaku I is done. ^^
More images of this just completed kit coming up in the next posting.


No comments:
Post a Comment