Continuing with the assembly of Keropla God Keron's Giroro Robo Mk-II after the previous posting. ^^

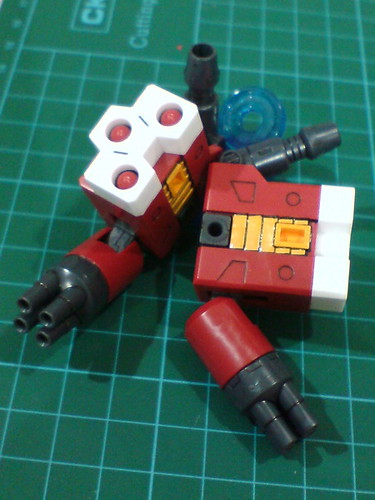
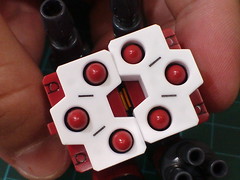
Parts of the arms.
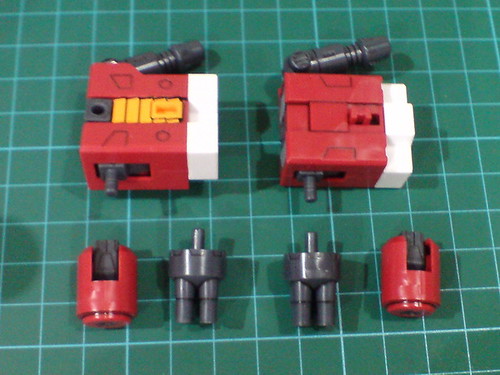
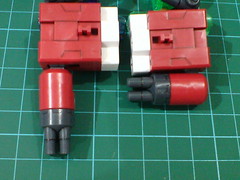
Separable components of the arms before the final assembly.
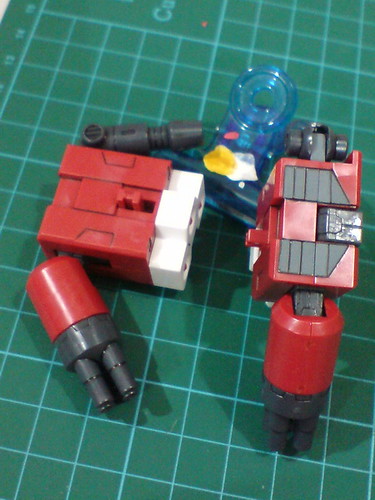
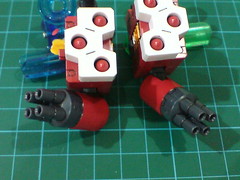
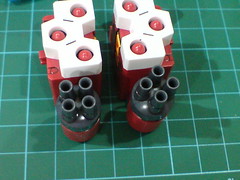
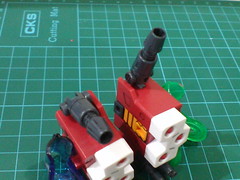
The arms are completed.
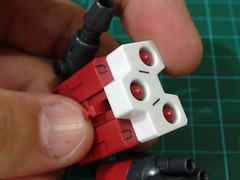
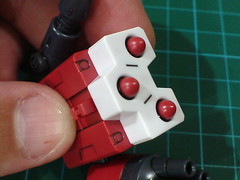
(Left) While they are not clearly visible in normal view, there are molded line details inside the shoulder cannon turrets. ^^
(Right) The black "background" of the shoulder missiles were actually the result of the paint work did in Part 10. ^^

Apart from the more regular 90-degree bend, the elbow polycap part can be bent outward, allowing the forearm to be extended forward.
(Left) Left and right swivel at elbow level is possible for the arms as well.
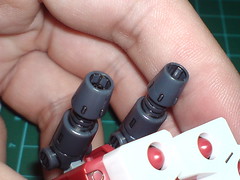
(Right) The forearm machine gun turrets can be rotated.
The shoulder cannons can hinge forward and backward for a very wide degree above the shoulder blocks.
Giroro Robo Mk-II's special weapon gimmick: a forward push on the tab on the outer side of the shoulder blocks deploys the missiles. ^^

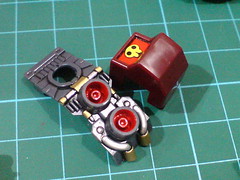
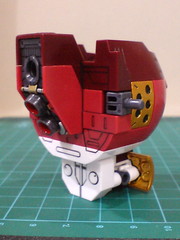
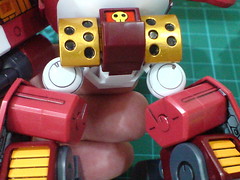
Parts of the body.
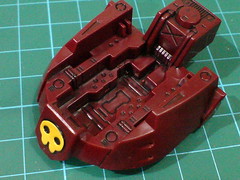
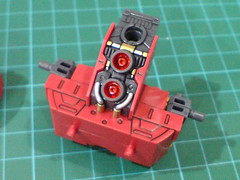
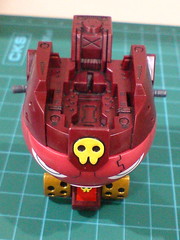
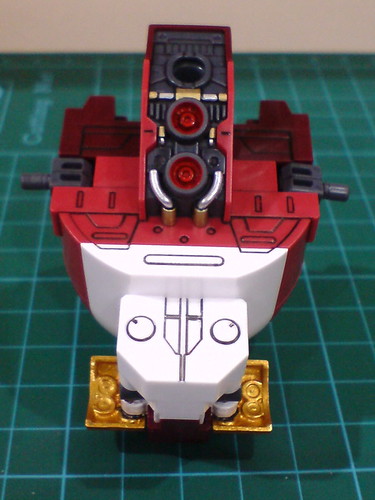
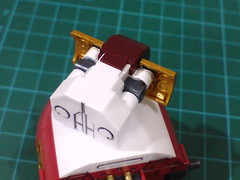
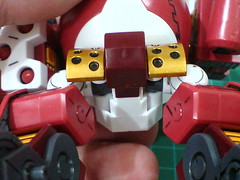
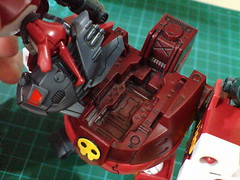
Details of the cockpit area and paint work on the rear thrusters' mechanical component which are done in Part 12. ^^
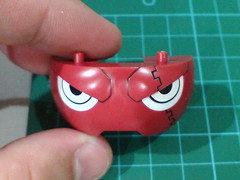
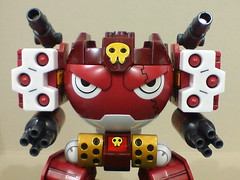
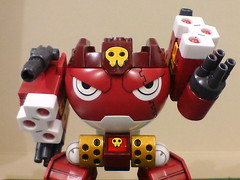
Combined with other parts during the assembly process, more details are revealed, including the really angry stare that will form part of Giroro Robo Mk-II's face and the elaborate line details on the back of the mecha.
Separable components of the body before the final assembly.

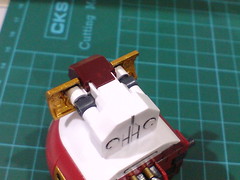
The body module is completed. ^^
The waist can swivel around beneath the body unit.
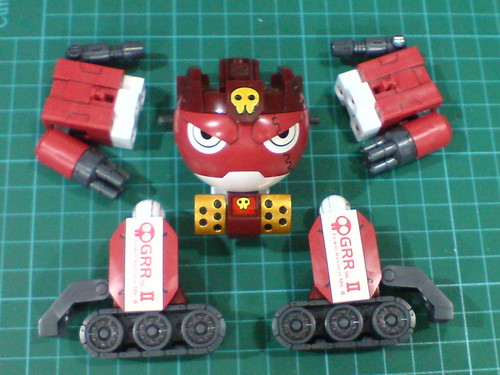
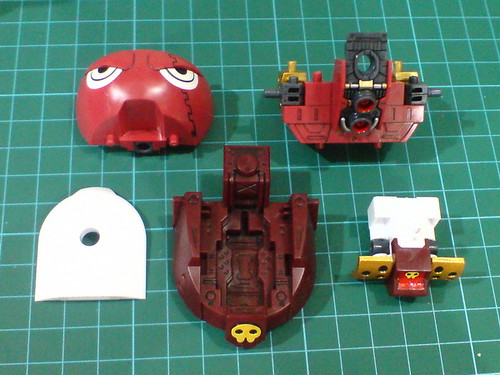
All components gathered for the final assembly. ^^

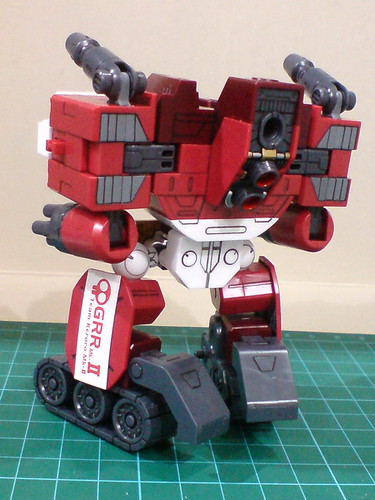
All done for Giroro Robo Mk-II.

The shoulders can be folded all the way to the back, which is more purposeful for the transformation gimmick rather than actual robot articulation.
The shoulders can be rotated vertically as well.
With the combination of the polycaps' own hinge movement range and that of the hip joints, the legs can be "extended" downward to give Giroro Robo Mk-II a slight increase in its height.
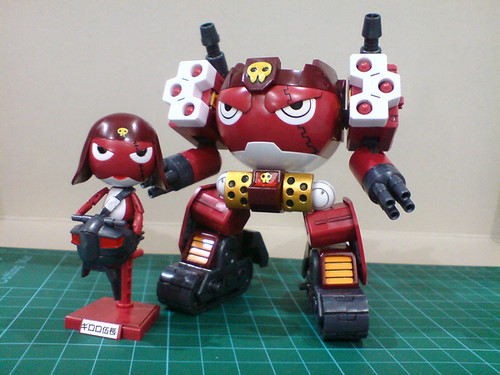
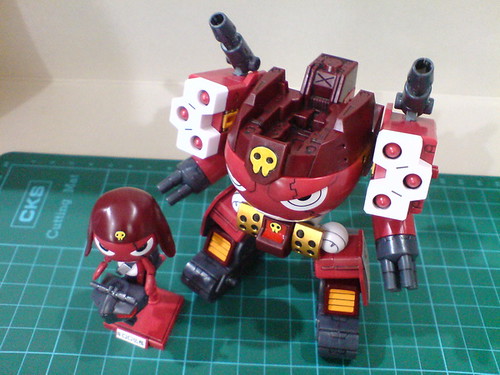
With the mini figure of Giroro completed in the previous posting. ^^
The control pod is mounted onto Giroro Robo Mk-II the same way as Tamama and his robot.

Giroro with Giroro Robo Mk-II. ^^
More images of the completed model in the next posting. ^^


No comments:
Post a Comment