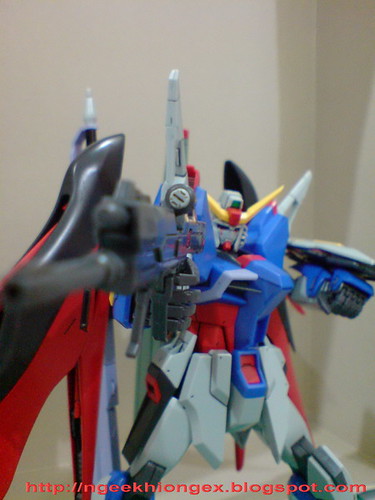
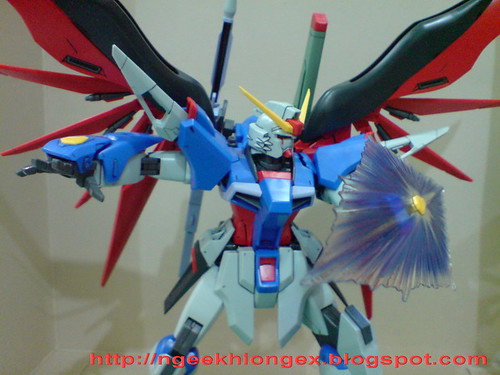
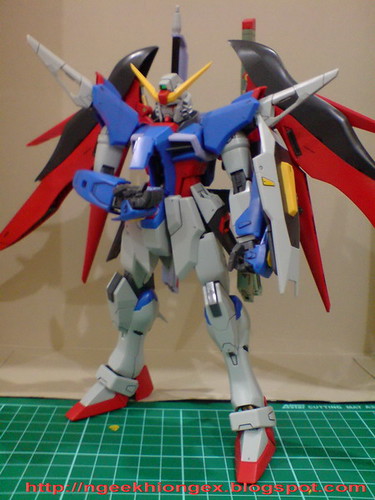
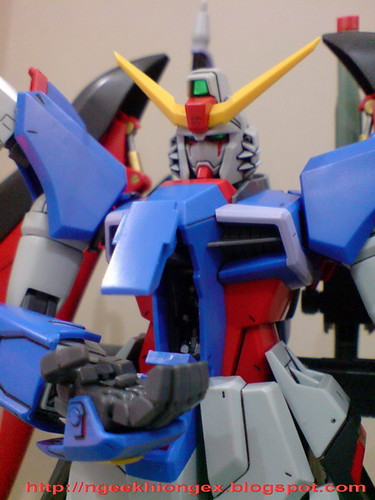
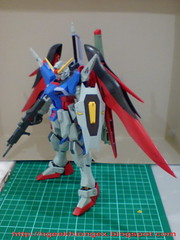
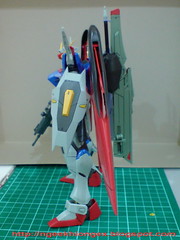
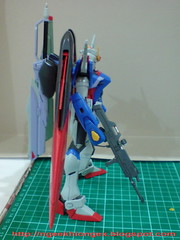
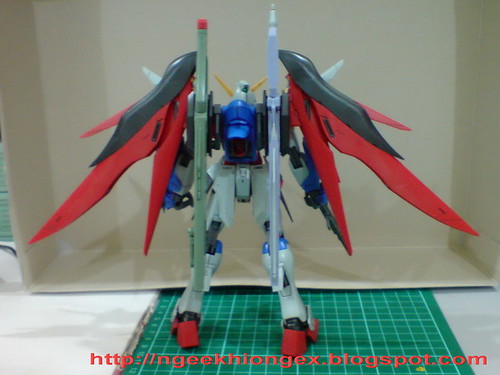
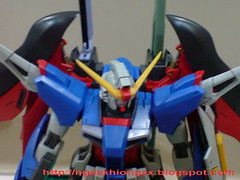
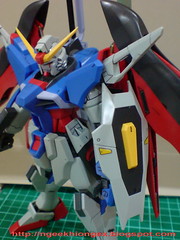
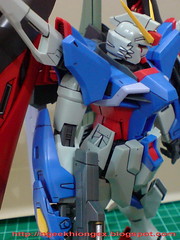
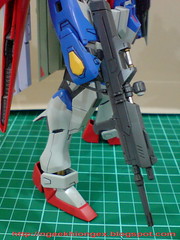
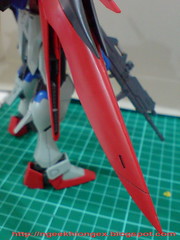
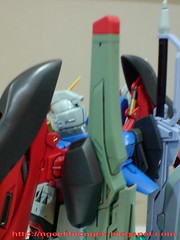
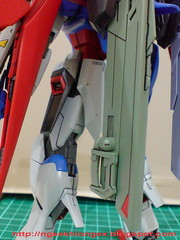
That's my conclusion after having the completed MG Destiny to perform action poses standing on the ground (my desktop). The wings doesn't get in the way at all, which is totally awesome as compared to MG Strike Freedom. For that model, not only are the wings too heavy for the legs to handle, their length can be quite troublesome for some action poses. Same goes for Strike Noir as well.
I think posing Destiny on the ground make the wings look like mere decorations ^^;
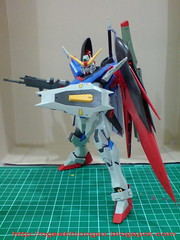
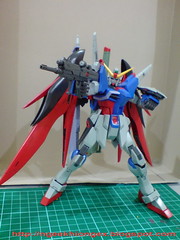

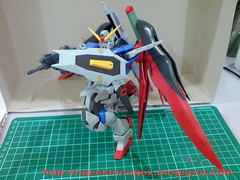
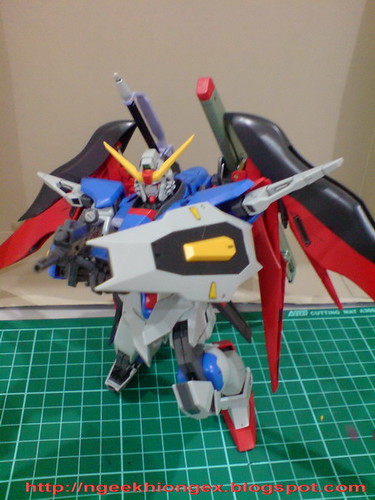

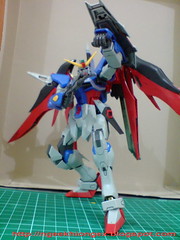
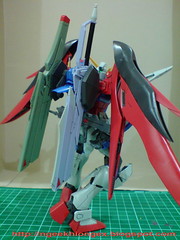
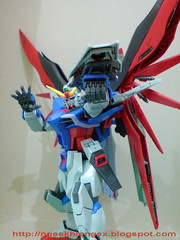
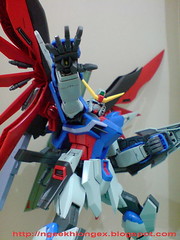
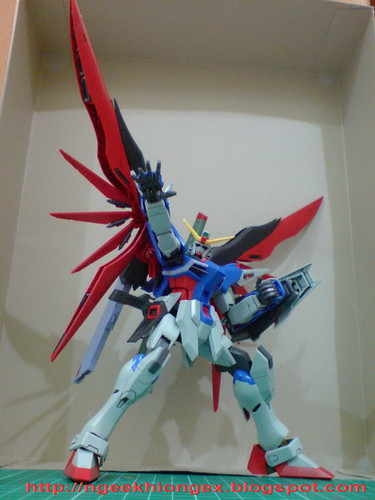
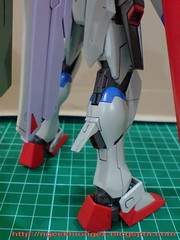
The legs are very sturdy in holding the whole model, with the backpack included, so no worries on that. On the opposite, I'm worried about breaking the knee joints instead, for they are extremely tough! I remember a particular comment made in one of the previous reviews about the knee joints, and seriously, the warning is not to be overlooked. ^^;
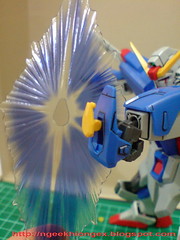
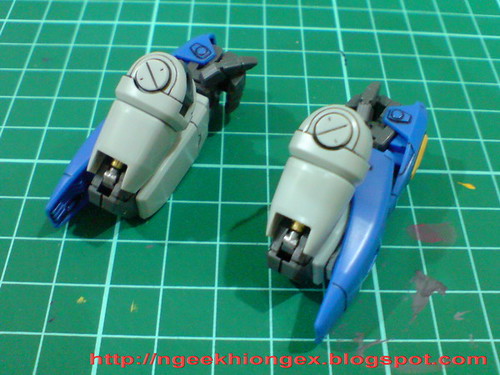
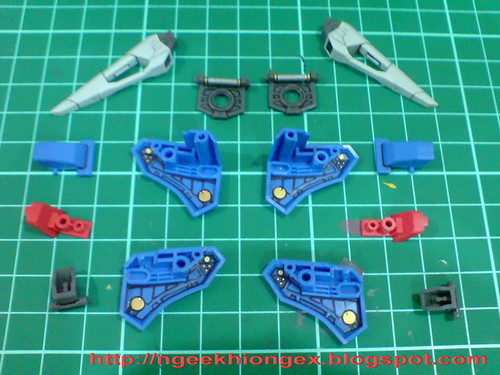
Attaching the beam shield to the knuckle armor. Unfortunately, the yellow part pops off quite easily ^^;
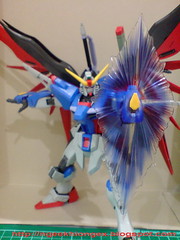





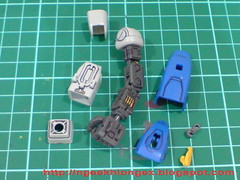
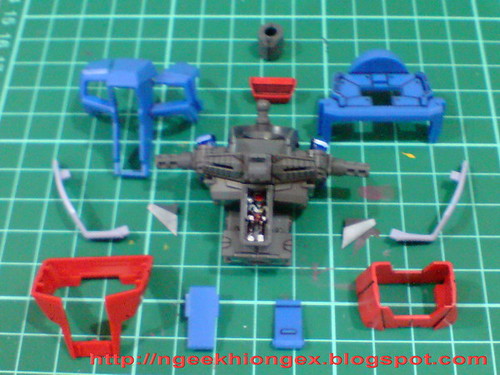
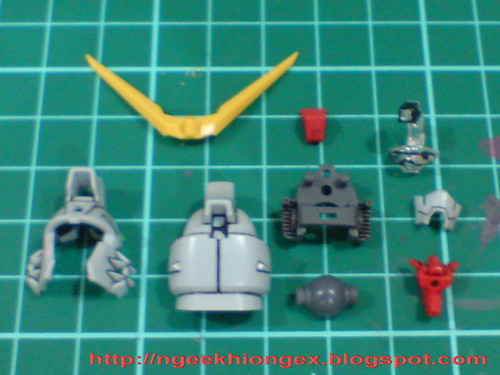
Assembling the display stand included:
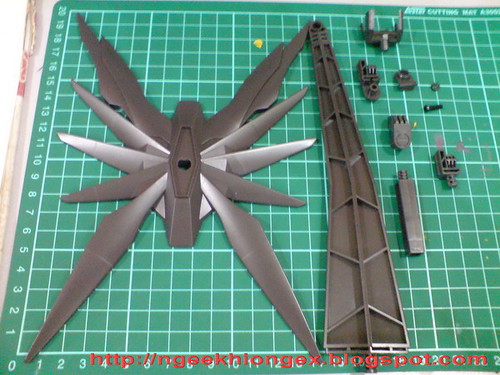
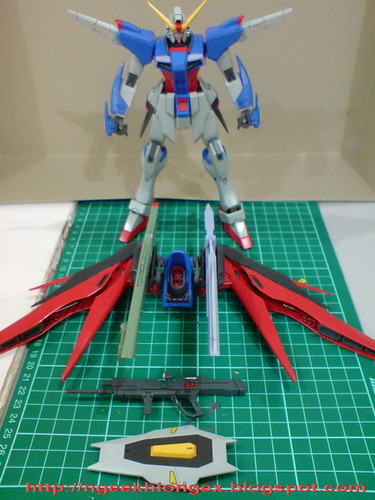
A bonus part is included: an adapter for the display stand of MG Strike Freedom (shown center right in the photo above), which will allow the joints to be used with Action Display Base 1.
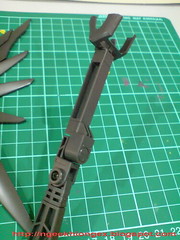
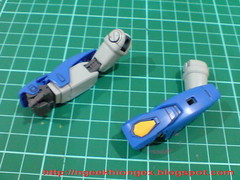
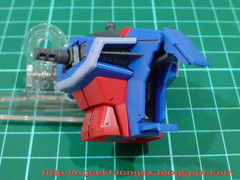
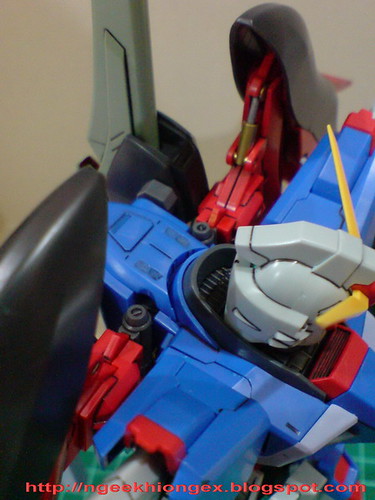
The supporting mount rack to the backpack of Destiny, which looks pretty long before it's being called to duty XD

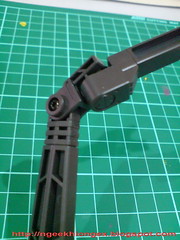
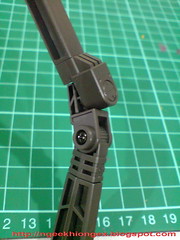
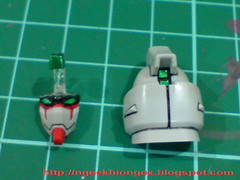
The joint on the display stand can be rotated, since it's fastened to the stand via a screw. But the adapter that controls the direction of the mount rack has to be detached and reattached for every change.
Still, in improved design as compared to Striek Freedom, since both joints are the detach/reattach type. ^^;
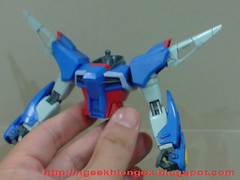
And this is how the mount rack of the display stand is used on the model.
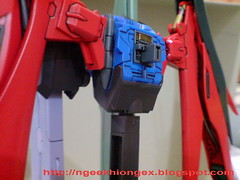

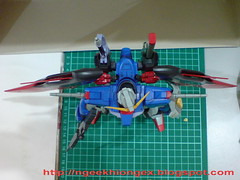
Part 21 coming up next will feature the model in the air, which will be the final review on MG Destiny as well. ^^













 Posts
Posts


