Assembling four components to complete MG Destiny: the arms, shoulder armors, body and head.

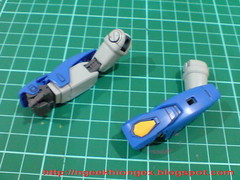
The completed arms and a show of its elbow's articulation.

Bending the hand outwards is not possible - blocked by the armor on the back of the hand.


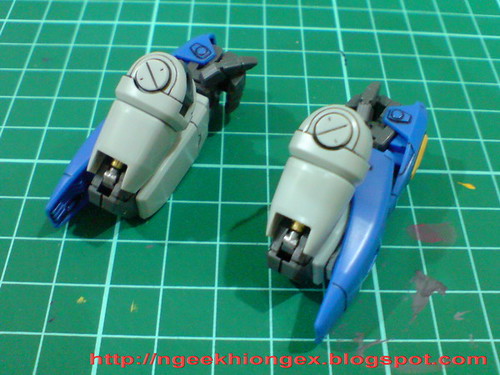
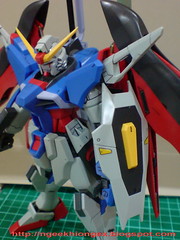
Apart from the details, the shoulder armor has brilliant part separation as well, the parting line between the two piece on top of each armor is being hidden very nicely. ^^
The mount racks for the beam boomerangs/sabers can be bent downwards.
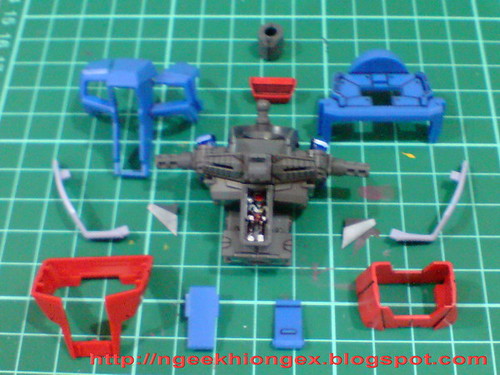
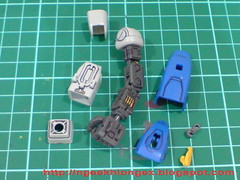
Armors for the body.
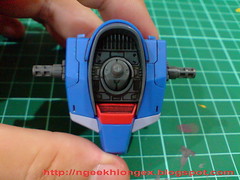
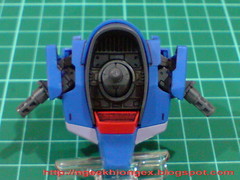

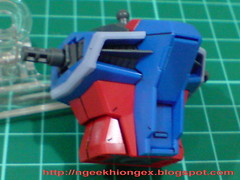
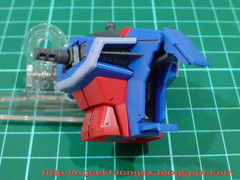
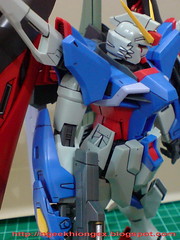
Movement of the shoulder blocks.

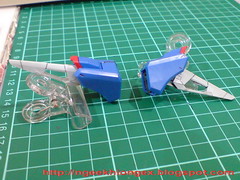
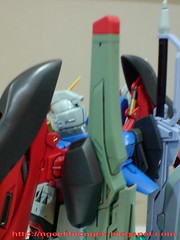
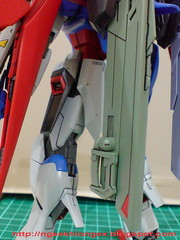
Like Strike Freedom, there's a tab on the back that allows the model to bend backward when lifted.
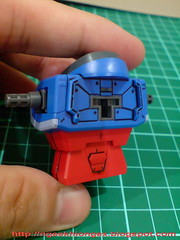
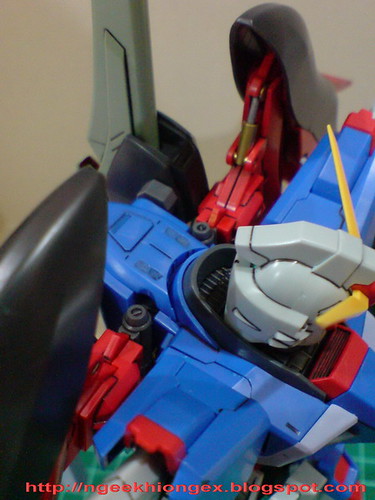
Opening and closing the cockpit hatch is alright now, after Part 13.

Completion of the upper body, in before the head.
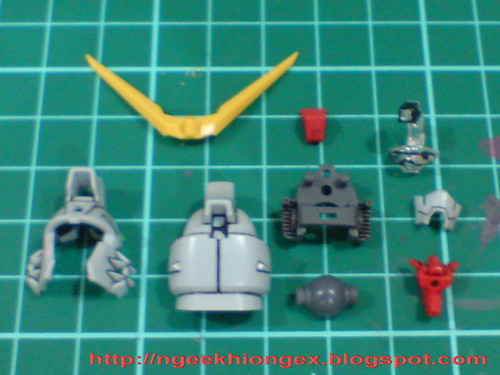
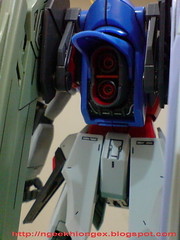
All the parts for the head.
The foil stickers for the two sensors on the back of the head can be a bit hard to apply because of their tiny size, nothing a pair of tweezers can't handle of course ^^
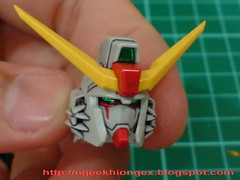
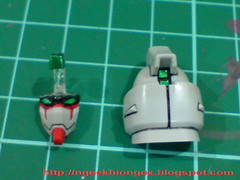
The completed head unit.

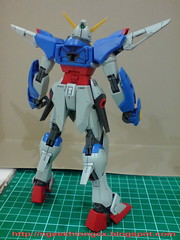
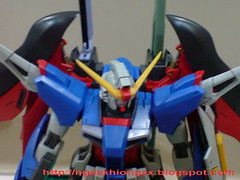
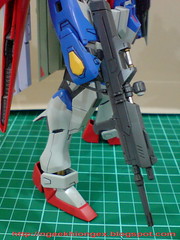
A backpack-less Destiny XD
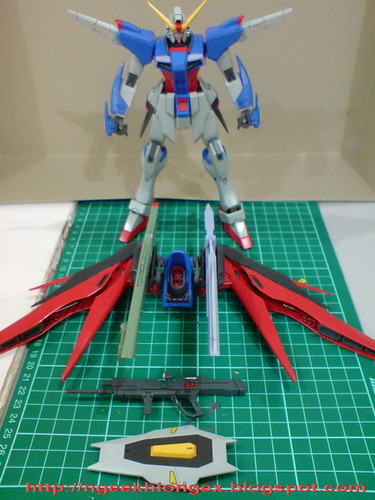

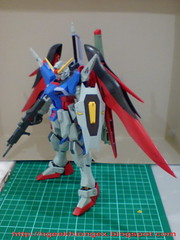
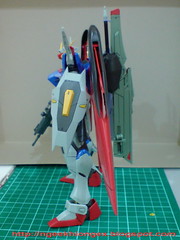

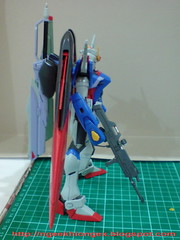
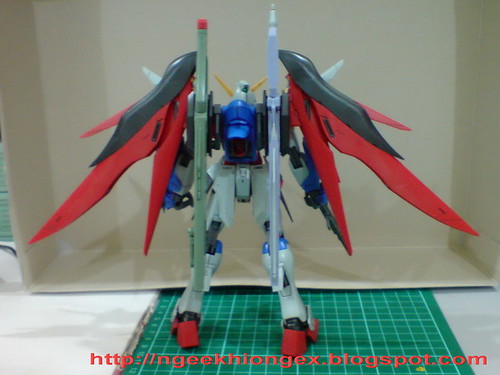
Putting on the backpack completes the model.
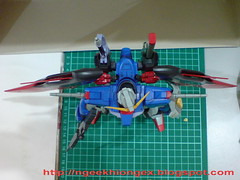
More photos of the completed model to conclude Part 19:

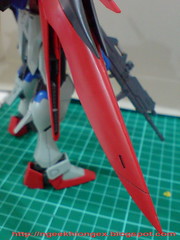

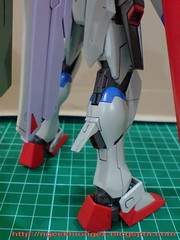
We'll look at what the model can do in Part 20. ^^


6 comments:
you really worked hard on this. great job!
Looks great, I kinda feel bad you have to cover up all those nice inner details
I agree with GunStray. You did a great job making it look Anime-accurate... and yet it almost seems disappointing when it's all assembled. Still, amazing work, can't wait to see Part 20!
Looks simply beautiful! =D
Now, if only you got the wings of light part...
How nice it was if the armor parts is transparent parts...that way can show all the hard work bro did.
=)
can only think of 1 word which summarizes my feelings now. AWESOME
Post a Comment