Wednesday, February 27, 2013

Keropla God Keron Part 23

The tenacious little fella

Continuing with the final assembly of Keropla God Keron's Keroro Robo Mk-II after the previous posting. ^^
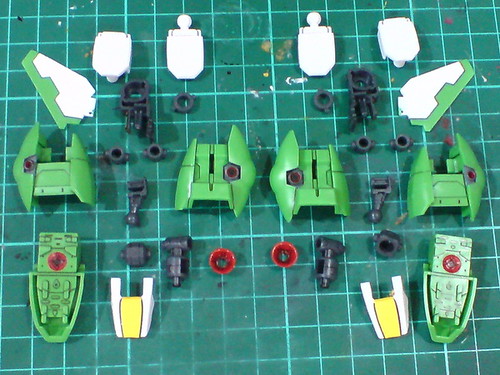

Parts of the legs.
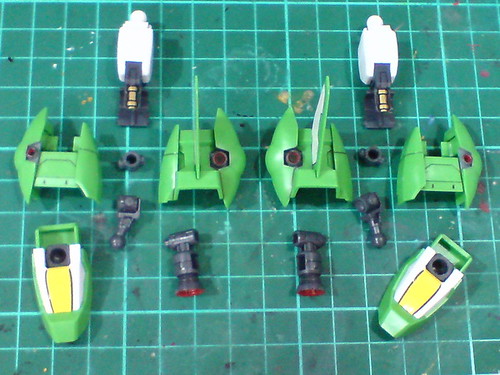

Major components of the legs before the final assembly.
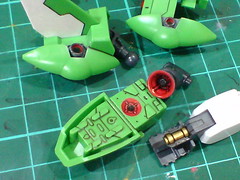

Various parts that were painted in Part 2 and 3.
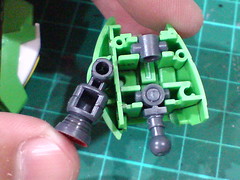

The distribution of polycaps inside the leg for its knee and ankle joints.
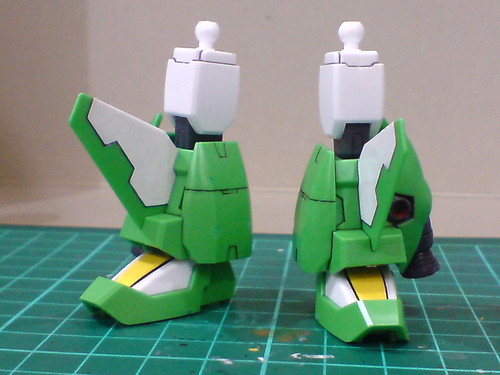


Done for the legs.

Finally getting to see the line details on the side of the legs in their completed form. ^^
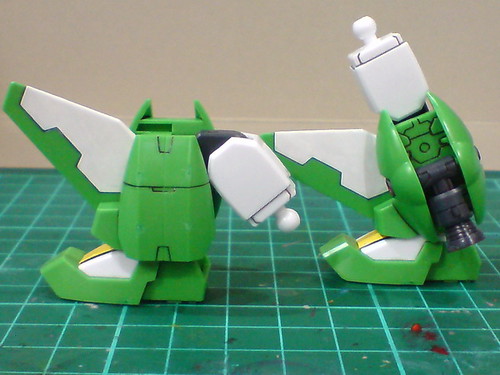

Pretty wide knee bend. ^^


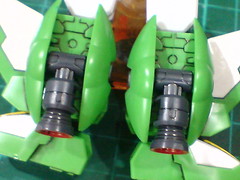
The painted hydraulic pipe on the knee part is a nice addition to the leg's overall details. ^^
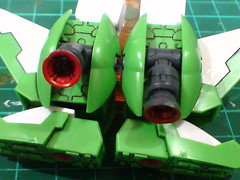

The side thrusters are movable.
The movement is an important part of the robot's transformation into Keroro Jet. ^^
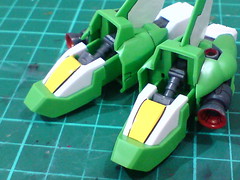

As part of the transformation design as well, the ankle joint can be bent to the back very flexibly, allowing the legs to rest flat on the surface.
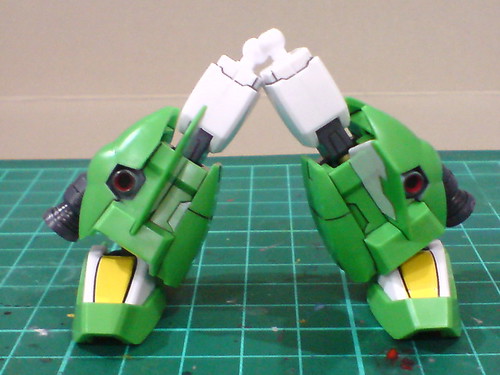

The ball joint portion of the ankle allows the legs to bend to their sides as well.
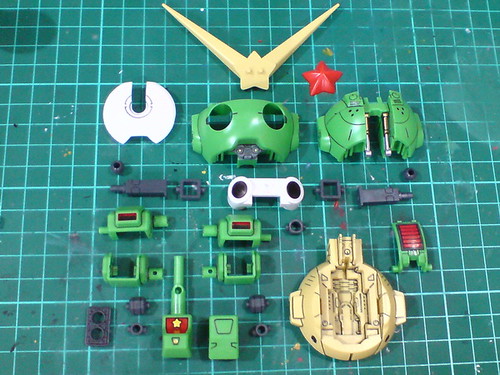

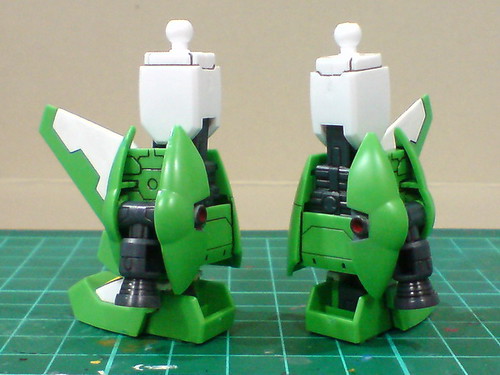
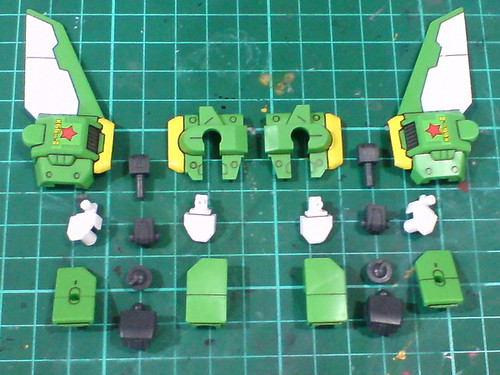
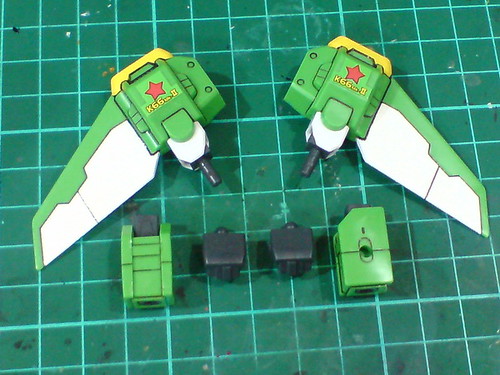
Parts of the body and waist.
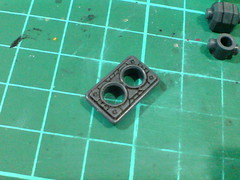

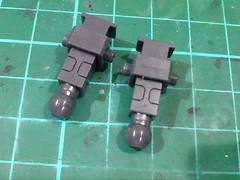
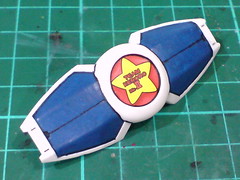
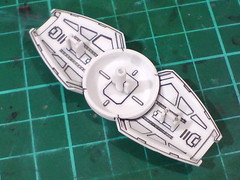
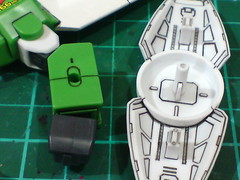
(Left) Despite the elaborate panel lines, this is actually a polycap part for the bottom of the hip. ^^
(Right) The shoulder blocks have tiny elevated dots on top to control the expansion/retraction of the robot's arms between modes.
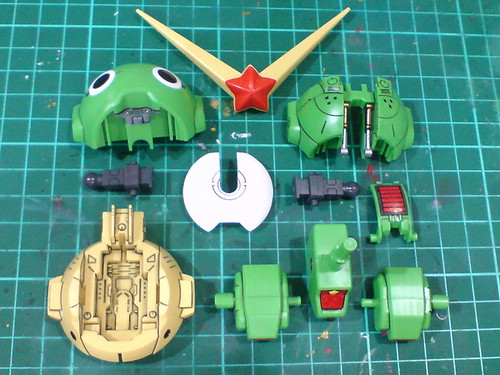

Major components of the body before the final assembly.
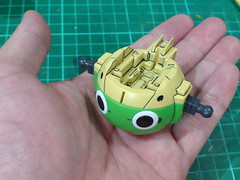

Size comparison of the body with my palm.
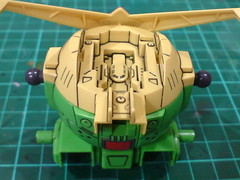
A small semi-round ball is how I would describe this component at this point XD
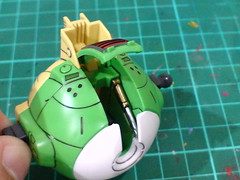

A flat on the back can be opened, revealing a pair of painted fixed hydraulic pipes inside the body. ^^
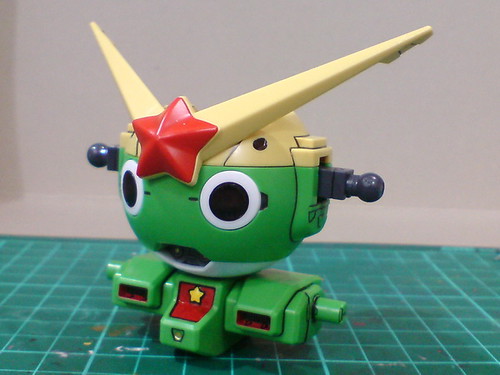
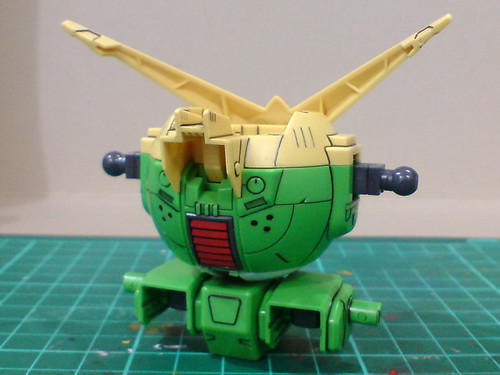
With the waist connected, the main body is done. ^^
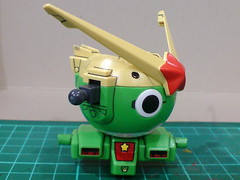
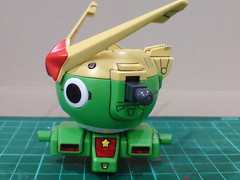
Swivel joint for the waist.
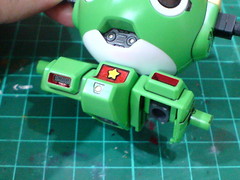

Swivel joint for the hips as well. The two hips/skirt armors are individually movable.
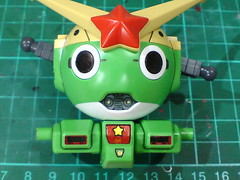

Vertical tilt is possible for the shoulder joints.
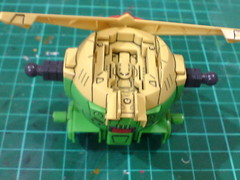

The shoulder joints are collapsed into the body.
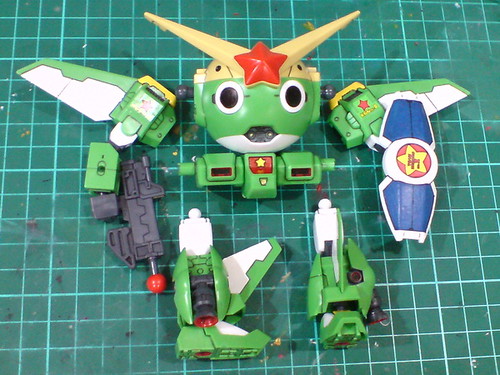

All separable components of the entire model.
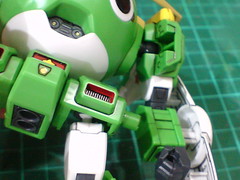

Both hips and shoulders use ball-type joints to connect to the limbs, so tons of flexibility for the arms and legs is to be expected. ^^
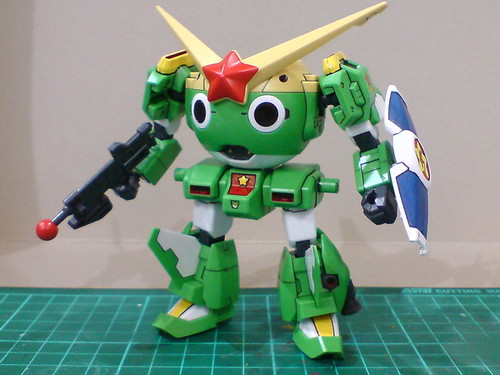
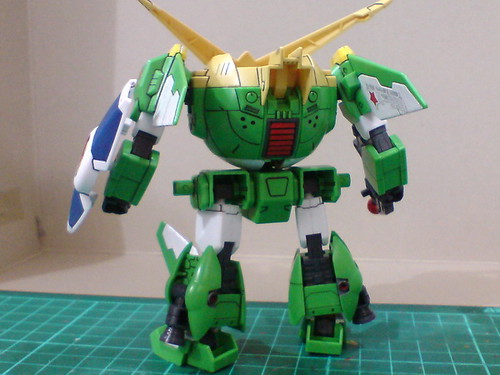
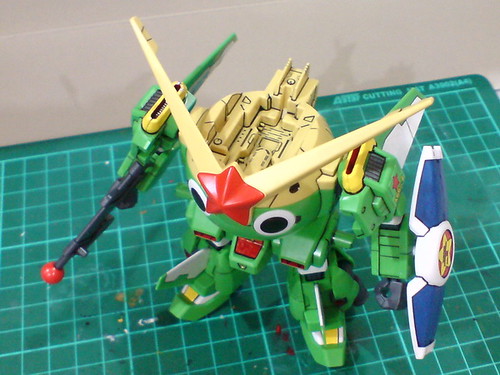
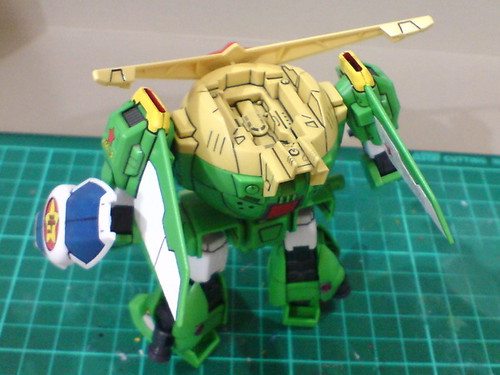

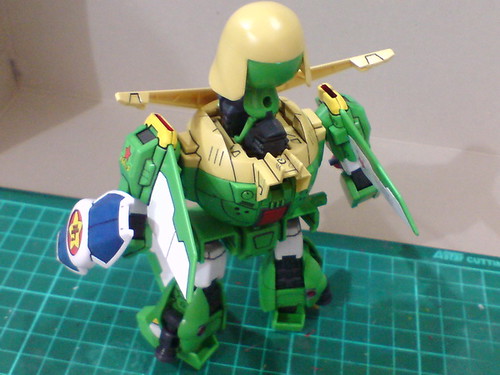
All done for Keroro Robo Mk-II.
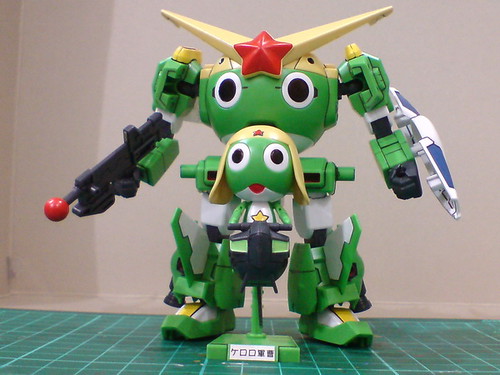


With the mini figure of Keroro and the control pod done in the previous posting.


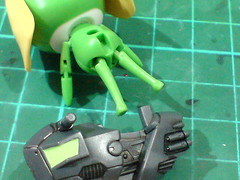
A couple of dedicated slots inside the neck area are used to hold the control pod in place.
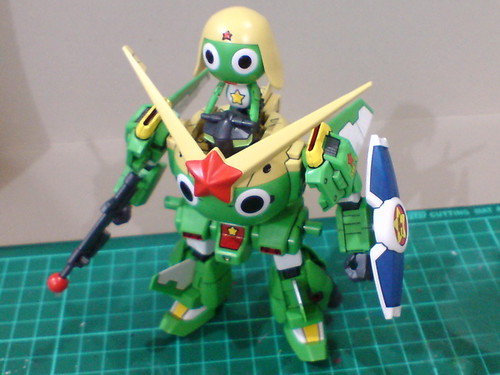


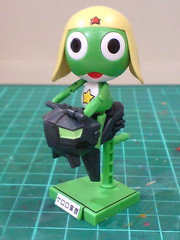
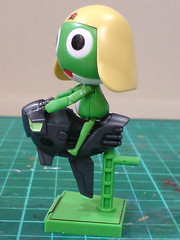
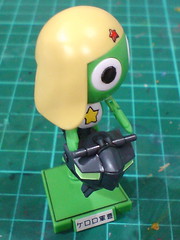
Keroro Robo Mk-II with Keroro. ^^
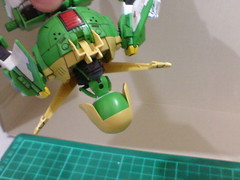

The connection between the body and the control pod is so secured that the latter won't fall out in an upside-down position.
Same can be said about the Keroro's connection to the pod as well. ^^

Keroro is truly a tenacious little guy. ^^ I suddenly recall one of the scenes from "Lucky Star" where Konata made the same comment about him when Tsukasa lost her cell phone, but the little Keroro accessory previously shown to be on the cell phone managed to survive. ^^


A truly enjoyable assembly this is. ^^ It's pretty simple, but very fun. ^^ While the assembly design is close to that of a simple High Grade Gunpla kit, it's very well executed on Keroro Robo Mk-II nonetheless. The fact that it's a rather unconventional plamo kit already made it seems pretty special from the jump, some of its unique features like the mini figure, ankle joints, side thrusters and hips make it even more interesting. ^^

More images of this completed Keropla kit coming up in the next posting.

Tuesday, February 26, 2013

Keropla God Keron Part 22

Tiny but mighty cutesy

Finally, after close to eight months since the work was initiated, the final phase of actually assembling the individual kits in Keropla God Keron is about to begin. ^^

As the old cliche saying goes, "the end of a journey is the beginning of another one." That couldn't be more true with God Keron, as I'm planning build the five kits separately, just like what I did for their detailing work, so it's anticipatable that the entire assembly won't be completed within a short period of time. Because of that scheduling, formation of God Keron isn't going to happen within this or next month. As much as I would love to see the final combined robot, I don't want to rush on everything either. ^^;

Since the detailing work started with him, and he's the platoon leader, the first kit to be rolled out will be Keroro and Keroro Robo Mk-II. ^^


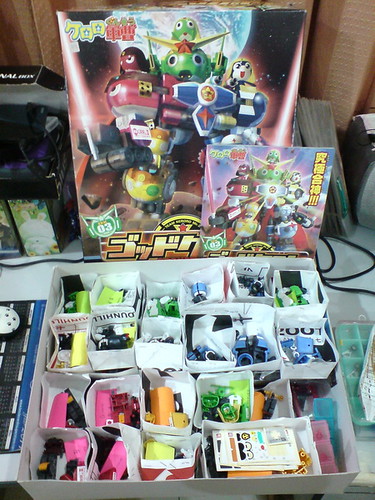
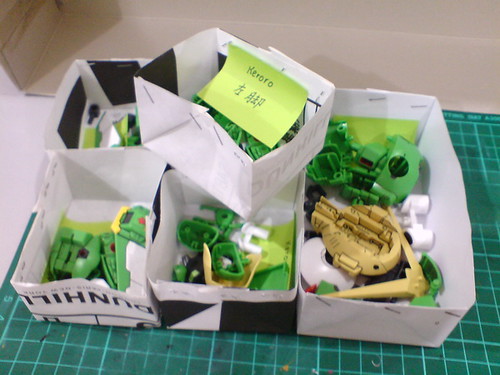
All the paper containers that hold the parts of Keroro and Keroro Robo Mk-II.


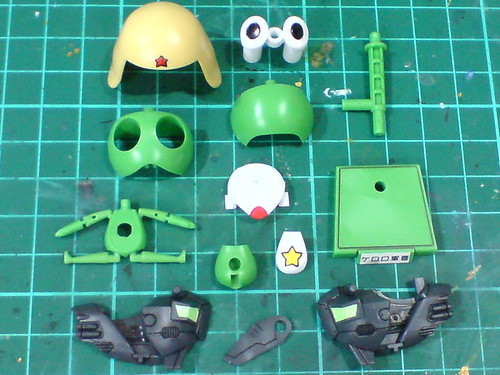
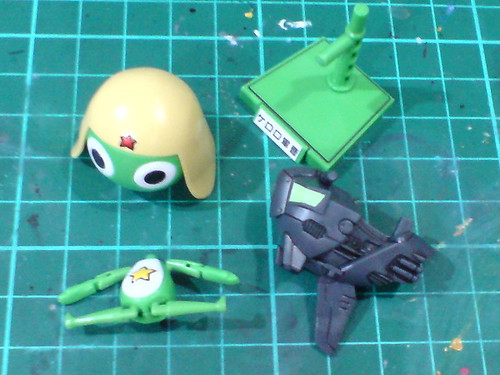
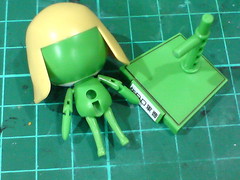
Parts of the mini figure, control pod and display base.


Separable components of the mini figure, control pod and display base before the final assembly.


The figure's shoulders and hips are on ball joints and can be bent very easily and flexibly to form the limbs.
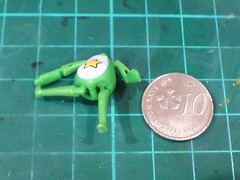
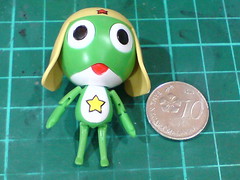
The small size of the body is comparable to a Malaysian 10-cent coin. ^^


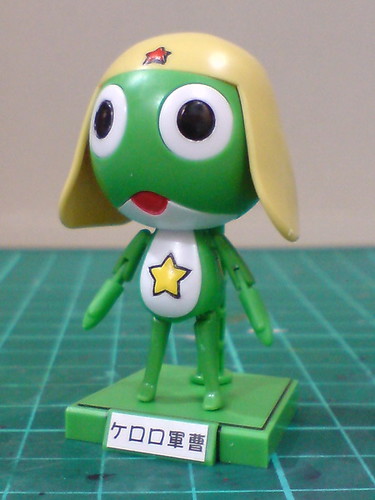
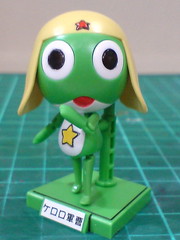
With the head attached, the mini figure of Keroro is done.
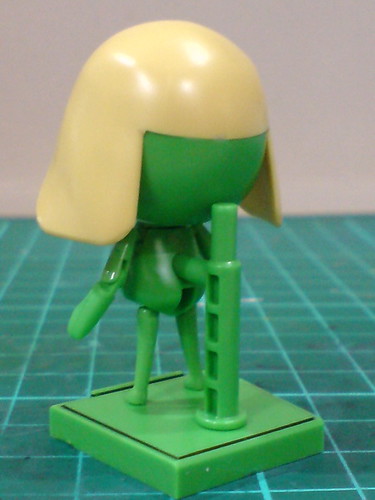
With its enormous head but super puny feet, standing without any support is virtually impossible for Keroro.


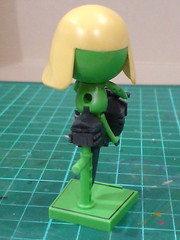
A slot on its back can be used to connect the figure to the display stand.


Done for the mini figure.


The large images above seriously doesn't reflect the figure's actual size. XD


Despite its small size, the figure is actually very posable. ^^


The peg on top of the little stand can be used to mount the control pod.
The vertical peg used for the figure needs to be rotated to the back to give room to the control pod's fin.


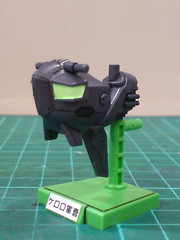
Mounted the control pod onto the stand.


The fin is movable.


A polygonal slot on Keroro's butt (^^) is used to connect the figure to the pod.


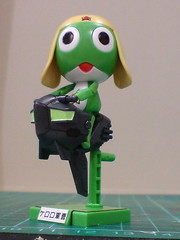
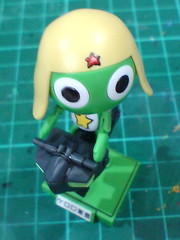
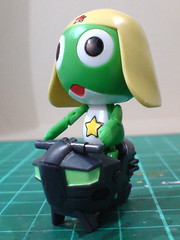
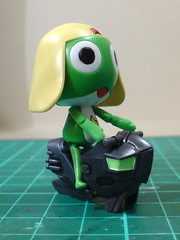
Keroro on his control pod for Keroro Robo Mk-II. ^^


With the fin folded, the pod can actually sit on a flat surface very firmly without the stand's support.


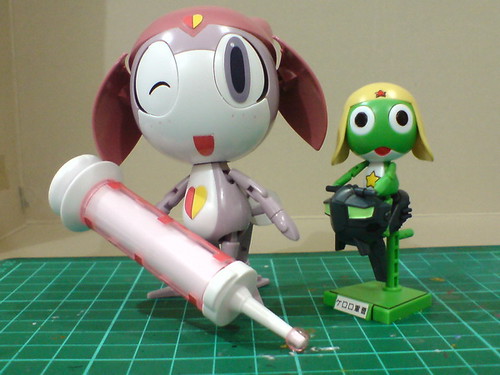
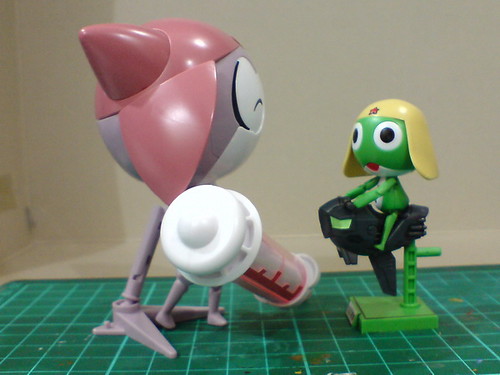
Size comparison with Keropla Pururu Chief Medic. ^^


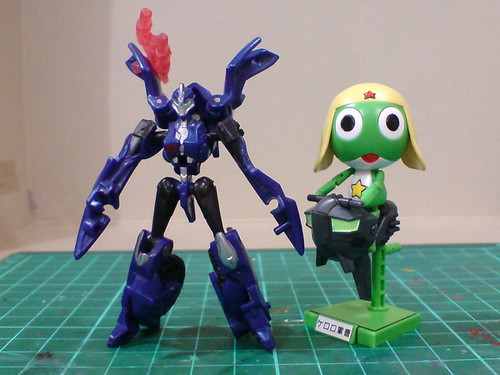
Size comparison with Transformers: Prime's Legion Class Cyberverse Arcee.
This is the first time Cyberverse Arcee seems taller and larger than something she's being compared to I think. XD

Moving on to Keroro Robo Mk-II's assembly next. ^^


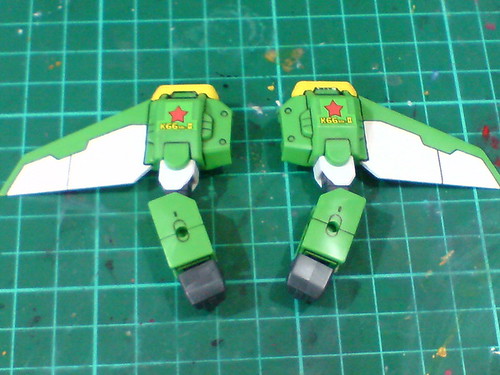
Parts of the arms.


Separable components of the arms before the final assembly.


The painted yellow vents with red and black interior, part of the earliest work on this kit turn out very nicely. ^^


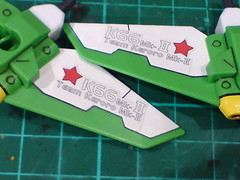
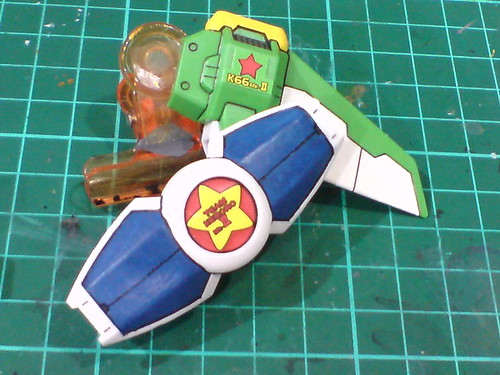
Another look at the paper stickers beneath the shoulder wings applied in mid January.


Done for the two arms.


Very wide articulation for the elbow. ^^


The elbow joint is made up of two separated polycap parts, so the forearm can enjoy an extra swivel at elbow level. ^^


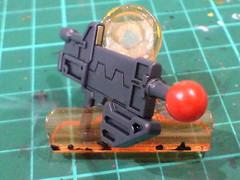
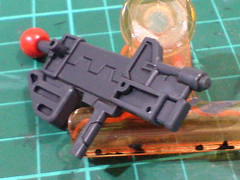
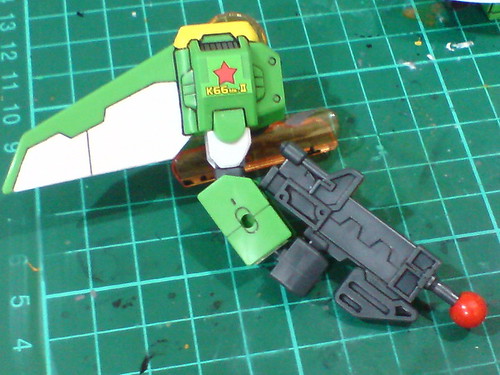
Just three parts for the weapons. ^^
Two if you don't like having a red ball at the tip of the rifle. XD


Keroro Robo Mk-II's rifle.


Connected the rifle to the right arm.


One-piece part for the shield needs no assembly at all.


A slot on either forearm can be used to mount the shield.


Connected the shield to the left arm.

Will move on to the body's and legs' assembly next. ^^