Done, for all the parts mentioned in Part 1. ^^
Things are much easier this time, as compared to the previous round, which had the work separated into 9 postings. Apart from being just one kit this time, the most important factor is that I don't have to ponder on what color, where and how to paint the different parts. Everything is done by referring to the "blueprint" from the first 1/100 Exia. ^^
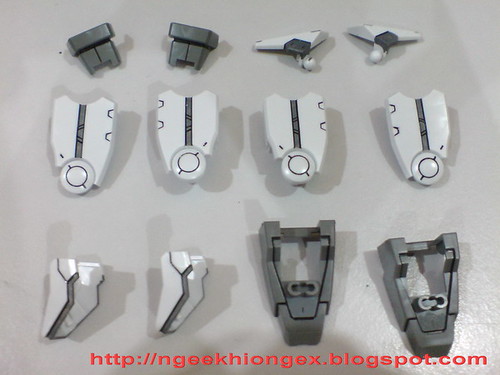
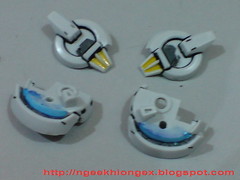
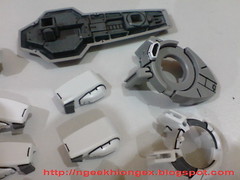
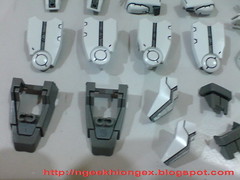
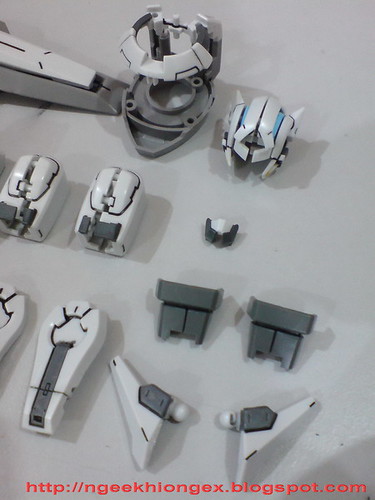
Parts for the waist, front skirt armors, thighs and feet are painted and panel-lined.
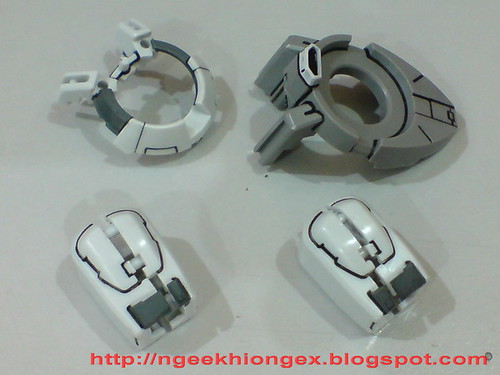
Same goes for the chest ring, backpack and upper arms.
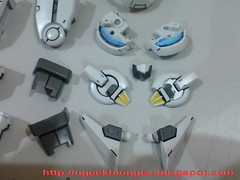
Painted yellow for the sideburns.
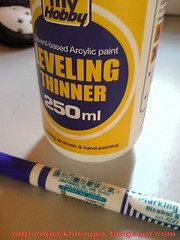
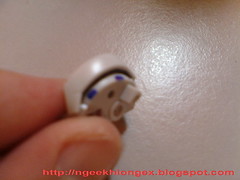

A different method to paint the GN Stripes on the head - paint the stripes with blue permanent marker first and use Mr. Hobby Leveling Thinner to dissolve the paint (done with a paint brush).
Worked well after a few rounds of painting and dissolving. ^^

Work on the parts for the head completed.

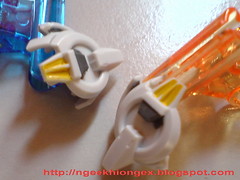
Parts for the shield.


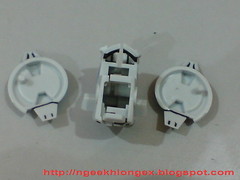
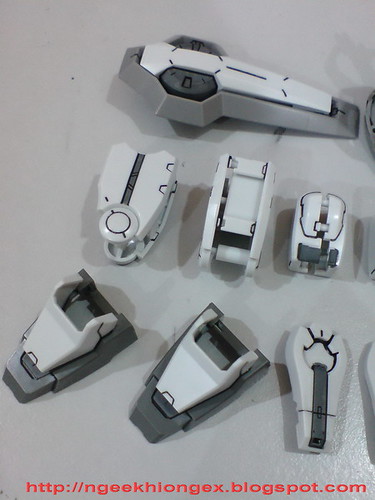
All parts involved.
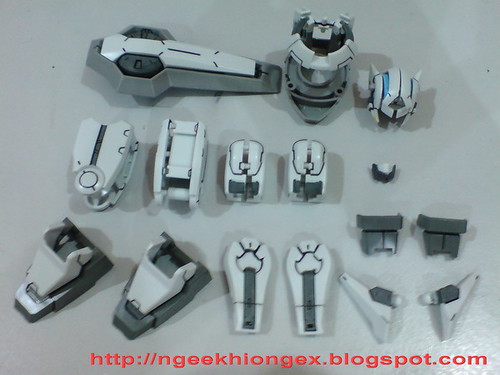
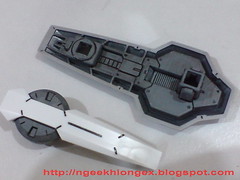
All the parts partially assembled.
With these parts now done, I'll be moving on to the center focus of this extension to my All Exia Project next - the GN Swords. ^^


2 comments:
Woot !
Permanent marker X Leveling thinner to get lighter blue ! Nice idea, might adopt this idea. +)
Nice! I suddenly wanted to get a roll out version now. XD
Post a Comment