Started painting the different parts. The first color to go in is gray.
All sorts of inconvenience here and there for the many parts. I'm really glad all the work is over now ^^;
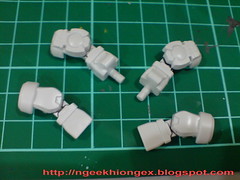
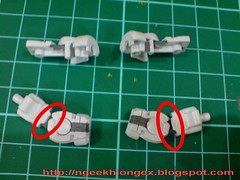
For the arm, the GN Vulcan is easy enough as it's on a flat surface. The elbow joint however, very problematic, the slit between the joint and the upper arm and forearm is so narrow I had to sharpen a toothpick to channel the paint through it ^^;
I'm not happy that Bandai omitted the elbow joint for BB Senshi Exia, much like the Sangokuden series, but comparing the two series, the later is still easier to paint, since the upper arm is always smaller than the forearm, you don't get the tiny slit in between.
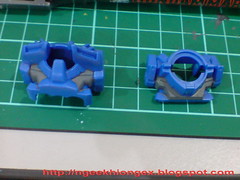
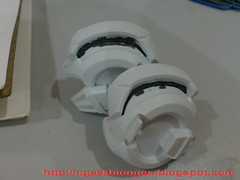
Molded in one piece each for shoe and armor, I painted them in similar fashion as HG Exia's shoes: gray for the slit between the two parts. As compared to the arm, this is a much easier task ^^;
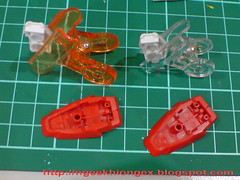
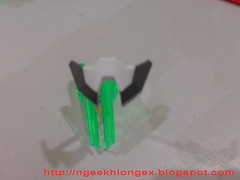
Despite being small, parts for the two legs are actually quite easy to paint. There's no hard to reach spots actually. I panel-lined the different parts first to help me identify the border between them. They are another two colors coming in later on: light blue and clear green. Without the lines, the work to scratch off excessive paint later on will be even more.
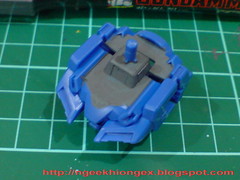
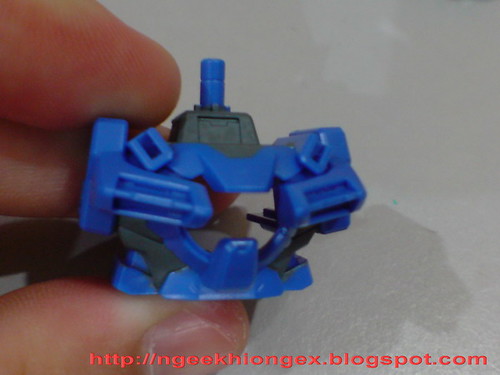
Painted the base of the torso in gray as well. Narrow space under the shoulder joint is pretty hard to paint. I replied on the all versatile toothpick to do the job. Apart from this, the other surfaces are quite easy to paint actually.
The neck area is very wide and requires quite a bit of painting. No problem on this part either as the space is wide enough for the marker to be used directly on it.
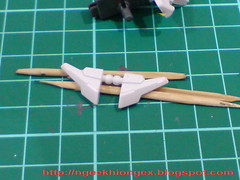
The front skirt armor is probably the easiest part to paint in this review. Just those two spots near the joints. As a matter of fact, the whole part is very much like the HG version.
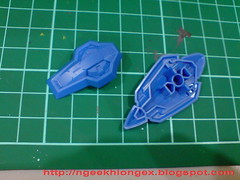
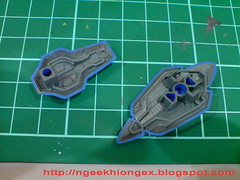

Plenty of painting for the two shield! ^^;
Amount of painting aside, the "landscape" is quite radical as well. ^^; Wide area to be painted directly, just enough area and narrow slits, protruding parts with slits around them and a few other designs. Pretty cool to see all of them on just two small shields ^^; Some areas can be painted directly using the marker, some can only be reached by a toothpick, and some of the slits are too narrow, I just squeeze the paint from the marker into those spots, let the paint cover those parts and done. My panel-liner can't reach those tight spots anyway.
Also, because there are protruding parts that will form the joint from the shield to the GN Sword or forearm, there are "sharp corners" around the part, which may be left out during painting. I always check after each round of painting to ensure I got everything covered.
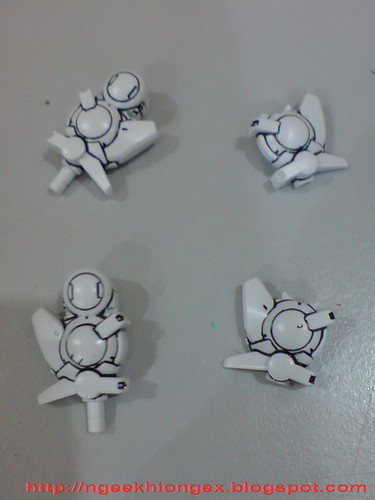
Very much like my All Exia Project, the first color to go in when painting the helmet is gray, for a small line of details beside the GN Stripe. This part is super-tiny for the normal scale version, but it's being magnified on this BB Senshi version. I could actually use the marker directly onto it ^^
Of course, for such convenience, comes some inconveniences as well. ^^; The spilled over color onto the GN Stripe would need to be scratched away.
Painting the mask was very easy as compared to the helmet.
Once the paint has dried completely, it's going to plenty of work for my art knife. Scratch scratch scratch time before the next round of painting.


3 comments:
did you use marker or brush for the gray?
Seing bro did such tidy work, got the urge to re-paint my BB 00 & God gundam now...^^;
errr NK u missed a grey spot for the vents armour pieces if u dun understand wad i am pointing at... u can look at the many pictures of SD Exia painted ver on the box...
Post a Comment