And more painting in gray too ^^
Started the preliminary round of painting in Part 2, it's time to refine the painted areas, and of course, painting of new parts as well.

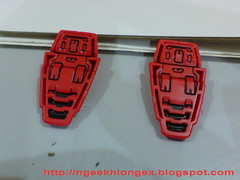
Treatment for the whole feet is almost identical to that of HG 1/144 scale Exia mentioned in this previous posting: painted the exposing front section of the shoe and the ankle area of the white part in gray. This BB Senshi version does have wider area to paint for the front of the shoe, but much tinier ankle than the HG equivalence.
Panel-lining the bottom of the shoe is through identical method as well: using the whiteboard refill ink trick to get into those very narrow slits, and scratch off excessive ink after that.

Painted the gray parts in Part 2. By panel-lining the parts at the beginning of the task, not so obvious spilled over paint can be covered by another round of panel-lining, reducing the need to scratch off all of them.
Despite how it looks, painting the legs for this BB Senshi version is much easier than the HG 1/144 scale version. There's no hard to reach slit, and the only harder obstacle is to get around the round part on the pelvis joint. For that, I just used the sharper edge of my Gundam Marker Gray to get through. Some bits of the paint got onto the round part, but that's no big deal anyway. It can be scratched off easily.

The top portion of the front skirt armors is probably the easiest part to paint in this review. ^^
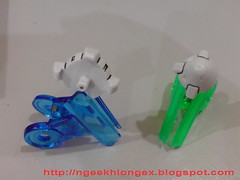

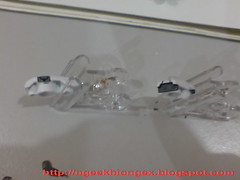
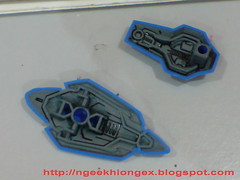
The backpack portion of the GN Drive is separated into two parts, to incorporate the rotating clear green "wheel" in between them. There are three "grippers" on each part that needs to be painted in gray.

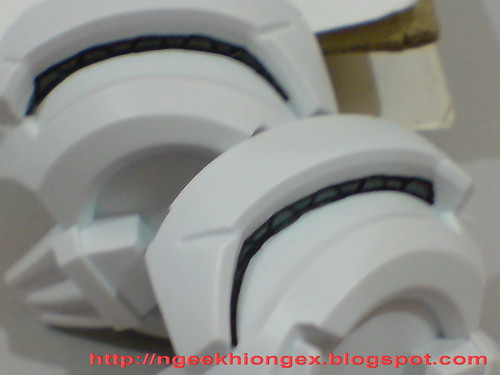
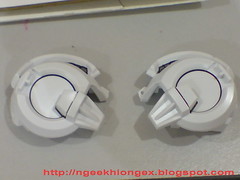
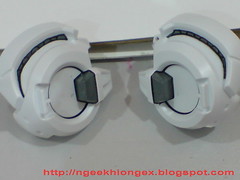
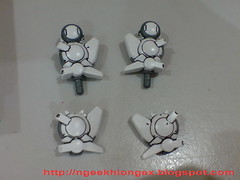
The head is the parts with the most work done for this review. Apart from clearing off excessive paint spilled over onto the GN Stripe on top of the head, the protruding part behind the sideburns needs to be painted in gray as well.
The first task was exactly easy as I thought it was going to be, as the GN Stripe on each part of the head is sitting in between a "valley", as you can see in the second image above. The elevation is an obstacle for maneuvering the knife onto the part to clean off the excessive paint. The work became harder towards both ends of the GN Stripe when the edges get narrower.
Just have to do it slowly and with patience. ^^;
So when the first job was done, and moving onto painting the gray sideburns, I was totally relieved by the ease of that second task ^^ Actually that's why I save the protruding part behind the sideburns till after the head. It's like a small bonus to the work, like, "OK, the previous one was hard, now I want to feel the freedom of painting with my Gundam Marker and very little work of scratching." XD

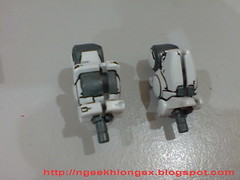
Clean-up for the shields, in front and behind. For panel-lining, I just did it for the details behind the shields, For that in front of the shields, panel-lining will be done after the white portion is painted, which will be in the next review. ^^


No comments:
Post a Comment