Completed the assembly of 00 Gundam with its weapons, body, Twin Drive and head in this posting.
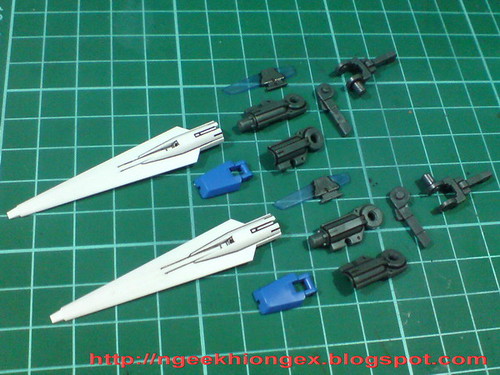
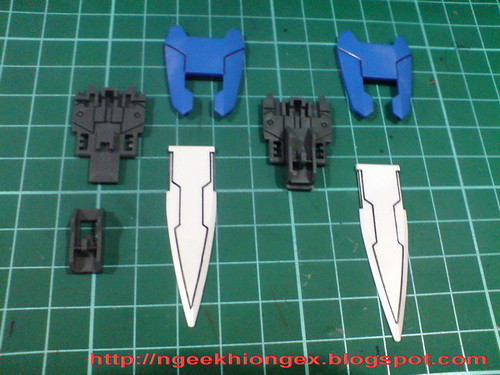
Parts for GN Sword II

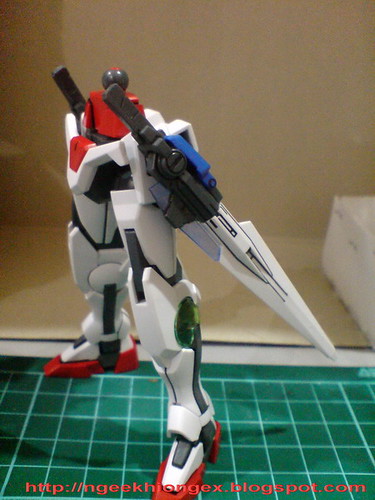
GN Sword II in rifle mode.

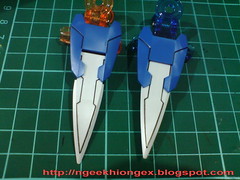
GN Sword II in sword mode.

Mode change of the weapon is done via part-swapping between the blade and body. There are 4 protruding points at the edge of the joint that prevent you from rotating the blade for the mode change - something I always wonder about after seeing how the smaller HCM-Pro version can perform the mode change by just rotating the part. ^^;
Peg joint to mount the swords onto the side skirt armors.
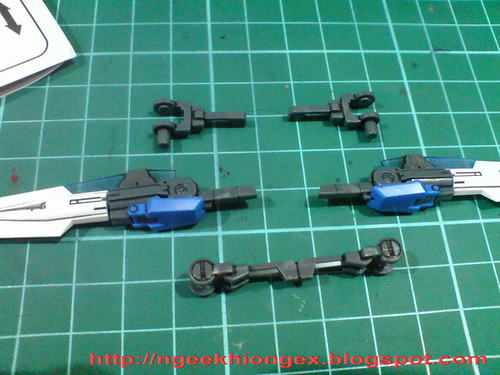
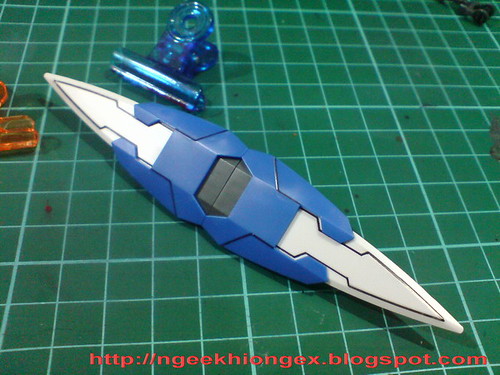
Part-swapping involving partial portion of the handle and an extra combined part to connect both GN Sword IIs.
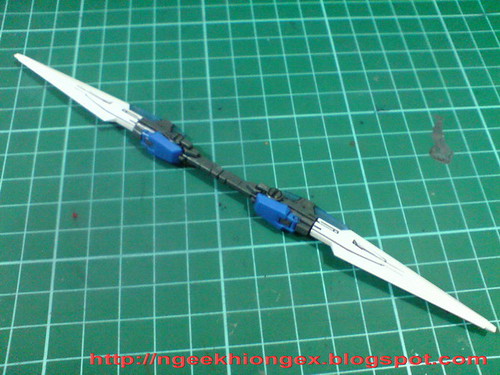
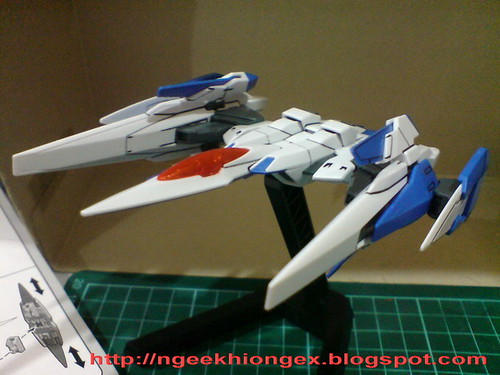
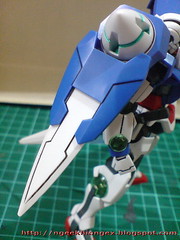
A huge lance.
Total length = 19.3cm
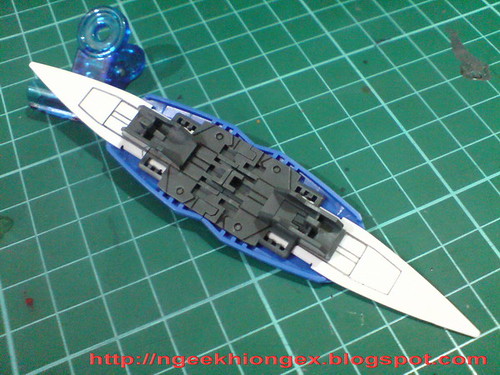
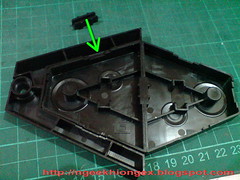
Just 3 parts for each half of the blade shield.
Another part shown on the bottom left is the removable mount rack that will be useful for the combined shield configuration.


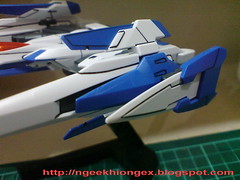
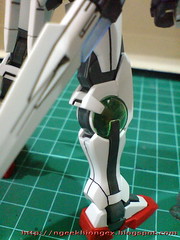
Completed

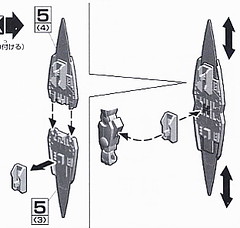
The blades can be extended by just pulling them out from the body of the shield.


To get the combined shield, just swap the blue part to a lower position on the gray part, and connect the set of pegs at the edge of the body.
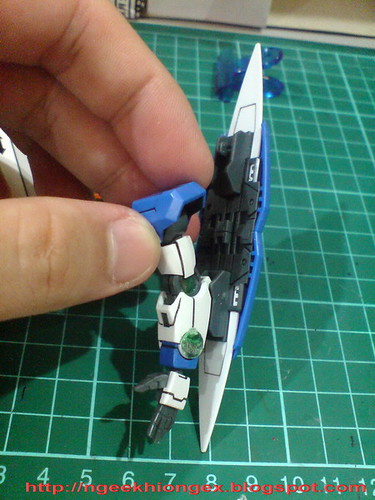
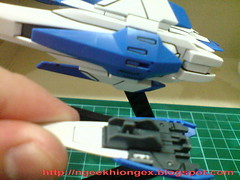
Completed
Supposedly, according to the manual, the removable mount rack mentioned earlier on must be repositioned onto the joint in the middle of the two parts for it to be mounted onto the forearm, but the whole shield is pretty firm without that step.
Image is from Hobby Search.
If you don't mind the very off-center look of the shield. ^^;
The same peg to mount the shield to the forearm is also used to attach it onto the binders of O Raiser.
O Raiser with 00 Gundam's shield pieces attached is not possible with the HCM-Pro version. ^^;
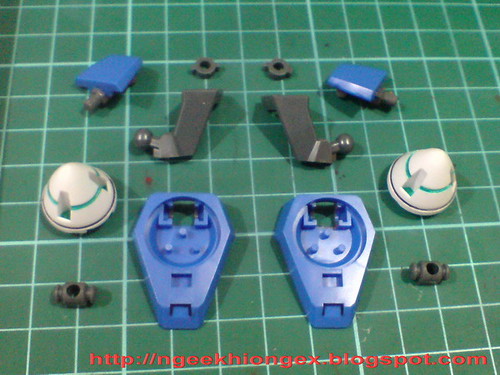
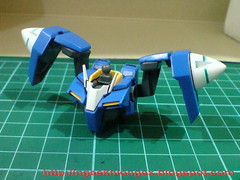
Parts for the Twin Drive.
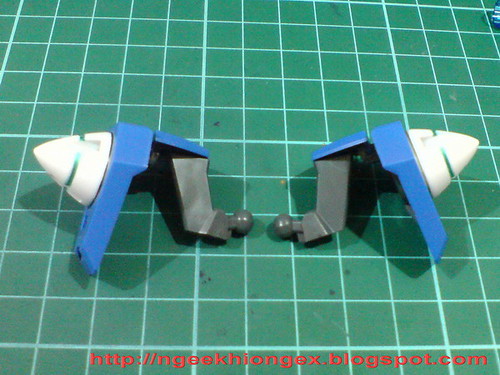
Very simple component, but has a whole set of articulation on its own. ^^
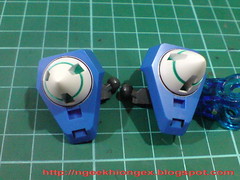
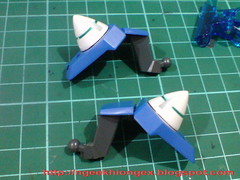
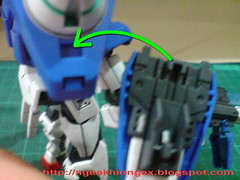
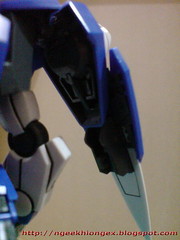
The drives can rotate to the front and back (peg joint between the blue joint and gray arm). They can also move upward and downward (hinge joint between the mount rack and blue joint).

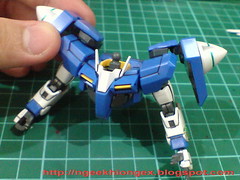
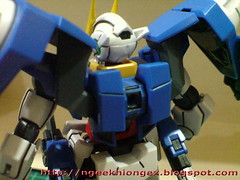
Parts for the body.

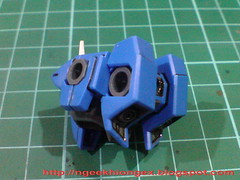
All polycap slots are for ball-type joints, the neck itself is a double point ball-type polycap.
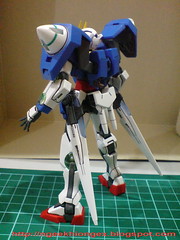
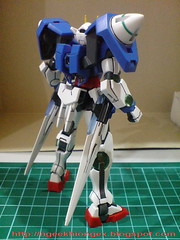
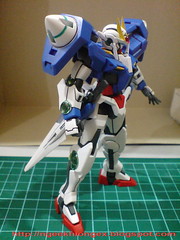
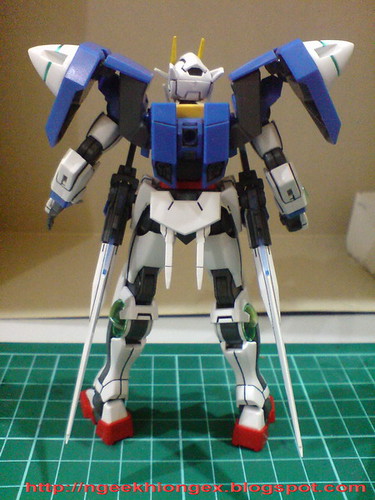
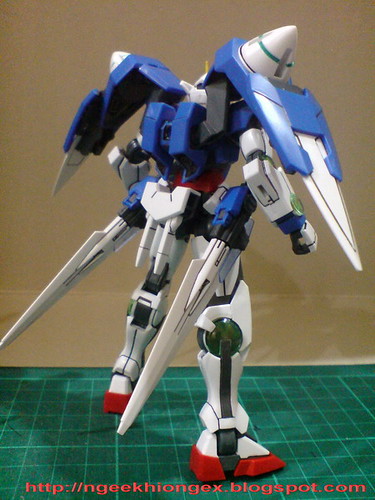
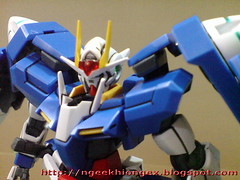
A major preview to what 00 Gundam has in store for its action. ^^

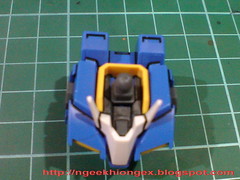
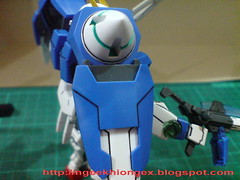
With the Twin Drive attached.
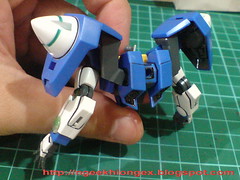
The shoulder armors are pretty small actually, but the Twin Drive helps to make the entire upper body seems big.

Just the head now to complete the whole model, but no teasing this time like what I did with MG Infinite Justice Gundam XD
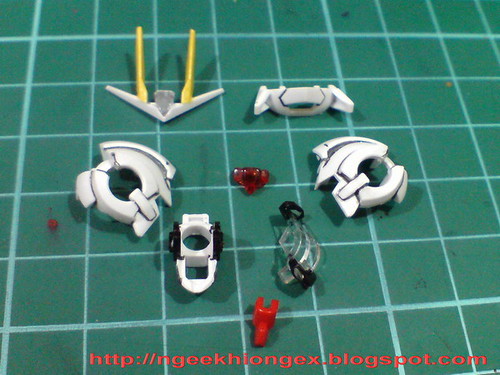
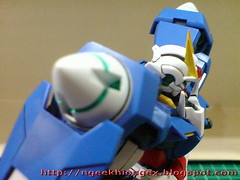
Parts for the head.
Foil stickers for the eyes and GN Condensers on the sideburns.

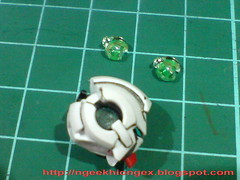
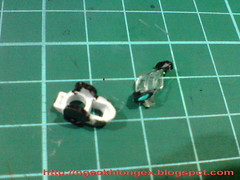
Very tiny clear parts for the GN Condensers.

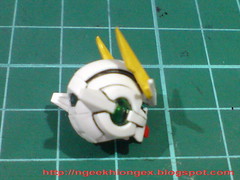
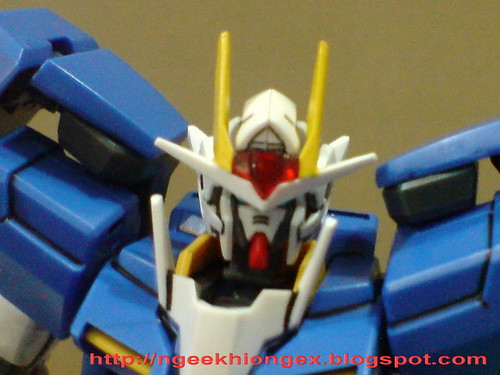
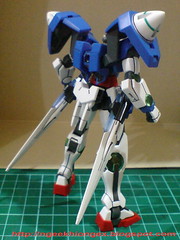
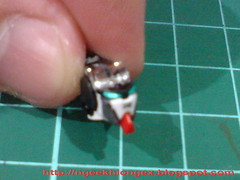
Done for the head.
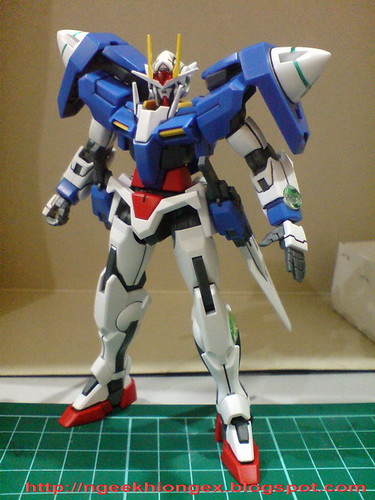
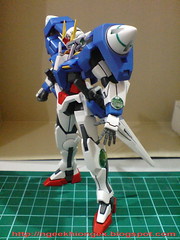
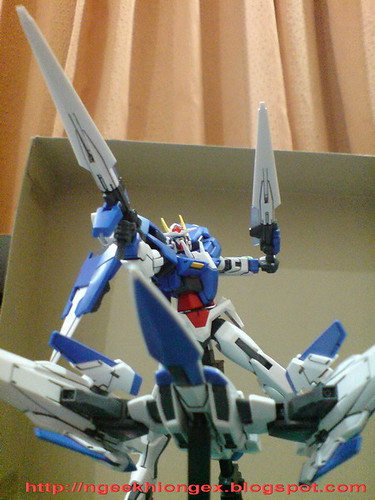
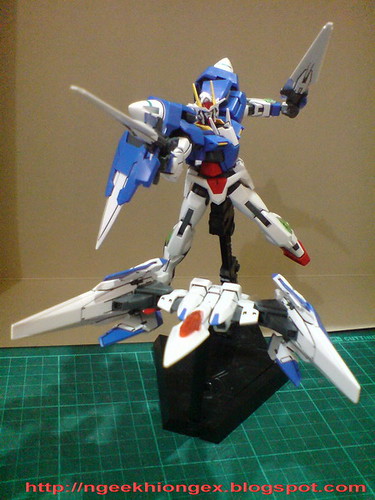
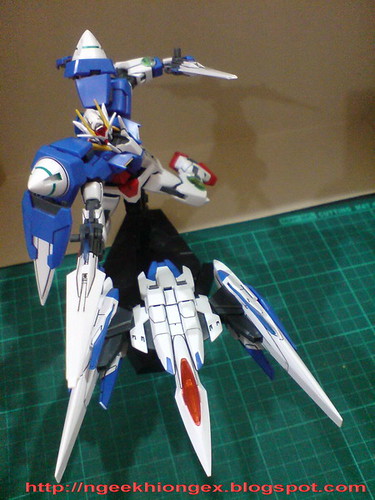
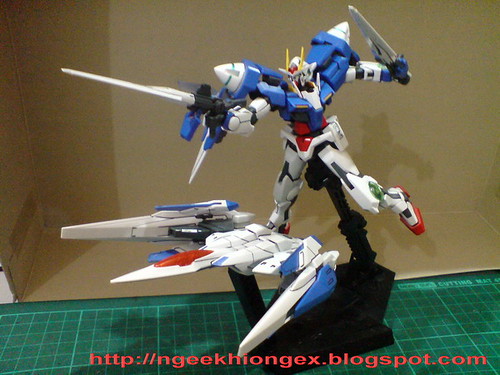
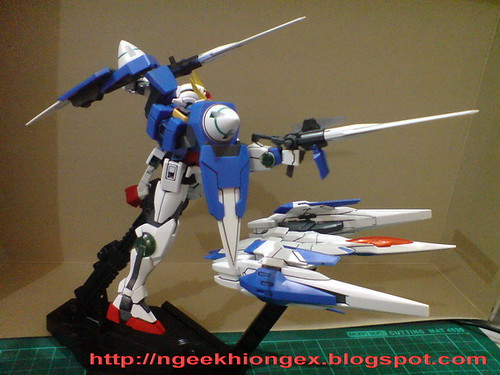
Done for the entire model. ^^
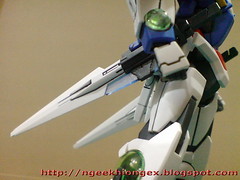
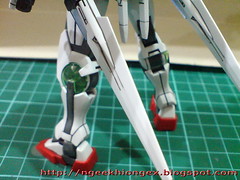
Each half of the shield can be connected to the Twin Drive.

A sharper and more complete look with the shields? ^^


A nifty feature of O Raiser's base done in Part 5 that would allow both models to be displayed at the same time:

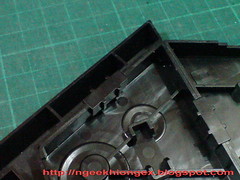
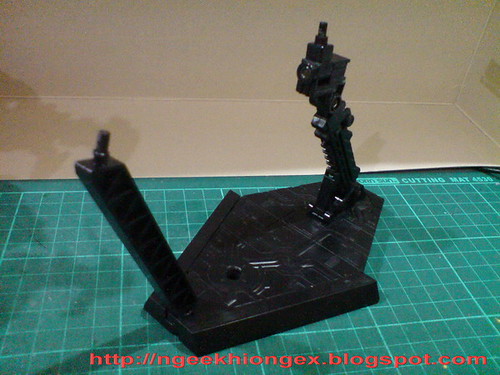
The base from O Raiser can be connected to Action Base 2.
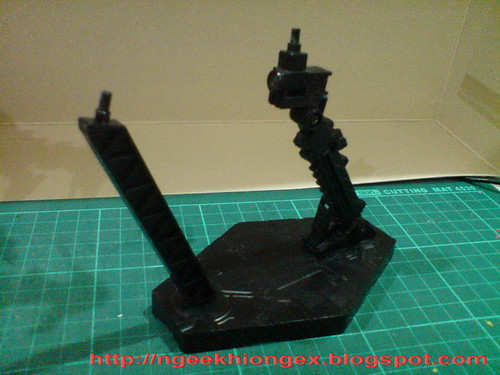
Without the V-shaped base, the stand itself can be connected to the extra slot on Action Base 2.
Separate display of the Gundam and its support unit.
A look at the docking feature, and 00 Raiser in the next posting. ^^


1 comment:
Hi Ngee, loving the work as always. Just a quick question regarding your panel lining, what kind of Gundam Marker are you using to get such a sharp black finish?
Looking forward to 00 Raiser!
Post a Comment