A look at how the docking sequence design for these two just completed kits:

The three components of O Raiser have to be separated first.
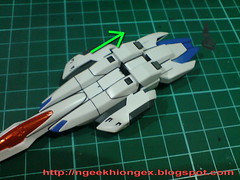

Pull the tail portion of O Raiser backward to dislocate it from the body, then flip the tail downward.

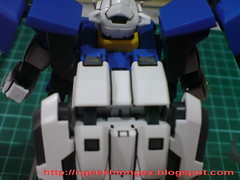
Connect the peg joint to 00 Gundam's backpack.
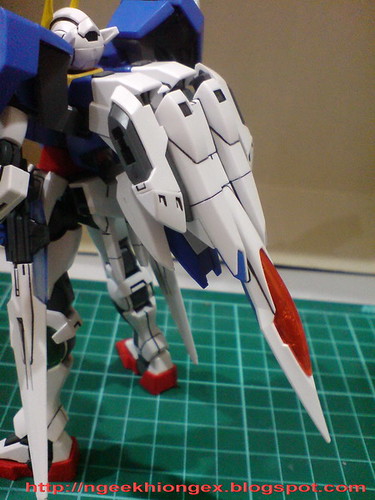
A huge beak on the back. ^^

For the binders, flip out the connector that is sitting inside the joint.

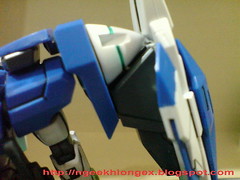
One peg of the connector goes into one of the slots on the cone, another one connects to a slot on the mount rack.

Bend the smaller fins outward and tilt the top portion of the binder inward facing the GN Drive for better display.


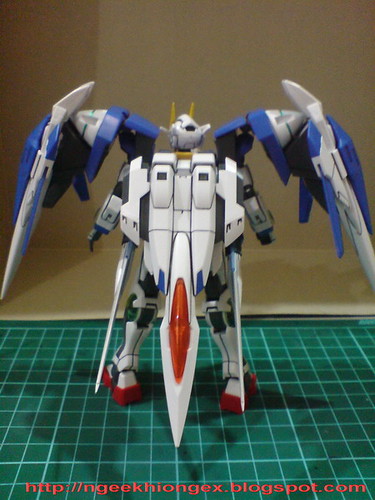

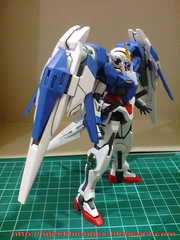
00 Raiser completed.
Very simple steps to get the combination, definitely much easier than the HCM-Pro version since no part-swapping for the backpack or GN Drive is needed. The joints on 00 Gundam are very sturdy in holding the add-ons. That's beside the fact that O Raiser is pretty light on its own. The Twin Drive's joints are very strong in holding the binders. The expanded look can stay in place very well, making it very appealing for display. ^^ The leg joints are pretty good in supporting the weight of the upper body as well.
More images of 00 Raiser:

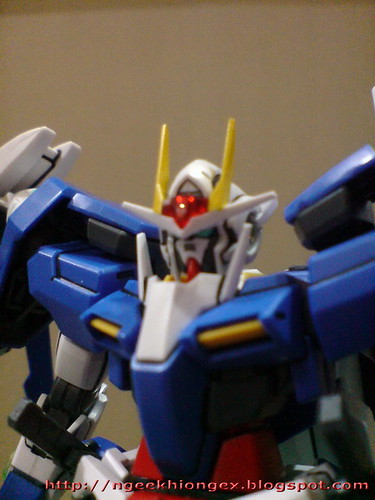


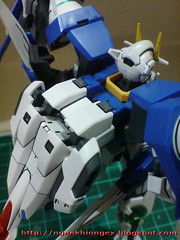
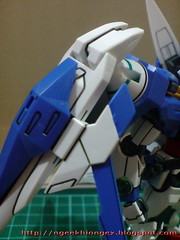

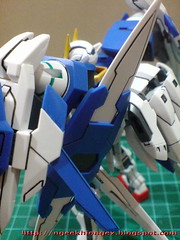
When the binders are on the side of the arm, the shield can only be posed pointing to the back or to the front.


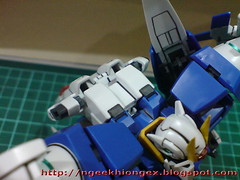

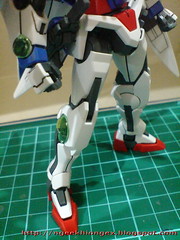


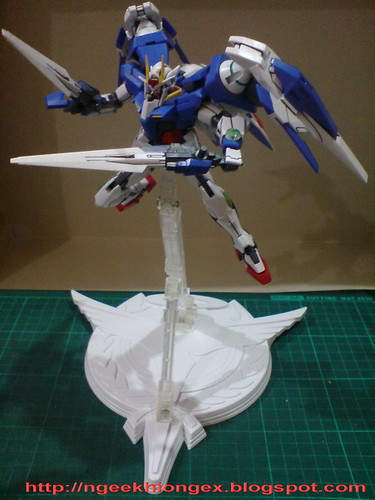

On Action Base 1 Celestial Beings Ver.


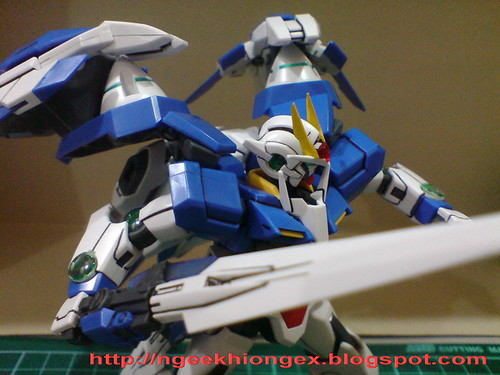
More action to come in the next posting.


No comments:
Post a Comment