Time to get the armor parts up onto MG Gundam Mk. II Ver. 2.0's inner frame completed in the previous posting. ^^

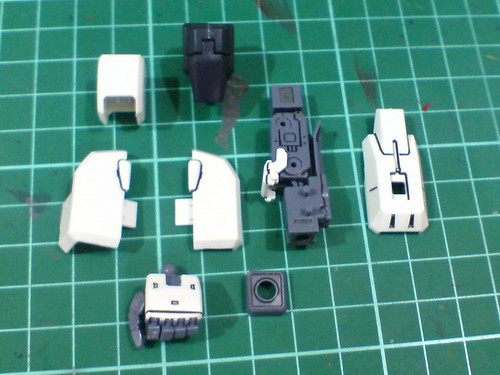
Armor parts for the right arm.
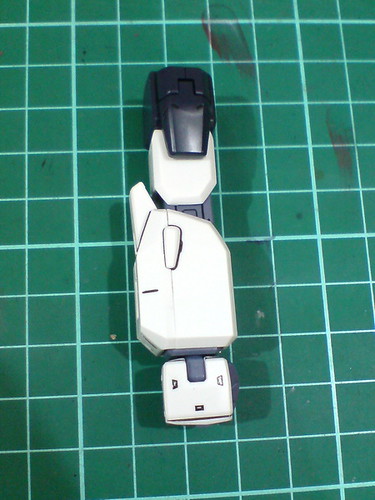
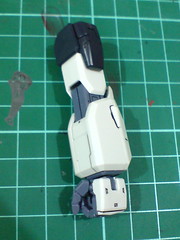
Done, very easily. ^^
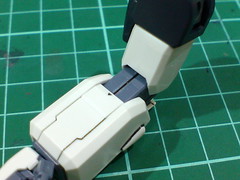
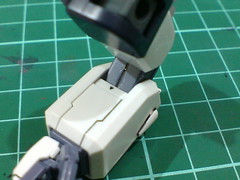
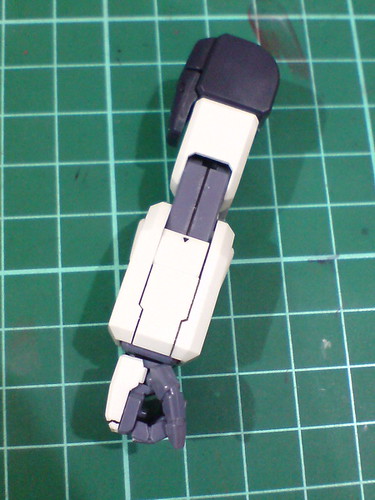
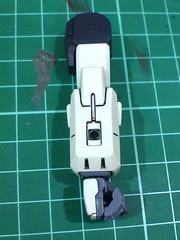
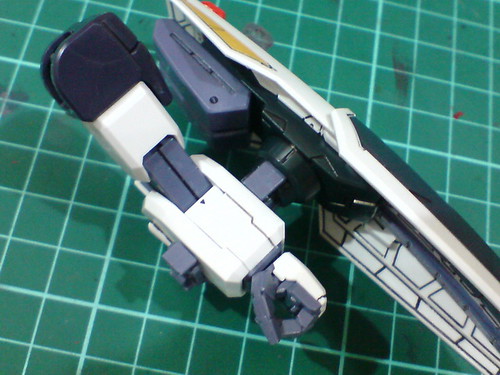
With the armors attached, we get a better look at the small part near the elbow that would slide into the forearm when the elbow is bent.
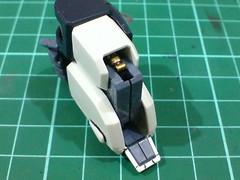
The painted hydraulic pipe from the upper arm can still be seen behind the elbow when it's bent. ^^
Repetition of the assembly for the left arm.
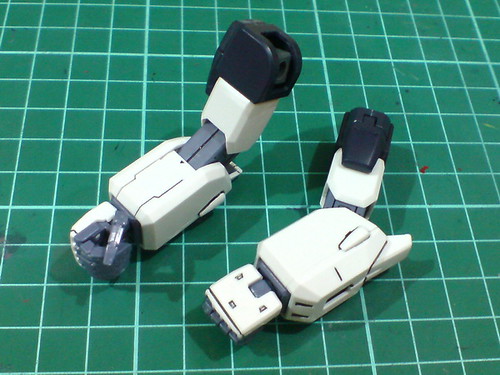
Both arms are now done.
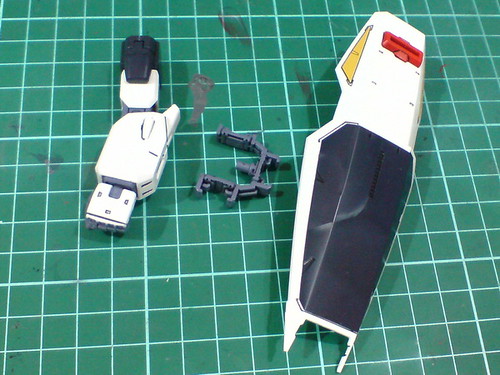
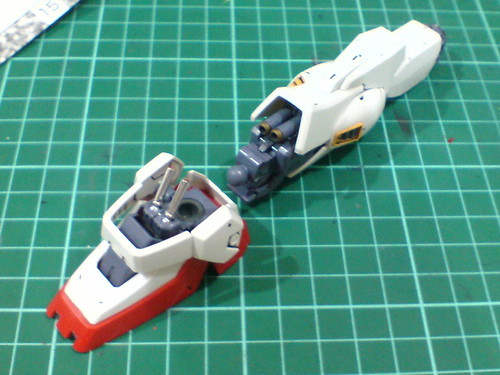
A very detailed mount rack part for the shield to be mounted onto the left arm.

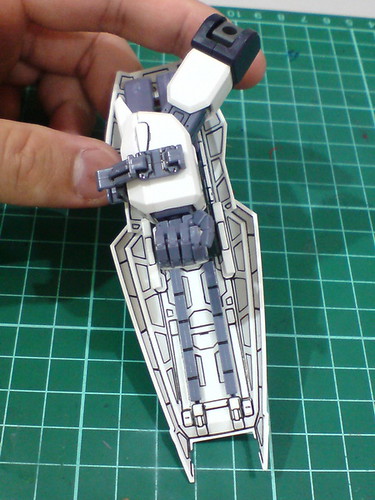
The distance between the forearm and the shield is just right so that the spare magazine cartridges don't collide with the upper arm when the components move.
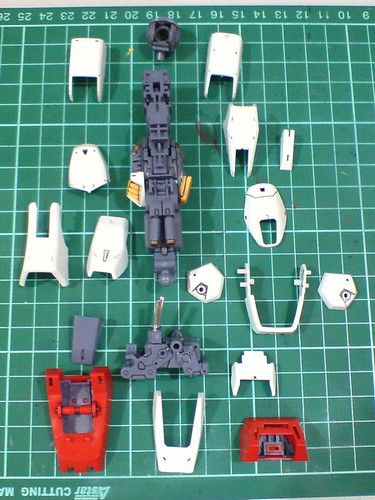
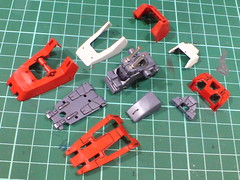
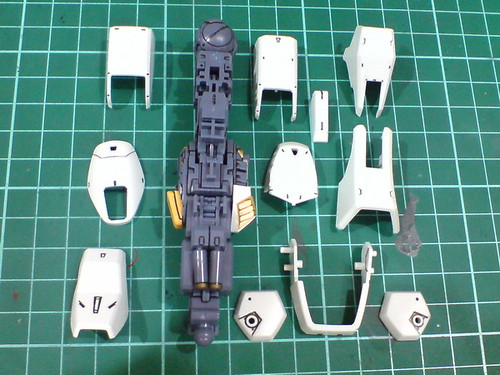
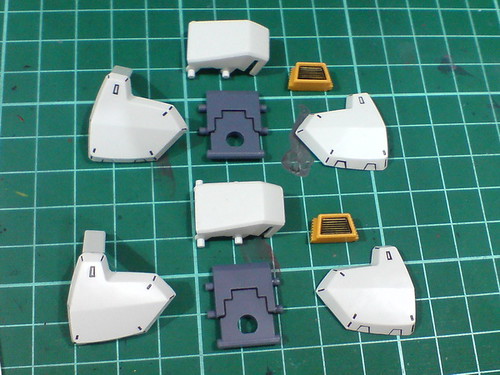
Armor parts for the right leg.
Just two separable components.
Massive difference between the inner frame's complexity and the armor parts' simplicity ^^

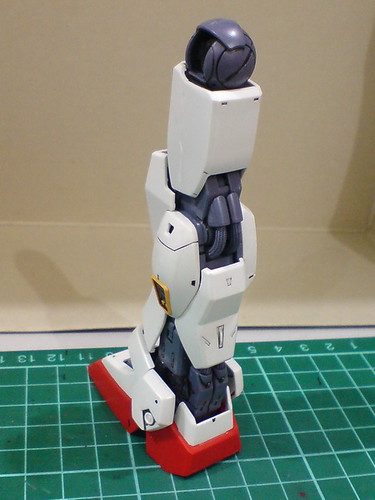
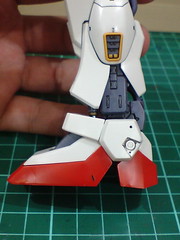
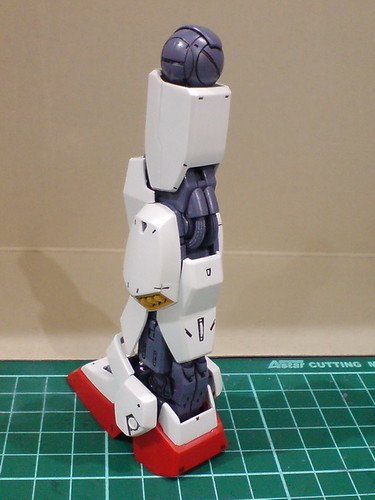
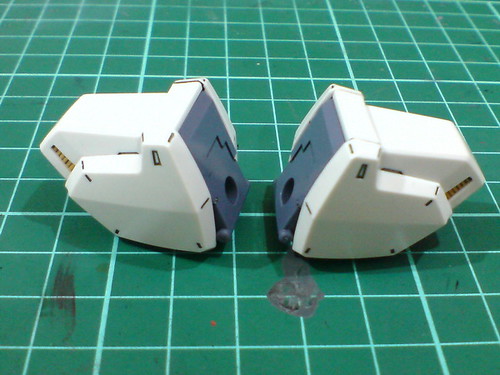
Done for the right leg.
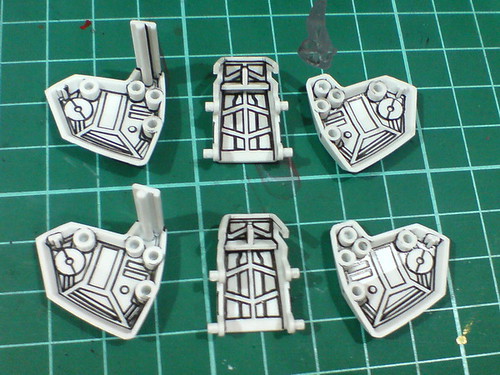
Like most of the other components, the tiny details all over the leg follow the Perfect Grade version's design as well.
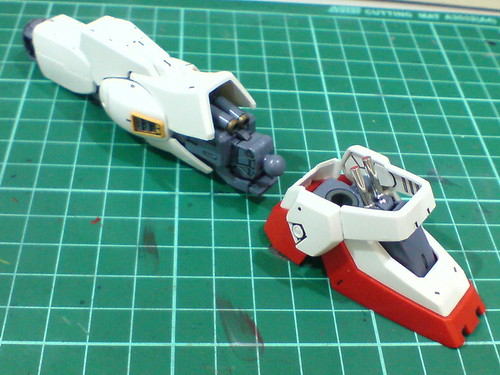
Details of the sole.

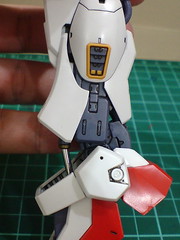
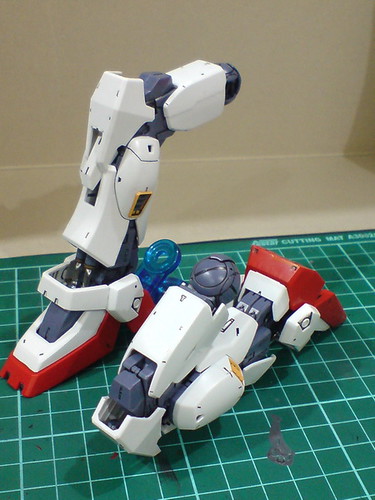
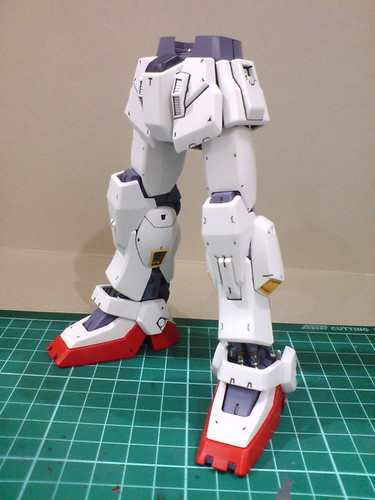
Pretty standard bending range for the ankle I think, but the foot is large and heavy enough to support the leg in this pose - a very good hint at the stability it can provide for the action poses of the completed model later on. ^^
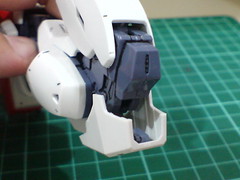
The front portion of the foot bends upward, while the rear portion goes downward, creating a very natural flexing pose for the foot.
Knee armor can be manually pushed downward when the knee is bent to the back.
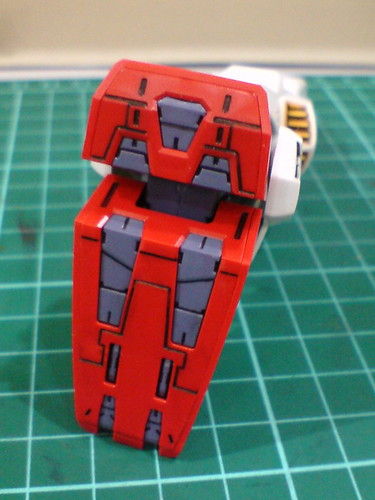
(Left) Sliding thigh armor is no big deal anymore after the gimmick is been used by almost every "Gundam SEED/Destiny" MG kit. ^^
(Right) The solid look of the knee when it's bent to its fullest is something I like very much. ^^
Lower part of the armor would slide downward when the foot is bent to the same direction.

Assembly for the left foot - something I didn't do in Part 9.
Repetition of the assembly for the left leg.

Done for the left leg.
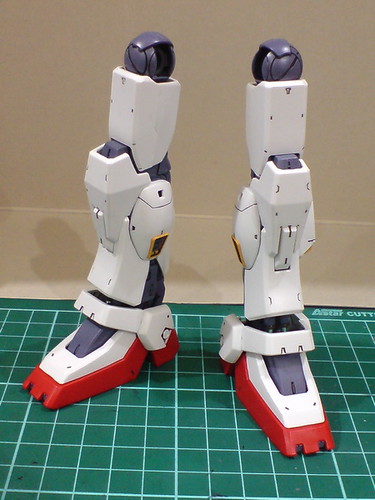

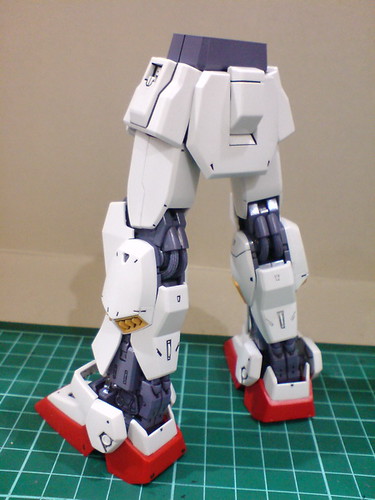
And now both legs are completed. ^^
A summary of the legs' articulation range. ^^
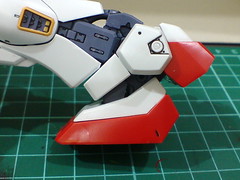
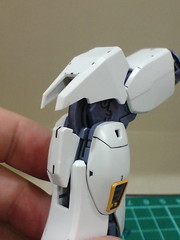
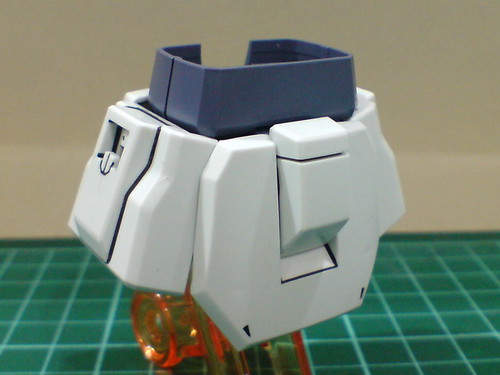
Parts for the shoulder armors.
A look at the line details behind the parts (again). ^^
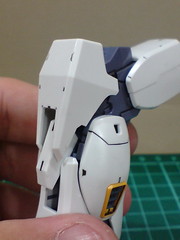
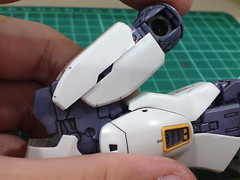
Done for the shoulder armors.
No seamline at all. ^^
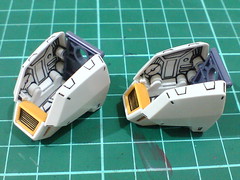
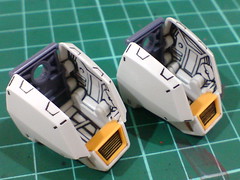
The details inside the components are still clearly visible.
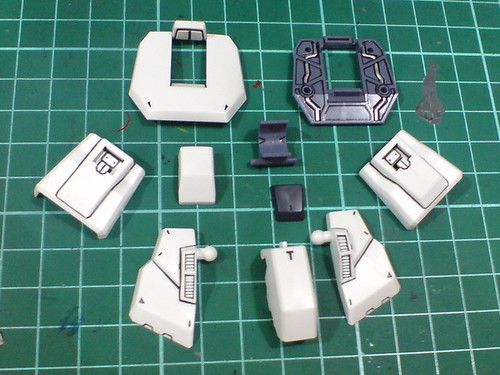
Armor parts for the waist.
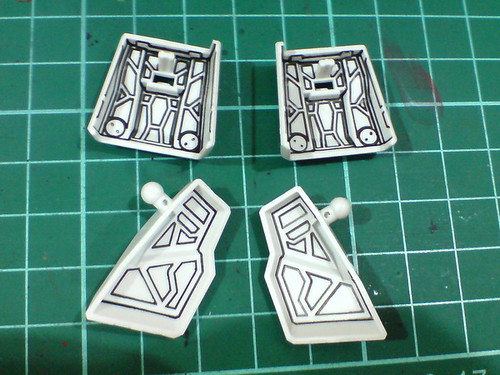
Details behind the front and side skirt armors.
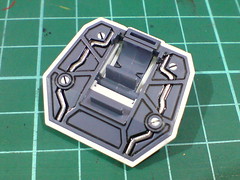
The connecting pins are cleverly designed into screws-like parts, and the flow of the line details on the mecha gray part helps to complete the "disguise" ^^
The same design can be seen on the back as well.

Done for the waist component.
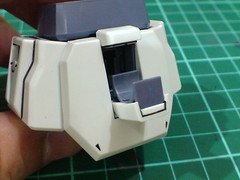
Mount rack for the Hyper Bazooka can be opened easily.

Combination of all the details beneath the waist. ^^
Lower body completed.
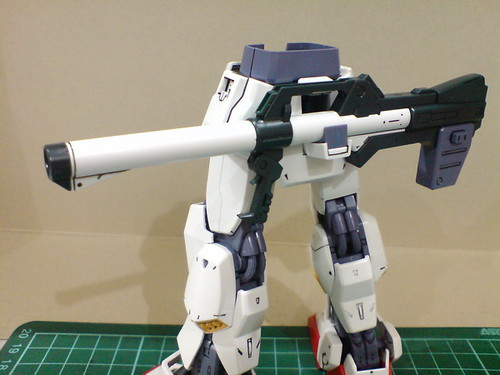
With the bazooka attached.
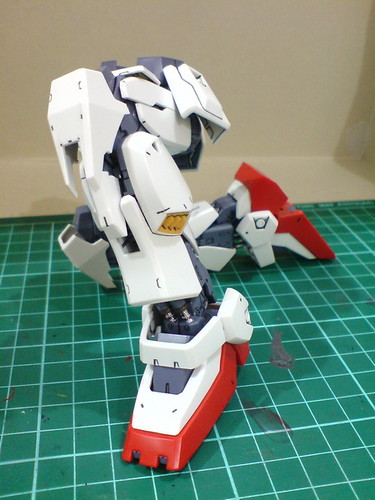
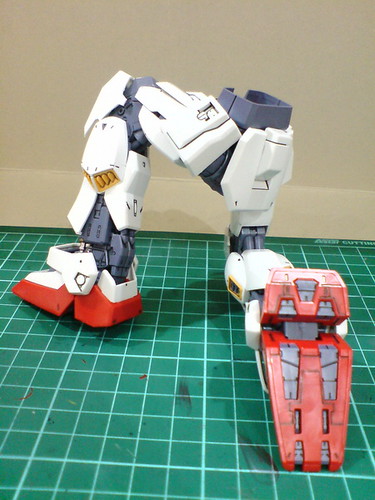
The ability to "swing" the hip joint forward allows the natural look of the kneeling pose to be preserved. ^^
Pretty much covering all the parts done in Part 9. Armor-on for the body unit and the completion of the entire kit in the next posting. ^^


No comments:
Post a Comment