Moving on with the assembly of MG Gundam Mk. II Ver. 2.0 after the previous posting. ^^
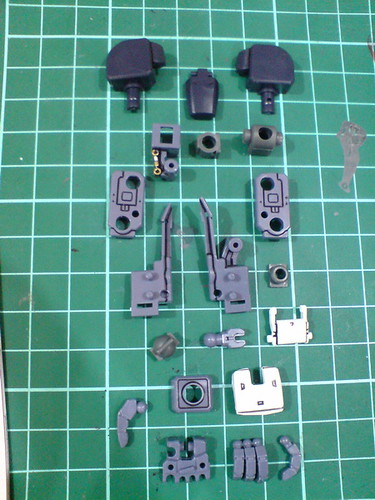
Inner frame parts for the right arm.
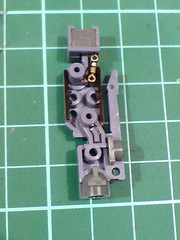
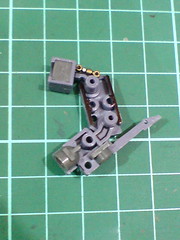
A look at the articulation design of the elbow joint.
Placement of the hinges and distance between the different parts allow a wide bending range with any conflicting points, yet he overall look of the component is preserved.
I'm always fascinated by the engineering design behind all these movable parts. ^^
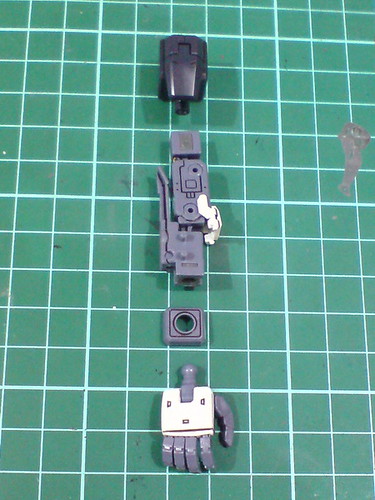
The major components for the final assembly.
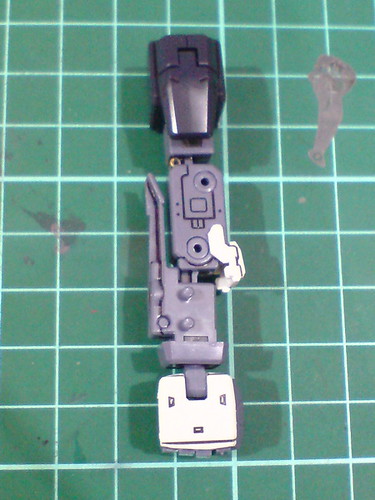
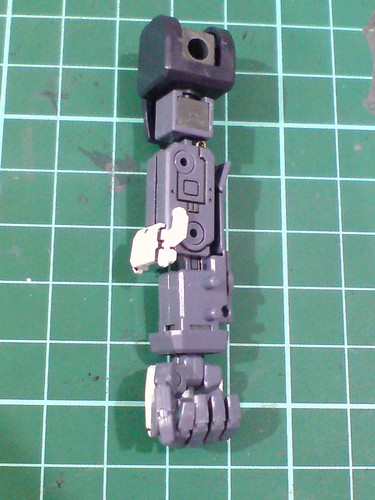
Done for the right arm.
Very simple-looking, with no mecha detail at all on the forearm. It's still an improvement over the first release version with its detachable armors and better articulation.
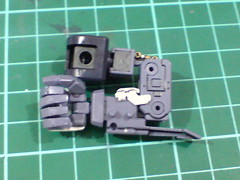

Double 90-degree joint bending range for the elbow is very good. ^^
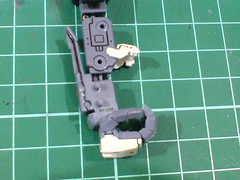
A joint at the wrist allows the hand to be bent inward/outward.
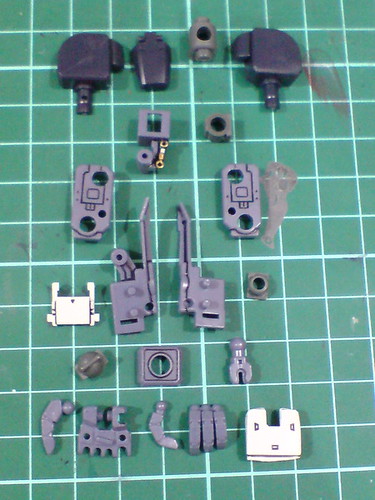
Inner frame parts for the left arm.
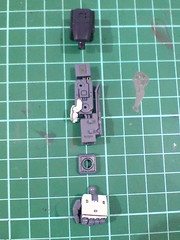
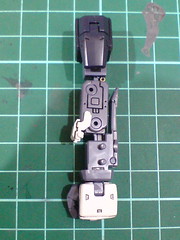
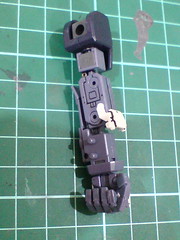
The same assembly method and features as the right arm.
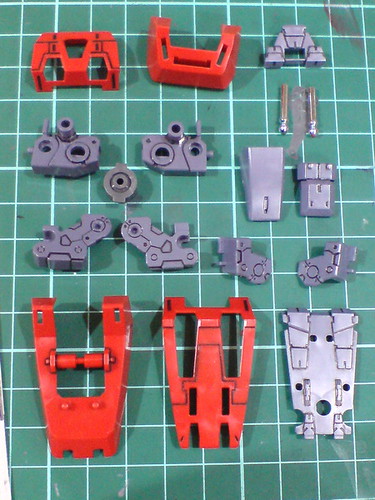
Parts for the right foot.
Actually the design for both feet is the same. The different numbering for the parts doesn't allow the assembly to be repeated though.
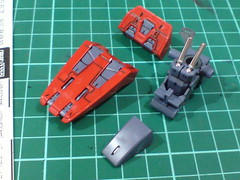
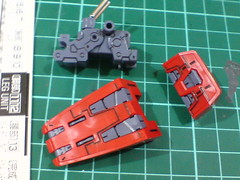
The details beneath the foot replicate that on the Perfect Grade version very accurately, including the split sections between the mecha gray and red parts.
Not shown in the manual, but the inner component of the foot can be done separately before putting on the armors.
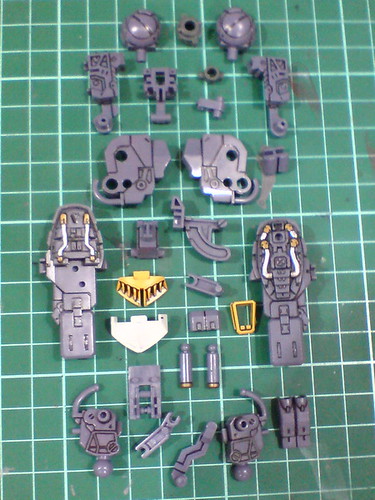
Inner frame parts for the right leg.
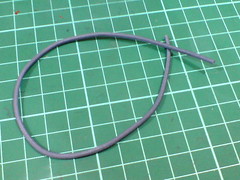
Mesh pipe included for coating a few tubes behind the legs, a feature inherited from the first release.
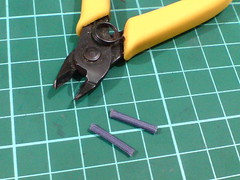
Base on past personal experience, one extra step when preparing the smaller mesh pipes would definitely help in the overall look.
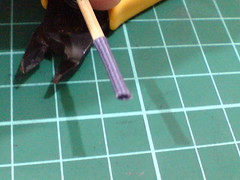
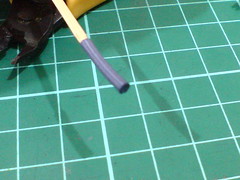
All edges of the mesh pipes are burned using lighter to fuse the hairy bits so that they won't get "worse" when they are put onto the tube later.
Extreme caution is needed when using the lighter, or the whole mesh pipe might be gone. ^^;
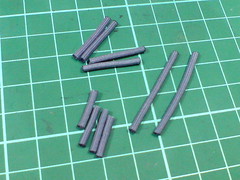
All the mesh pipes are done, including two longer ones for the backpack.
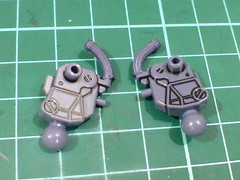
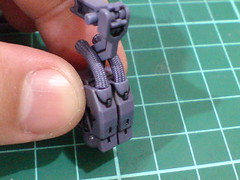
Mesh pipe components for the ankle parts.
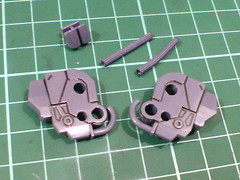
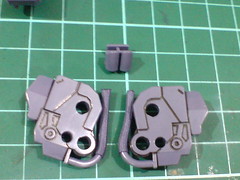
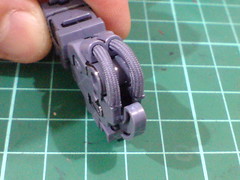
Mesh pipe components for the knee parts.
I find the assembly for the knee is a bit complicated, given that there are several other parts to be put together at the same time as the mesh pipes. ^^;
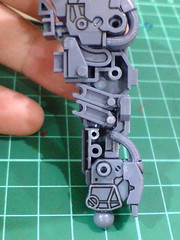
A look at the various joints inside the leg frame to get an idea of how the "magical" linked movements between the parts and all the armors work. ^^
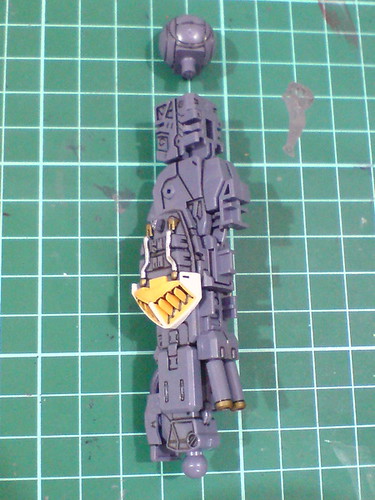
The major components for the final assembly.
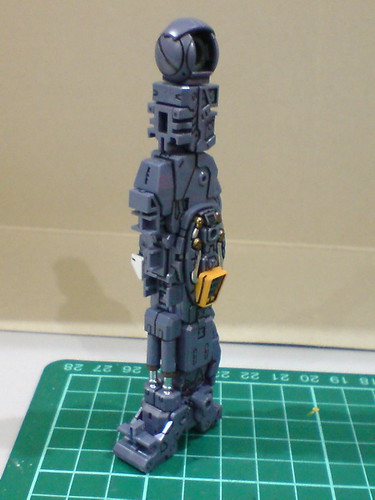
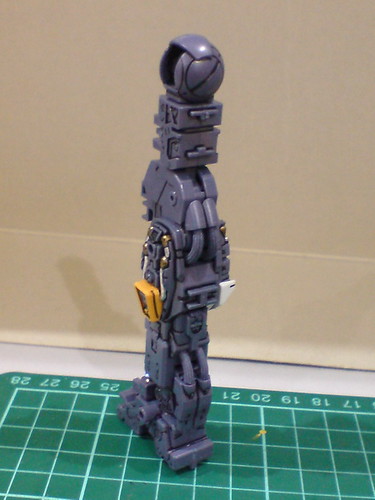
Done for the right leg.
Very nice inner frame details. ^^
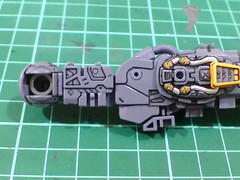
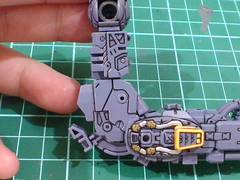
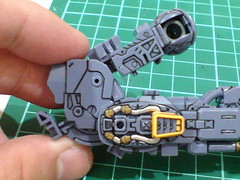
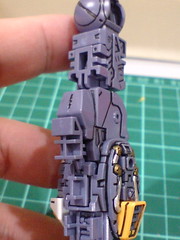
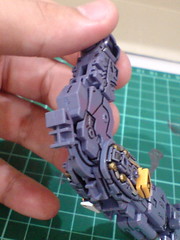
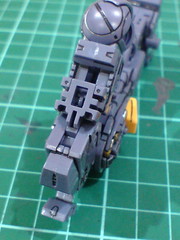
Linked movement for the knee and thigh when the earlier is bent.
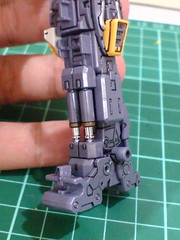
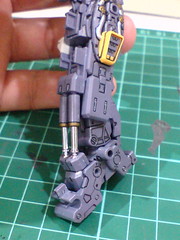
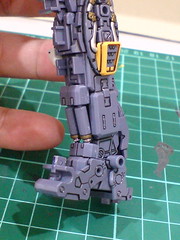
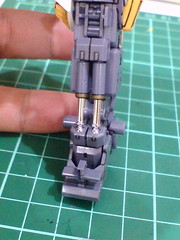
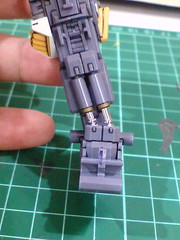
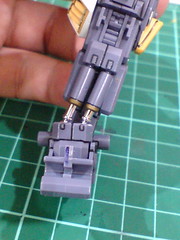
Vertical and horizontal articulation of the leg is no big deal with the huge ball-type joint designed for the ankle, but the complementary movement of the double hydraulic pipes is always nice to see, especially with its plated silver treatment. ^^
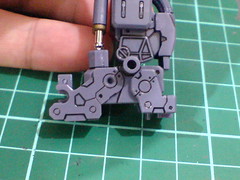
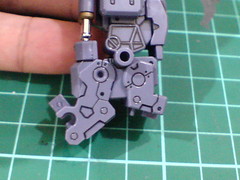
The front and rear parts of the feet can move as well - something that the first release version is able to do, but with a completely design.
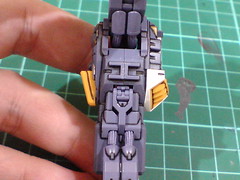
The color of the mesh pipes is a complete match with the main inner frame. ^^
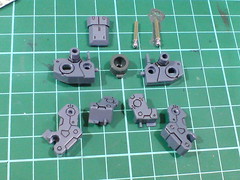
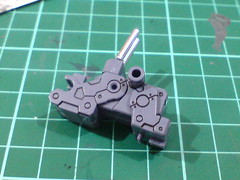
The same parts and assembly for the left ankle.
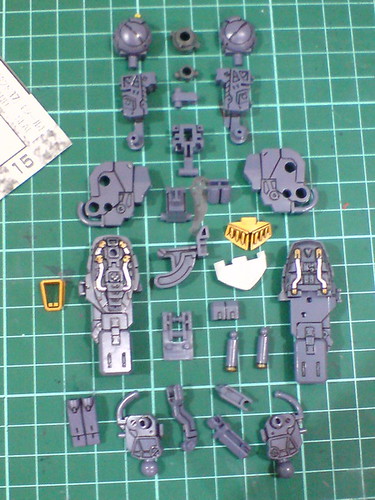
Repetition of all the parts and assembly method for the left leg as well.
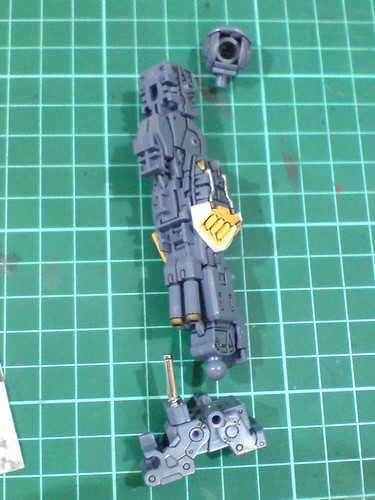
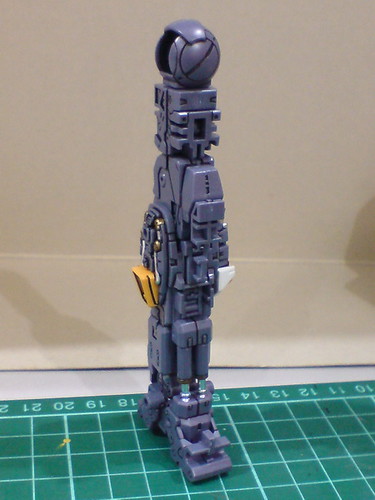
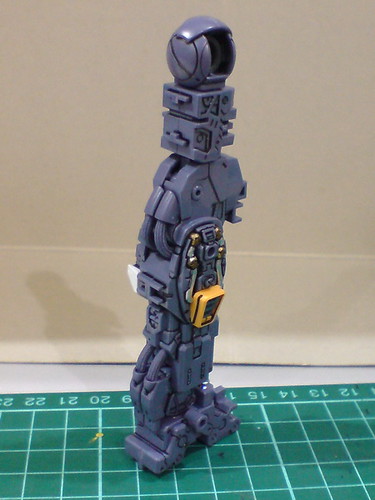
Done for the left leg.
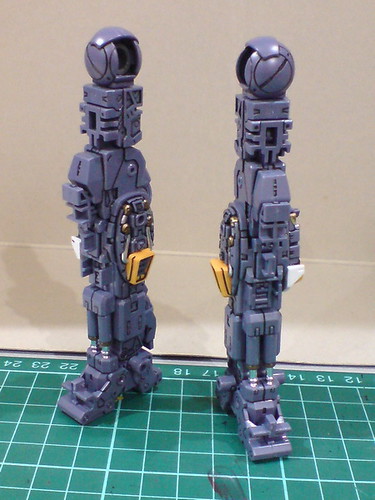
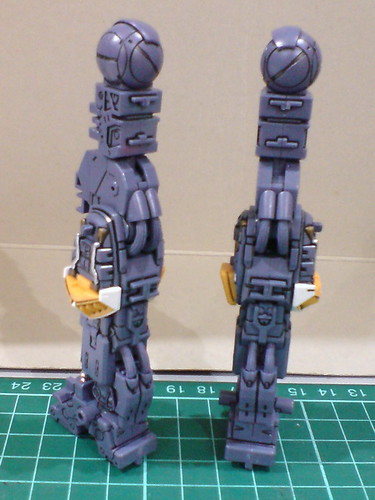
The component with the most delicate mecha details to be seen on this kit are done. ^^
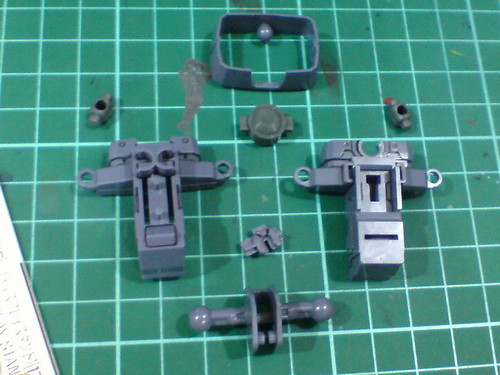
Parts for the waist.
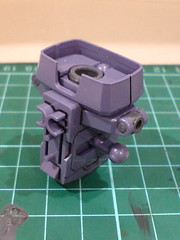
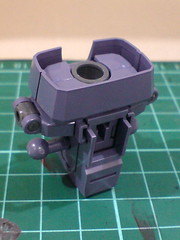
Done with the very complicated legs, the waist is definitely refreshing with its simplicity and lack of details XD
The one-of-the-kind unmovable waist (for a Master Grade kit) is definitely very special as well. ^^;
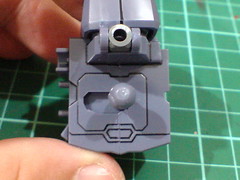
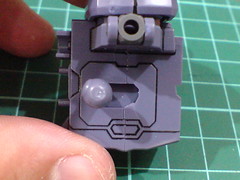
Very simple "swing" gimmick of the hip joint, which is inherited from MG Gundam RX-78-2 Ver. OYW I believe.
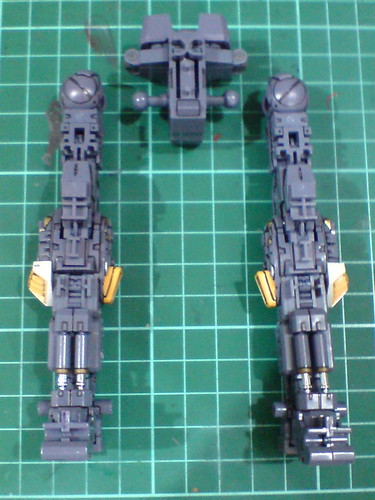
Ball-type joints for the hip, even though the legs have movable thigh joints as well.
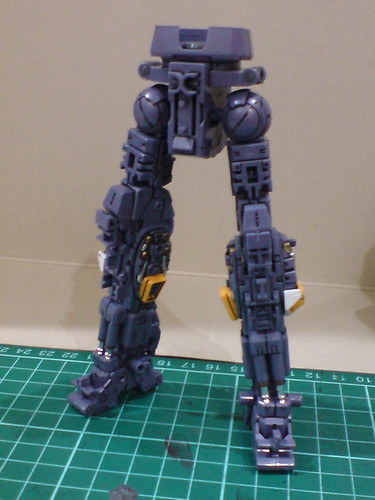
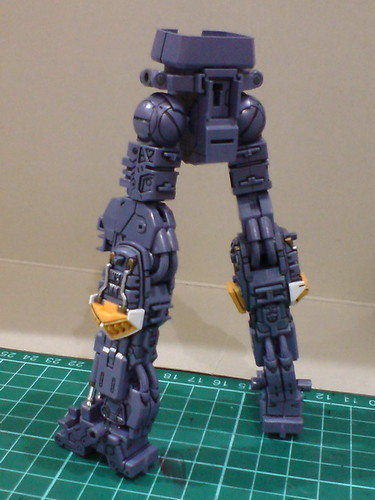
Done for the entire lower body.
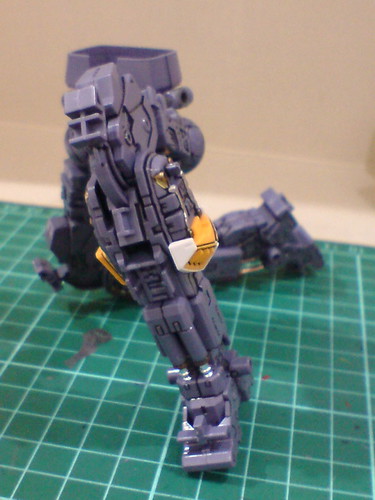
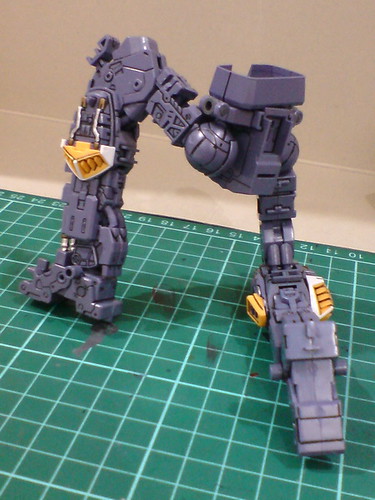
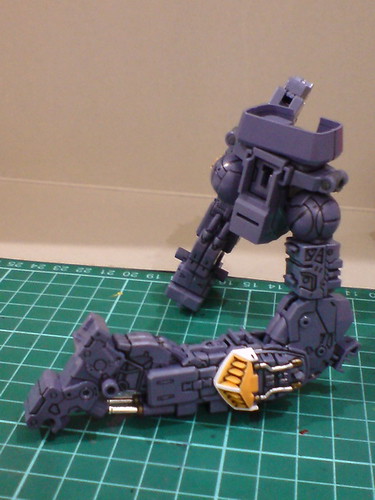
Very natural looking kneeling pose. ^^
The completion of the entire frame is at hand! It shall be done in the next posting! XD


1 comment:
So you bought this MG quite early, which explains the non-movable waist.
Post a Comment