Done with almost all the parts that require hand painting for 1/100 Gundam Kyrios after the the previous two postings, and that they had been left for a while to dry, it's time to clean up the excessive paint and apply all the panel lines I can find on those parts ^^
Panel lining large-sized parts, me like. ^^
In before that, a few very important areas I actually forgot to paint back in Part 2: ^^;
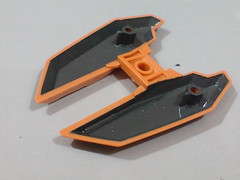
Small sunken areas on the front shoulder armor parts - painted using Gaia Color 074 Neutral Gray IV for consistency with the rest of the shoulder parts.
I'm supposed to leave them for a while (again) to dry, but I'll cut the wait big time so that I won't have to return to these two parts again in the next posting. ^^;

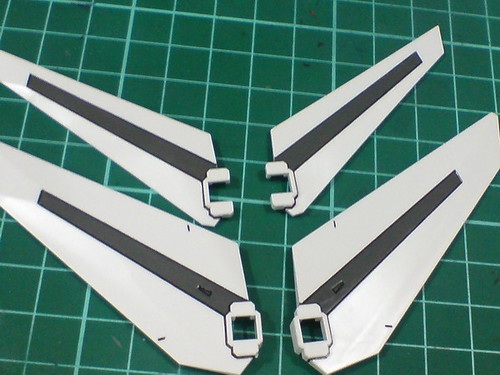
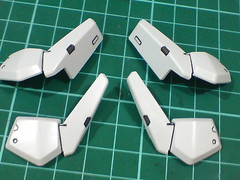
Panel lining for the shoulder armor parts.
The ones for the front parts were added at the very end of this particular segment of work, but shown here nonetheless.
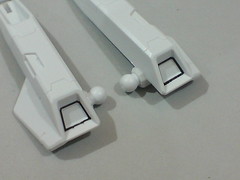
No detail on the top portion of the shoulder armors, but some simple line details can be seen beneath the parts.
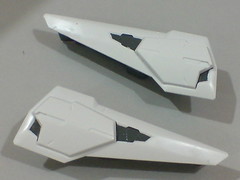
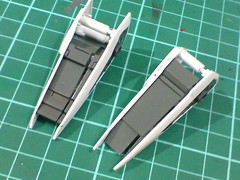
Refinement for the areas painted gray on the knee blades, with panel lines added as well.
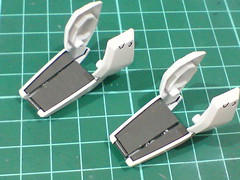
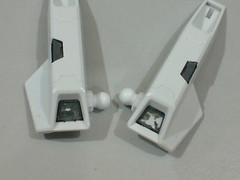
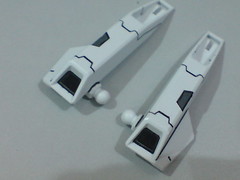
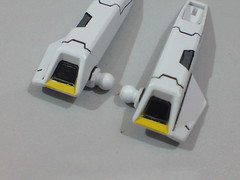
Same treatment for the ankle guard parts as well.
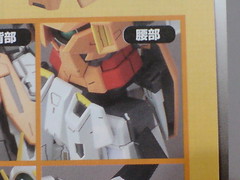
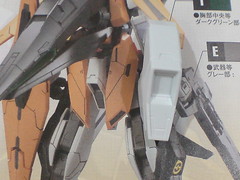
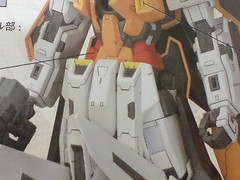
Looking at how the entire interior portion of the rear skirt armor is painted gray (or maybe black) as shown on the box art and the image behind the instruction manual, ...

... I repainted the whole part, with the gray paint covering all sides of the interior which were left out in Part 2. No panel lining needed for the painted areas, so they are less troublesome as compared to the front shoulder armor parts. The only post-paint work treatment is scratching away the excessive paint on the edges of the armor.
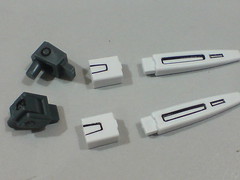
Simple panel lining for the beam sabers (exactly the same ones as Gundam Dynames) and their mount racks.
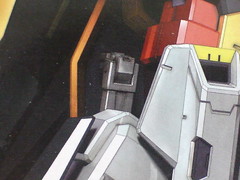
Painted the vent behind the waist gray using Gundam Marker.

With the vent painted black using normal marker and all the line details panel lined.
A simple "layered" paint work needed for the vents on top of the front skirt armors. ^^
(Left) Painted the walls inside the vents gray using Gundam Marker first.
(Right) Excessive gray paint inside the vents is covered up using black normal marker.

Added yellow on the top portion of the vents (Gundam Marker).

Panel lined the yellow areas when the paint has dried, and done. ^^
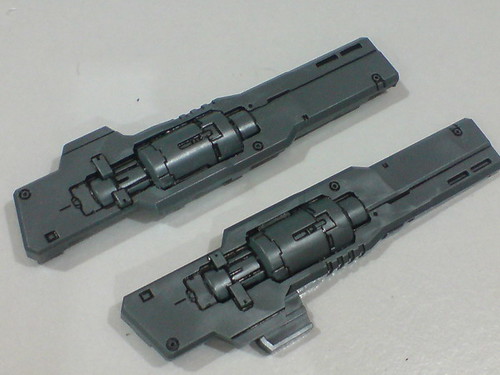
Details on the beam sub machine gun that sit inside narrow valleys impossible to be reached by my panel liner are done very quickly using the bottle paint and thinner method shown with MG Infinite Justice Gundam.
The only remaining parts right now seem to be the shield, body and head. ^^ I should be able to call it a wrap with the next posting. ^^


No comments:
Post a Comment