Rolling out the third kit from Keropla God Keron after the completion of Tamama and Tamama Robo Mk-II back in early April. ^^
Following the sequence of the five kits' detailing work last year, it's Giroro's and Giroro Robo Mk-II's turn to be assembled this time. ^^
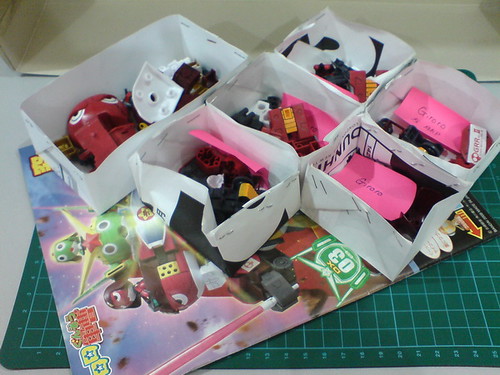
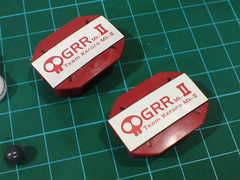
All the paper containers that hold the parts of Giroro and Giroro Robo Mk-II.

Parts of the mini figure and display base.
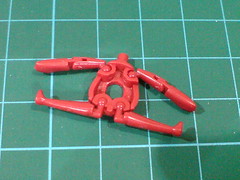
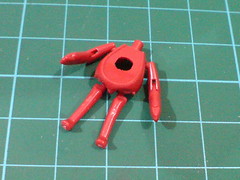
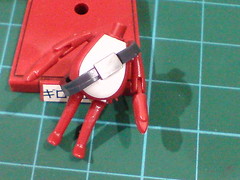
The third multi-jointed one-piece part for the body to be assembled in this entire review series. ^^
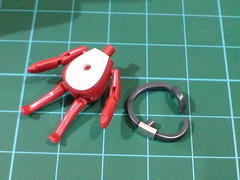

While the instruction made it seem very simple, sliding Giroro's belt onto the figure's body while aligning the front buckle and rear display stand slot to match their respective positions is actually a pretty troublesome step. ^^;
Successfully assembled the belt onto the body after a few attempts.
Separable components of the mini figure and display base.
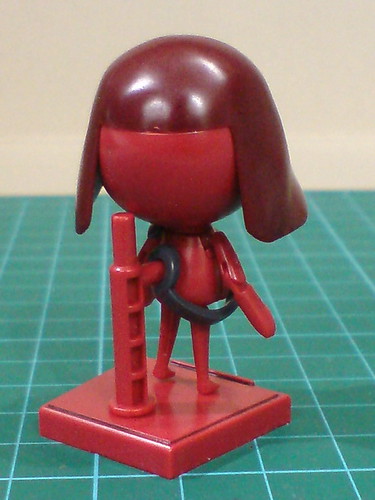
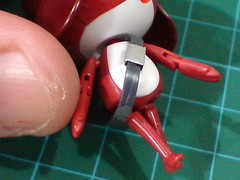
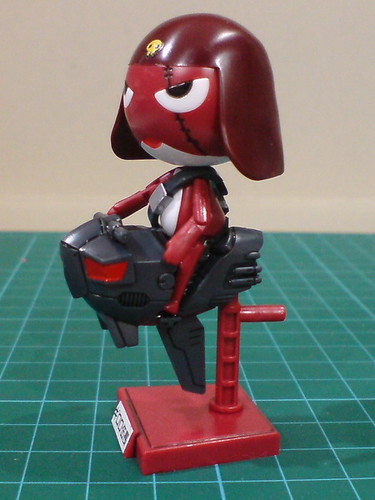
On the back, the belt has a hook-like curve to not obstruct the peg slot's ability to connect to the tiny display base.

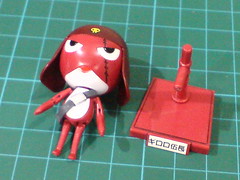
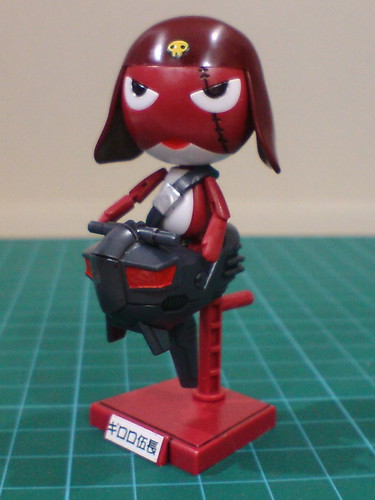
Done for the mini figure. ^^
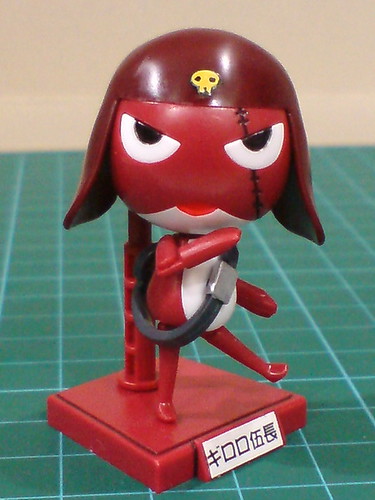


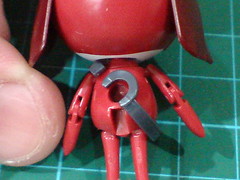
Using the molded joints on the body frame part, action poses are possible for Giroro.
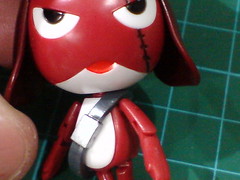
Unfortunately though, unlike Keroro and Tamama, the belt's position limits the movement range of Giroro's left shoulder and right leg (left image). The slight protruding segment above the left shoulder caused by the belt also leaves a noticeable gap between the head and body. ^^;

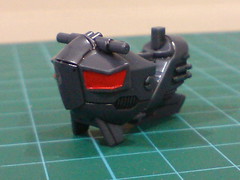
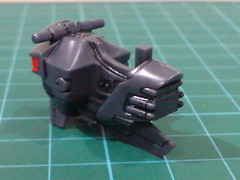
Just three parts for the control pod, which can be assembled very easily.
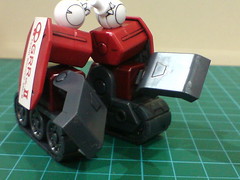
Giroro on his control pod.
You can see how the left arm is unable to reach the control pod's handle because of the belt's limitation as mentioned earlier on. ^^;
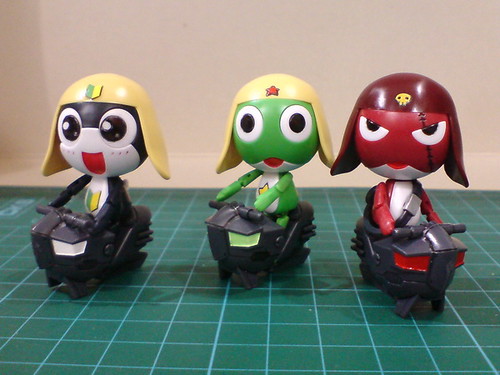
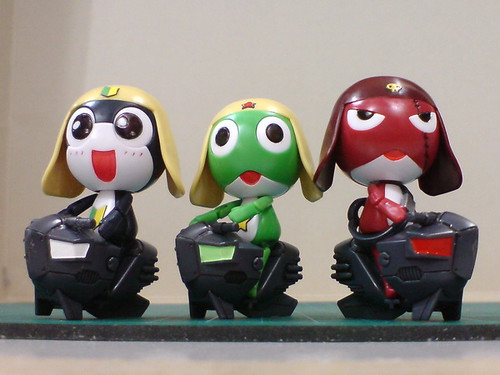
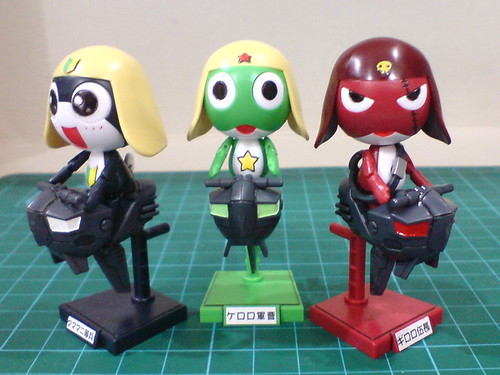
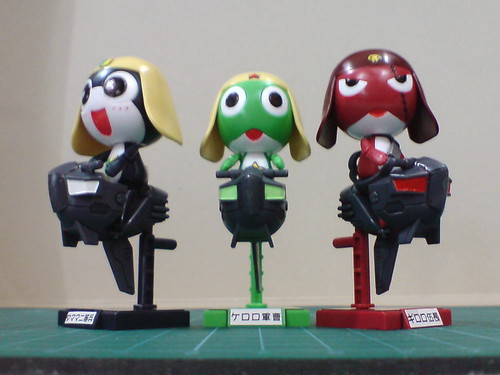
With his fellow teammates from the Keroro Platoon. ^^
Except for the headlights which were painted red, the control pod is identical to Keroro's and Tamama's.
Moving on to Giroro Robo Mk-II's assembly next. ^^

Parts of the legs.
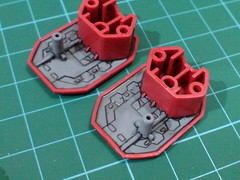
Paper stickers in front and painted details behind the main leg parts.
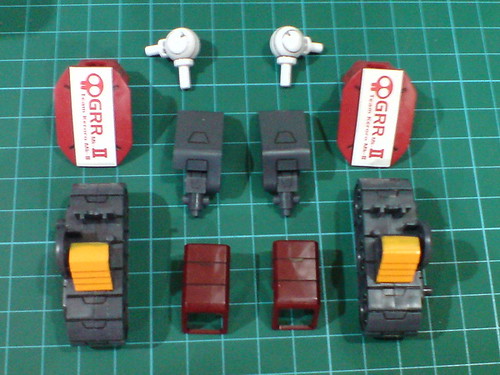
Separable components of the legs before the final assembly.

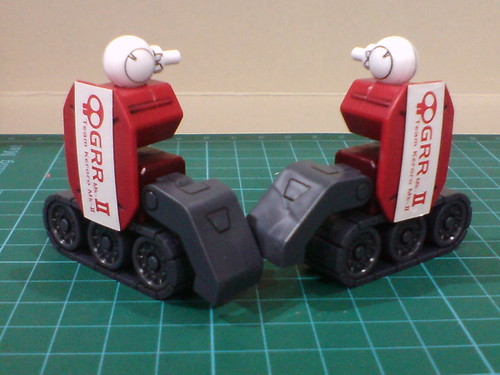
Done for the two legs.
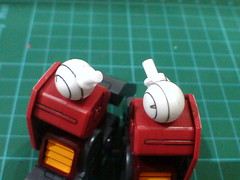
The painted yellow vents on the shins which are "enclosed" in the maroon ankle pieces look really good. ^^
Identical to the same joints on Tamama Robo Mk-II, the hip joints' hinge component allow them to be adjusted vertically, and they can swivel around on the thighs as well.
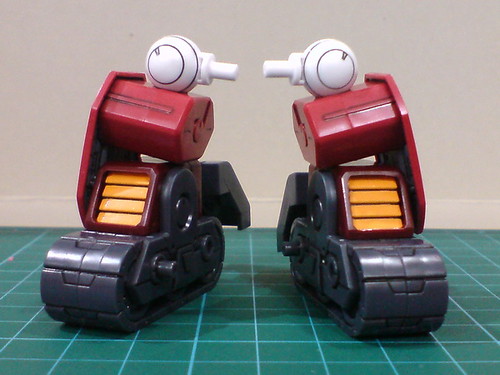
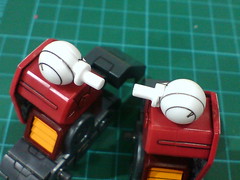
Despite having caterpillar tracks as feet, the ball-type ankle joints still allow the legs to bend from side to side. ^^
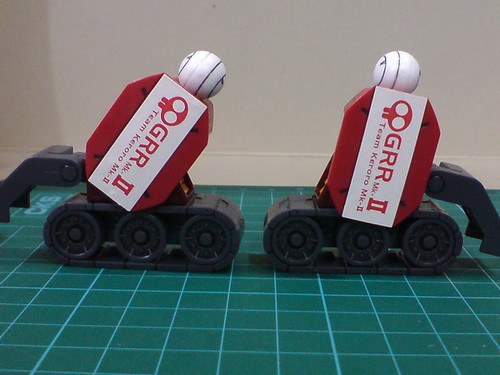
Mainly for its transformation gimmick, the leg can be bent to the front (left) for a greater degree than to the opposite direction.
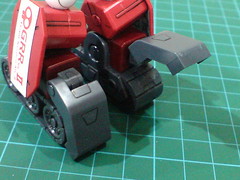
(Left) The track covers on the heels can be bent upward/downward.
(Right) They can also swivel around on the heels.
The track covers and their articulation points are meant almost exclusively for Giroro Robo Mk-II's contribution in God Keron's transformation. ^^
Will move on to the body's and arms' assembly next. ^^


No comments:
Post a Comment