Saturday, July 2, 2011

MG Johnny Ridden's Customized High Mobility Type Zaku II Ver. 2.0 Part 7

Giant lightning bolts on my head

Much like the last posting on MG Force Impulse Gundam, I'm closing in on completing the work for Johnny Ridden's Customized High Mobility Type Zaku II Ver. 2.0 as well. ^^

Focusing on the body unit of the kit in this posting. ^^
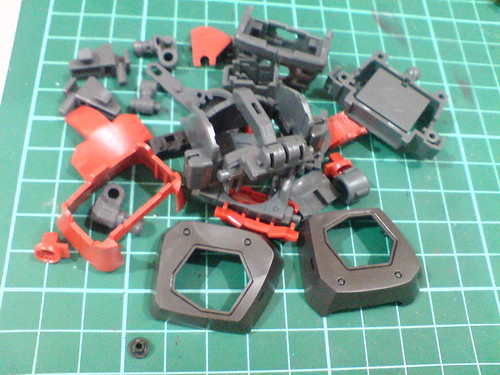


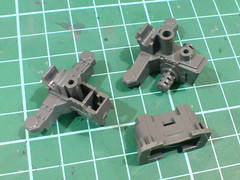
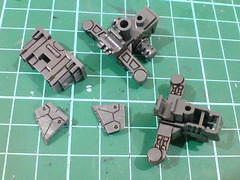
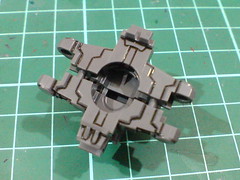
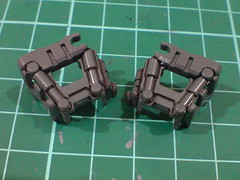
Very simple panel lining for the body parts - with the most detailed ones being the waist joint/reactor.


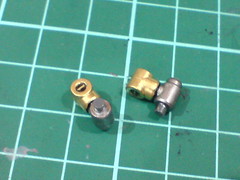
Gold and silver (both colors from Gundam Markers) for the small hydraulic pipes linking the shoulder joint parts.

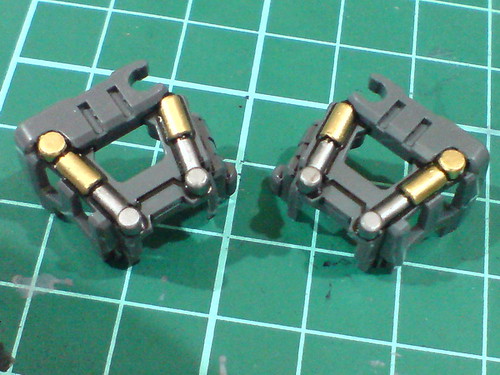
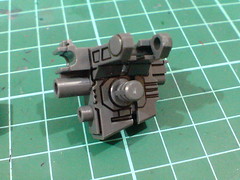
Gold and silver again (with silver from Pilot marker instead this time) for the fixed hydraulic pipes on the waist parts.
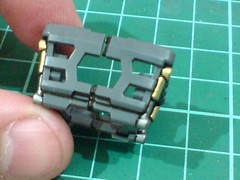

The obvious split between the left and right waist parts is painted black using normal marker to make the line even clearer.
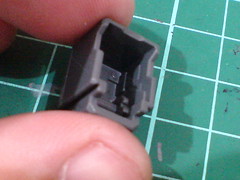
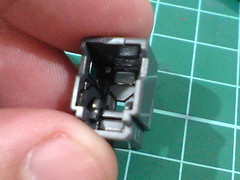
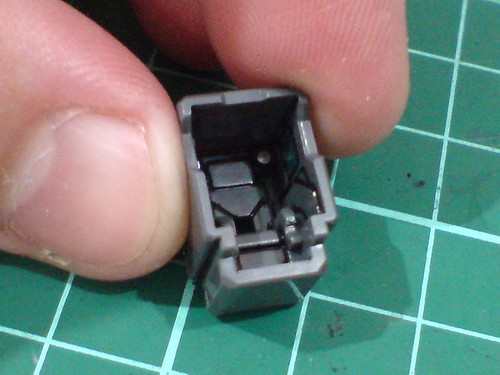
No special complicated treatment for the pilot cockpit this time, as compared to the likes of Force Impulse Gundam and Infinite Justice Gundam, unless those two silver dots (normal pen) and foil sticker cutouts for the screens are counted XD
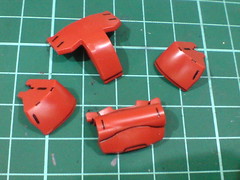
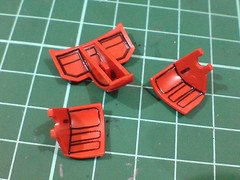
Panel lining for the red chest parts.
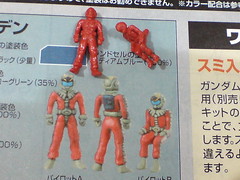

Painting the always-so-easy pilot figures next. ^^;
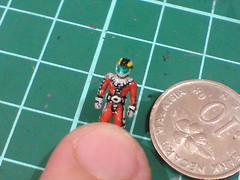
The standing figure of Johnny Ridden will be painted as well, so that he can pose outside his customized Zaku II later on. ^^
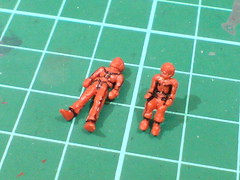

Panel lined the different areas before painting them.
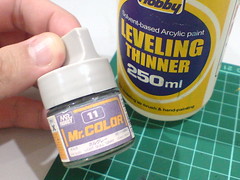

Paint used for the gray areas on the suit is Mr. Color Light Gull Gray, which was first used on the rifles of 1/100 Legend Gundam.

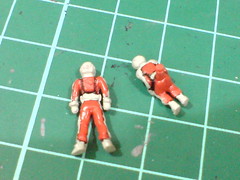
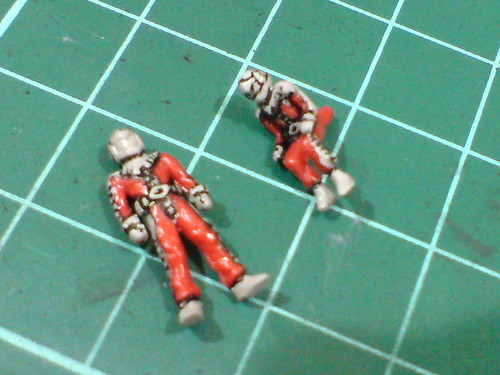
Painted, excessive paint scratched away and panel lines added for the details.
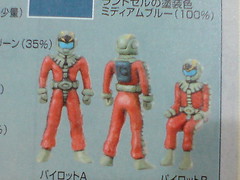

Referencing the photo in the manual for the colors to be painted on the helmet.
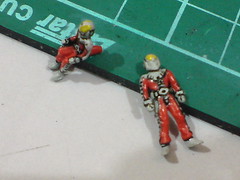

Instead of painting the black and yellow spots accordingly, the entire front portion of the helmet is painted yellow using Gundam Marker paint but using a toothpick instead since it's such a tiny part.
When the paint has dried later on, black paint from panel liner will "eat its way through" on the helmet to create those two lightning bolts pattern. ^^
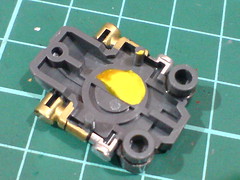

One of the feet part isused to hold the yellow paint from Gundam Marker for the paint work.
For just two little parts, that's an awesome lot of wasted paint actually. ^^;
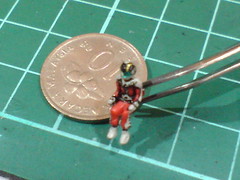
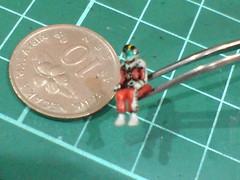
As mentioned above, painted the yellow helmet area with a panel liner to get the yellow lightning bolts. The visor is painted metallic green instead of blue to make it even more obvious and striking. ^^
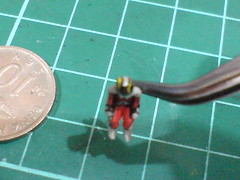

Those are some really huge lightning bolts XD
I was quite reluctant to cover up more of the yellow areas with the black panel liner at this stage for worrying that the whole yellow area would be gone if I go on ^^;
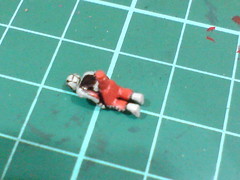

Painted the backpack black using normal marker.
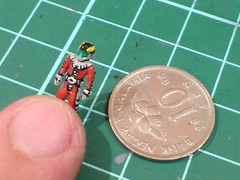

Repeated the same paint method for the standing figure.
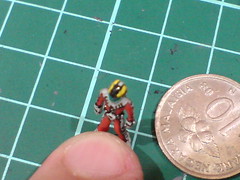

Even larger lightning bolts for the standing figure XD
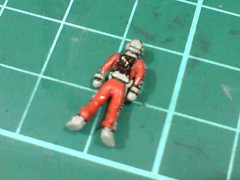

Backpack is painted black as well.
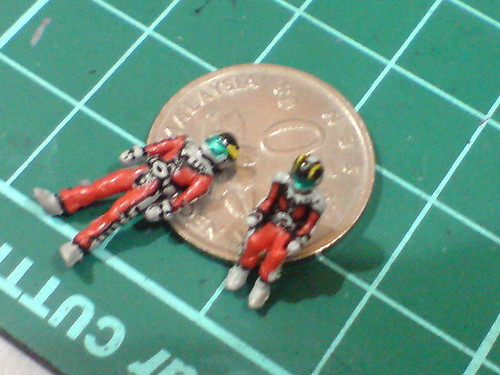

This is not the end for the work on the standing figure actually, as I find out after completing the work shown in this posting that it can't really stand well thanks to the layer of paint on its feet. ^^; This will be taken care of in another posting after this, but for now, I'll off to work on something else (again). ^^

Friday, July 1, 2011

MG Force Impulse Gundam Part 9

BB Senshi sets the standards this time

Saving the greatest "fun" of the leg parts till this posting. ^^


The main inner frame parts for the legs.


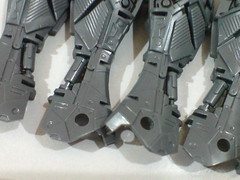
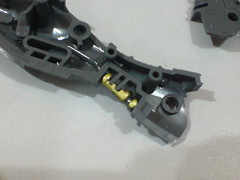
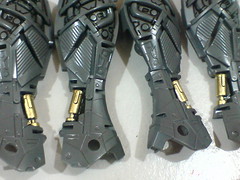
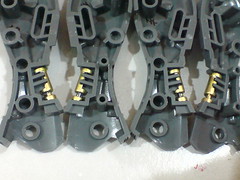
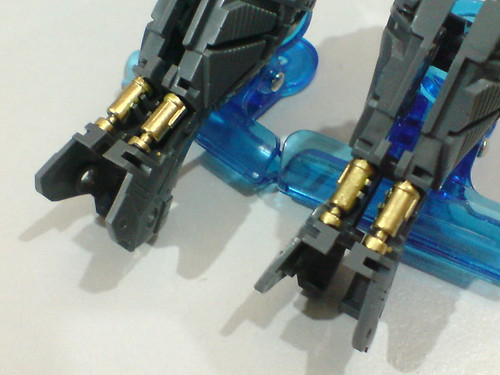
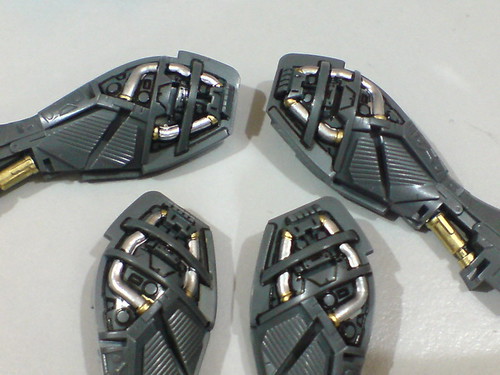
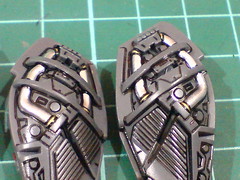
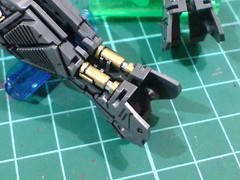
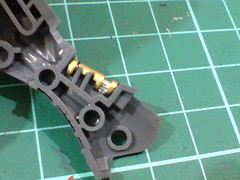
Painted the fixed hydraulic pipes in gold first using a combination of Gundam Marker and normal pen. The latter is used first to fill in some areas that are too tight for Gundam Marker to go in, followed by the marker for the rest of the parts.


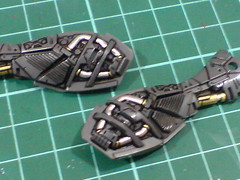
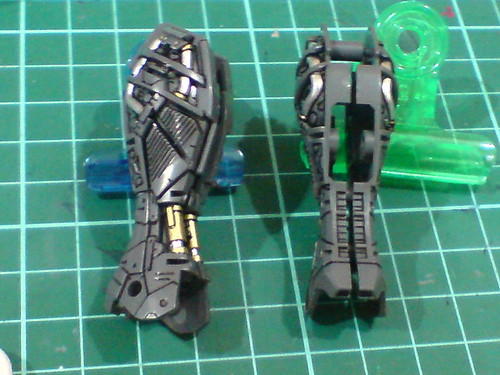
(Left) The valleys between the pipes and the leg are painted in black using panel liner,
(Right) The same area is not painted on the rear face since it's not going to be seen anyway when the parts are assembled.


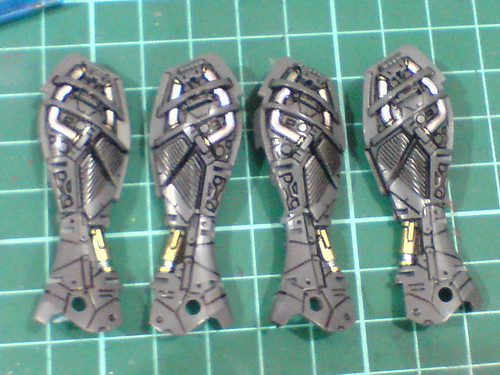
Gold for the entire pipe first - the silver portion will be dealt with later. ^^


Panel lined the details on the side of the leg parts, where majority of the details are at first.
The tube design is another close connection to MG Destiny Gundam, after the hip joints and knee armors mentioned in the previous posting.


Painted the tubes using normal marker gold for the "root" first, then Pilot marker silver for the pipes.


With all the details panel lined.


The silver portion of the legs' hydraulic pipes is too small to be reached and painted by any marker. The foil sticker trick from MG Crossbone Gundam Full Cloth proved to be a great help to the issue here. ^^


All done for the leg parts. ^^


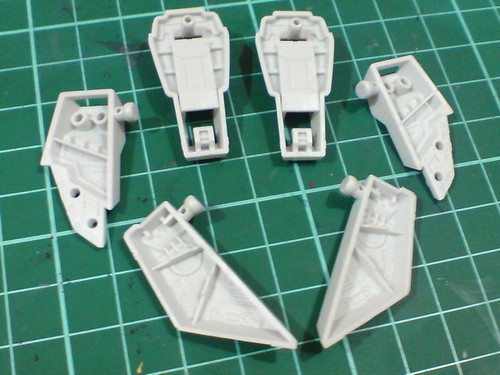
Tons of "troublesome" parts for the waist and side skirt armors XD


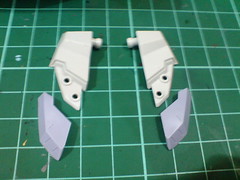
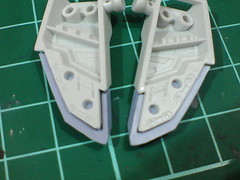
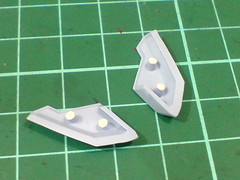
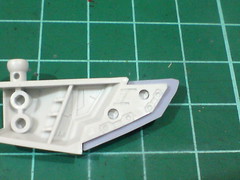
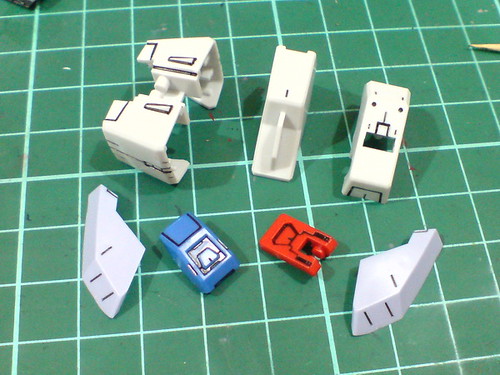
The exposed bit of the pins connecting the light blue parts to the white armors are painted white using Gundam Marker so that they would "blend in" when the parts are assembled. ^^


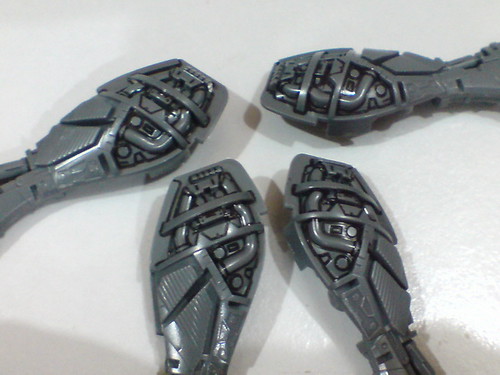
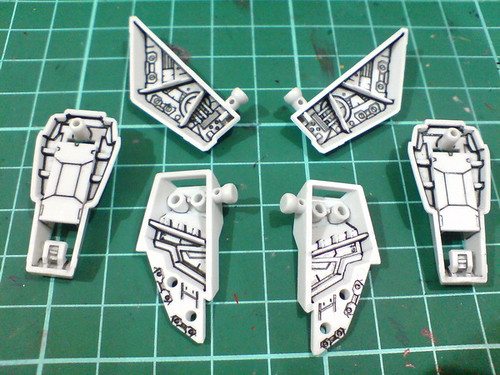
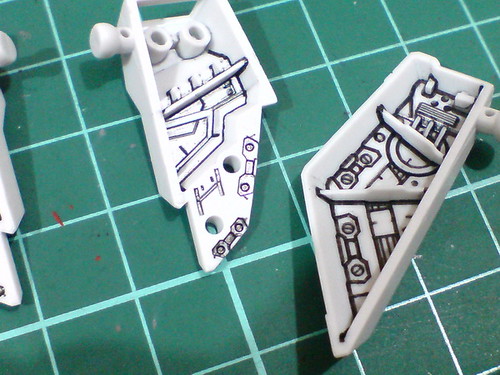
Another galore of mechanical details behind all the skirt armors. ^^


Very light result for the lines using the black paint with thinner method once used on MG Infinite Justice Gundam, which is not to my liking at all. ^^;


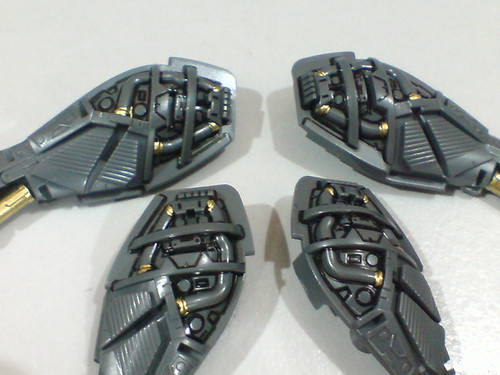
Reapplied panel lines to most of the details using panel liner to make them even more obvious, which is very much to my liking now. XD


Remnants of the paint-with-thinner panel lines can still be seen at close distance. ^^;


The rear face of the side skirt armors is supposed to be in gray as shown in the manual, but I didn't bother painting it to let the line details on the parts much clearer to be seen. ^^
By the way, if that area is gray, then all the other skirt armors should be in gray as well I suppose. No thanks for all the paint work then ^^;


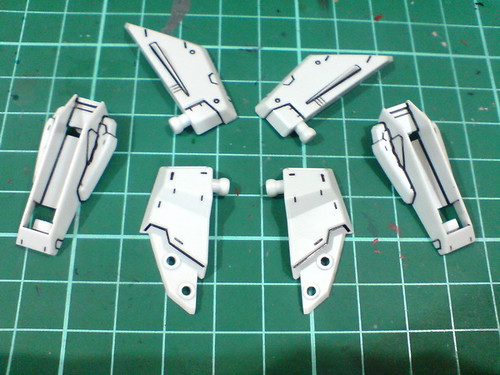
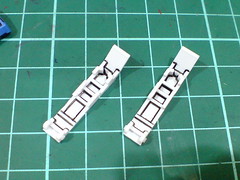
Simple panel lining on the external face of all the armor parts, as well as the hatches of the side skirt armors for the combat knives.


Simple panel lining for the waist's inner frame parts ...


... and other parts.


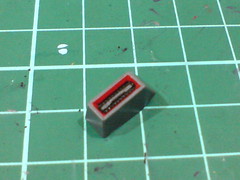
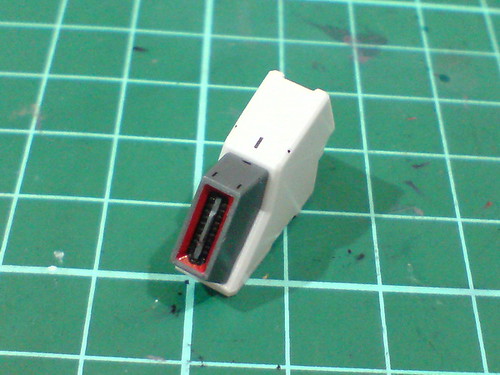
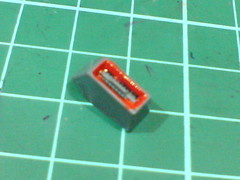
Even though the vent on the groin is shown to be in gray completely according to the manual, I painted the inner wall red using Gundam Marker - just like the same component on the calf (Part 8).


Apart from the connection with other similar components on this kit itself, the biggest reference of the paint work is actually to the BB Senshi version. ^^


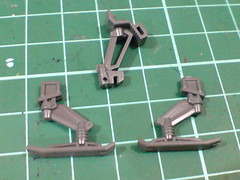
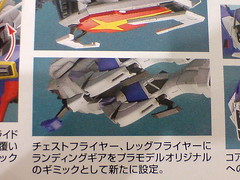
No special treatment needed for the landing gear parts of the waist and knees (luckily). ^^

Work on the entire lower half of the Gundam is done it seems, after this posting. ^^ There has been quite a lot of progress made for the entire work after the few postings so far, which is very good. Some time ago, it almost looked as it the work is going to drag on forever, but now the item list is getting shorter and shorter. ^^
Will set this aside for a while and work on another kit next. ^^