After the introduction, this posting will focus on the many option parts included in this Figma set. ^^
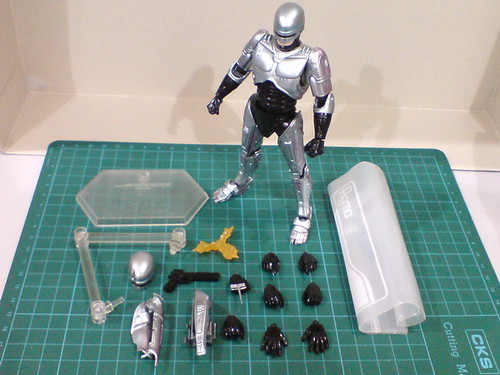
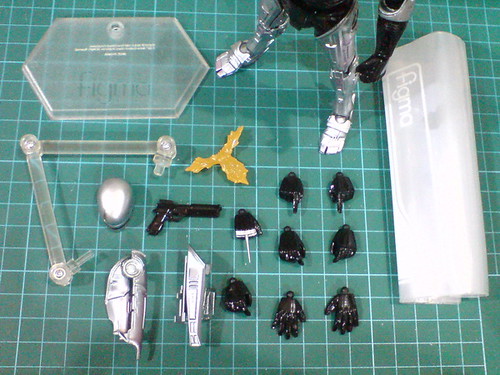
Accessories and option parts included for Figma RoboCop.
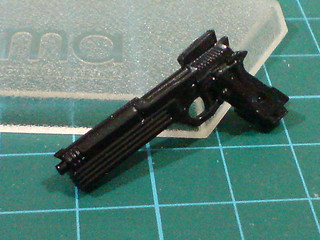
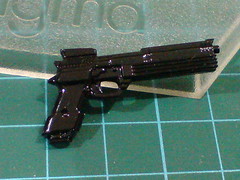
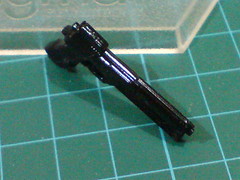
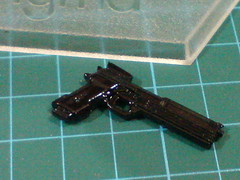
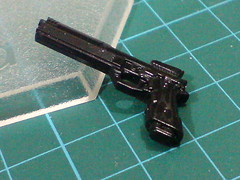
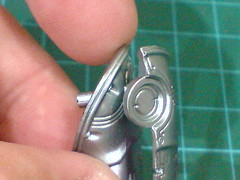
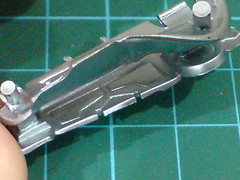
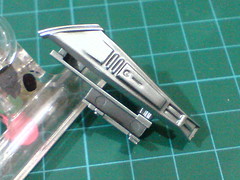
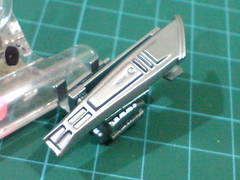
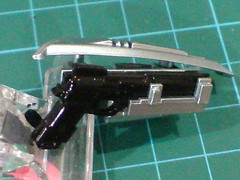
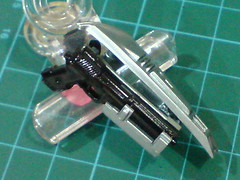
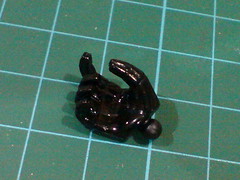
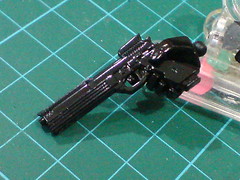
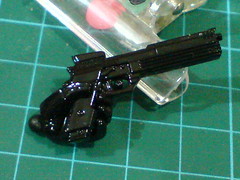
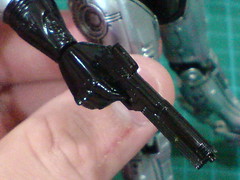
Auto 9, RoboCop's gun.

The muzzle point is painted silver.
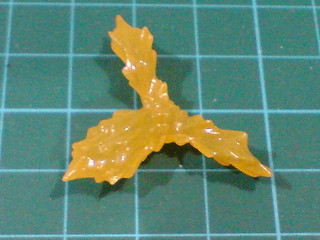
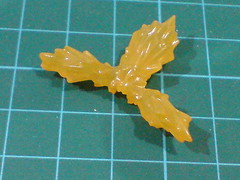
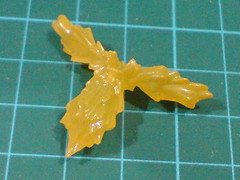
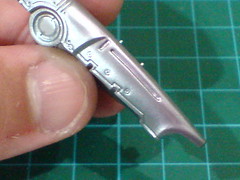
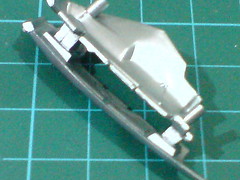
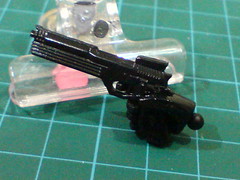
Muzzle flash effect part for Auto 9.
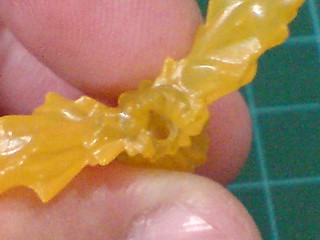
The connection port behind the effect part has a very specific divot to accommodate the pistol's front sight, which is a convenient feature for one to discover how to connect the two parts quickly. ^^
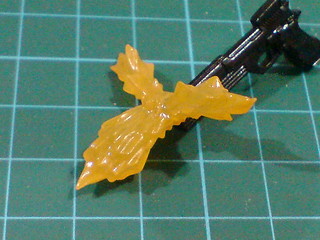
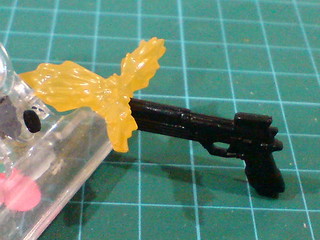
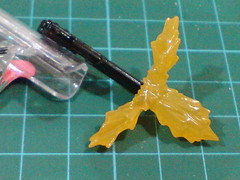
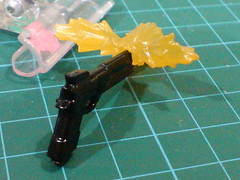
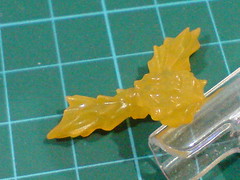
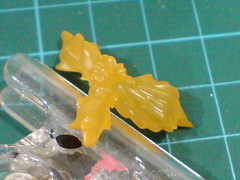
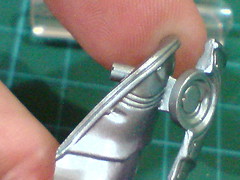
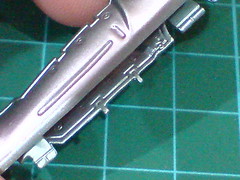
Auto 9 with the muzzle effect part attached to its muzzle.
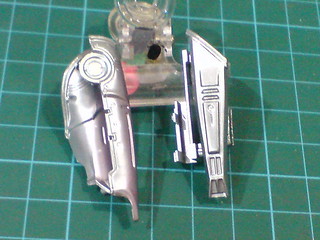
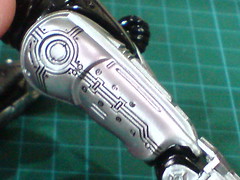
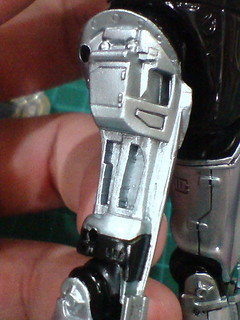
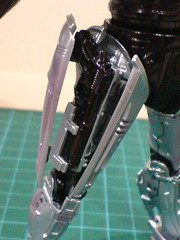
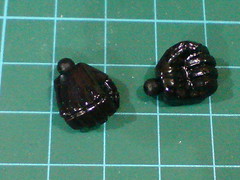
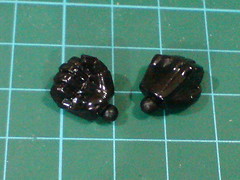
Two option parts for the expanded hip armors and holster for Auto 9.
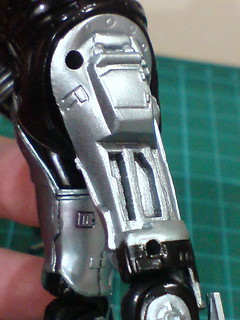
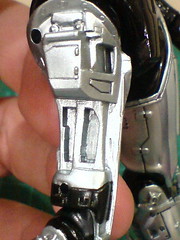
The rear option hip part.
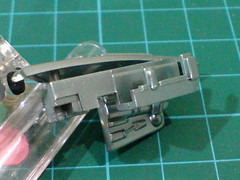
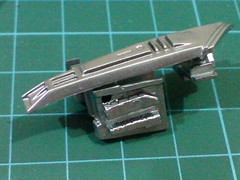
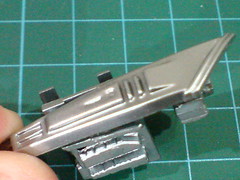
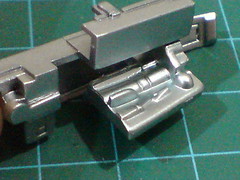

The front option hip part.
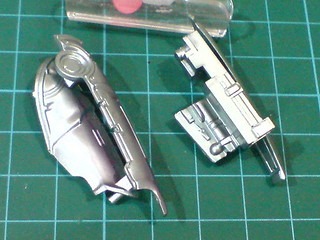
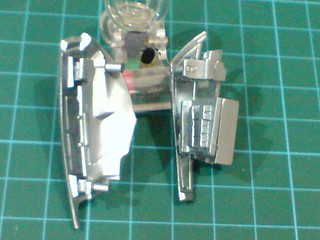
As you can see, the two option parts actually feature some simple mechanical details inside several panels. ^^
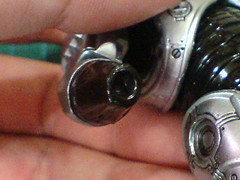
The letter "R" molded on one of the tabs is actually referring to "right", not "rear".
Technically, if you look at the right hip from the front, this front option part is to be equipped to the right side of that thigh.
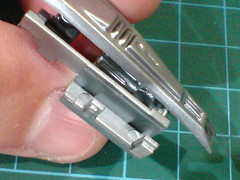
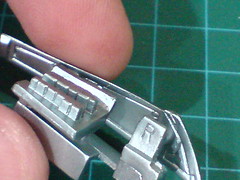
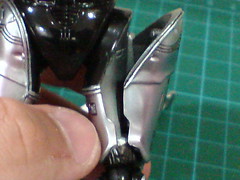
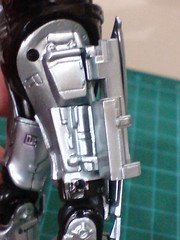
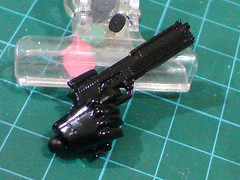
The holster, located behind the front option part holds the pistol very securely.
The holster matches the length of the pistol very accurately.
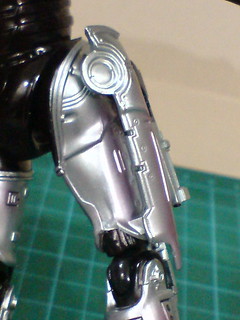
The default right hip armor is a removable one-piece part.
The split between the fixed thigh part and the removable hip armor is also the seamline between the two sections, which is a simple but clever way to hide said split. ^^
The exposed central part of the right thigh is not all empty, as there are some minor molded mechanical details near the top area. Said details are meant to be shown off alongside the two hip armor pieces when they are equipped to the right thigh.
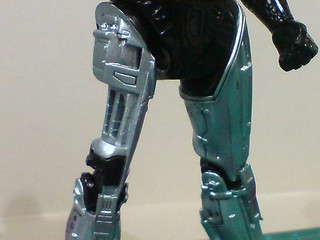
While the figure can still stand with no problem at all with the hip armor removed, the hollow look of the right thigh is uncanny. ^^

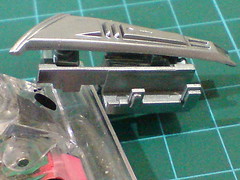
The default right hip armor.
You can see the panel lines depicting the seamlines between the front and rear expansion pieces.
Rear view of the hip armor.

The front piece should be attached to the right thigh first, followed by the rear part, then Auto 9.
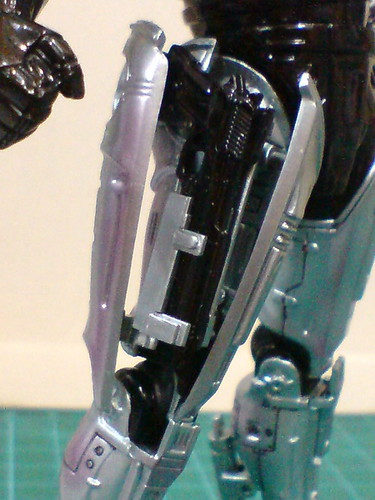

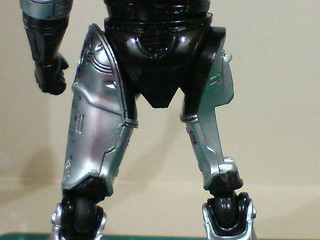
The split right hip with the holster and pistol revealed is another nostalgic scene from the movie that I love very much. ^^
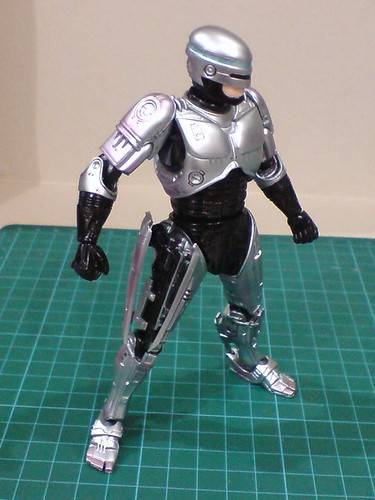
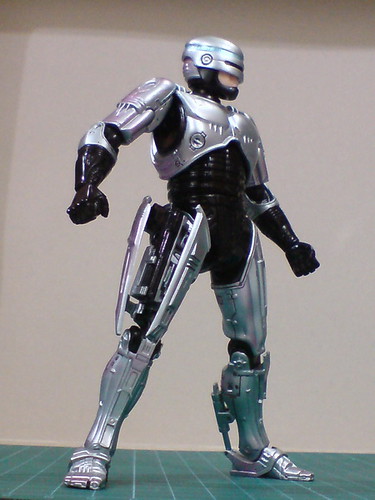
A full view of RoboCop with the split hip armors.
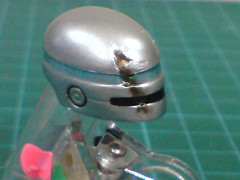
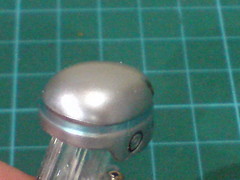
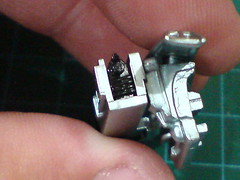
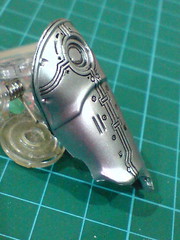
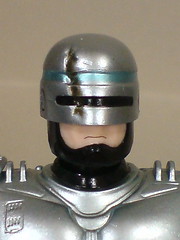
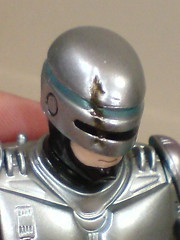
The option damaged helmet.
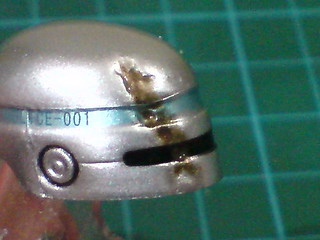
Pretty simple-looking damage effect on the helmet part
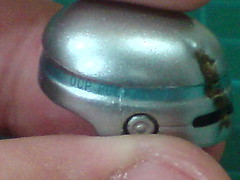
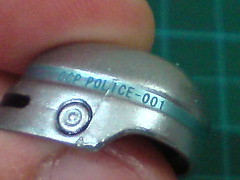
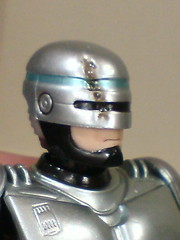
Tiny, but clear text details showing "OCP POLICE-001" on either side of the helmet.
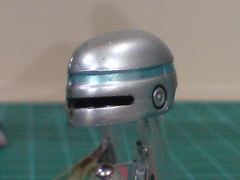
The same details are present on the default helmet part as well.

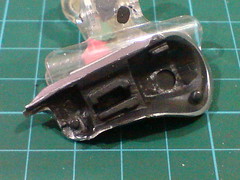
Bottom view of the helmet part.
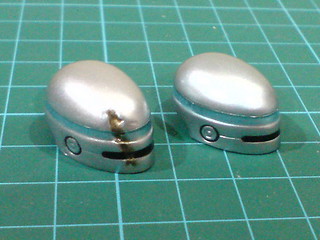
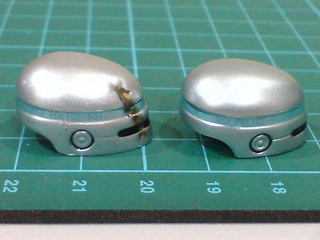
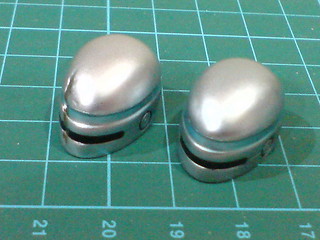
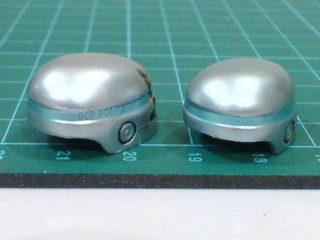
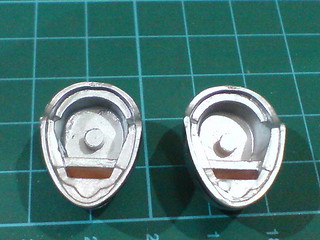
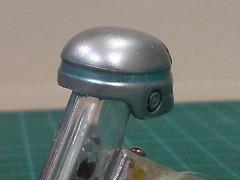
Comparison with the default helmet part.
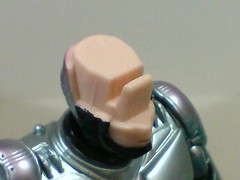
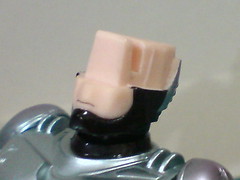
Like the right thigh with its armor removed as shown earlier on, the "semi-headless" look of the figure when the helmet part is removed is equally unsettling. ^^;
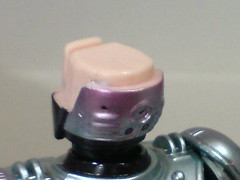
With the option damaged helmet part swapped onto the lower face of the figure.
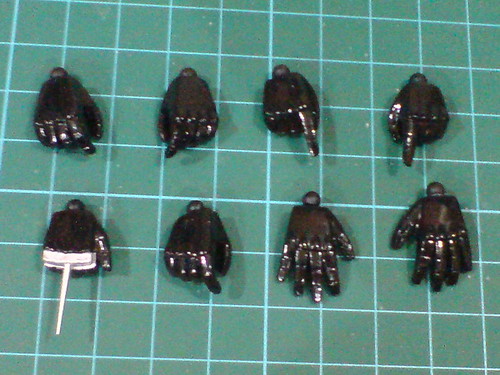
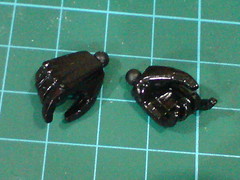
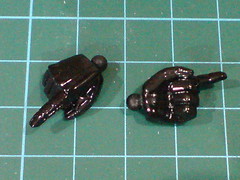
Three pairs of hand units, plus two special right hands for RoboCop.

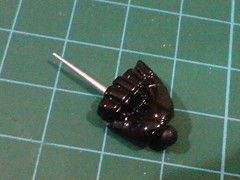
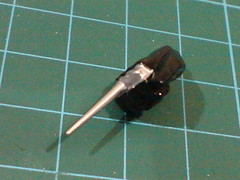
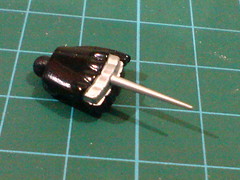
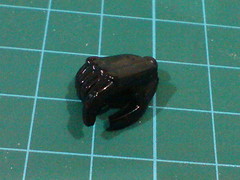
The first special hand unit: a fixed closed right fist with the "data access spike".
The second special hand unit: a right trigger-type right hand.
The ball-type wrist joint is positioned on an angled base. The direct application of this design is to allow the figure to pose pointing the pistol downward straight even when then arm is bent. For that, it's clear that this is the right hand unit designed to show off RoboCop drawing/returning Auto 9 from/back into his hip holster. ^^

With Auto 9 attached to the right hand unit.
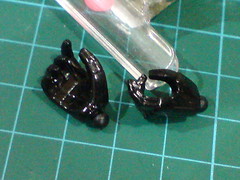
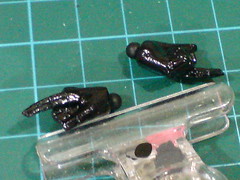
A pair of trigger-type hand units.
With Auto 9 attached to the left hand unit.

Comparison between the two trigger-type right hand units.
The only difference between them is the base.
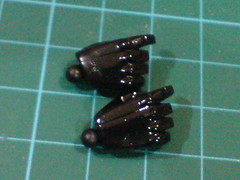
A pair of closed fists with pointing index finger.
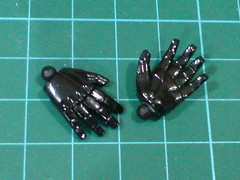
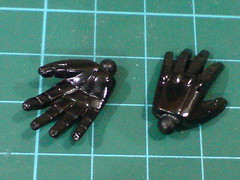
A pair of spread palms.
The default pair of closed fists.
Simple ball-type wrist joint design.
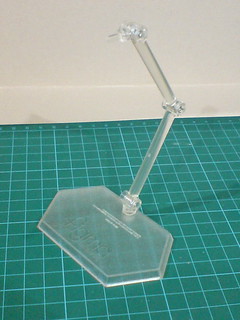
The standard Figma base.
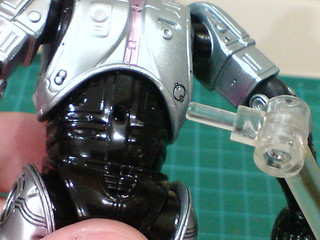
A peg slot on RoboCop's spine allows the figure to be fitted to a Figma stand.
The black waist is most helpful in concealing the look of the peg slot. ^^
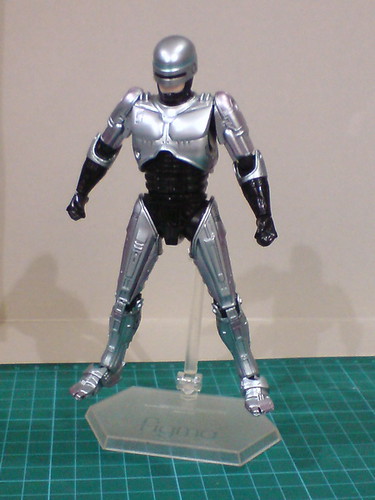
RoboCop posing in mid-air with the support of the Figma base, for whatever reason such a pose is required. XD
More images of the figure itself coming up in the next posting. ^^


No comments:
Post a Comment