With MG Exia announced at Shizuoka Hobby Show 2009, I believe the reception for 1/100 Exia and its variations are going to take a toll now, since everyone would be anticipating the upcoming MG version, and the almost-definite streams of variations based on MG Exia.
I do welcome the arrival of MG Exia, and yes, it's on my list of purchases. Yet, I'm not going to give up on all the Exias I have in hand (not that anyone would want them anyway ^^;). Now there's a higher standard to follow as the benchmark for all my Exias when it comes to painting. Hopefully, when all the Exias are standing side by side when they are all done, the non-MG versions are still going to be as color accurate as the upcoming MG as well.
Very much like the head in Part 5, I'm done with all the parts highlighted in Part 6 and 7:
Shoes (1/100 Exia, Avalanche Exia & Astraea)
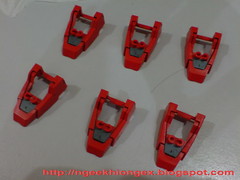
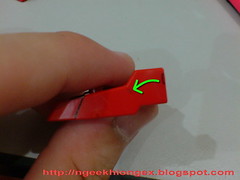
- the front portion is painted in gray, there will be a slit between the shoe and the white part put on top of it in the final assembly that will be exposed.
- the tiny slits on both sides of each part is very hard to panel-line - I keep on rubbing the entire line off. So by using an art knife, I made a cut on each of the slits and panel-lined all of them again. The black lines stay in the "wound", and are much more visible if compared to the first attempt without the cut.
Feet's armor (1/100 Exia, Avalanche Exia & Astraea)
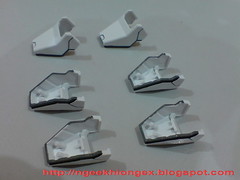
- Painted the slits beneath each part in gray
- Panel-line the lines on the surface
Thigh armor (1/100 Exia, Avalanche Exia & Astraea)
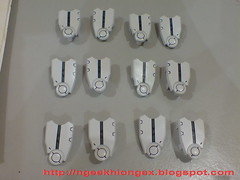
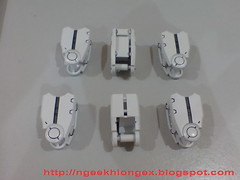
- Painted the slits on both sides of the armor in gray
- Panel-line the other details
Base of GN Drive (1/100 Exia & Avalanche Exia)
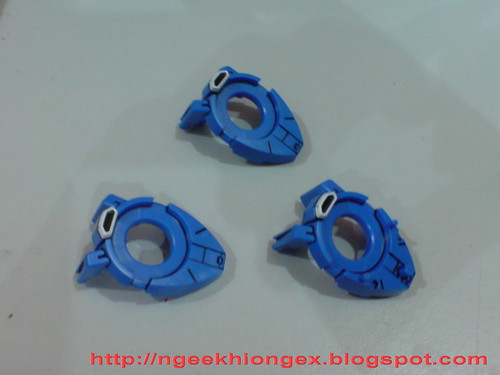
- Painted another layer of white for the vernier
- Panel-line the other details
Can you differentiate which one is for Exia and which is for Avalanche Exia? ^^
Chest Ring (1/100 Exia, Avalanche Exia & Astraea)
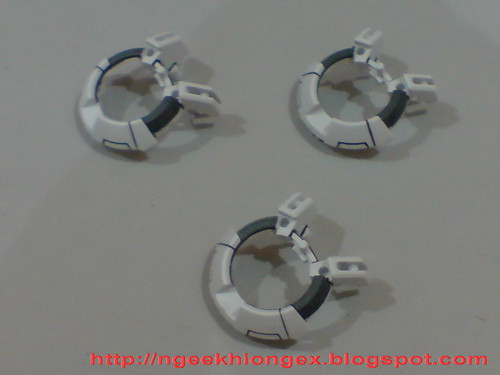
- Painted the top left and right corner, as well as the wall inside the ring in gray
- Panel-line the other details
Do you know the differences between the one for Exia and Astraea? Will tell you more in the next review. ^^
Waist (1/100 Exia, Avalanche Exia & Astraea)
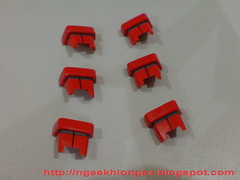
- Trimmed the gray painting done for the slits in Part 6 by scratching off excessive paint on the surface using an art knife.
- The only panel-line done for each of them is the short vertical line on the surface
Upper arm and forearm (1/100 Exia, Avalanche Exia & Astraea)
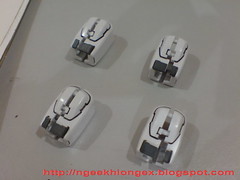
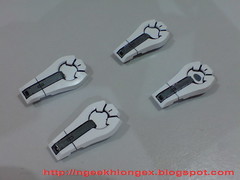
- Painted gray for the base of the GN Stripe on the upper arm, and the GN Vulcan on the forearm
- Panel-line the other details
Moving on to HG 1/144 Exia, which has more work to handle than the 1/100 equivalence. ^^;
Shoes
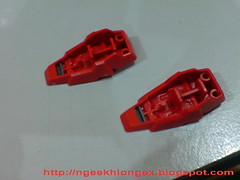
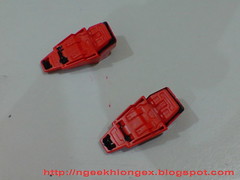
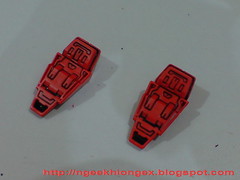
Painted the little slit in front in gray. It's quite different from the 1/100 scale version, since they have a larger surface for the marker to go in and paint on them directly. The slit is really "a slit" for the HG version, ^^; the space is too narrow for the marker to go in and I had to use a toothpick to get the paint into the tiny drain.
Since the whole shoe is in one piece, you get all the details to panel-line as well. Some of the lines are too narrow for my panel-liner to go in as well, as I just use the whiteboard refill ink trick mentioned in 1/100 Astray. Much more effective than running the risk of damaging the head of the panel-liner squeezing into those tight spots.
Cleaning the part up by scratching off excessive ink will give you the result shown on the right photo.
Feet and thigh armor
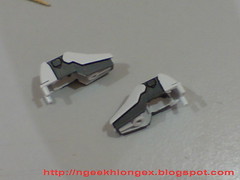
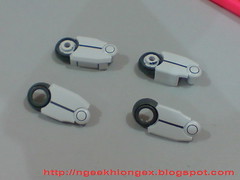
Not so easy parts as compared to the 1/100 scale version ^^;
Like the feet, the armor is molded in one piece as well. So instead of painting the slits at the bottom of this part, the mecha part of the feet in the middle needs to be painted as well.
Still quite easy since the area to be painted is quite wide, and I could just use the tip of the marker itself to paint that part.
The thigh armor, is much harder though. Molded with the pelvis joint, there's a very narrow gap between the joint and the armor below it. No way for the marker to go in, that's for sure. It's time for the toothpick to come in and save the day again :D
The slit between the armor is a bit more difficult to paint too, as it's much narrower than the 1/100 scale version. Running Gundam Marker on it could do the job - letting the paint to flow into the slit, but the excessive paint to be trimmed off from the top of the wall would be wastefully a lot as well. Using a toothpick to draw the gray line into the slit would be much more effective.
Body
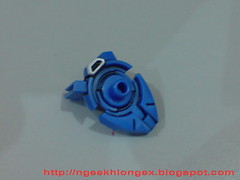
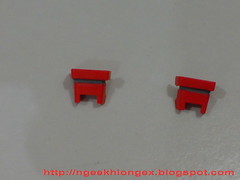
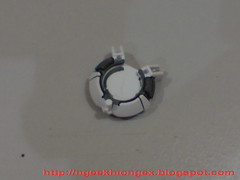
The vernier on the back and the red waist are very similar to that of the 1/100 scale version, So naturally, painting and panel-lining for both these two components are done in similar fashion as well. However, the earlier has got a peg and details around it to panel-line, as compared to a hole on the ones in 1/100 scale; while the waist lack the vertical line in the middle.
The chest piece for the GN Drive is quite different though. The same part in 1/100 scale is a ring, and the distance between the interior wall (painted in gray earlier on) is much closer to the white exterior. The HG version however, has a solid part in the middle, and has more area that needs painting in gray as well.
As you can see, there's quite a bit of spilled over color on the center of the chest piece. That's alright for me, as it's going to be covered up by foil sticker in the end nonetheless.
Upper arm and forearm
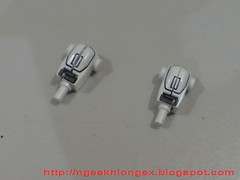
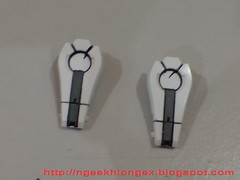
Almost identical to their larger equivalences, but the forearm does have less details to panel-line though.
Final review for my All Exia Project Part coming up next.


7 comments:
Wouldn't the spilled paint on the HG's chest piece make the sticker on top of it looks...tak rata? Wouldn't it be better if you just colored the whole area or cleaned the part?
Sorry, couldn't think of the english word for it.
>>shion963
No worries. The spilled paint onto the chest area isn't thick enough to distort the shape of the foil sticker to be placed on top of it. Also, the area involved is very close to the edge of the wall, so when the clear part is being placed on it, the angle of reflection will help to cover up the uneven foil sticker, if it's really showing.
Painting the center of the chest isn't that easy actually. Being a completely flat area, using Gundam Marker on it is going to leave very obvious paint layers ^^;
hrm, how exactly do you do your toothpick method?
and wont the whiteboard ink be easily rubbed away? at least for the ones i have it does. :(
>>Yuuuuu
Cut off the sharpest edge, and use the toothpick to scoop up some paint to paint on those tiny narrow part - since the head of the toothpick is both sharp and hard.
Have to clean up the part a bit before applying the whiteboard marker ink. Like my panel-liner, the ink doesn't stick on oily surface. Sometimes even your fingers will make the parts oily, and cause the panel lines to stay as droplets of ink on the surface.
The parts I applied with refill ink are very narrow slits meant for the ink to stay in there, permanently. I just scratched off the spilled ink around the edges, so the targeted area won't be affected.
For the base of the GN Drive, it's easy to differentiate Avalanche Exia's from Exia's because Avalanche Exia's has "pegs" for extra armours.
As for the chest rings, I'm not sure, but the difference is the shape and angle of the part that holds the antenna?
that's not astrea's chest rings, astraea has different chest rings.. astrea has 2, one is unused.. why did you paint that NK?? if you use the exia's chest ring on astrea, the base for the GN drive would be incomplete right? since the astrea don't have that gray thing which holds the condenser..
Woot I think I could gone mad paint such parts over & over again...XD
Post a Comment