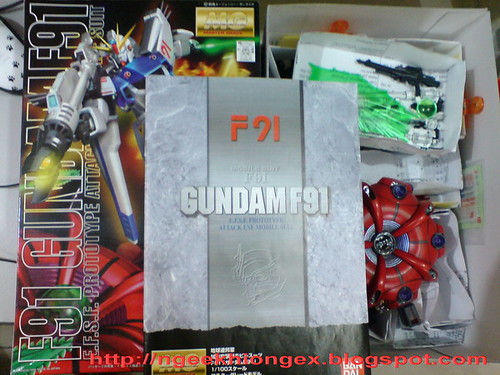
The assembly of my MG F91 begins. ^^
I remember a few years back, when the MG series marched into its 10th anniversary, Dengeki Hobby had an article in one of its monthly issue exploring the possibility of the MG series to release smaller sized MSs, including Gundam F91 and V Gundam. As of today, of course we know that both MSs have indeed being released, for quite a while already too. Anyway, the magazine showed a heavily modified 1/144 scale Nu Gundam to illustrate the different design features that may be incorporated for such MG models.


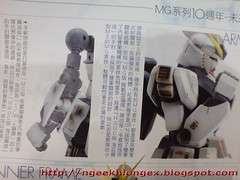

I was quite fascinated by the idea actually, using a 1/144 scale Nu Gundam to make a comparison with a smaller sized MG. So I think I would like to use that idea as well, comparing between the completed HGUC Nu Gundam I have with MG F91. ^^
What was then "maybe" has now become reality. I look at the comparison as an answer to the question Dengeki Hobby posted years ago.
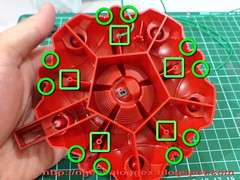
Assembly starts with the display base, which caused me quite a bit of trouble when I worked on it in the past. ^^;
All the parts of the display base.
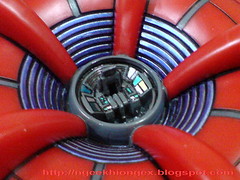
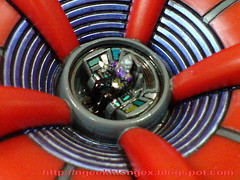
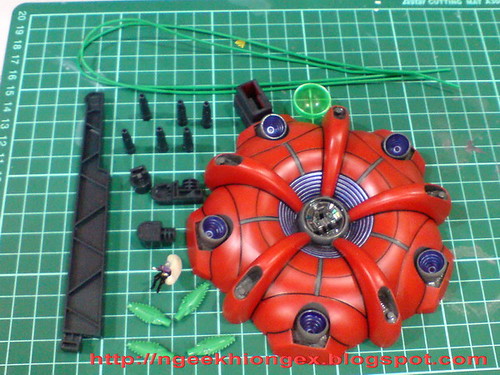
Securing Iron Mask in the cockpit of MA Rafflesia.
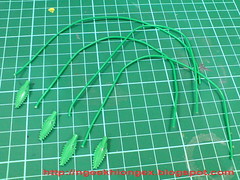

Attaching the whip to the bottom of the base.
Plenty of pin holes allowing you to freely adjust the position from where the whips appear from the bottom of the base.

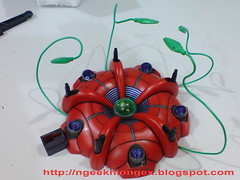
The string can be bent easily to create various movement for the whip.
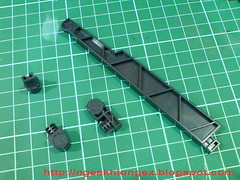
Parts for the stand.
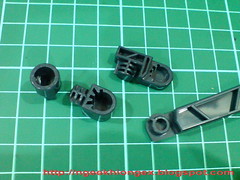
Part-swapping type connectors - will not wear out the joints, but are quite troublesome to adjust. ^^;
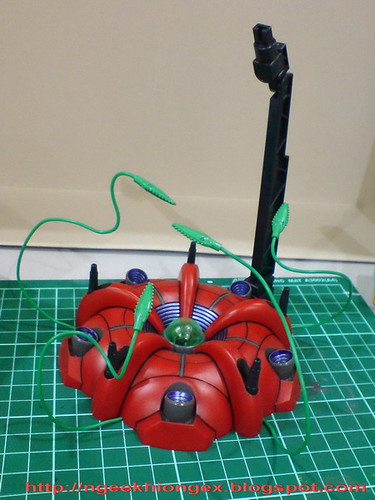
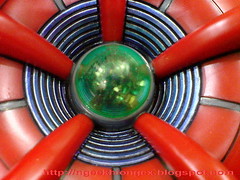
The completed display base.

I didn't push the base of the stand completely into the slot so that the parts can be removed easily later.
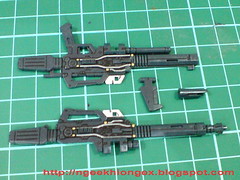
Just 4 parts for the "inner frame" of the beam rifle.
Armors will be put on much later.
Comparison with HGUC Nu Gundam's beam rifle - about the same size. ^^
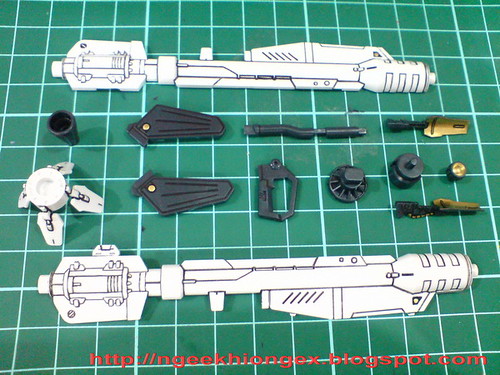
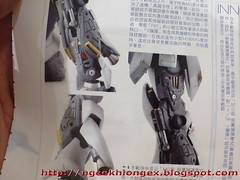
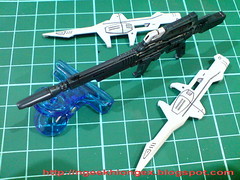
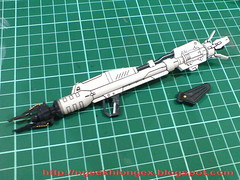
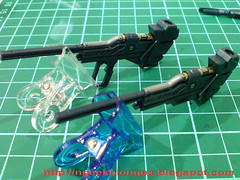
All parts for the beam launcher.
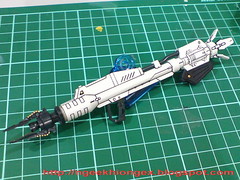
Handle can be adjusted, and the magazine can be removed.
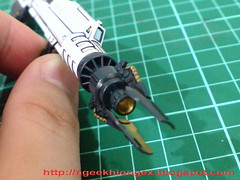
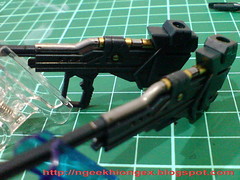
The gold painted inside the launcher's firing nozzle works out pretty well. ^^

Comparison with HGUC Nu Gundam's Hyper Bazooka.
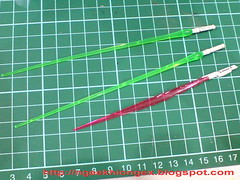
Fluorescent green beam sabers of F91, no assembly required there.
And comparison with HGUC Nu Gundam's beam sword.

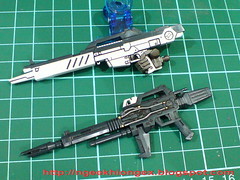
Inner frame parts of the VSBR.

They are shorter than the beam rifle at the moment because the front portion isn't assembled yet, but when that part comes in, the VSBR will be much longer than the beam rifle.
Gold and silver paint on the VBSR.
Done with the weapons, inner frame components of the body are the ones to be assembled next. ^^


3 comments:
i havent started painting or detailing the rafflesia yet but damn theres alot to be done
Looking at all of the panel lining detail you did on that beam launcher is amazing. What's your secret, lots of patience or some secret easy clean-up process? I'm currently using rapidograph pens with an eraser or hobby knife for clean-up but even that seems tedious for the amount of detail you went into. Help a brother out. :)
Wow,your panel lining and painting just looks awesome,what kind of pen/marker do you use for it because I noticed that even in the black parts it's still very noticeable?thanks!
Post a Comment