Starting to work on Master Grade Zeta Plus after the introduction yesterday. ^^
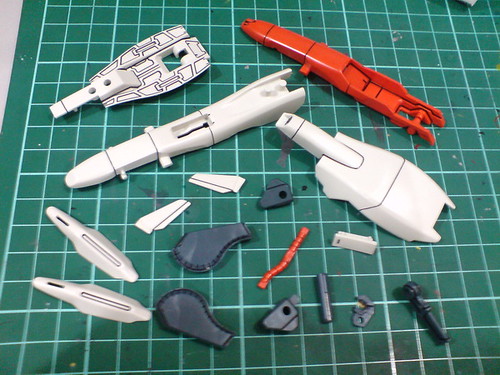
Simple panel lining for the shield and beam rifle parts.

The body and lower plate's rear face have the most line details of the entire shield, which is really like nothing at all as compared to some of the newer MG releases with even more complex details. ^^;
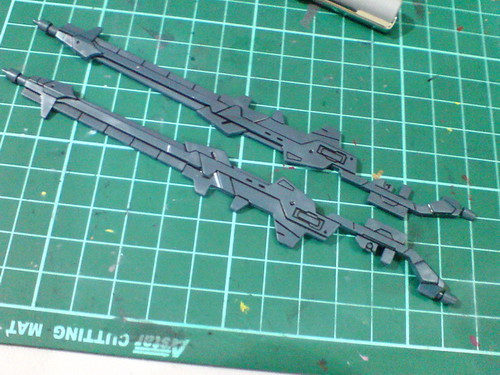
Panel lining for the very long beam rifle body parts.
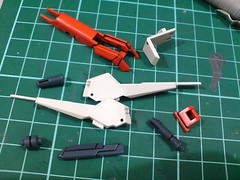
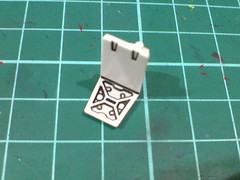
(Left) Simple panel lining for the right waist beam cannon parts.
(Right) The beam cannon's mount rack has relatively more line details than the other parts.
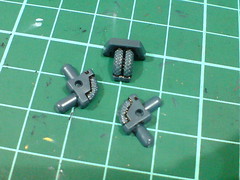
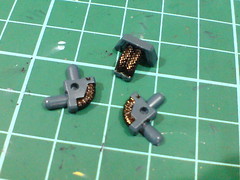
Painted the "fake" mesh pipes black using normal permanent marker.
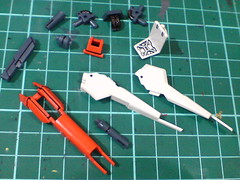
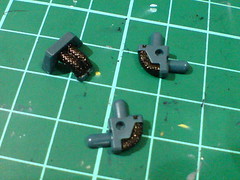
All the paint and panel line work is repeated for the left waist beam cannon parts.
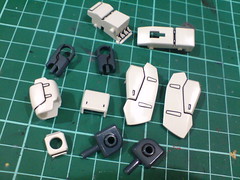
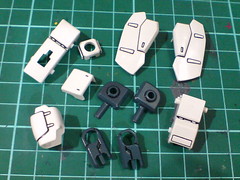
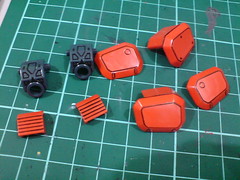
Simple panel lining for the two arms' and shoulder armors' parts.
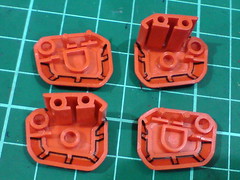
Very minimal molded details on the rear face of each shoulder armor piece. ^^

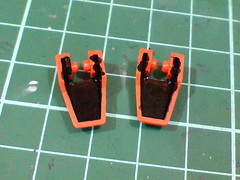
The rear face of the shoulder plates are painted black using whiteboard marker ink.
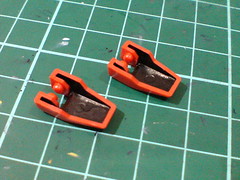
(Left) Excessive paint on the edges of the part is scratched away using a knife.
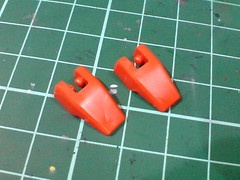
(Right) The black paint doesn't affect the surface of the parts at all. ^^
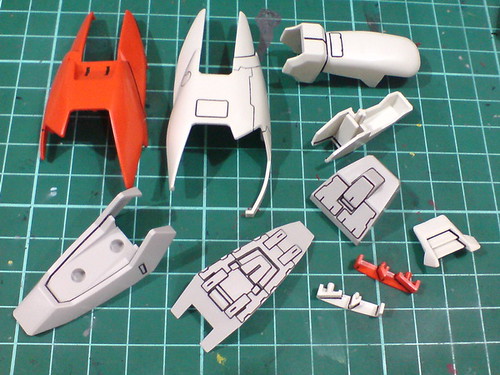
Simple panel lining for the left leg armors.
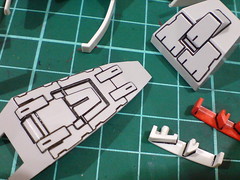
The bottom of the foot has the most molded details among all the leg parts.
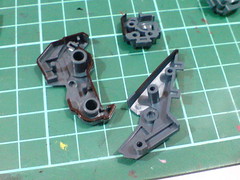
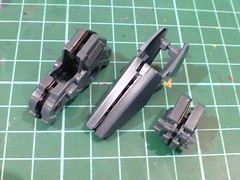
Borderlines between the knee, foot and hip parts are painted black using normal permanent marker.
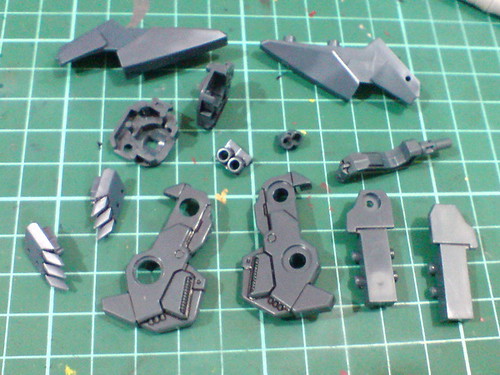
Again, just very simple panel lining for the frame parts of the right leg.
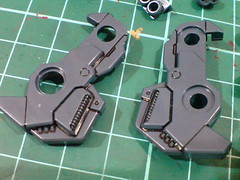
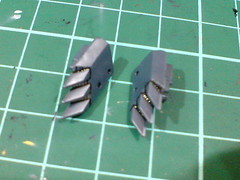
The tiny line details on the knee joint and vent parts are among the most delicate molded details seen so far in this kit. ^^
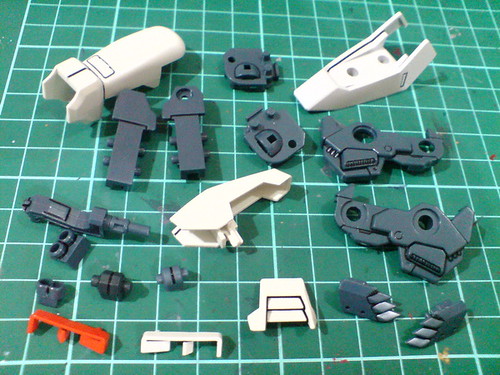
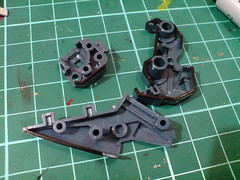
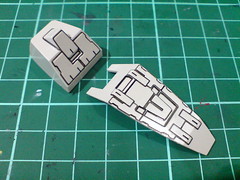
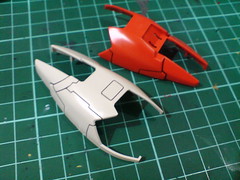
All the paint and panel line work is repeated for the left leg parts.
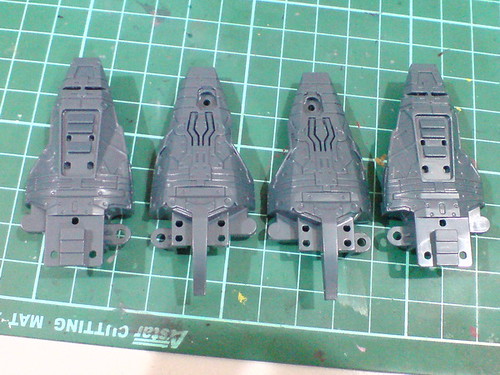
The four main inner frame parts for the legs have the greatest amount of mecha details. ^^
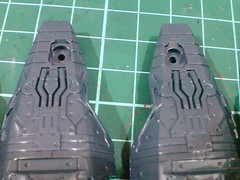
A set of pipes for each side of the legs.
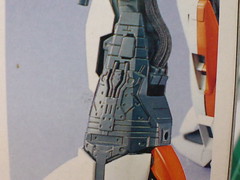
(Left) The pipes, along with all molded details are not painted on the completed model shown in the construction manual.
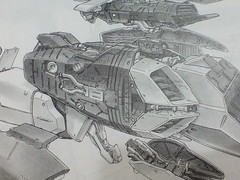
(Right) They are shown to be painted on the mechanical design beautifully drawn by BEE-CRAFT, but as the picture is in grayscale, it's unclear what those different shades of color really are actually. ^^;
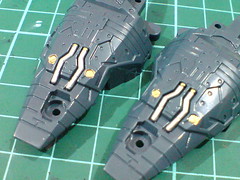
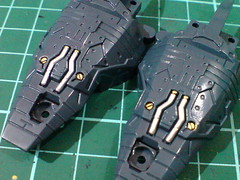
I just painted the details according to my liking then. ^^
Silver for the pipes is painted using Pilot Super Color Silver Extra Fine while the tiny golden rings at the base of the pipes and the two "screws" beside the pipes are painted using normal golden pen.
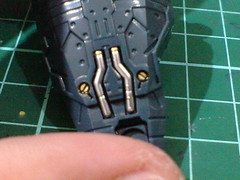
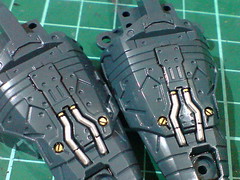
(Left) Closeup on the painted area.
(Right) Panel lines on the pipes are added when the paint has dried.
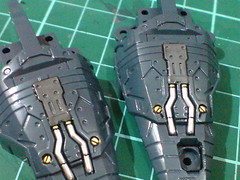
The flat panels next to the pipes are painted gray using Gundam Marker.
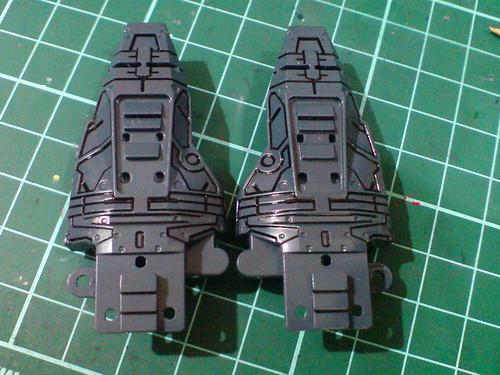
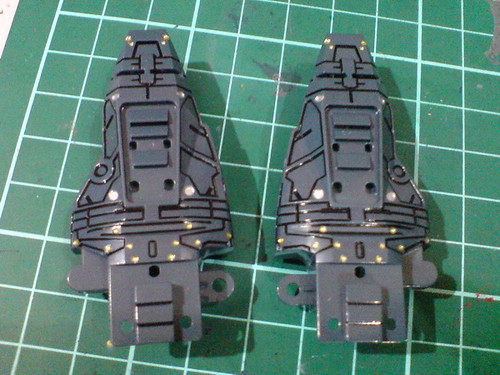
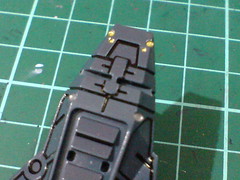
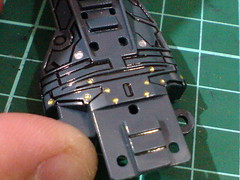
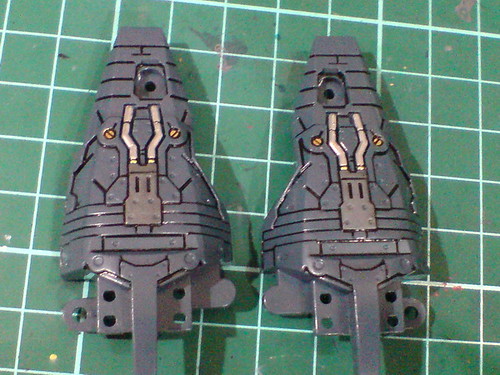
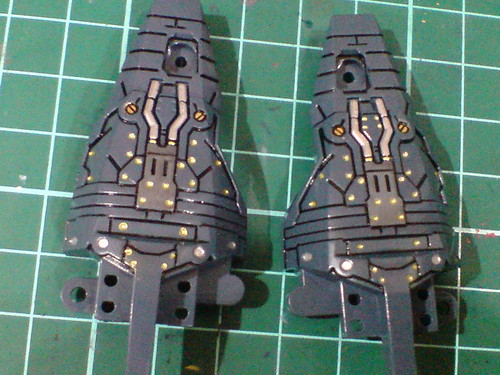
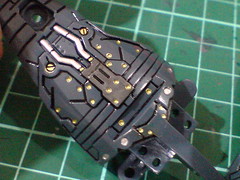
All the small dots on the four leg inner frame parts are filled in using normal gold and silver pens.
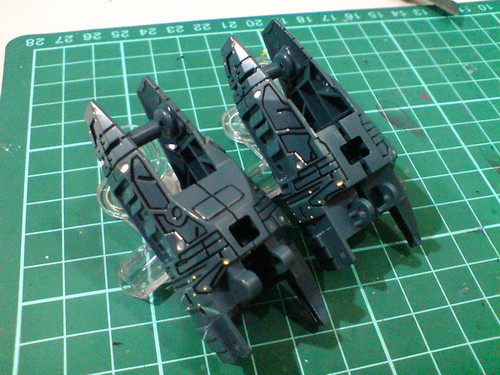
Test fitting the painted parts to see how the components would turn out when assembled. ^^
All the details are focused on both sides of each leg it seems.
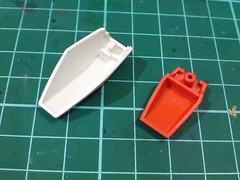
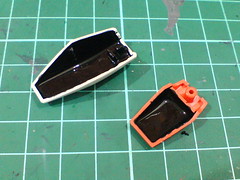
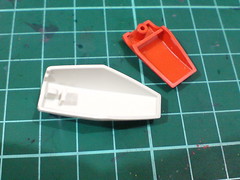
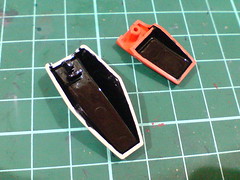
Just like the shoulder plates, the rear face of the ankle and heel guards are painted black using whiteboard marker ink.
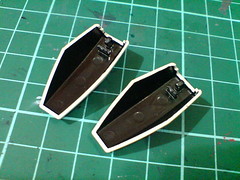
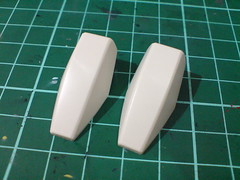
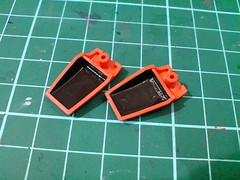
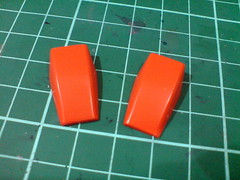
With excessive paint on the edges of the parts scratched away using a knife.
All the parts' surface is not affected by the paint. ^^
While it seems like a lot of paint work is applied to the different parts, everything is very simple actually. ^^ Except for those two flat panels on the side of the legs' inner frame parts, all the painted parts are done using simple markers or pens, which really reminds me of the good old days when everything was indeed this simple, but it was more because I didn't have as many tools and special markers to be used on my model kits. The good thing is, everything still works. ^^
Moving on to more complicated paint work on more troublesome parts next. ^^


No comments:
Post a Comment