Continuing the work on Master Grade Zeta Plus after the previous posting. ^^
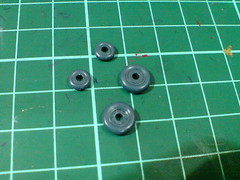
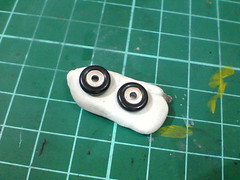
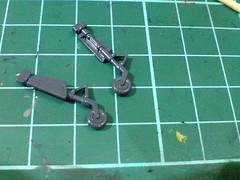
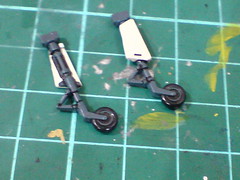
(Left) Four wheels for the landing gears in Waverider mode need to be painted.
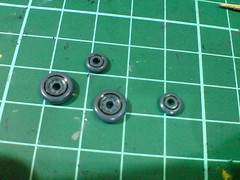
(Right) The border between the wheels and their tires is panel lined first.
The wheels are painted first using Pilot Super Color Silver Extra Fine, followed by the tires painted in black using normal marker.
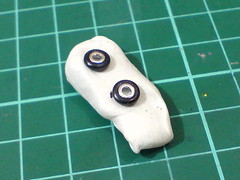
The rear face of the four wheels are painted as well.
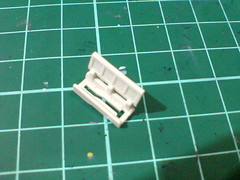
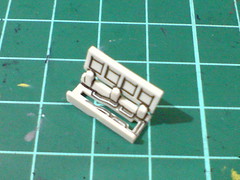
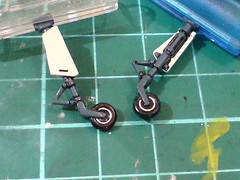
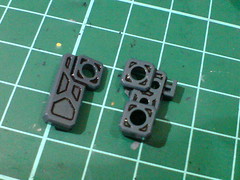
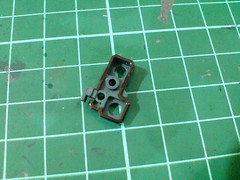
Panel lined the molded details of the option landing gear hatch. A few tiny cables inside the hatch are painted using normal silver pen as well. ^^

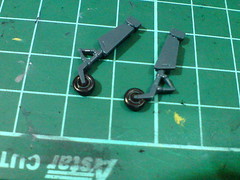
The tires of the landing gears attached to their arms and hatches are painted black.
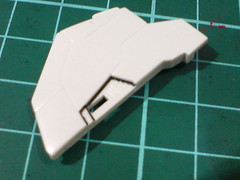
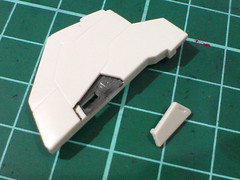
The hatches, three of them including a large one to be fixed to the front skirt armor area are painted light brown using Gaia Color Military Series No. 223 Interior Color. This particular bottle paint was used for the hand armors of MG Zaku II F2 EFSF Ver. some time ago.
The interior of the largest hatch is painted as well. ^^
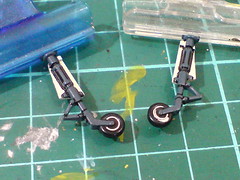
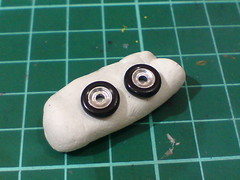
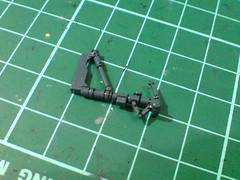
(Left) The arms of the landing gears are panel lined once the paint has dried.
(Right) Painted the wheels silver using Pilot Super Color Silver Extra Fine. The not-so-fine tip of the marker and "furious" flow of its paint is not easy to control, which resulted in paint overflow for the landing gear shown on the right. ^^;
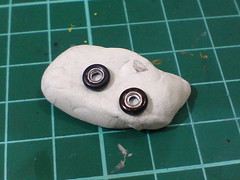
The spillover is covered up very easily by painting black over the tire again. ^^
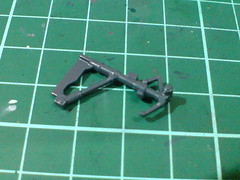
Just panel lining for the shield's landing gear.


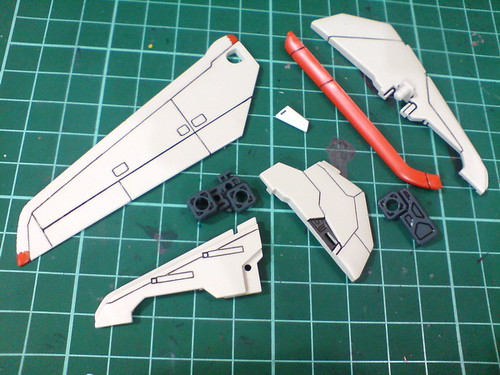
The hatch area on one of the wings is painted gray using Gundam Marker to associate it as part of the Gundam's mecha component.
Tons of details on the wing's joint parts.
Not seen in the image above, the borderline between the parts is painted black using normal marker as well.
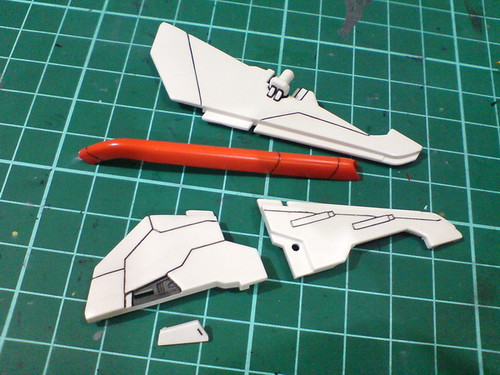
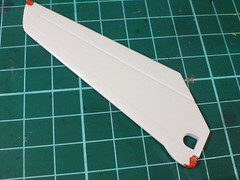
Just panel lining for all the wing parts.
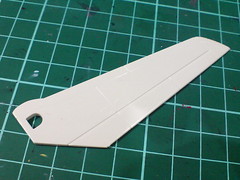
Very simple details on the main wing parts, but besides panel lining, a little bit of "deceptive" paint work is needed as well. XD
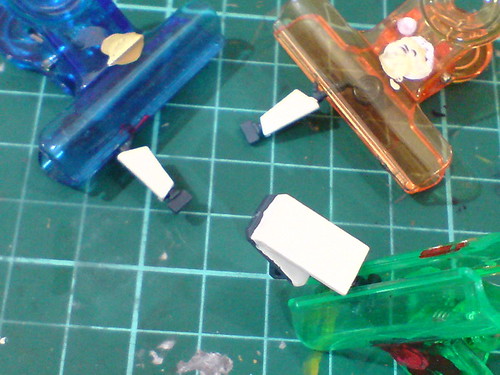
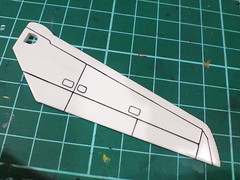
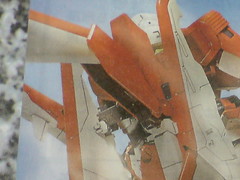
As mentioned in Part 1, the outermost rim of the wing will require foil sticker to realize its orange color. However, from the manual, there's a tiny area that won't be covered by the sticker.
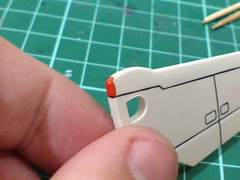
Painted that "neglected" area using normal permanent marker.

(Left) Luckily, the color seems pretty close to the molded color on other orange parts. ^^
(Right) The marker used is from Yosogo. ^^ And for your information, this sort of "deceptive" paint method was done back in January last year for BB Senshi Force Impulse Gundam's wings as well. ^^
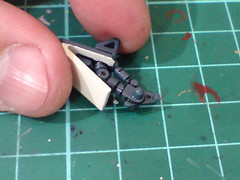
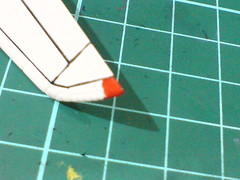
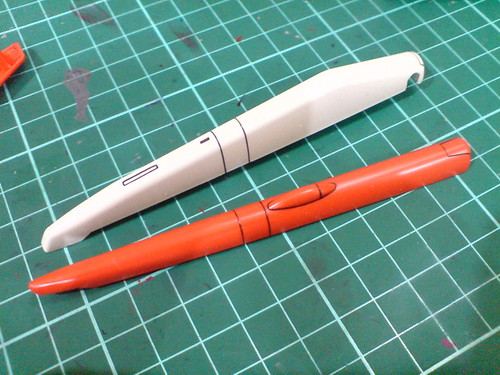
(Left) The same paint work using that orange permanent marker is repeated for the other wing.
(Right) The painted borderline between the joint parts.
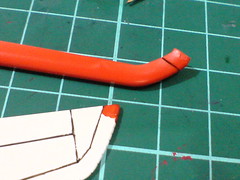
Repetition of all the paint and panel line work on all the other wing's parts.
The amount of line details seems to be disproportionate to the size of the tail stabilizer parts XD
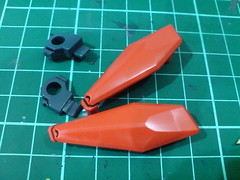
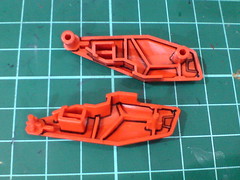
Just panel lining for the tail's connector parts.
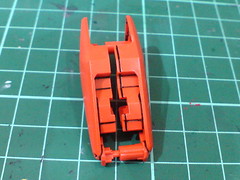
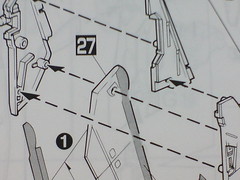
(Left) The huge border between the connector parts is not painted black like all other similar section as the painted area would be too obvious. ^^;
(Right) As shown in the manual, the entire interior of the connector should be painted black or dark gray, but I'll omit this paint work in favor of the molded details inside the parts.
This round of paint and panel line work is a bit more challenging than that shown in the previous posting, but nothing a bunch of markers and unconventional painting method can't handle I suppose. XD
Only parts of the body and head remain for this MG kit now. ^^


No comments:
Post a Comment