Continuing with the final assembly of Keropla God Keron's Kururu Robo Mk-II after the previous posting. ^^
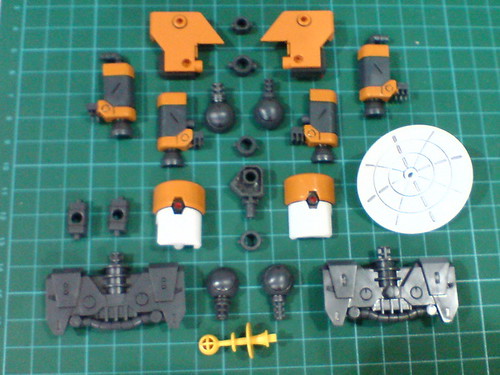
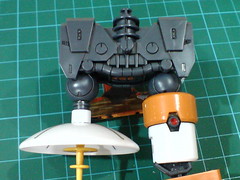
Parts of the backpack.
Separable components of the backpack before the final assembly.
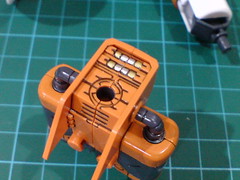
Parts with orange, gray, and red paint work, plus gold and silver detailing done in Parts 13 and 14.
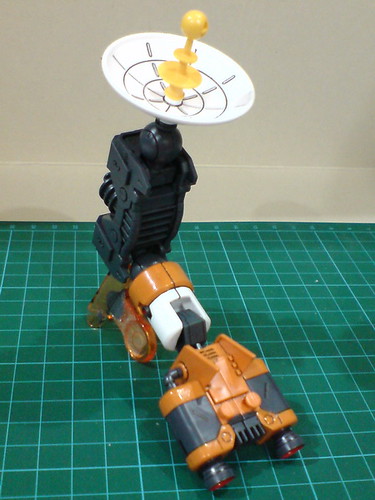
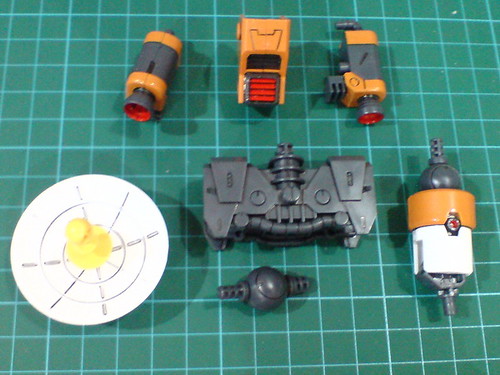
Done for the backpack. ^^
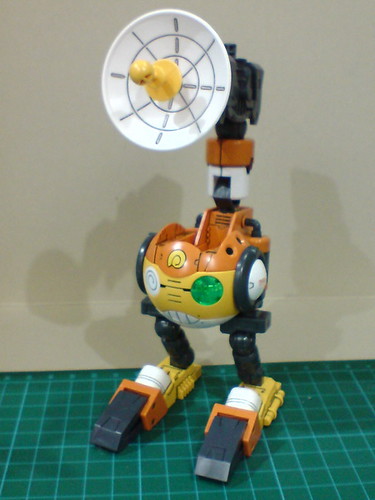
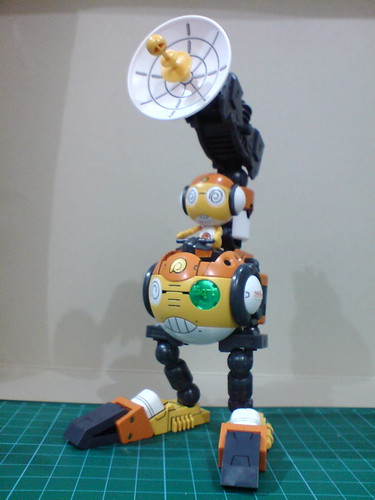
A huge component this is, almost too big for Kururu Robo Mk-II. ^^;
The radar is Kururu Robo Mk-II's main weapon, called Doku Denpa Unit (毒電波ユニット, literally Poisonous Radio Waves Unit). ^^
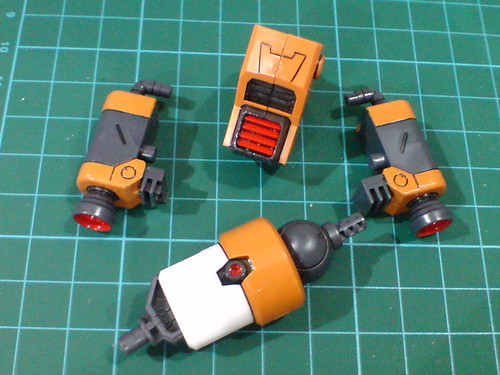
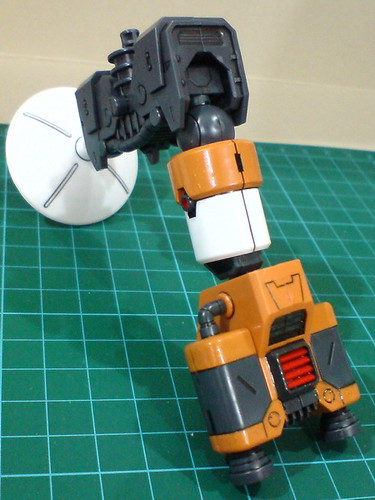
The two main swivel-hinge joints connecting the radar disc and backpack to the large arm can be hinged upward/downward.
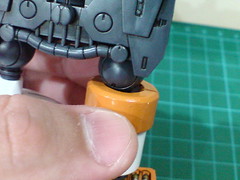
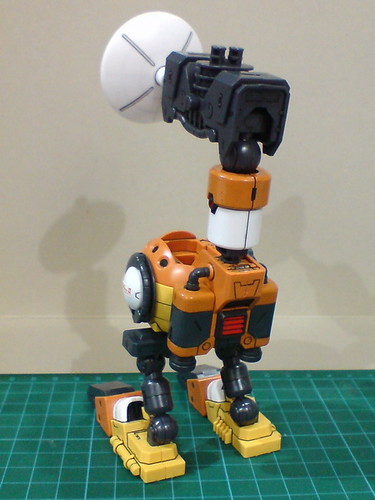
A bonus articulation point I suppose: the connecting slot above the backpack's mid-section is slightly larger than the main joint. The gap between the two components allow the mid-section to hinge from side to side without using the main joint. ^^
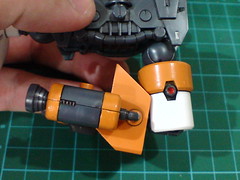
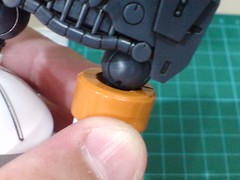
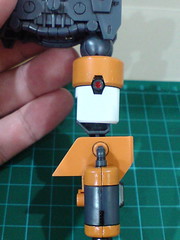
A much larger hinge joint connects the mid-section to the backpack.
The hinge joint will form God Keron's right knee. ^^

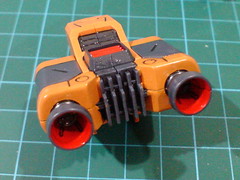
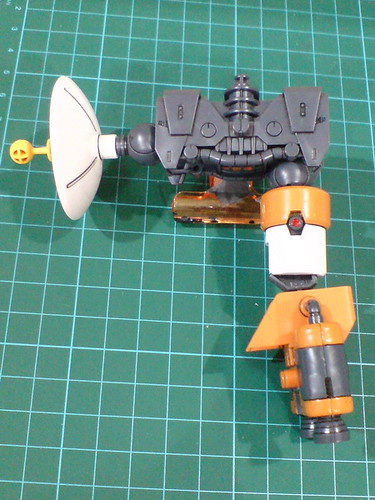
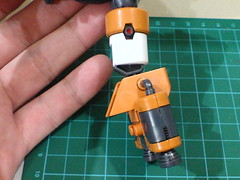
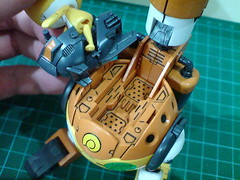
Deploying the swivelling capability of the main joint.
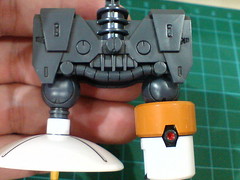
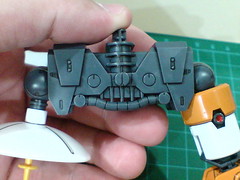
Showing off the hinge component of the main joint.
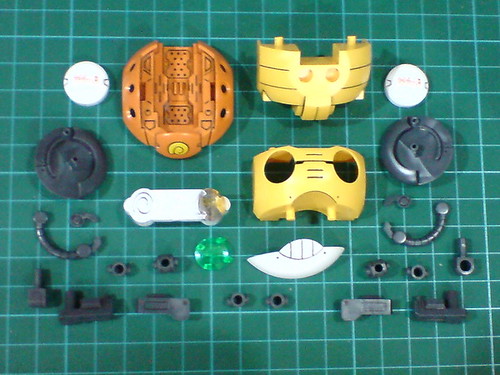
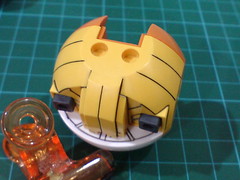
Parts of the body.
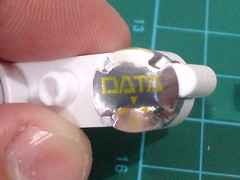

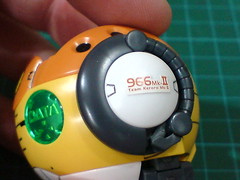
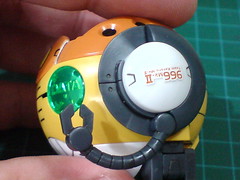
While the foil sticker's shininess is not exactly that visible from behind the clear green part, the matching molded details behind the latter gives the printed text of 'DATA' a very nice embossed look. ^^
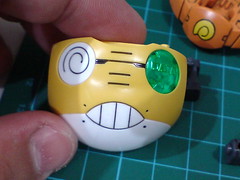
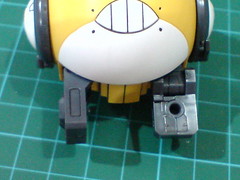
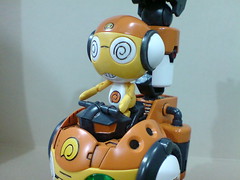
As you would expect, the evil grin of Kururu is inherited by his personal Robo Mk-II. ^^
Done for the body module.
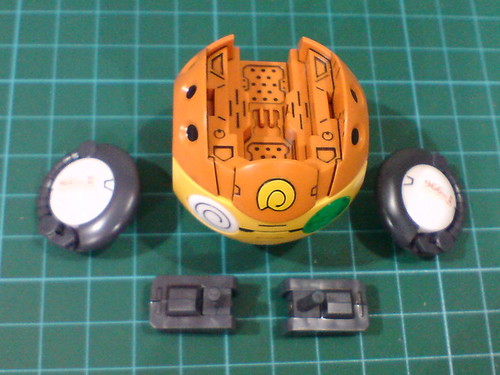
Separable components of the torso before the final assembly.
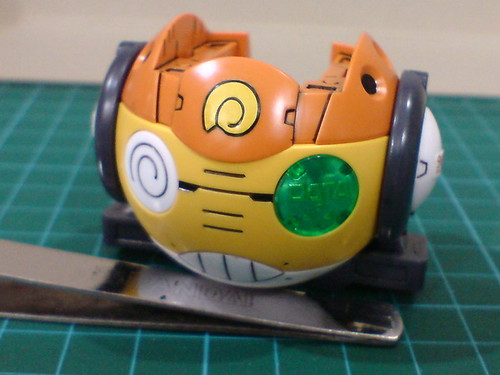
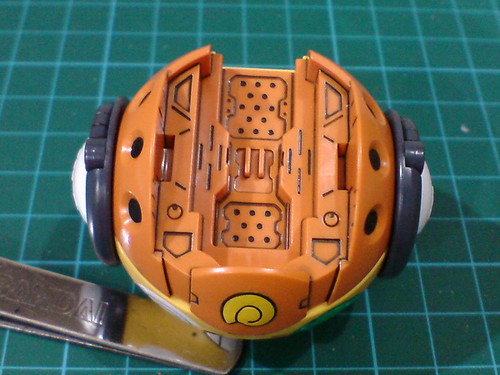
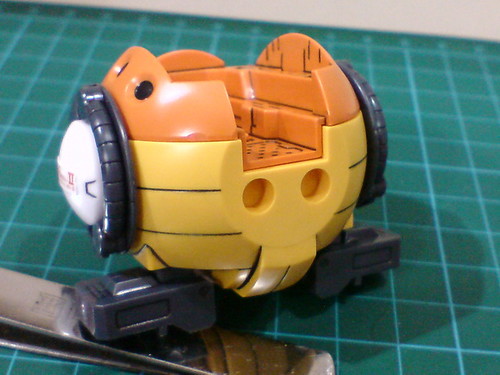
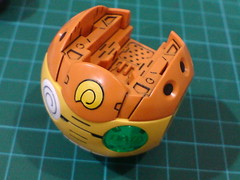
Done for the torso.
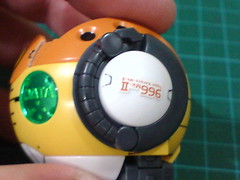
The robot's puny arms are stored behind its "earphones" by default. The earphones need to be rotated upside-down first before the arms can be deployed.
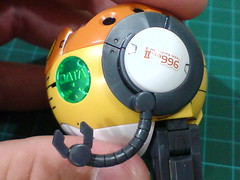
Very simple joints allow the arms and claws to be adjusted for a slight degree.
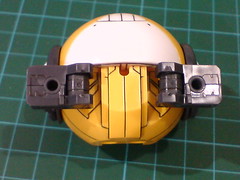

The two plates beneath the body have polycap joints that allow them to be rotated to the back.
The plates can be bent downward as well.
This pair of components are more important for Kururu Robo Mk-II's transformation to God Keron than for the individual kit itself.
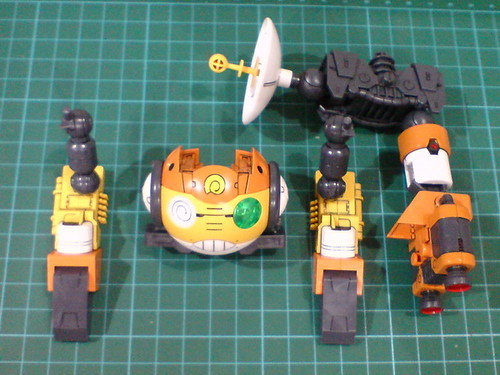
All components gathered for the final assembly. ^^
Done for Kururu Robo Mk-II. ^^
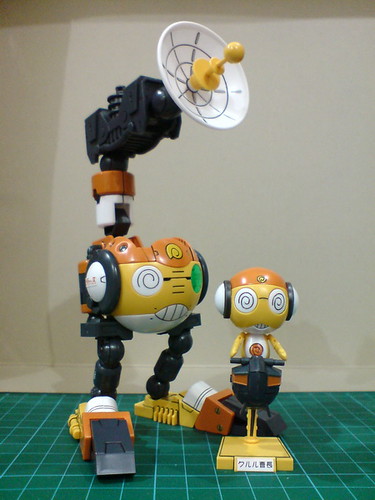
With the mini figure of Kururu completed in the previous posting. ^^
The control pod is mounted onto Kururu Robo Mk-II the same way as the other three Keropla kits from this set. The connection between the pod and the neck area is just as secure as well. ^^
Kururu with Kururu Robo Mk-II. ^^
More images of the completed model in the next posting. ^^


No comments:
Post a Comment