Starting to work on D-Style Ingram Unit 1 after the introduction in the previous posting. ^^
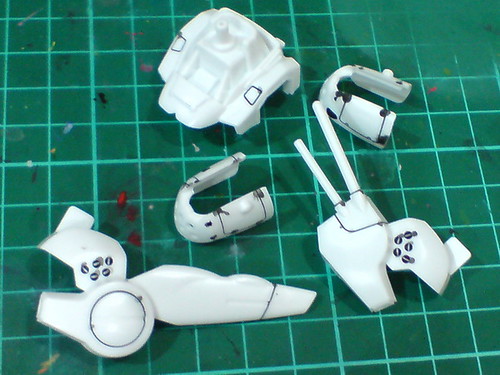
Fine molded details on various parts are panel lined first using Tamiya's Panel Line Accent Color (Black).
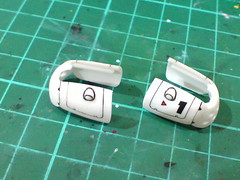
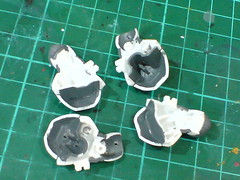
Excess panel liner paint on the shoulder armor parts is cleaned using cotton swab soaked with thinner. Other line details on the parts are realized using a normal panel liner.
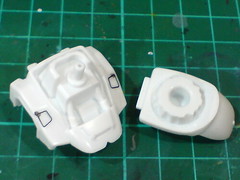
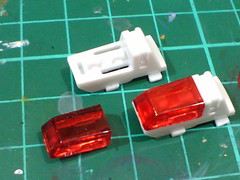
Body parts that require paint work: neck and abdomen (left image), lights beneath the chest vents (right image), ...


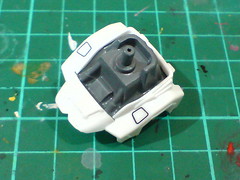
... vents on the backpack (left image), front and rear lights on the waist (right image).
Referencing the instruction manual for the various parts' intended colors.
The upper arm parts have bits of their gray paint chipped off when excess gates were removed from the parts. The edges with missing paint will need to be repainted.
The interior of the hip slots, at least their edges need to be painted to conceal the base color.
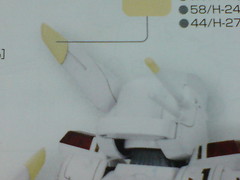
The edges of the "rabbit ear" and one of the antennas require light yellow paint.
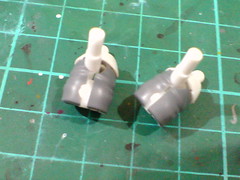
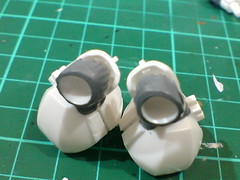
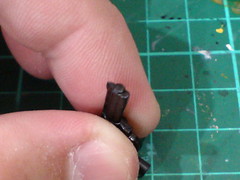
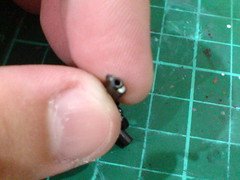
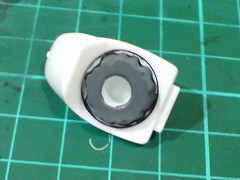
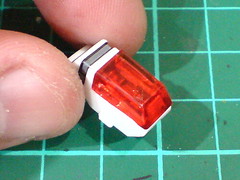
The goggle unit will be painted silver to make it stand out more behind the clear green visor on the completed model. ^^
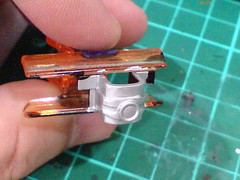
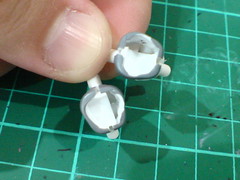
Painted the part using Tamiya Paint Marker X-11 Chrome Silver.

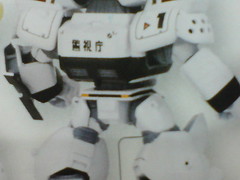
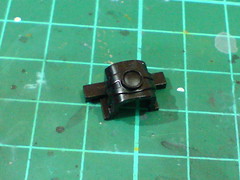
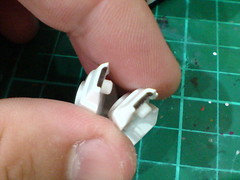
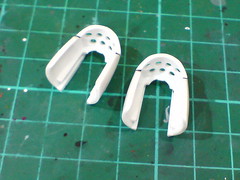
As shown in the instruction manual, a bar near the shoulder light on each shoulder part needs to be painted gray.
To achieve the same display purpose as the goggle unit, the interior of the shoulder light will be painted silver as well.

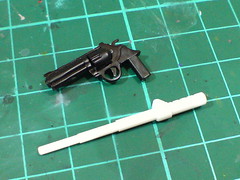
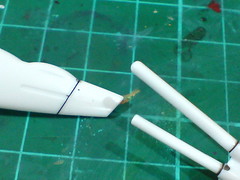
Gray paint work needed for various areas on the weapon parts.
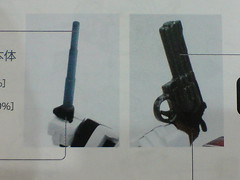
Pin vise with 1.0mm drill bit is used to create the Revolver Cannon's muzzle point.


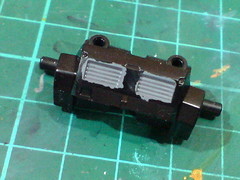

Gray paint applied to some of the aforelisted parts.
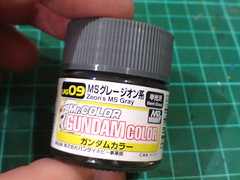

A new bottle paint is used for the paint work: Mr. Gundam Color UG09 MS Gray Zeon. ^^

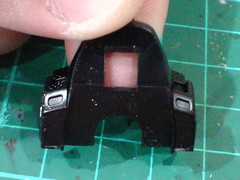
A tiny vent in front of each foot is painted black using normal marker.
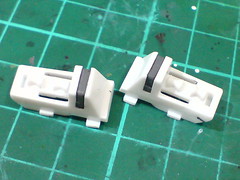
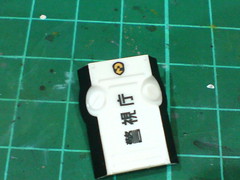
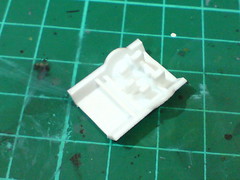
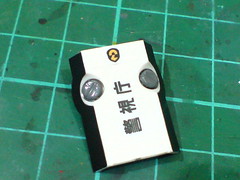
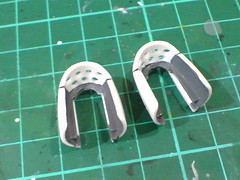
(Left) With excess gray paint on the shoulder parts scratched off using a knife.
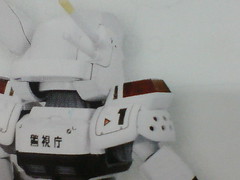
(Right) With panel lines added to the two parts. The warning light area is painted silver using Pilot Super Color Silver Extra Fine.
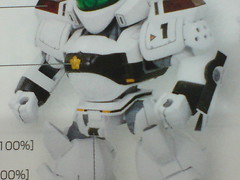
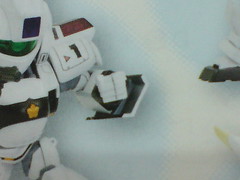
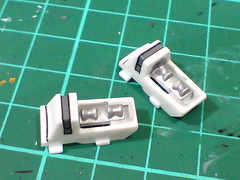
Test fitting the painted parts to see how the warning light would turn out when assembled. ^^

Panel lining done for the arm parts.
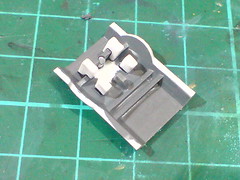
Parts that I missed for the gray paint work done earlier on: the interior of the shoulder armors.
Another batch of painting and detailing will be enough to finish up the remaining parts of this kit I believe. ^^


No comments:
Post a Comment