Moving on to the assembly of J-Roader from the second kit in Kabaya's Brave Legend Brave Gum shokugan set, after completing Deckard in the previous posting. ^^
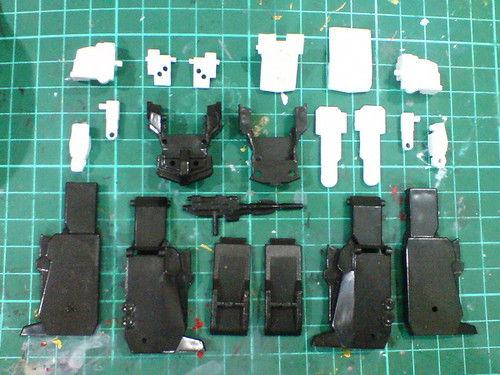
All the parts for J-Roader, before the stickers are applied to them.
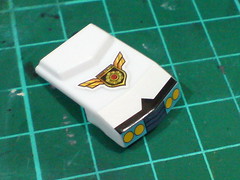
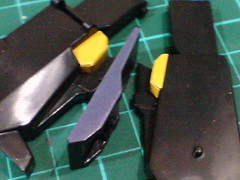
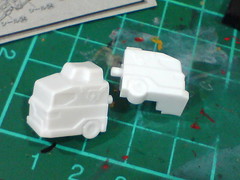
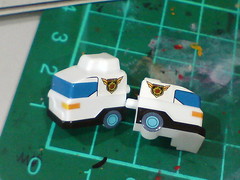
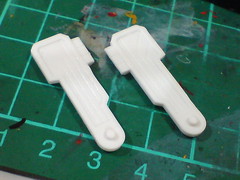
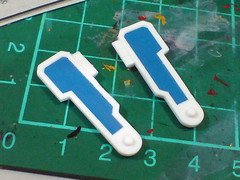
Some of the single parts with stickers applied.
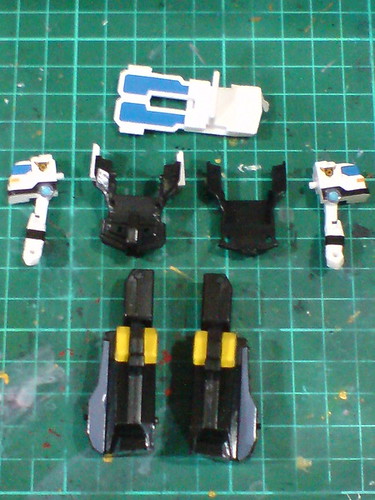
Main components of J-Roader, before more stickers are applied to some of the connected areas.
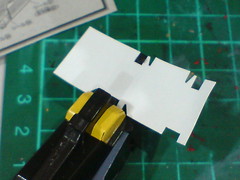
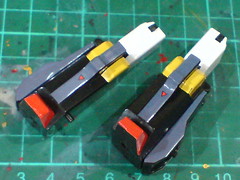
More stickers added to complete the legs' detailing
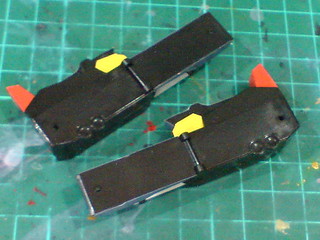
The side panels need to be expanded for the large "Police" labels to be attached to their blank areas.
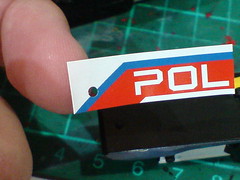
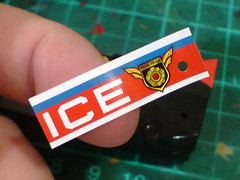
Each "Police" sticker piece has a hole to accommodate the protruding peg, and slot that keep the side panel connected when forming J-Decker.
To fulfill its purpose, the hole is an obvious, necessary inclusion to the sticker's design, but I still find it to be a very interesting feature. ^^
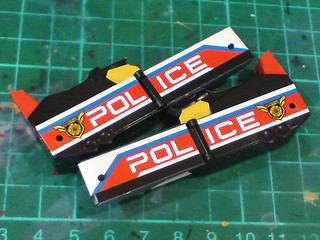
The large "Police" stickers add a lot of colors to the otherwise flat, and all-black side panels. ^^
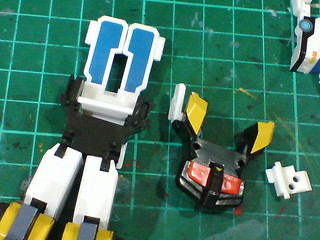
Components to form the main body.
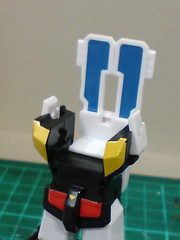
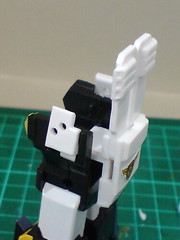
The empty chest area has a couple of movable components for the mecha's transformation.
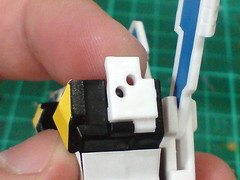
As you can see, there's a pair of peg slots on each shoulder block. For robot mode, the front slot will be used to mount the arm.
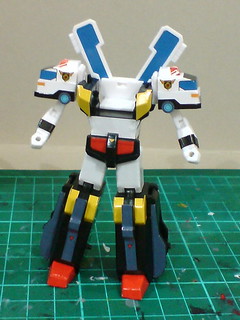
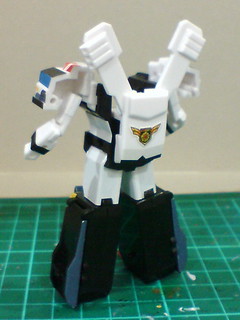
All done for the main body of J-Roader in robot mode.
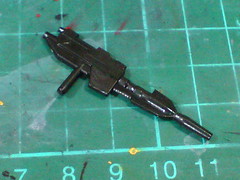
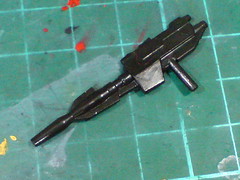
The one-piece J-Buster will be equipped to the robot when J-Decker is formed.
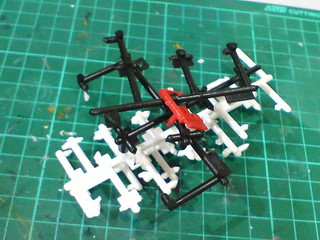
Tiny empty trees after all their parts are removed. ^^
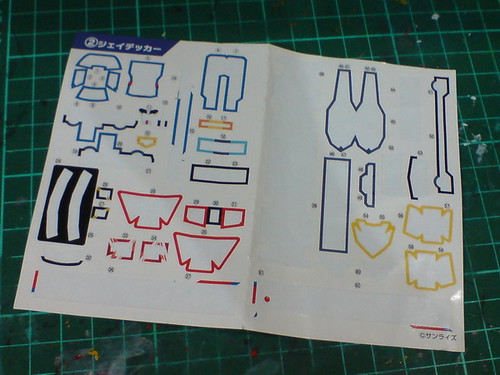
All the sticker pieces were used during the assembly.
Unlike Exkaiser in its combination sequence for King Exkaiser, Deckard has to be configured into its vehicle mode before forming J-Decker.
Transformation for Deckard before it can be "docked" on top of J-Roader:
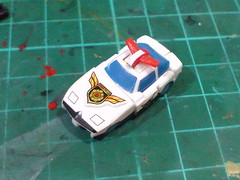
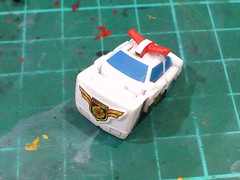
Using the robot mode's thigh hinge, the front section of Deckard is flipped downward for 90 degrees.
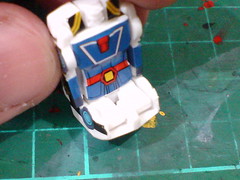
Bottom view of the adjusted joint.
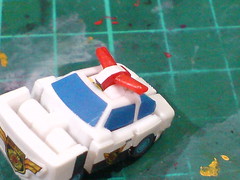
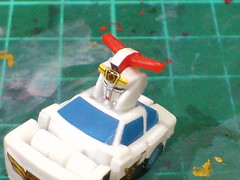
J-Decker's head is pulled out from the car roof.
Forming J-Decker:
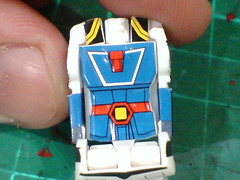
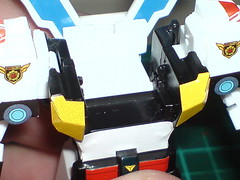
A pair of divots on both of Deckard's doors match a pair of small tabs inside the empty chest area of J-Roader to secure the components' connection.
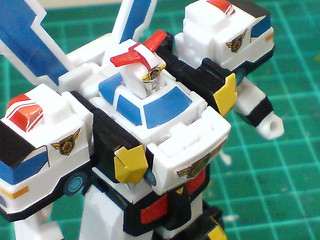
Deckard fits onto the chest area very tightly.
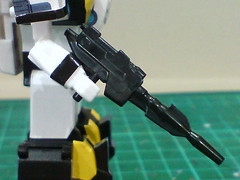
J-Buster is equipped to the right hand to complete the entire combination.
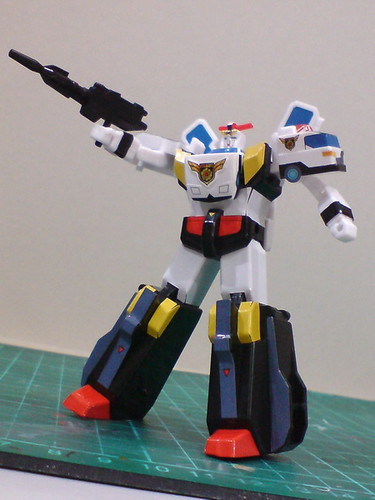
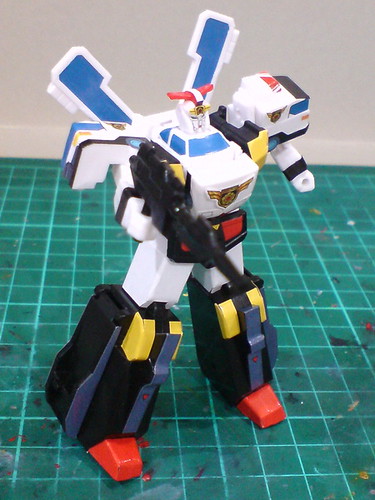
More images of J-Decker:
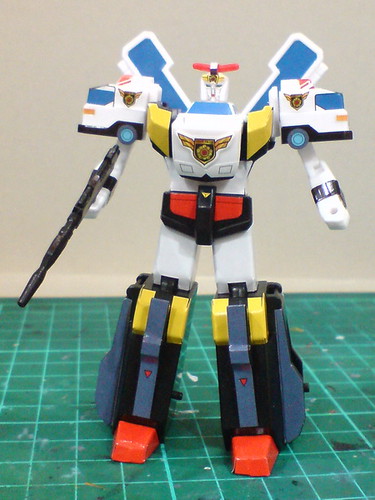
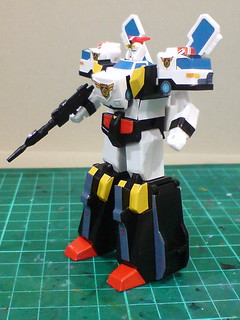
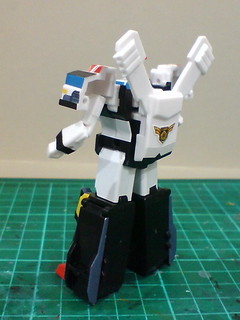
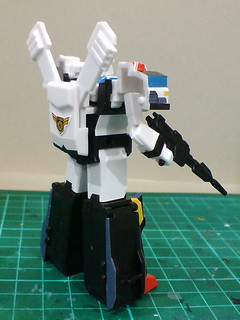
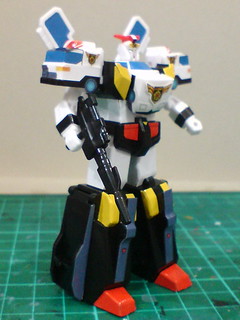
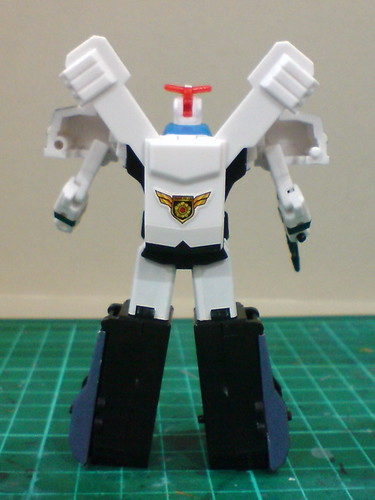
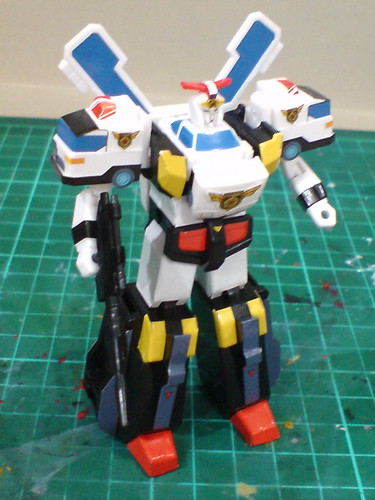
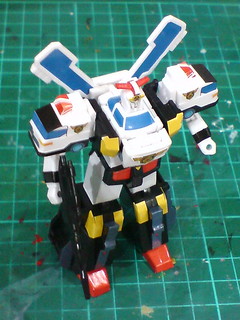
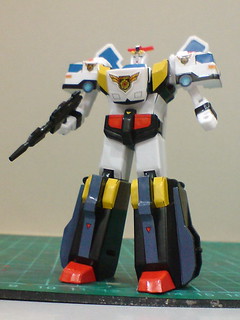
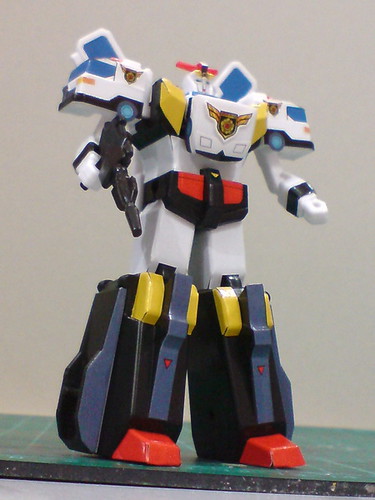
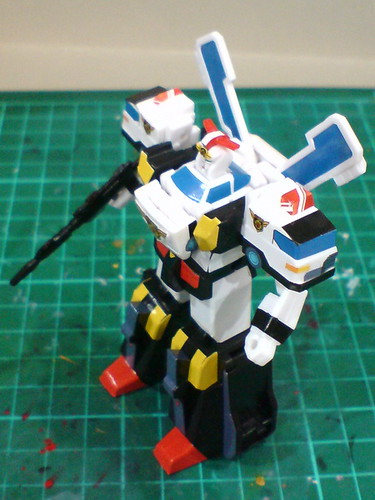
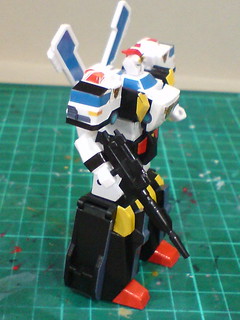
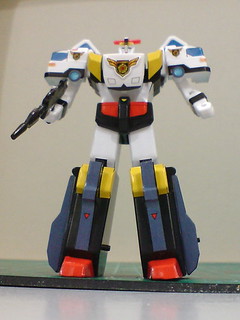
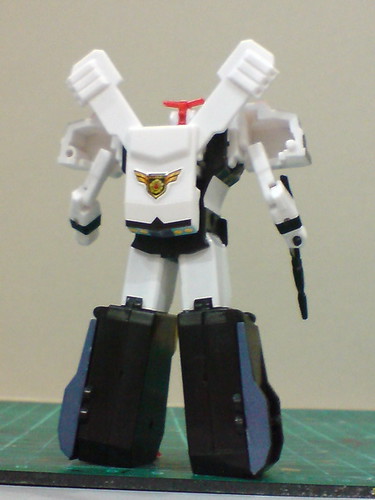
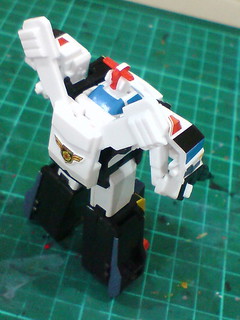
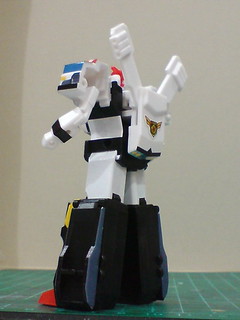
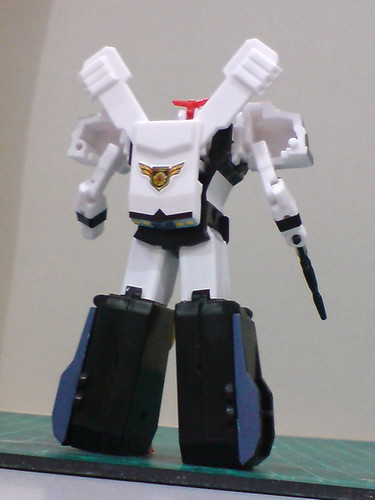
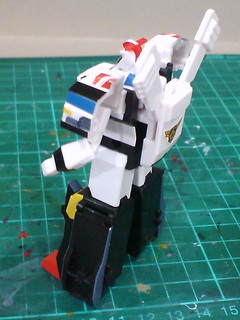
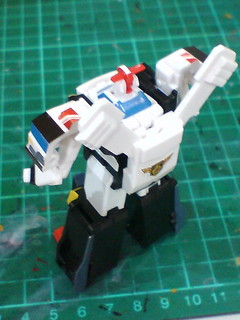
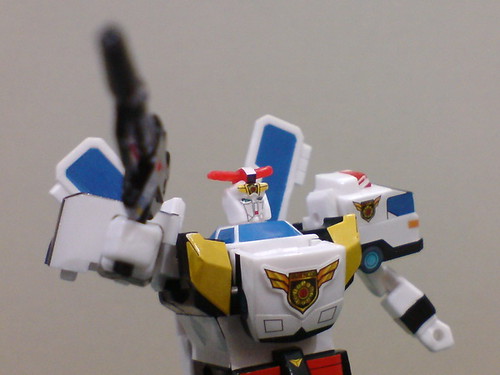
Closeups on the details:
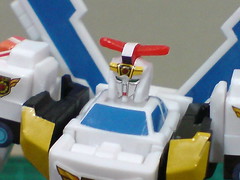
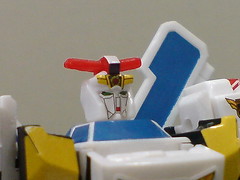
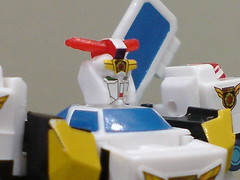
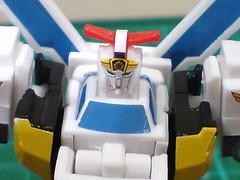
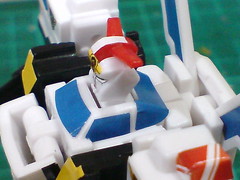
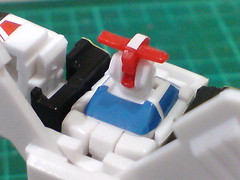
[Head]
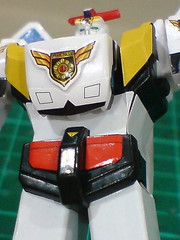
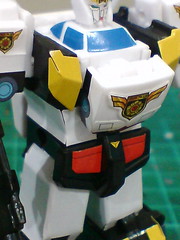
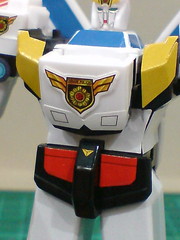
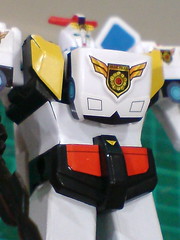
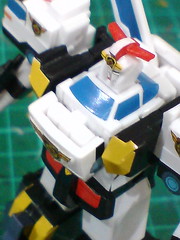
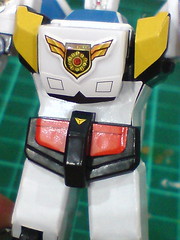
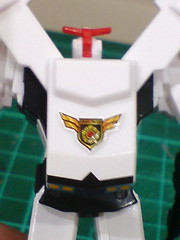
[Body]
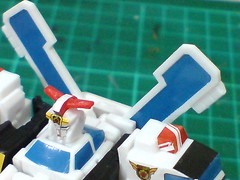
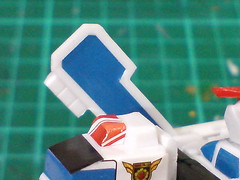
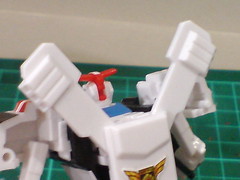
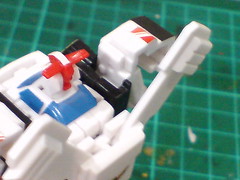
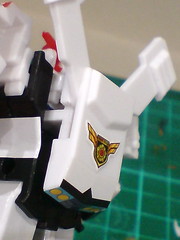
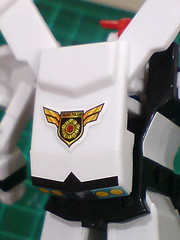
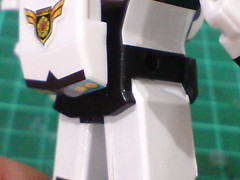
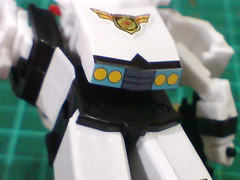
[Wings and back]
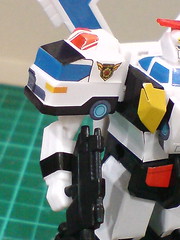
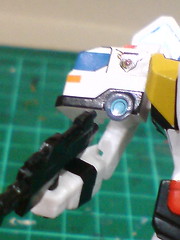
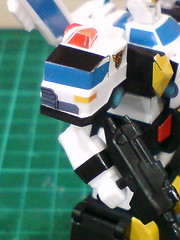
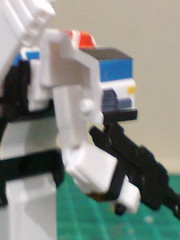
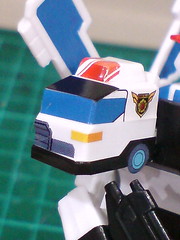
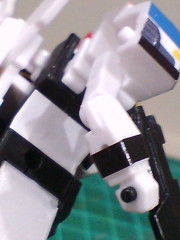
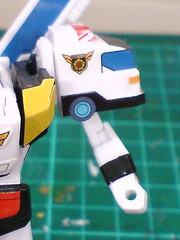
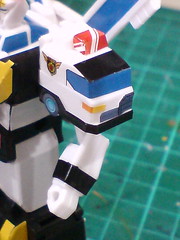
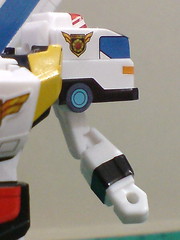
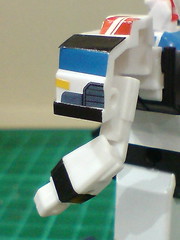
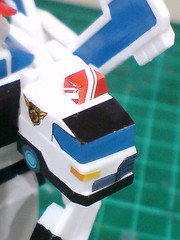
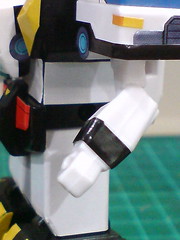
[Arms]
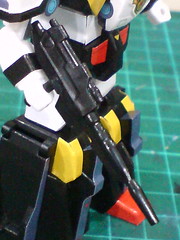
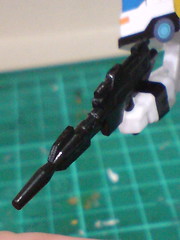
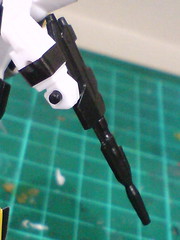
[Rifle]
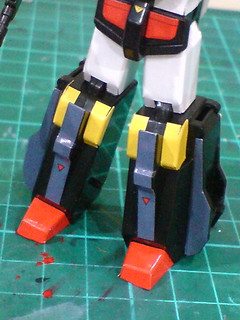
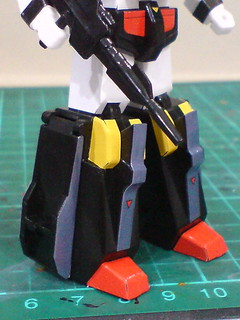
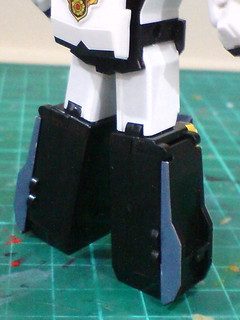
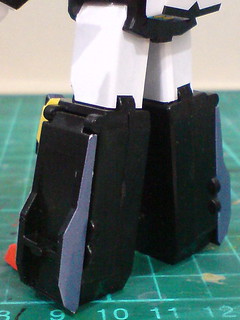
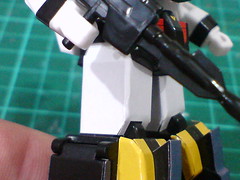
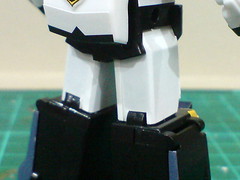
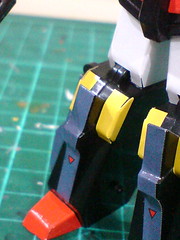
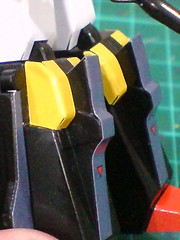
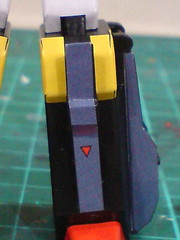
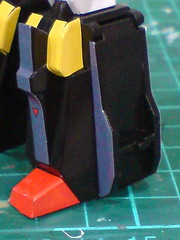
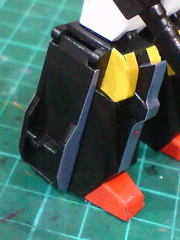
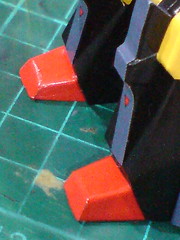
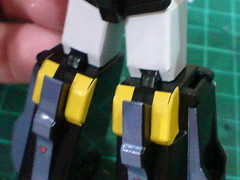
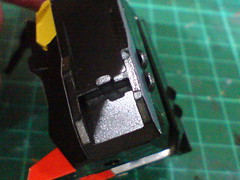
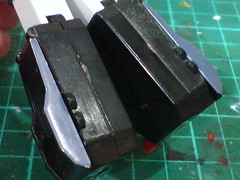
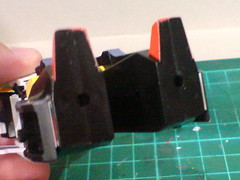
[Legs]
Much like Deckard shown in the previous posting, the stickers included for J-Roader really add a lot of colors, and details to the combined robot. While the Brave Police emblems on Deckard's doors are hidden away when the police car is docked on top of the chest area, J-Roader's own Brave Police emblems on its shoulders, and back help to compliment the main one on the chest, reinforcing J-Decker's image. ^^
As shown during the assembly process, there are large, detailed "Police" labels on the side panels, which are not visible on J-Decker. So, there are more details on J-Roader that would only be revealed when it's transformed into carrier mode. ^^
A look at J-Decker's simple articulation design:
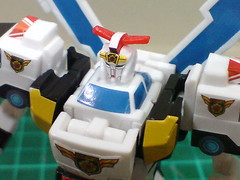
Due to its transformation design, the head cannot be moved at all. ^^;
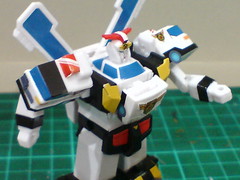
Using the pegs that connect them to the main body, the shoulders can be swivelled forward/backward.
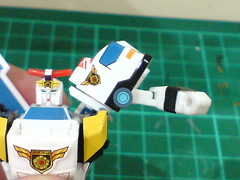
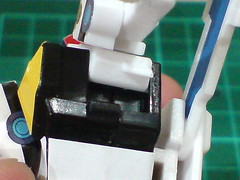
As part of J-Roader's transformation, either shoulder block is on a slidable hinge that allows the shoulder to be lifted from the side of the body, for an impressive range too. ^^
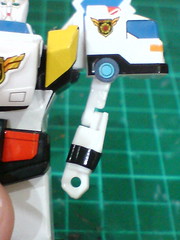
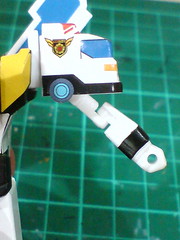
The upper arm can be hinged inward/backward.
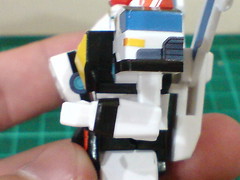
90-degree elbow bend.
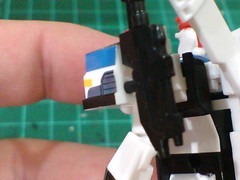
The peg slot behind the left shoulder can be used to hold J-Buster at its handle.
The weapon is actually stored in the right leg panel in pistol mode.
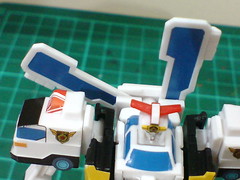
Each wing can be hinged upward/downward.
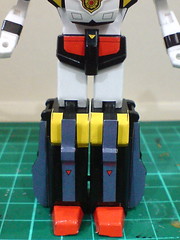
[Hips]
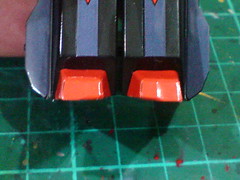
As you can see, the shape of the feet is slightly skewed. So, in order to display the feet completely touching the surface that the model is standing on, there has to be a gap adjusted in between the legs by default. ^^
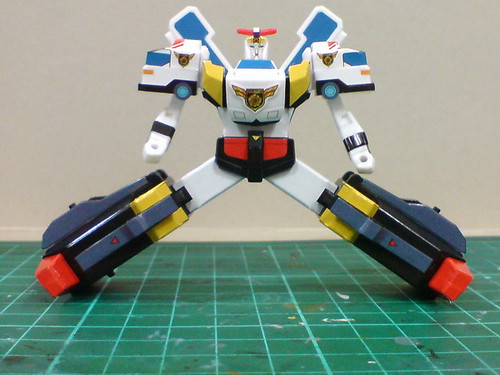
Using the peg that connect it to the main body, each leg can be hinged outward for a wide degree.
While the model does have a couple of flexible articulation points, which can be considered exceptional by shokugan figure standards, the lack of a neck joint makes its difficult to get a good action pose for J-Decker. Basically, what's the point of being able to adjust the arms freely, when you can't get the robot to see where he's supposed to be shooting at? XD
A look at J-Roader's carrier mode transformation next. ^^


No comments:
Post a Comment