Going through all the individual components in Super Robot Chogokin Key of Victory Set 1 after the introduction in the previous posting. ^^
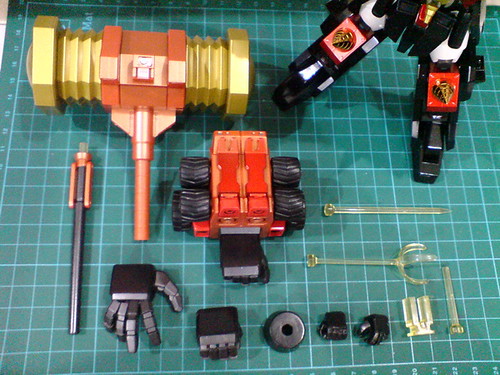
All the components and parts from this option weapon pack.
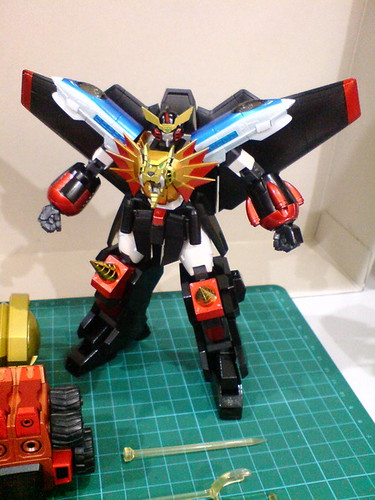
The weapon pack's intended "user", Super Robot Chogokin GaoGaiGar is on standby to demonstrate some of the parts' application. ^^
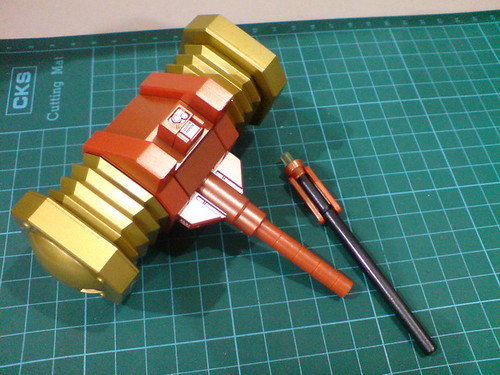
The two main parts to form Goldion Hammer.
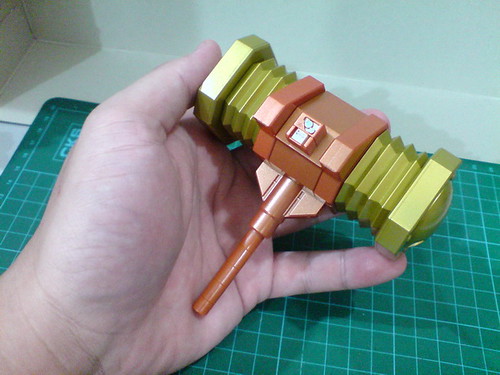
Size comparison of the huge hammer head with my left hand. ^^
Despite its large size, the hammer is hollow on the inside - it's very lightweight, almost unbelievably so. ^^

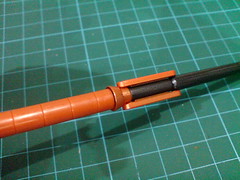
The straight peg from beneath the hammer head's pole is inserted into the slot on top the handle to complete the entire weapon.
There are also tabs and corresponding divots around the connection point mentioned above that help to secure the connection.
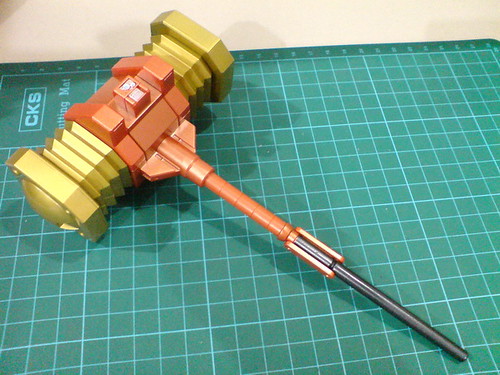
The completed "short" version of Goldion Hammer.
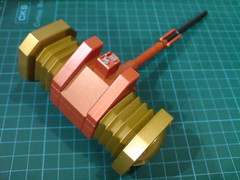
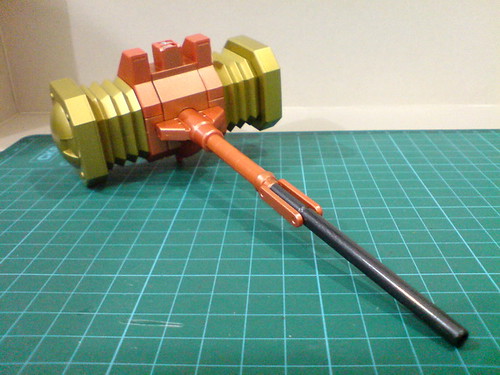
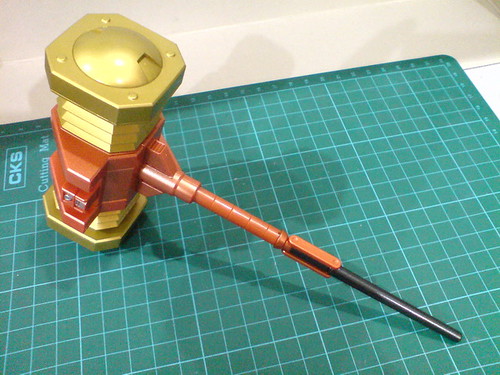
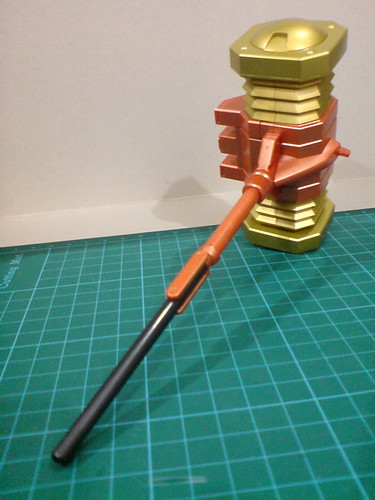
Closeups on the details.
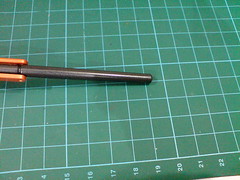
Length of the hammer: 19.2cm.
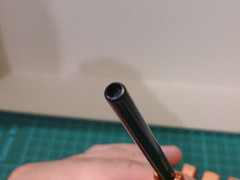
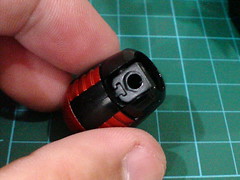
The bottom end of the handle is designed to be the anime-accurate muzzle of Goldy Tank.
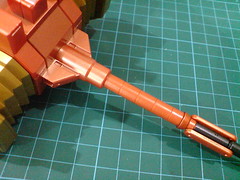
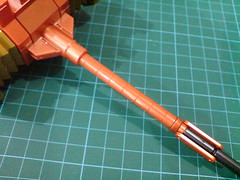
The pole beneath the hammer head, which came retracted in the package, can be extended.
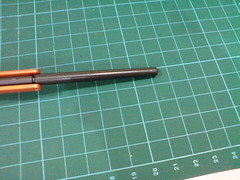
The pole's extension increases the entire weapon's length by about 2cm. ^^
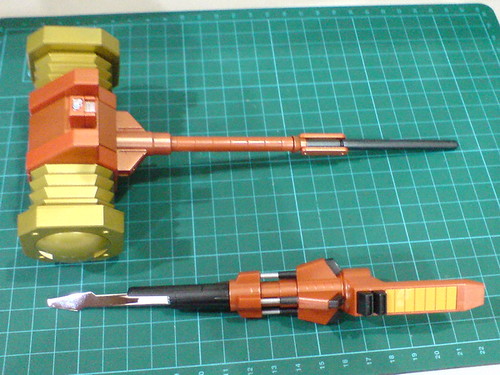
Comparison with Dividing Driver from Super Robot Chogokin GaoGaiGar.
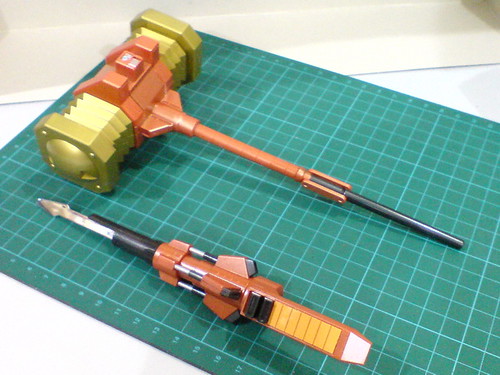
While their lengths are almost the same (Goldion Hammer is slightly longer), Goldion Hammer's imbalance, humongous size gives it a much more striking look. ^^
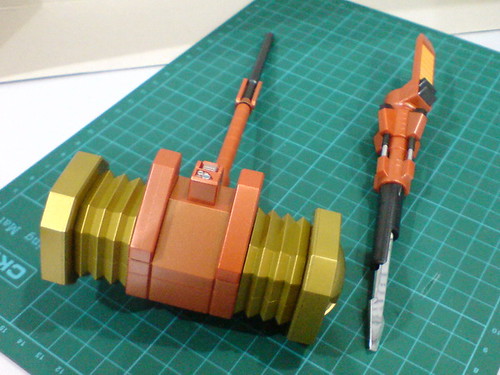
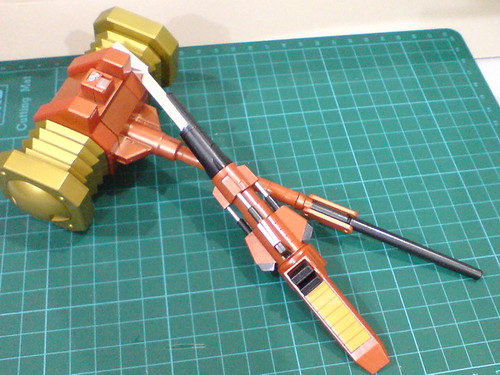
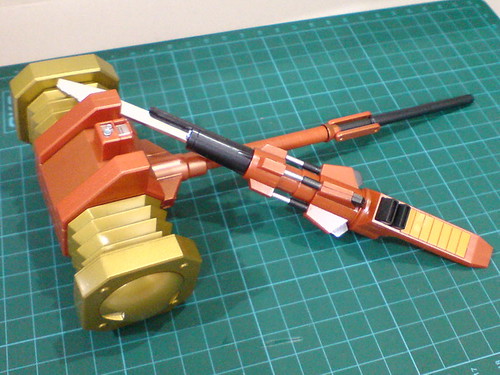
Both auxiliary tools have nice matching shade of orange on their main bodies. ^^
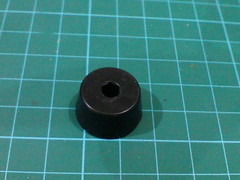
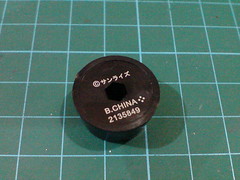
A small pedestal to mount Goldion Hammer.
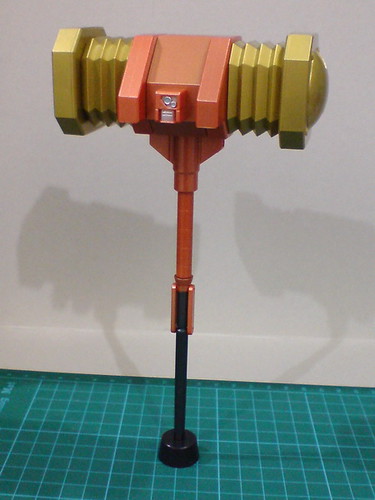
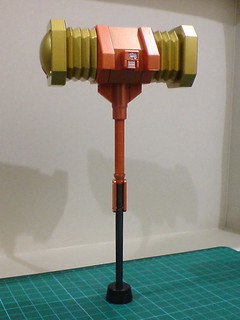
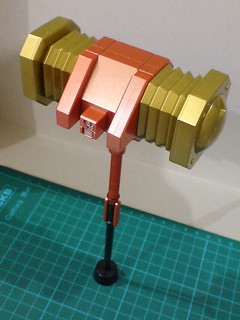
Despite the massive imbalance in size between the hammer head and handle, the little pedestal is able to support the entire hammer very steadily. ^^
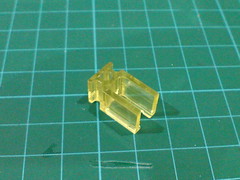
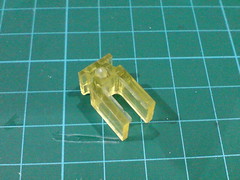
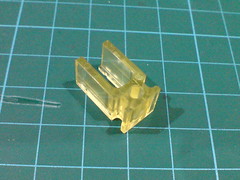
An attachment clip to mount the hammer onto a Soul Stage display stand.
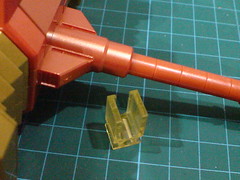
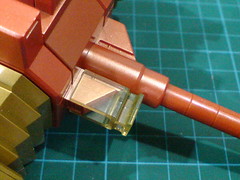
A pair of grooves on either side of the hammer's cheek correspond to the tabs inside the clip for the parts' connection.
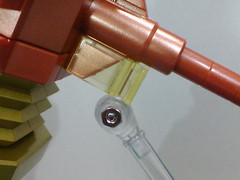
A peg slot behind the clip can then be used to connect the attachment part to the joint on a Soul Stage display stand.
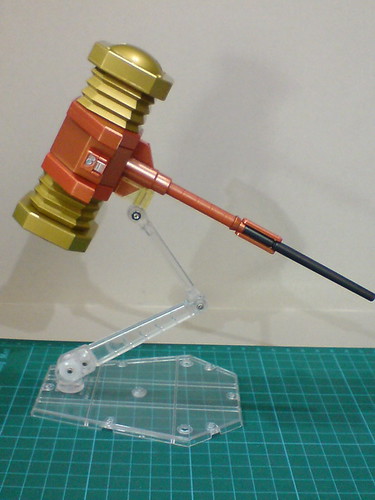
Goldion Hammer supported using Soul Stage Act 5 Action Support Type for Mechanics Clear Ver.
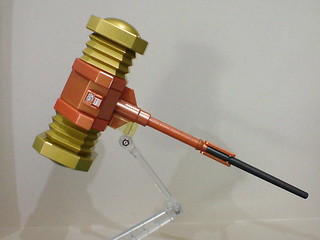
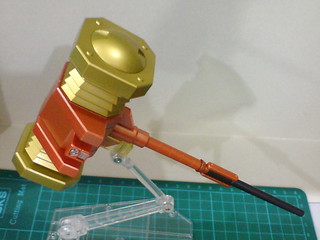
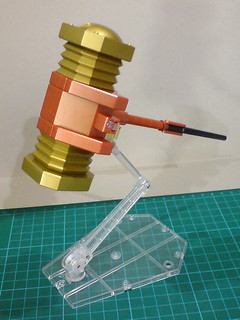
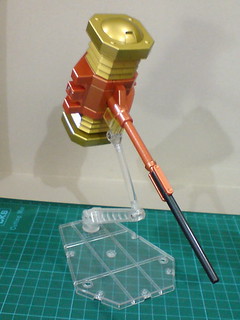
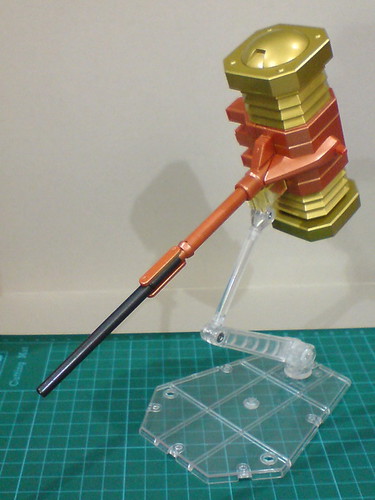
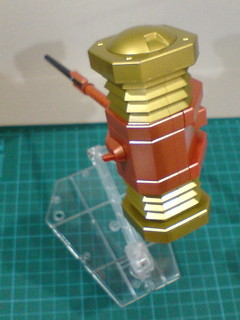
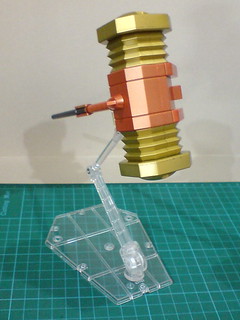
Given its lightweight, the display stand can support the hammer with no problem at all. ^^
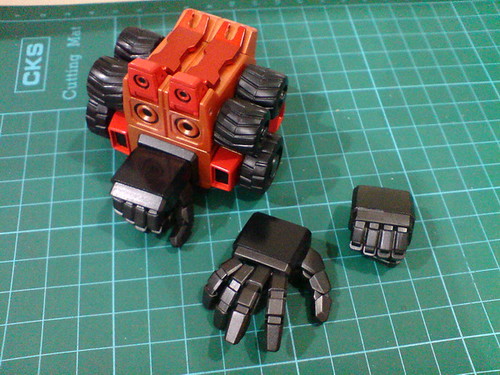
Marg Hand, and the two option hand units included for it.
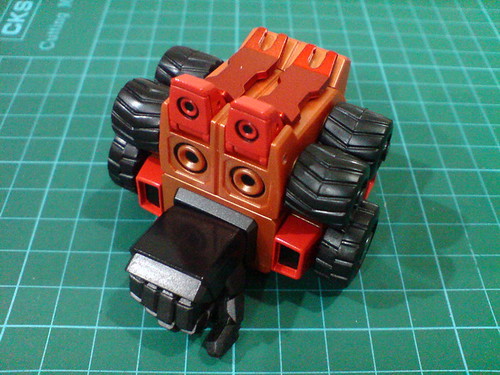
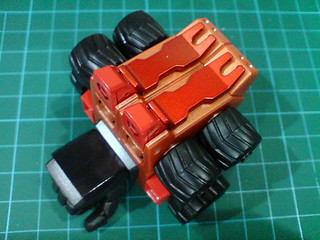
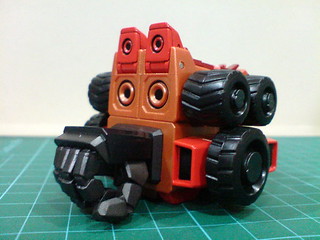

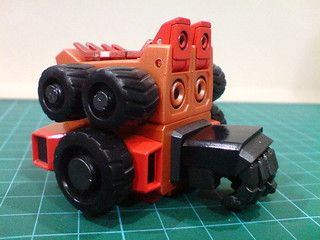
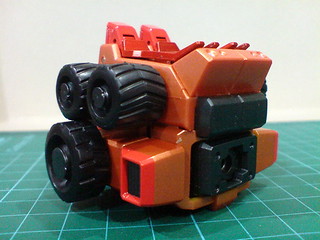
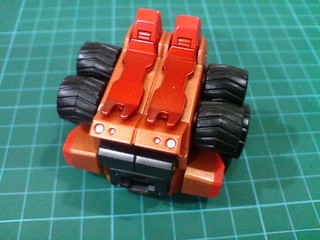
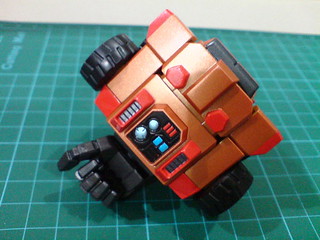
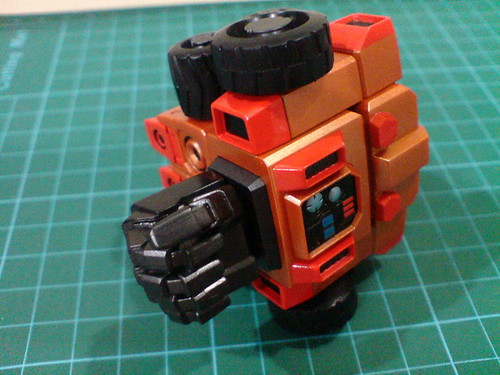
Very nice sculpt details and paint work to realize all of Marg Hand's details. ^^
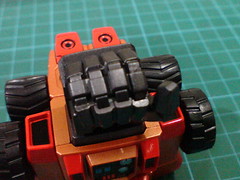
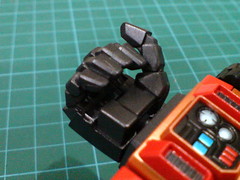
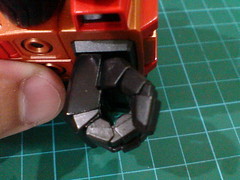
Very crisp sculpt work that helps to show off all the finger segments clearly. ^^
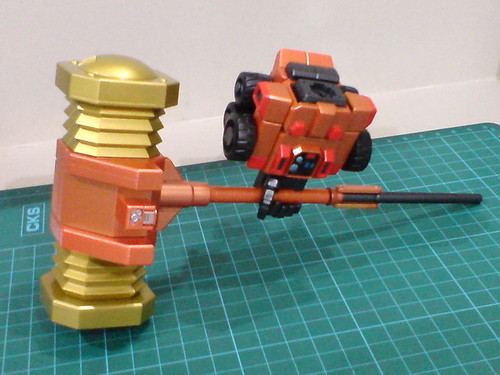
The hammer handle has to be separated first to allow Marg Hand to be slid onto the top pole from the bottom.
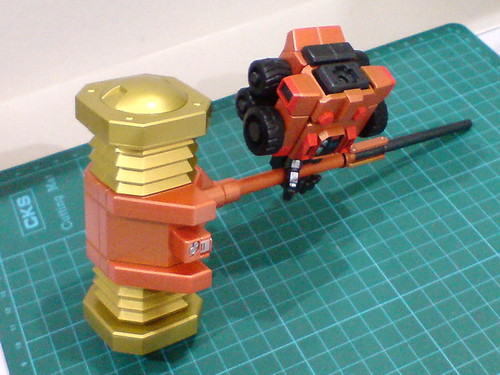
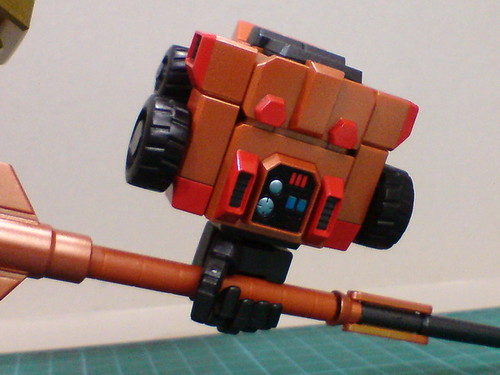
The hand grab onto the hammer pole very firmly. ^^

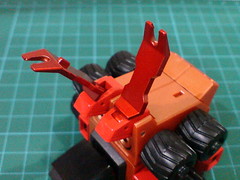
Either claw behind the forearm can be deployed.
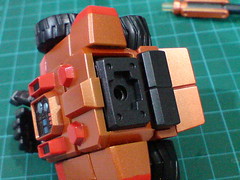
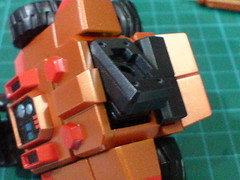
There's even an elbow joint incorporated for Marg Hand. Hidden behind the forearm in normal view, the elbow hinge can be bent when needed.
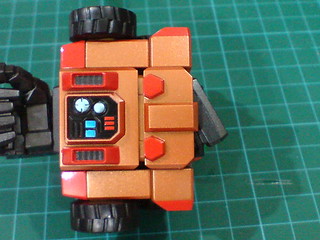
I assume that it's due to the hinge's offset position inside the forearm that limits the elbow joint to only be bent upward.
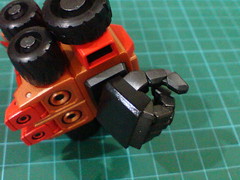
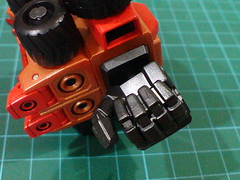
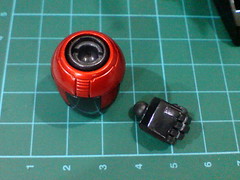
The right hand is on a ball-type wrist joint that allows it to be rotated to all direction very easily.
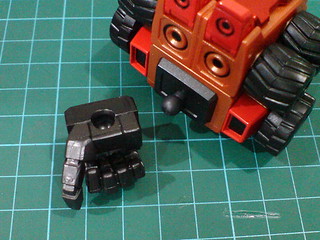
The right hand is removed to reveal its ball-type wrist joint.
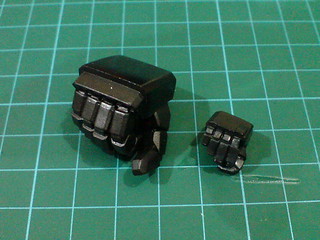
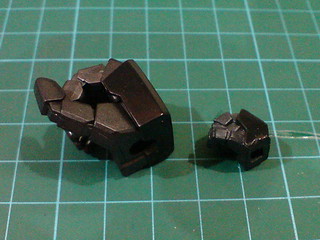
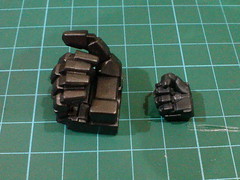
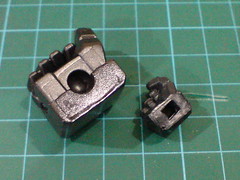
Size comparison between the Marg Hand-type open fist to hold the hammer and a (normal-sized) closed fist from GaoGaiGar. ^^
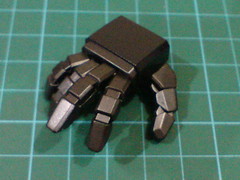
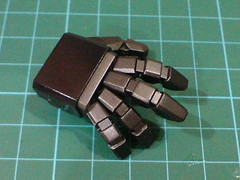
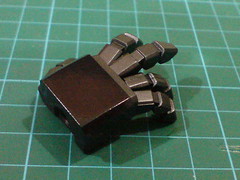
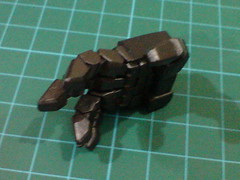
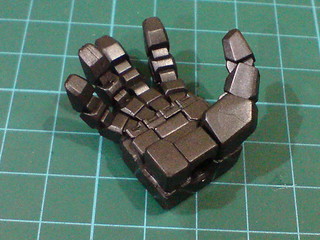
Option hand 1 for Marg Hand: a spread palm.
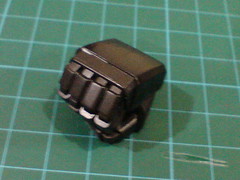
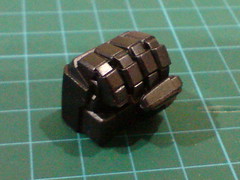
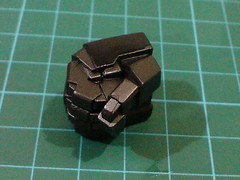
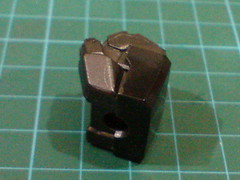
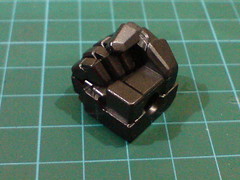
Option hand 2 for Marg Hand: a closed fist.
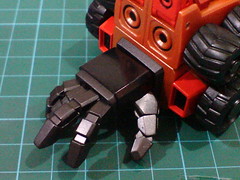
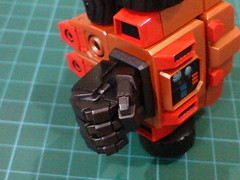
Both hand units can be swapped onto the wrist joint of Marg Hand very easily.
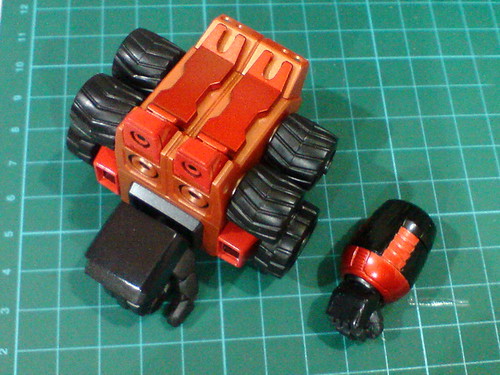
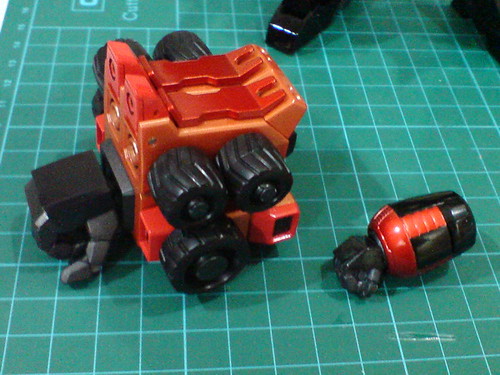
Size comparison between Marg Hand and GaoGaiGar's right forearm. ^^
The default right forearm has to be separated from the main figure first before Marg Hand can be equipped to GaoGaiGar.
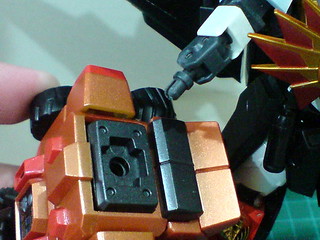
Marg Hand is connected to GaoGaiGar's elbow peg.
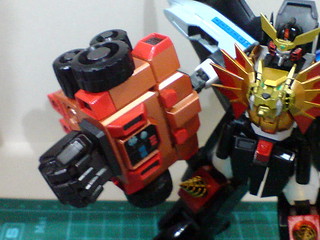
Impressively, the elbow joint, as well as the right shoulder joint are capable of supporting Marg Hand's weight without any extra support. ^^

A Marg Hand-equipped GaoGaiGar.
The removed right forearm need not be shelved when Marg Hand is attached to GaoGaiGar (it's not supposed to anyway ^^).
While there's is a designated storage point on the figure itself for the unneeded forearm, the right hand unit needs to be detached. For its actual configuration, the right hand would rotate back into the forearm. ^^
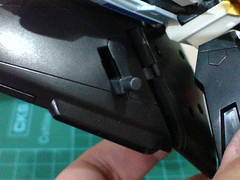
(Left) The elbow joint of the forearm is flipped downward for 90 degrees.
(Right) The straight connector on the backpack (mentioned but not explained in Part 2 of GaoGaiGar's review ^^) is flipped downward for 90 degrees as well.
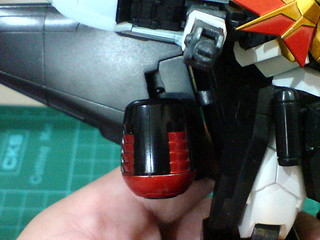
The forearm can be pegged onto the connector for storage. ^^
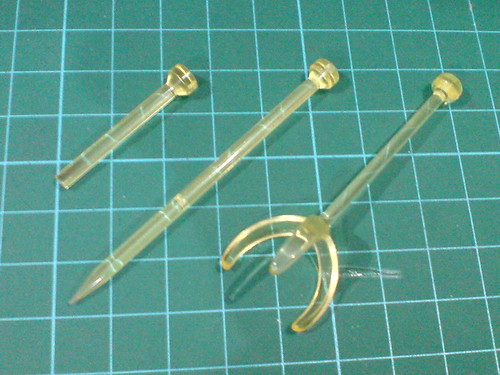
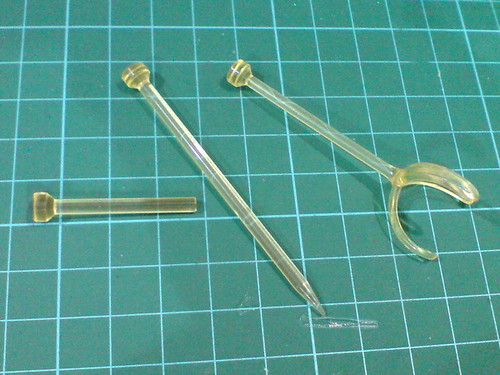
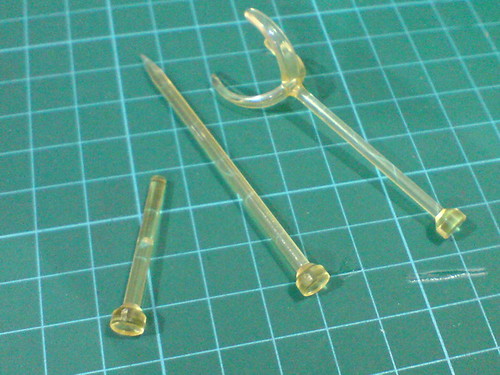
Three nail parts that are molded in clear yellow.
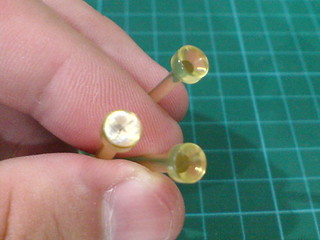
Closeup on the flat heads of the three nails.
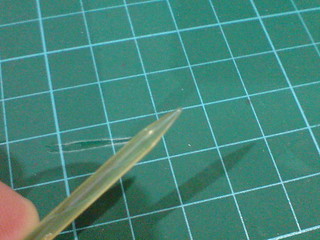
Only one among the three nail has a pin, and it's very pointy. ^^
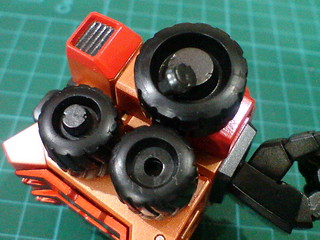
The rim of the top, outer wheel is the only removable one to hold the nail.
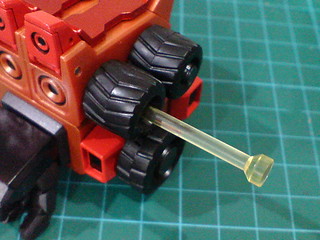
The short-type nail can be plugged into the wheel slot to replicate the weapon's deployment scene from the anime.
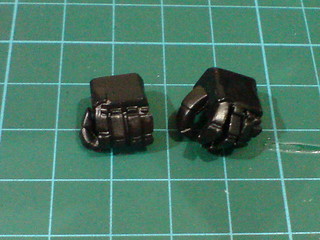
Two normal-sized option hand units, both left hands are also included.
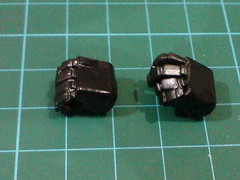
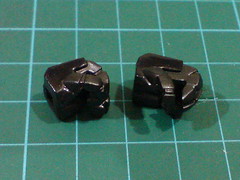
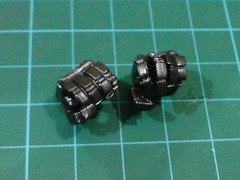
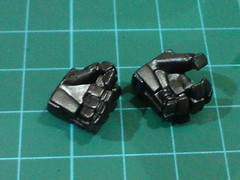
The two left hands are made specifically to support poses involving the nails.
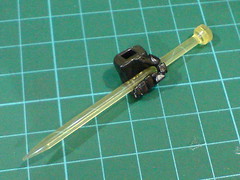
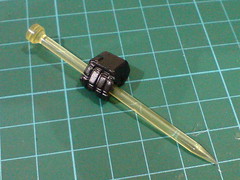
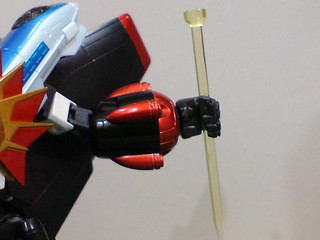
The open fist is used to hold the complete nail.
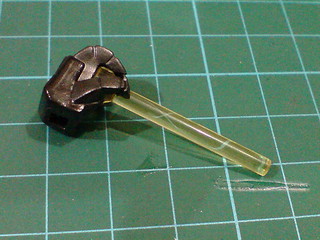
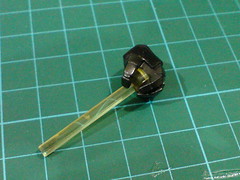
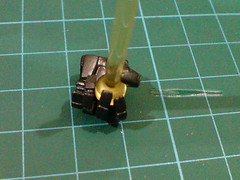
The spread palm is used to grab on to the shortened type's head, replicating the scene in which GaoGaiGar is pulling the nail out of Marg Hand.

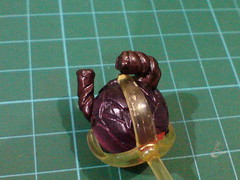
The nail with a three-thronged grappler is meant to grab on to the Zonder Core from GaoGaiGar to show it being pulled out of a Zonder Robo.
There's no specific tab or peg to facilitate said connection, but one of grappler tips can be slid beneath the tube to kind-of get the two parts to stay in place. ^^
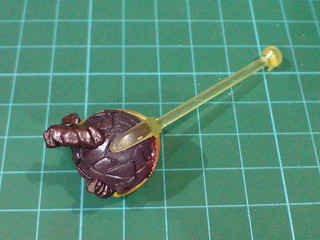
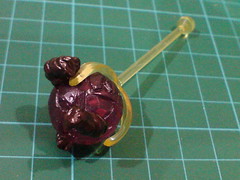
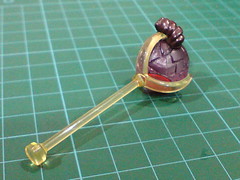
The nail-attached Zonder Core after GaoGaiGar's "Hammer Heaven" move. ^^
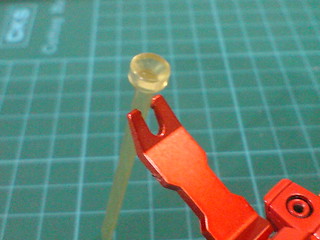
Interestingly, the nail seems to be too large to be fitted into the forearm claw. ^^;
It might be possible if I forcefully tab it into the opening, but I don't want to risk scrapping the claw's metallic paint work. ^^
All images of a Marg Hand-equipped Super Robot Chogokin GaoGaiGar coming up in the next posting. ^^


No comments:
Post a Comment