Friday, July 3, 2009

MG Destiny Part 18

Goodbye to some details, welcome to some details

Approaching the end of the long review on MG Destiny's construction, as the armors are being put on for all the parts.

Starting with the backpack and lower body first.
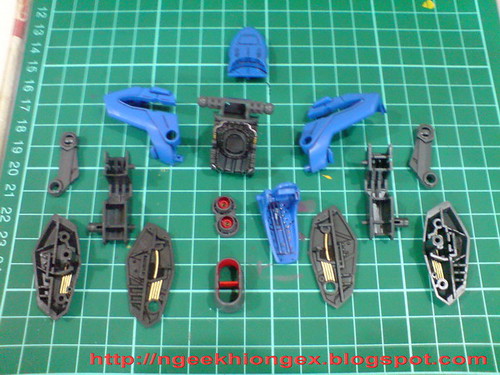

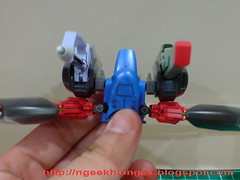
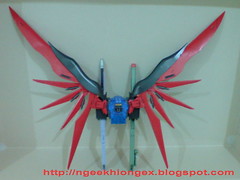
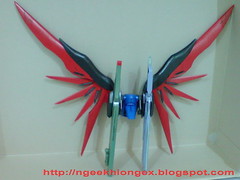
Thrusters, armors for the backpack, and mount racks for the anti-ship swords and beam launcher.
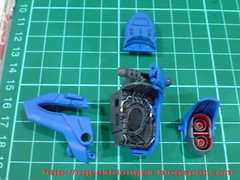

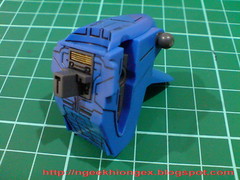
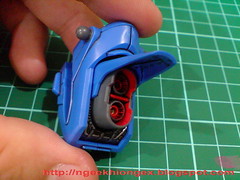
Abundant of details for the armors of the backpack, in and out.
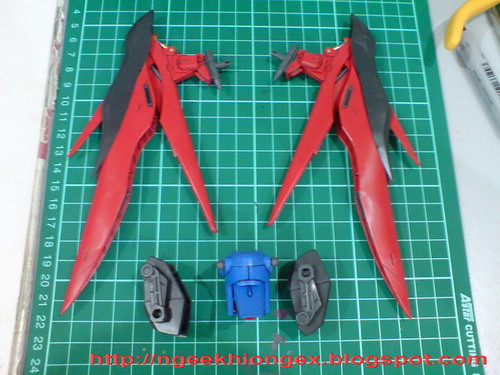

All the components to complete the entire backpack.


Watch out the direction of the bar inside the screws on the wings when slotting the two into the connector.


The golden pipes did in Part 8 got completed concealed in the mount racks XD
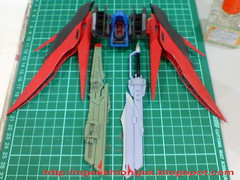

Bringing in the weapons to complete the picture.
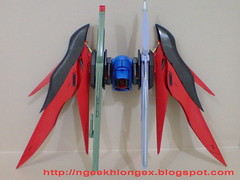


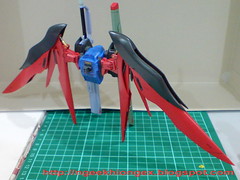
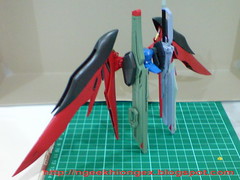
The completed backpack.
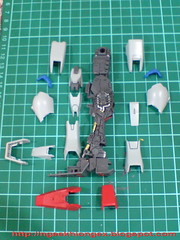


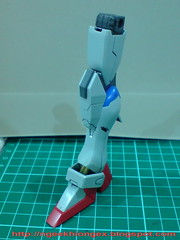
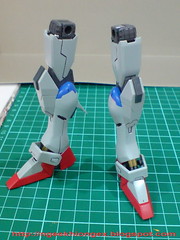
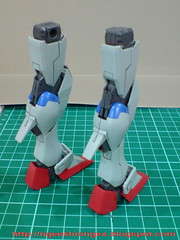
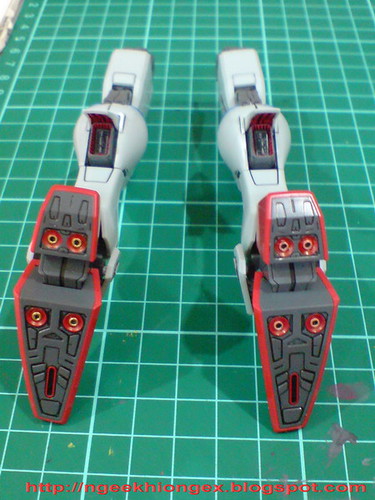
Armor up for the legs.
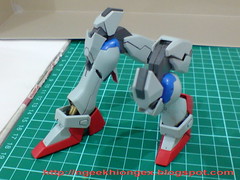

Articulation of the feet decreases a bit because of the armor, but the sliding thigh and knee armor can be seen ^^
Not a fresh idea anymore after Strike, Freedom and Strike Freedom ^^;
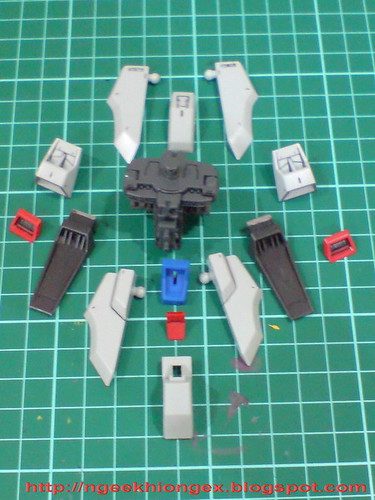
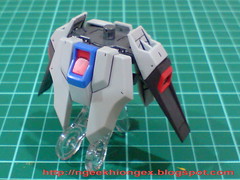

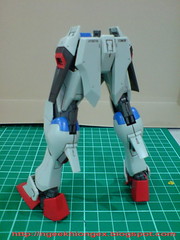
Armor up for the waist.


Plenty of details on all the skirt armors. ^^
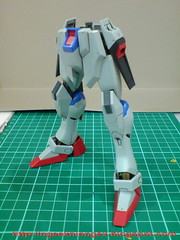

The completed lower body.
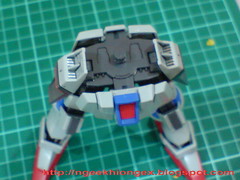

Top view reveals the silver painted for the interior of the side skirt armors did in Part 6.
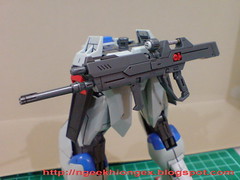

The beam rifle can be mounted on the rear skirt armor.

The completed model will be in Part 19.

Wednesday, July 1, 2009

MG Destiny Part 17

All weapons roll out

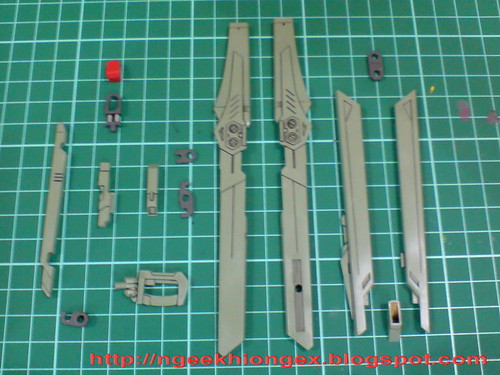
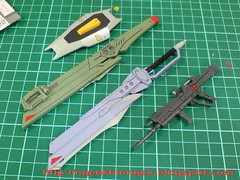
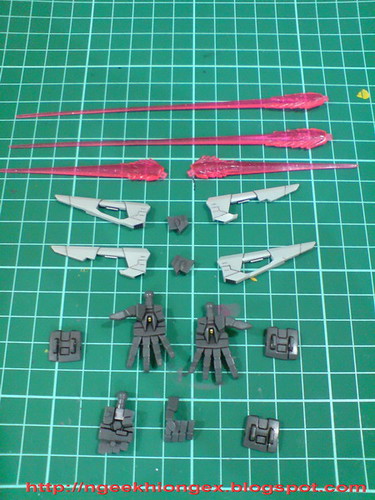
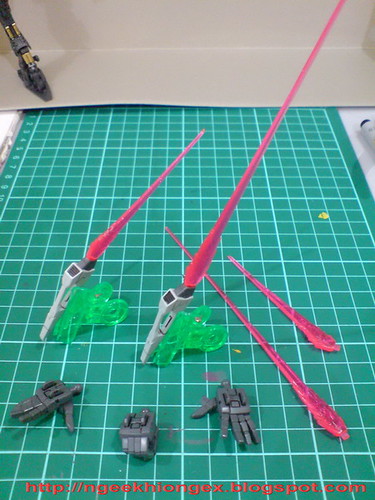
The anti-ship sword, beam launcher, beam saber/boomerang and option hand units in the review.


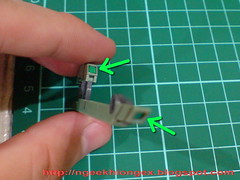
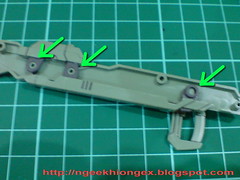
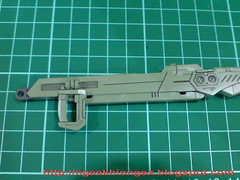
Assembling the launcher first, which gave me quite a bit of trouble when I first worked on it. ^^;


Foil sticker is only given for the main targeting sensor on top. The smaller one beneath is painted using metallic green art pen (see this previous posting for more information).


Linked movement of the targeting sensor and handle - works fine now, but this part still gave me the fright when I tried it out X_X


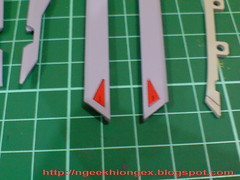
The red triangles on either side of the launcher's body are from foil stickers.


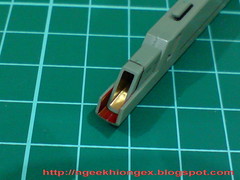
Red and gold painted for the nozzle to give this weapon a little more details, and to make it look a little more dangerous, else it's just too small. ^^;


The anti-ship sword is next.


The two triangles on the body are from foil stickers included as well.


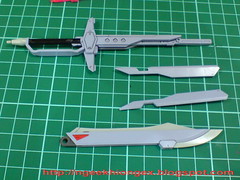
The handle, extension, and edge of the whole sword.


Both weapons are extremely long, in storage mode as well.


Assembling the beam saber/boomerang, palm cannon and option right hand to hold the anti-ship sword.


It would be much better if a left hand unit is included for holding the huge sword, for even wider options of action poses featuring the sword.


Also, the option right hand is just for the sword, and doesn't fit the beam saber/boomerang.

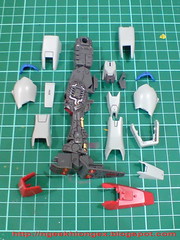
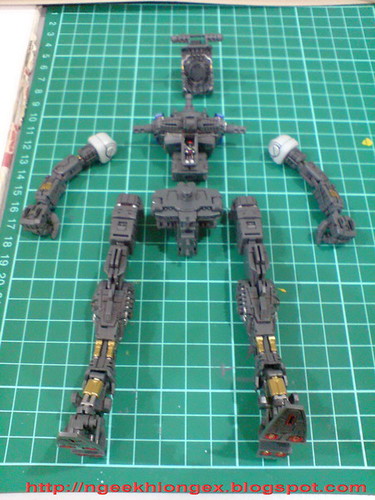
Done with all the wings and weapons, time to split the inner frame ...


... to armor up Destiny ^^

Till next review.