Approaching the end of the long review on MG Destiny's construction, as the armors are being put on for all the parts.
Starting with the backpack and lower body first.
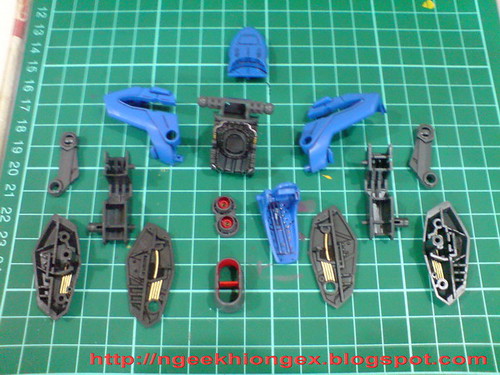
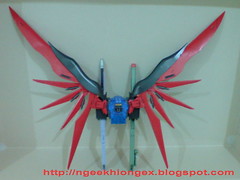
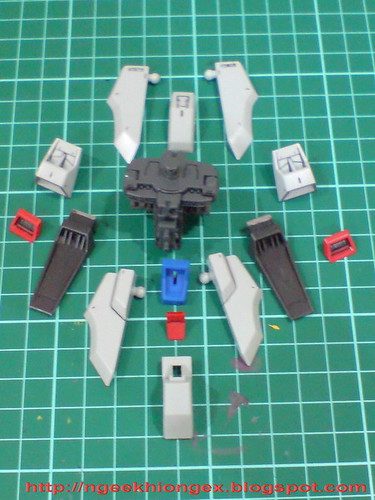
Thrusters, armors for the backpack, and mount racks for the anti-ship swords and beam launcher.
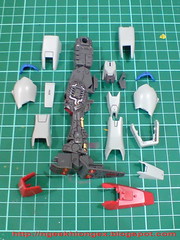
Abundant of details for the armors of the backpack, in and out.

All the components to complete the entire backpack.

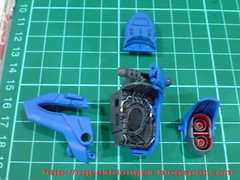
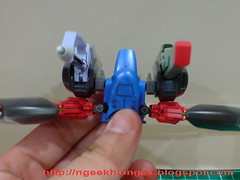
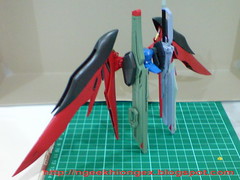
Watch out the direction of the bar inside the screws on the wings when slotting the two into the connector.

The golden pipes did in Part 8 got completed concealed in the mount racks XD
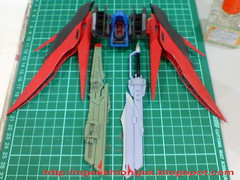
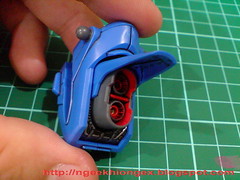
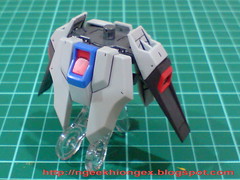
Bringing in the weapons to complete the picture.
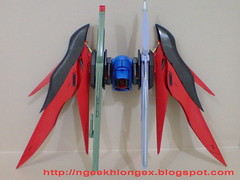
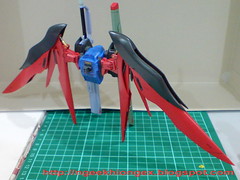
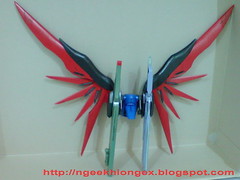
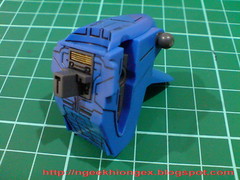
The completed backpack.

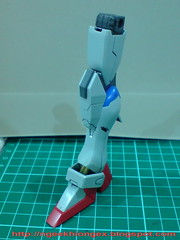

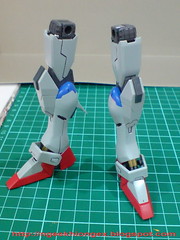
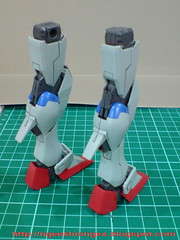
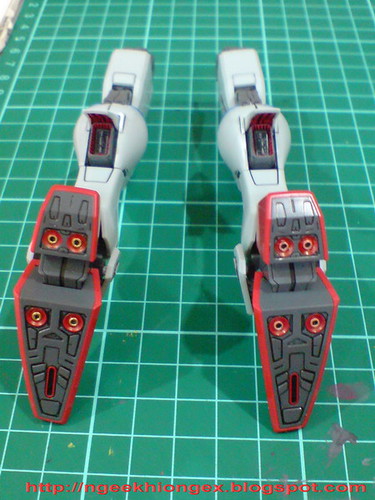
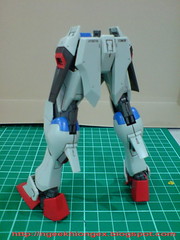
Armor up for the legs.
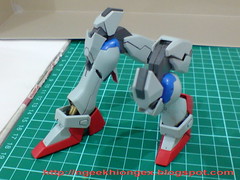

Articulation of the feet decreases a bit because of the armor, but the sliding thigh and knee armor can be seen ^^
Not a fresh idea anymore after Strike, Freedom and Strike Freedom ^^;

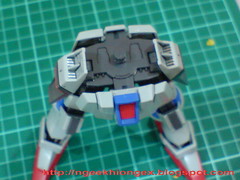
Armor up for the waist.

Plenty of details on all the skirt armors. ^^
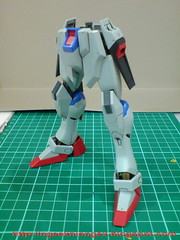
The completed lower body.
Top view reveals the silver painted for the interior of the side skirt armors did in Part 6.

The beam rifle can be mounted on the rear skirt armor.
The completed model will be in Part 19.


3 comments:
You did an excellent job on all the details, which was sadly covered up. >.<;
Though the details gives satisfaction to modellers, it's a wonder why Bandai would spend so much on details on the inside instead of the outside.
@Chris,
Some of the modellers like to only half cover their kit to show off the inside details (eg. maintenance inside a hangar)...so bandai's MG has this sect of fans covered.
Nice job NK...but too bad most of it will be covered up soon.
Oh, why didn't I noticed until now?
You didn't want to use decals?
Post a Comment