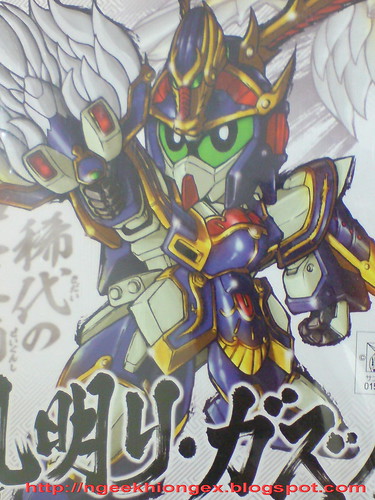
I bought this BB Senshi Sangokuden Koumei ReGZ a few months after Shiba-I Sazabi. Back then Shiba-I was the only BB Senshi Sangokuden kit I have, so Koumei ReGZ being his rival seemed like a natural choice for me. I was also very interested in his transformable fan, which comes with a clear stick to mount it to the backpack as well.
The BB Senshi Sangokuden line is "upgraded" to 600 Yen per-kit with Koumei as the first release, but that didn't really bothered me either.
The truth is, I think I wasn't quite prepared for the amount of paint job required after I got the kit ^^;
At this point, I have pretty much finished all the painting for this kit, but I'm going to break down the reviews anyway, so that I could talk about more parts for the kit.
Showing you the progress of my BB Senshi Sangokuden Koumei ReGZ before the final assembly.
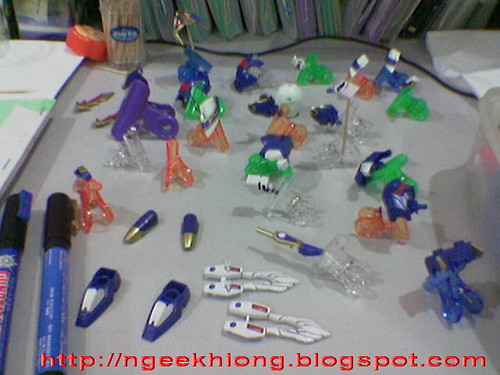
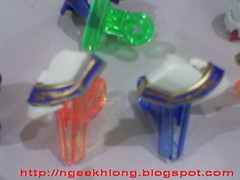
All 57 parts including polycaps. Cutting them off their runners took just a few minutes, painting them took me more than two weeks. ^^; Goodness!
Not only is the many patterns hard to paint, several parts require different colors here and there. Quite a few of them needs white paint on deep blue surface. The arms and the body especially. Tai-hen na~ ^^;
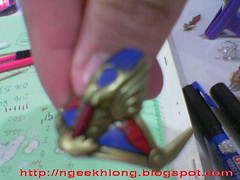
For the parts painted gold above, I use Gundam Marker Gold from Gundam Marker BB Senshi Set. Gold is the only color I used from that set actually. There are parts that require red and blue paints, I used markers from SEED Basic Set instead.
Paper clips prove to be very useful as my assistant in the process. With them, I can avoid touching the wet paint, and even when letting them to dry, the paint won't touch the surface of the table and get ruined. It's easy to pick them up for inspection or painting again too. Highly recommended. ^^
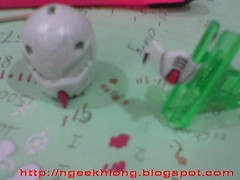

Two types of mask included: ReGZ and Nu Gundam. Painted the chin red.
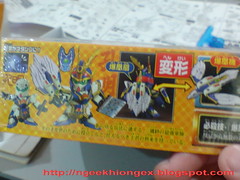
Only the tiny images on the side of the box provide some guides on the color to be painted. So, plenty of freedom for you on painting some parts actually.


Which part is the hardest you ask me? All of the above ^^; For the shoulder armors, those golden borders are tiny enough for my marker to spill over here and there (trimmed away later on plus touch up using Pilot Super Color Gold Extra Fine), those dragons are really hard to paint. ^^; Also, since they are in white, you need to paint the blue background first, followed by the gold dragons and borders.
The helmet is alright, just the 'crown' and the V-Fins are hard. The later two are molded in orange-ish yellow, doesn't really look like gold in my opinion. Can you keep this as the gold color for the helmet and paint the other parts with Gundam Marker? Not really, because Gundam Marker gives you a much darker gold, and the two doesn't look the same at all. Not one bit. So, for the painted version, the entire crown needs to be painted.
The sequence I followed was red, then blue for the deco in the middle of the crown, then gold for the rest.
The V-Fin is another huge trouble, ^^; particularly the red part. There's a bit of part where it's too close to the 'little branch' beneath it, which is unreachable for the tip of the Gundam Marker. The savior for this is a tooth pick with some paint on its tip.
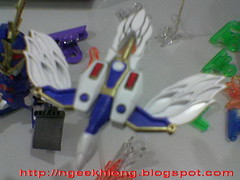
The fan/falcon is very troublesome as well. But after the shoulder and the crown, I'm pretty much used to having hard time here and there with this BB Senshi kit. XD All the parts come in white, so whatever color you see above are from painting. However, the real concern is its ability to transform. That would most certainly scratch off some paint here and there, which is unavoidable.


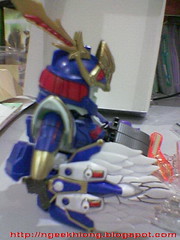

Assembled with minimum snap fitting of the parts, just for me to see how the painting will look like after the final work.
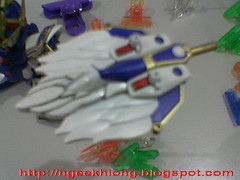
First round of painting done! I also did panel-lining on several parts as well. Majority of the parts are done, except the body and waist. The parts painted in white need to go through one or two more layers before the blue base beneath them can be covered up more 'convincingly'.
Next round: body and touch-up on a few other parts.
[Photobucket Gallery]


3 comments:
Hello ngee khiong, just came around to say...WOW I really like the look of your painted kit. It feels much more wholesome and is extremely good-looking. This could entice some people into Sanguo kits.
Could you offer some advice on using Gundam Markers to paint? I feel that they are very annoying and often does not have good consistency at all.
>>Anon
From my experience, the secret to good color using Gundam Marker is: shake well. I often shake the marker for about a song's length before using it, and the color is good. There were a few times when I skipped the step because the part to be painted was small, and sure enough, the color was all messed up ^^;
Hi Ngee Khiong, I'm a big fan of BB Senshi and I have a number of them that you already own. What really caught my eye was your paint job.
I recently purchased the BB Sangokuden Marker Set but notice you also used the SEED set.
Question 1: Can tell me the difference between these two sets and why use the seed set instead of the BB Set?
Question 2: Can you tell me your full tools list? Example which marker did you use for the detailing. My detail lines does not look as strong as yours.
Question 3: How the heck did you manage to paint the should armour with the dragon so accurately? By just using markers? Can detail how it was done? Marker first then eraser? etc etc....
Post a Comment