Love the helmet ^^
Part 2 on FG Exia, and explicitly on the painting of a few parts.
New Gundam marker color used (not used in Part 1): dark gray from SEED Basic set.
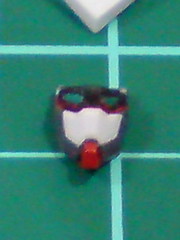
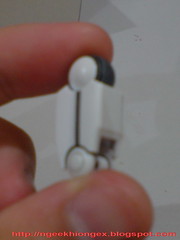
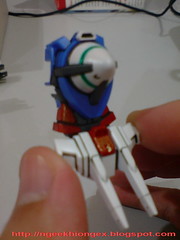
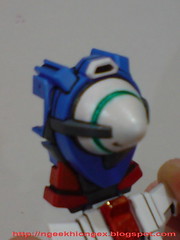
A look on the face first, before slotting it into the helmet.

Helmet:
- Yellow first for the side panel, then dark gray for the vernier.
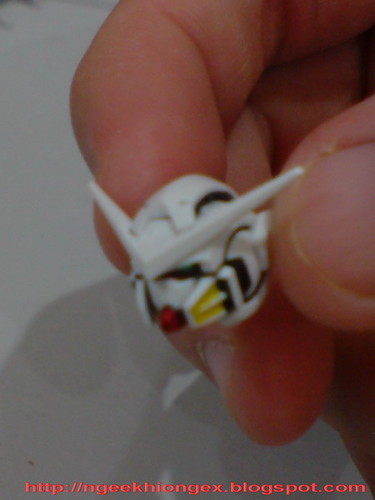
- Gray for the interior of the top portion on the head, the one that stretch to the front to become the Gundam's forehead.
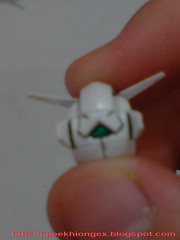
- metallic green for the rear sensor of the head. I used the same pen mentioned in Part 1, which I used for the eyes. I didn't bring out Gundam Marker since the amount needed is very little. The front sensor is going to be in metallic green as well, but I'll use Gundam Marker for that, since the area to be covered is a little wider.
- I was planning to panel line the side panels of the helmet initially, but gave up because I think that part looks better in just white and yellow. The risk of dirtying the paint with black ink from the panel lines is the main worries.
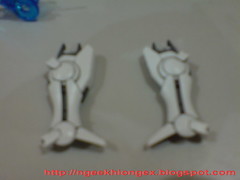

Legs:
- Gray for the knee and the mecha part between the lower legs' armors.
- Dark gray for the interior of the leg armor, to show more depths to the leg armor when viewed from below.
Feet:
- White covering painted.
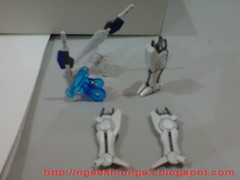

GN Blades
- Molded entirely in white, so painting isn't too hard. All the painting is for the middle part of the blades.
- Gray first then blue
- The blue part of the GN Long Blade is badly done actually. Too many layers of painting resulting it to be very thick and much dark-colored than what I wanted. T_T
For the GN Blades, I saw that the SHCM-Pro version actually produced them in silver. I' quite tempted to apply that color on this FG as well. Then again, the same has to be done for the other Exia I have as well to be consistent. When I think about how silver would look like for the larger 1/100 scale version, the idea doesn't seem so cool anymore ^^;
I'll keep them in white then.
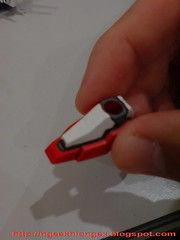
Shoulder armor and beam saber
- Gray for the edge of the shoulder armor's interior.
- Gray again, for the tips of the beam saber and the insertion point on the shoulder armors.
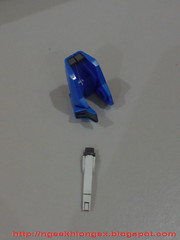
GN Drive
- Metallic green used to show the GN Drive in active mode. With that, all the GN Condensers all over the model would have to be painted in the same color as well to be consistent.
- Leave it in white is fine as well, which is the normal mode. But I think that's a bit boring XD
- I used the same pen mentioned now and then, even though the area to be covered is quite large. Gundam marker has larger tip, so it's harder to maneuver, especially on curvy parts like this GN Drive. Cleaning up spilled paint on parts already painted with White Gundam Marker is always something I try to avoid, because the white paint would always turn messy during the cleanup. Using a normal pen would be much easier to control.
After this round of painting, only two colors left and the whole paint job would be done. They are the colors I'm looking forward to use very much ^^


3 comments:
wah so pro n patient to paint an FG.
i bought FG Exia to do the 'battle damaged' Exia Repair from Gundam00 season 2. but havent really started yet. your review is very useful indeed.
and where you get for RM20? i bought mine for Rm29.90 in Miri...i felt so ripped off now.
>>Peter
Can't really remember the exact price. May be a little over RM20 (most definitely not till RM29.90 though). Shouldn't be that expensive since it's just 500 Yen ^^;
what did you use to colour the white parts? tried the white gundam marker before but the blue keeps peeping through. :(
Post a Comment