A non-so detailed pictorial introduction to MG Zeta Gundam Ver. 2.0's transformation sequence. ^^;
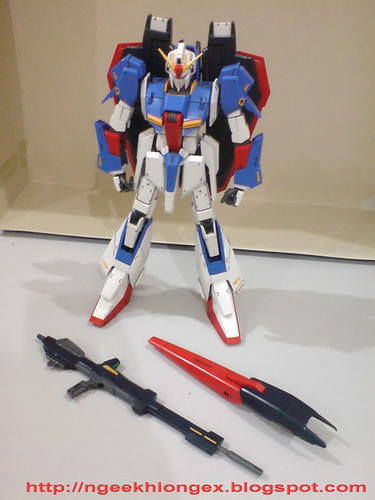
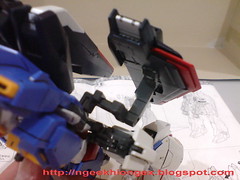
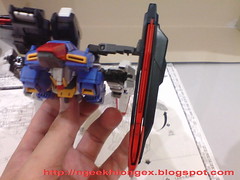
The beam rifle and the shield must be detached first.
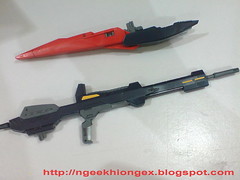
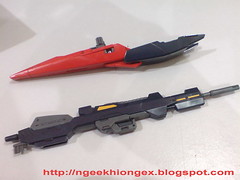
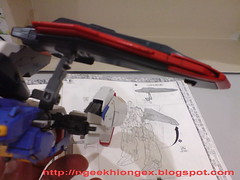
Transformation for the rifle and shield.
Both have dedicated part designed to mount onto the Waverider.
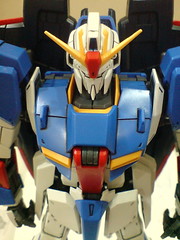
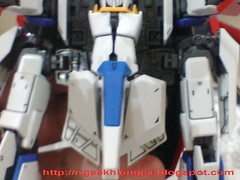
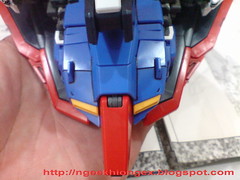
Retract the V-Fin on the forehead and lift the cockpit component till the same level as the head.

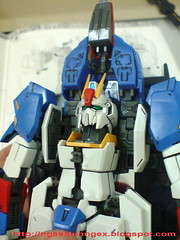
Flip out a tab from below the neck, push down the head into the body, retract the abdomen parts to the spine and then lift the entire chest component above the head.
Except for the tab, the rest of the steps are the same as Ver. 1.0 and the PG release.

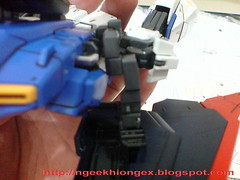
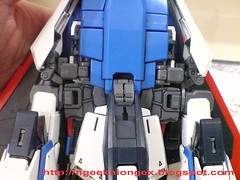
Detach the lock from beneath the front skirt armor so the hip joint can move for the transformation.

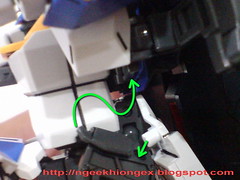
One tab from the hip block to the back and another tab to the rear skirt armor will secure the position of the hip block.
This feature was first used on the PG version and then implemented on MG Z Plus A1.
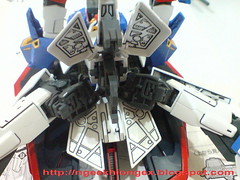
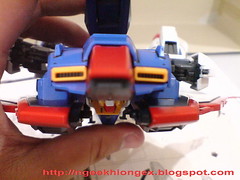
With the hip split, two compartments on the left and right sides of the body are created for the arms to fold into.
Fold the front skirt armors backwards for 90 degrees.
Push the thrusters into the shoulders and fold both arms inwards at shoulder level for 90 degrees
And this is how it should look like when completed.
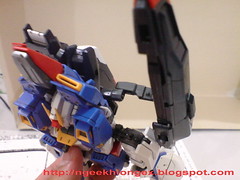
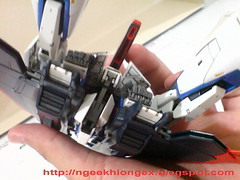
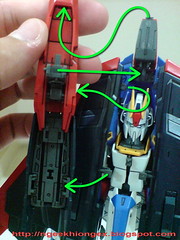
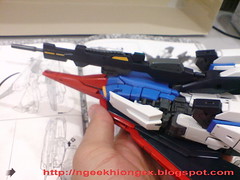
Next's up is the really intricate part on transforming the wing binders. The complete transformation sequence takes up 7 pages in the manual, 4 pages are for the wing binders. ^^
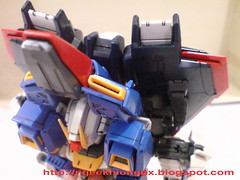
Detach the wing binders from the tail stabilizer and "release" them from their mount rack by lowering them towards the legs.
Rotate the wing binder upwards, and then to the front.
And then to the top, like this.
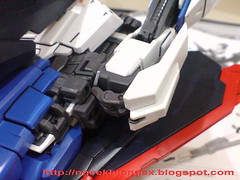
Fold out the wing units.
There's a tab near the front area of the binders that will automatically flip outwards from the linked movement of the wing units. ^^
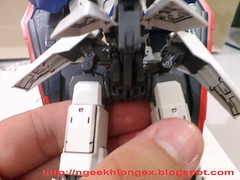
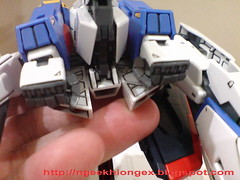
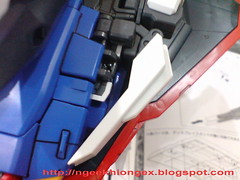
Unhook a little tab inside the body, which will be tabbed onto the shield later on.

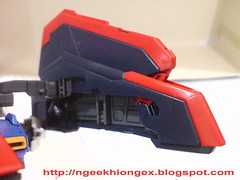
Bend the wing binders downwards. The joints should be in the right location between the arms and the side skirt armors.
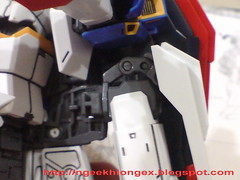
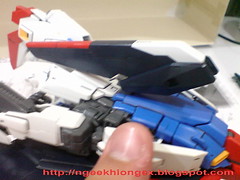
Make sure the compartment of the binder fits the shoulder armor before sliding it backwards to completely cover the arm.

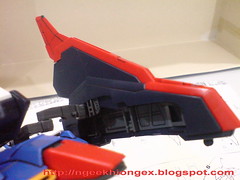
The result should look something like this. ^^
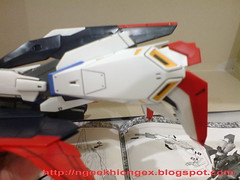
Perfect fitting accurately designed after the shape of the transformed shoulder armor. ^^


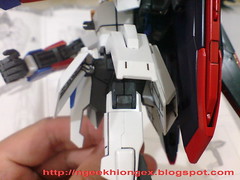
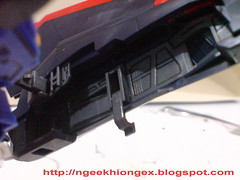
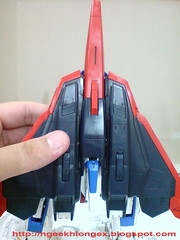
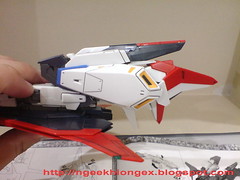
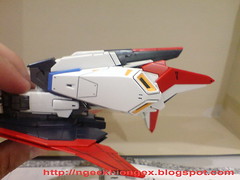
A few more images of the wing binders - the one on the left is not transformed yet.
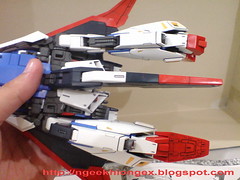
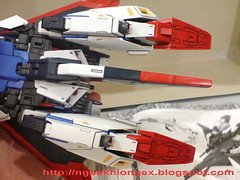
And now with both wing binders completed.
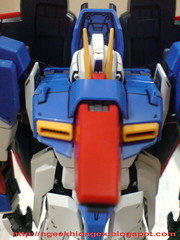
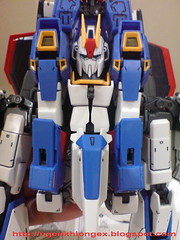
The shield is very important in securing the positions of the many components. It fastens onto 6 locations - front part of the wing binders x2, lower part of the wing binder x2, cockpit x1, chest x1.
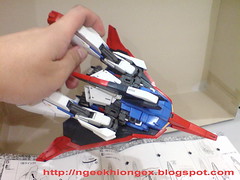
Once everything is locked in place, the body of the Waverider is extremely sturdy and secured.
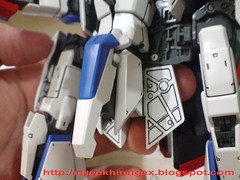
Rotate the side skirt armors to the front of the Waverider. There's one tab on the armor's joint that goes into the wing binder's joint to make sure that the armor is kept in place.

Extend the tail stabilizer to the back.
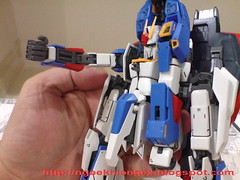
Now to work on the leg.
First step is to extend the knee joint by pulling the entire leg backwards.
Bend the leg upwards at knee level and the linked movement of the latter will adjust the positions of the different knee joint's parts.
Lastly, push the leg inwards to reveal the thruster behind the leg.
Now with both legs transformed.
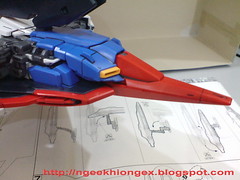
The rifle can only be mounted to the base of the tail stabilizer, which will make it right in the middle of the MA.
In Ver. 1.0, there are two more locations on the rear skirt armor to mount the beam rifle.

The Waverider is completed. ^^
More images of the Waverider in the next posting. ^^


3 comments:
Oh man, how much time did it take to transform it?!
The side armor allows it to open up and reveal the beam saber holes, sticking the beam saber beams into it makes it seem like Zeta is firing side cannons
There's a gap between the chest armor and the back armor after I transform it.. any idea on how to fix this?
Post a Comment