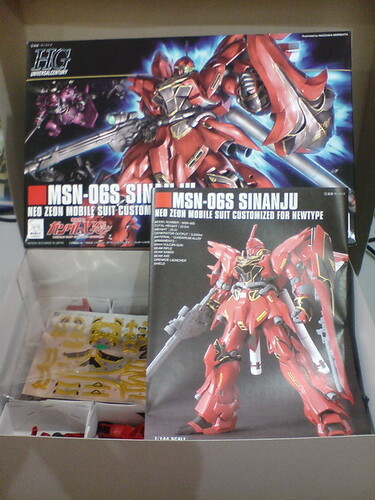
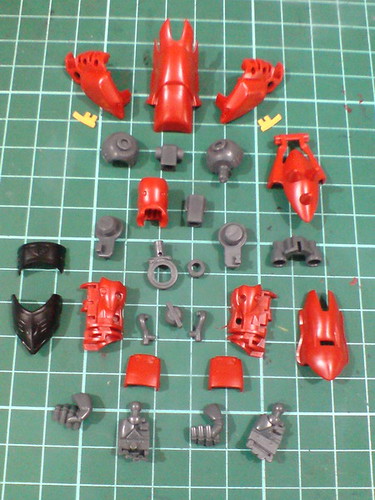
Done with my HGUC Sinanju by now. A few upcoming postings, starting with this one will be a record of the entire build process, with tons of images and my opinion on the design of various components when going through the kit. ^^
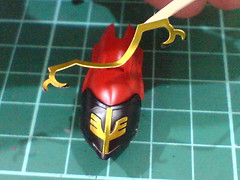
[Beam rifle]
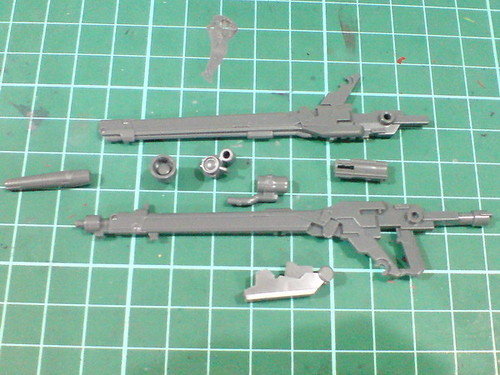
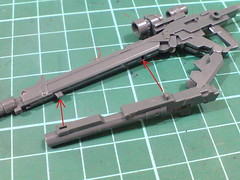
Parts for the beam rifle.
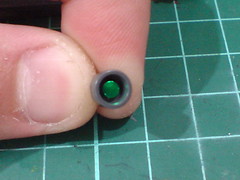
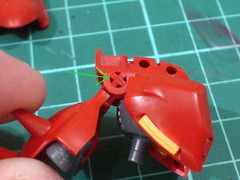
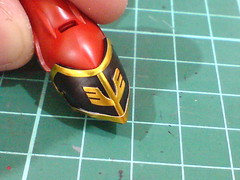
Foil sticker for the targeting sensor.
The smaller one behind this sensor (a separate component) doesn't come with foil sticker.
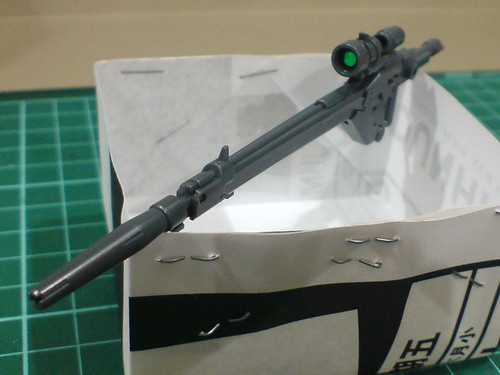
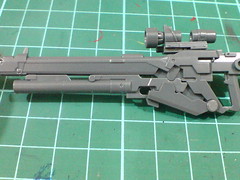
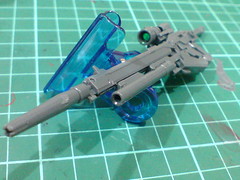
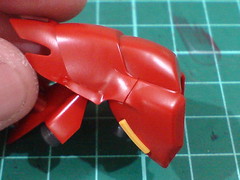
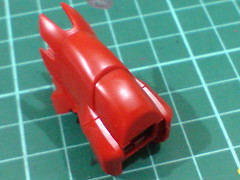
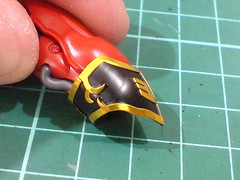
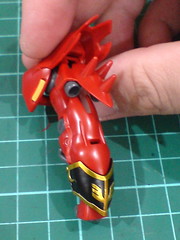
Completed.
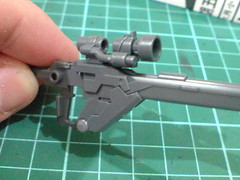

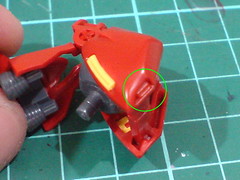
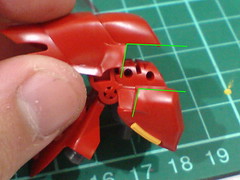
The latch near the handle can be opened, and the second targeting sensor (?) can be flipped outwards, much like the MG version.
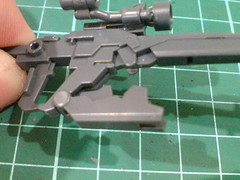
Very simple mechanism for the latch, but the shape is very intriguing. ^^

Total length of the beam rifle is about 13cm.
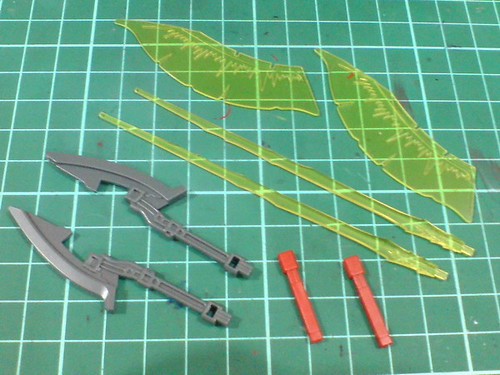
[Shield]
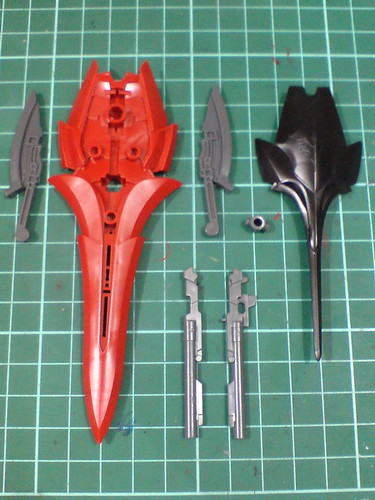
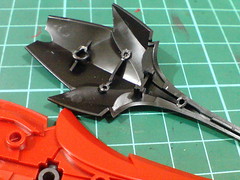
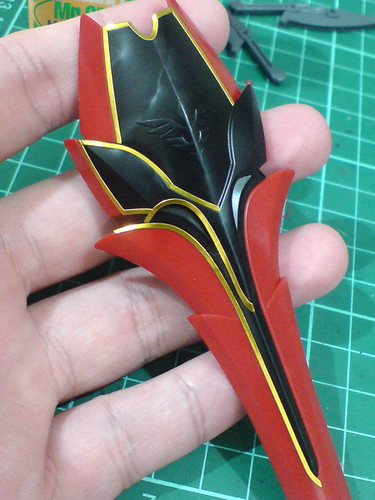
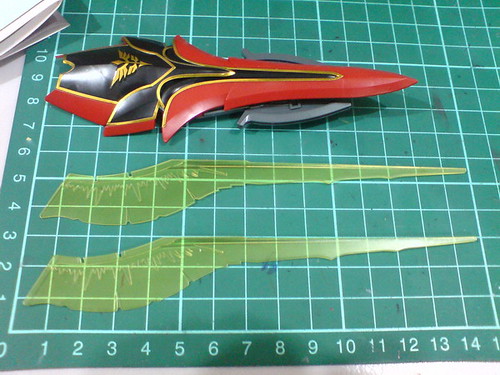
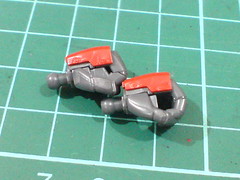
Parts for the shield.
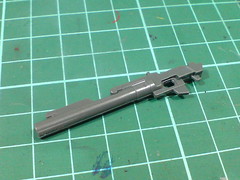
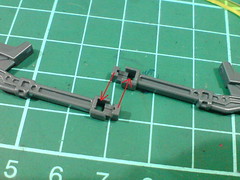
Just 2 parts snapped together for the grenade launcher.
Mounting the grenade launcher onto the beam rifle.
Chipped off the pins of the black part because the assembly seems really tight.
Don't want to use too much force in snapping the 2 parts together to avoid any stress mark on the surface of the black part, which will be extremely disheartening to see if that happens. ^^;
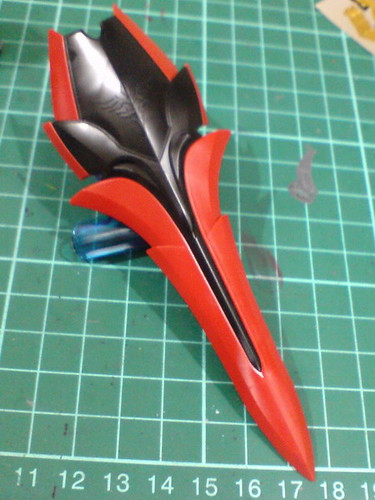
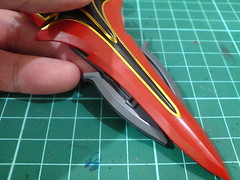
Completed shield before the foil stickers for the emblems.
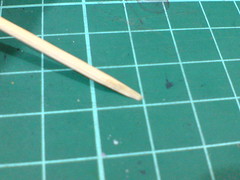
My tool to get the foil stickers - a toothpick with the sharp end sliced off, forming a small shovel.
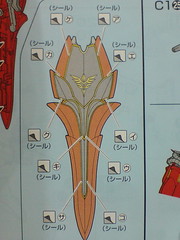
All 12 pieces of foil stickers for all the emblems. ^^
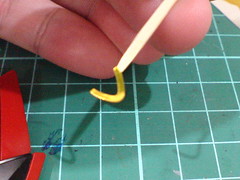
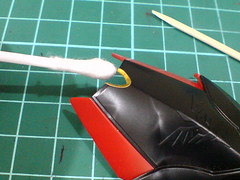
The first one to go onto the shield is the U-shaped one for the "valley" on the top portion.
Cotton swap is used to press the sticker onto the part.
The soft property of cotton bud is very good in avoiding any scratch mark on the foil stickers.
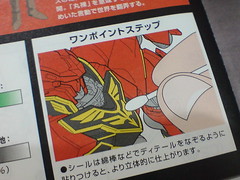
Cotton swap is actually the recommended tool to be used according to the manual.
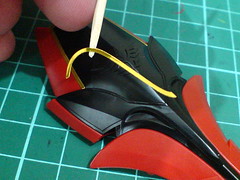
Various long, small and curvy foil stickers that gave me plenty of cold sweats when applying them. ^^;
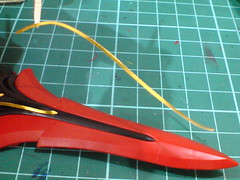
Half a shield done.

Both sides of the shield done.
30 minutes for the entire job. ^^;
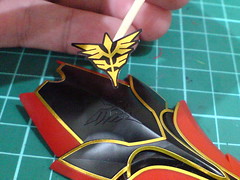

The last piece to go onto the shield is the crest. ^^
Deliberately done so, almost like a marking of the completion of this component.

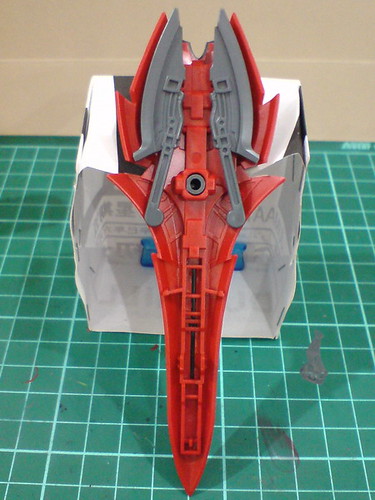
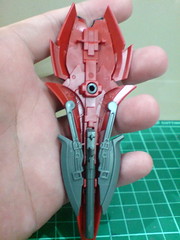
The completed shield.
Pins to hold the beam axes in storage mode behind the shield. Not tight at all actually.
Similar pins can also be found at the middle part of the shield, that holds the axes in deployment mode, which are not tight as well.


Mounting the grenade launcher to the shield.
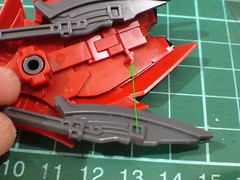
Part swapping to get the beam axes in storage mode and deployment mode.
The left one goes to the right side, vise versa for either mode.
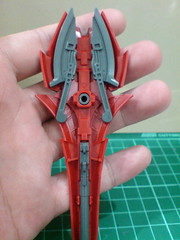
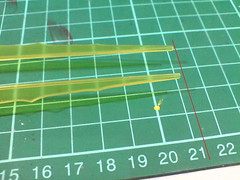
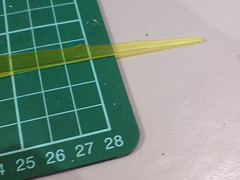
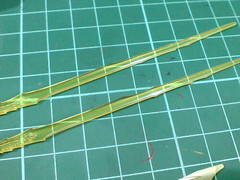
Huge beam sword parts.


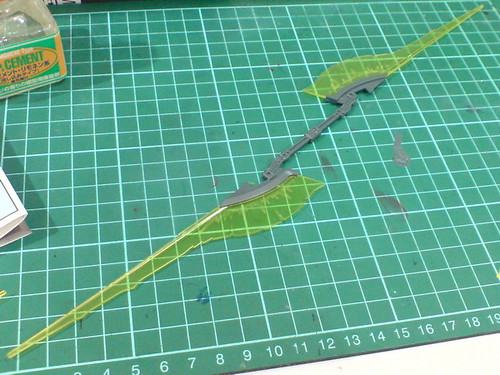
One of the most menacing design of Sinanju's array of weapons: giant beam swords coming out from behind the shield.
The shield is big enough, adding the beam swords to it just makes it even more crazily awesome. ^^
Total length of the shield with the beam swords is about 21cm.
All the other hand held beam weapons.
2-point insertion to combine the beam axes.
Much better-looking than the MG version in my opinion, but because the latter has no separate part for the hand held use, I'm no complaining at all.

Beam axes combo.

Total length = 17.5cm.
Beam sword combo.
Total length = about 33cm.
For an HG kit, that's an overkill. ^^

Beam ax/beam sword combo is possible of course.
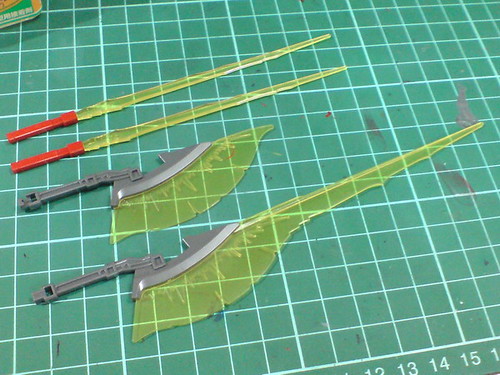
The separate beam sabers, beam ax and beam sword.
Very dynamic shape for the beam saber.
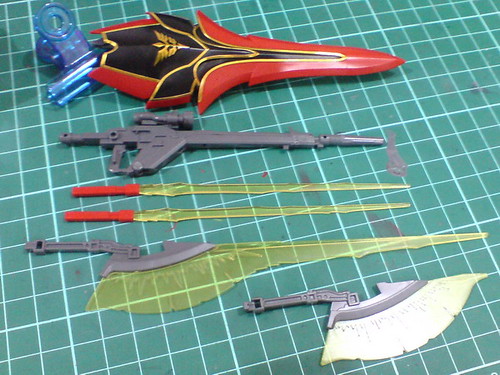
All weapons for HGUC Sinanju.
[Arm units]
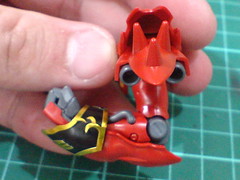
All parts for the left arm.
Revoltech joint spotted XD
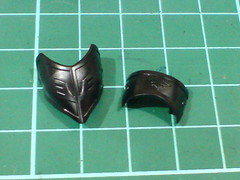
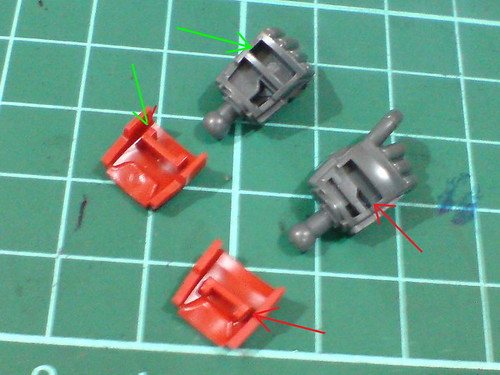
No part swapping for the little vents on the side of the shoulder armor.
Very nice part separation for the top portion of the shoulder armor.
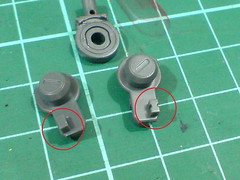
Different shape for the insertion points of the elbow joint to help you separate between left and right sides of this component.

A little tab near the top portion of the elbow joint to stop the bending of the joint backwards.
The 2 forearm parts of another foil sticker fun ride. ^^

The inner part can have the stickers put on them first.
The bigger forearm part can only has its stickers applied after the parts are put together, because the longest piece of sticker spans between two parts.
The forearm stickers.
All the pointy curves on the stickers have a bit of black part included to help to hold them down onto the part I believe.

Two types of left hand units.
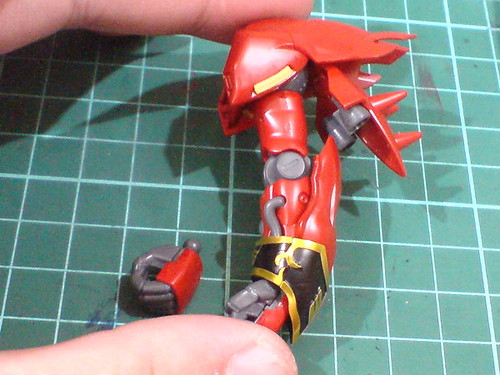
Left arm unit completed.
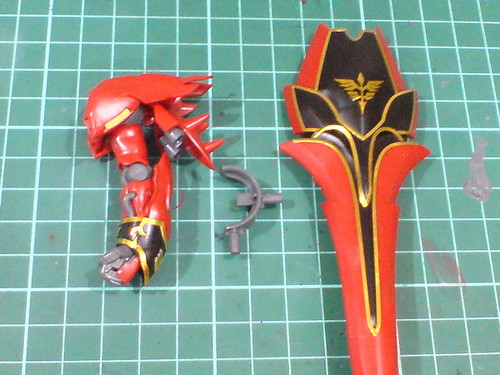
Mounting the shield to the forearm.
The separate mount latch is something new that the MG version lacks, and it has 2 mounting points for the shield.
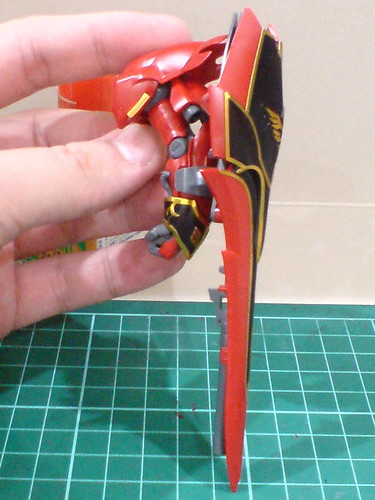
The "official" way of mounting the shield to the forearm.

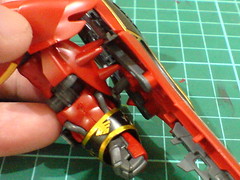
There's no way for the shield to be mounted on the side of the forearm unfortunately, because the shoulder armor will always gets in the way. ^^;
Elbow articulation.

Parts for the right arm.
Majority of the parts are the same ones for the left arm.
Different design for the insertion point of the parts for the hand unit for the beam rifle.
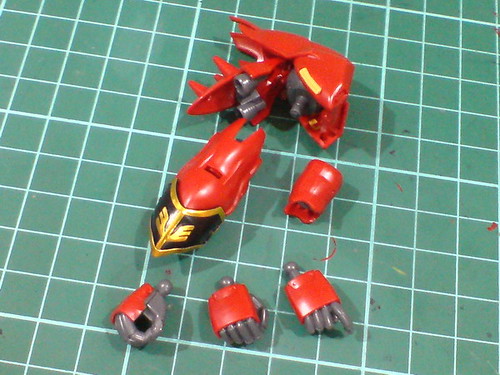
Major separable components for the right arm unit.
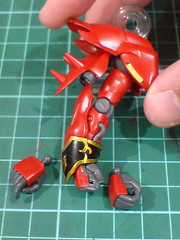
Right arm completed

Both arms.
A halt at this point given how long the posting is with so many images. Another posting coming up for the next part of the journey through this kit. ^^
By the way, on a side note, something that accompanied me on the way to completing this model: ^^
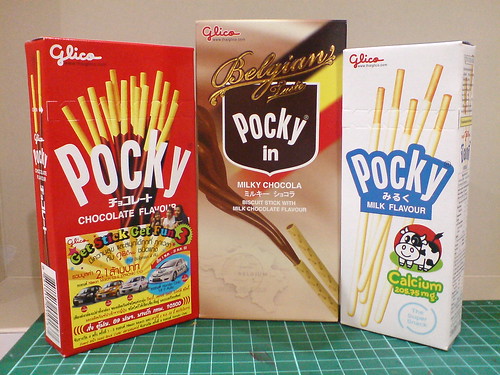
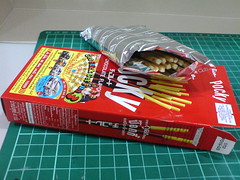
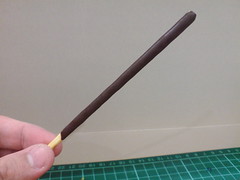
Pocky! ^^


8 comments:
Having a bit of the black part on the pointy curves of the foil sticker is ingenious really. I don't think I've ever come across such design.
Placing the foil sticker perfectly must have been nerve-wrecking. I think painting would have been probably easier, especially those who have experience painting those gold emblems on Sangokuden kits.
seems scary for someone who is weak willed ^^; even it just a snapfit
oh,the different insertion point also can be found on Kotobukiya's Plamo ^^
Nice job on the long foil stickers.
The only thing accompanied me during my build is... a can of coffee. XD
also, doing the stickers for the wrist IS scary. one misalignment, you are finish. XD
u made foil stickers look cool. XD
And ngee, u're not gonna for colour accuracy for this kit?
The master grade version of Sinanju is one of my all time favorites, it certainly looks like Bandai have done a fantastic job on the HG version.
Got to commend you on your incredible patience applying the stickers on the model, they look super impressive on the model.
Could this kit be Bandai finest HG?
>>Chris
Using these foil stickers would be much easier actually, since there's this guarantee that no spill-over paint will ever occur if one chooses to paint these emblems. Painting would be even better of course, but from how well the foil stickers are designed, and how much work that is needed to put them onto the various parts, using the foil sticker instead of regular painting can be quite fun as well.
>>Alexkinamoto
The stickers can be quite scary, specially the long and thin ones, patience is the key here really.
The different design on the parts for identical components can be found on a few other Gunplas as well, but it's a nifty design point worth mentioning on this kit.
>>bd77
All the stickers are pretty scary. There'll always this worry when applying the final press to secure the them onto the parts. It's almost like a gamble of how accurate the whole thing will be based on the initial placing you did. ^^;
>>sl619
Just straight building for this one. Panel-lining and painting for the next one if there's indeed one limited version bundled with the head display base. But I was feeling all the urge to build one the moment it was released, like that HGUC Geara Zulu I did some time ago. ^^;
>>tc012009
Thanks very much for the compliments. I like the MG version as well. Building this one almost made me want to straight build the MG version as well, but the price is one serious consideration for the sudden urge there. ^^;
It definitely has a great look for display, but having completed the kit now, it doesn't really come with any remarkable features or gimmicks to be called the finest. I really like it for the menacing look, but when other properties for a balanced judgment are considered, maybe there are other candidates that can do better, like the recently released HGUC Gouf Custom.
I think i'm likely to screw up doing the foil sticking thingy. LOL Now I have to reconsider if I want to get this HG model or not. LOL
Where you get the mini plastic clipper btw?
>>LEon
Do slow slow is no problem one. ^^ I did from 9PM to around 4AM in the morning. Quite some time spent taking photos actually. Haha XD
It's a very good kit in terms of look, that's for sure.
By 'mini plastic clipper' do you mean the tool I use to chip off the pins behind the black shield part? Just ordinary plastic nipper used for all other parts. Nothing special.
Post a Comment