Continuing the review of my HGUC Sinanju after the first part on assembling the kit last night.
[Leg units]

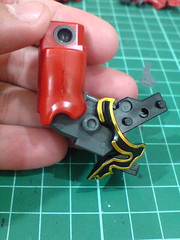
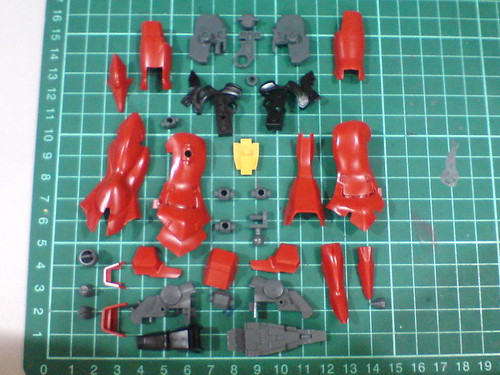
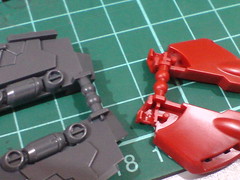
Parts for the right leg.
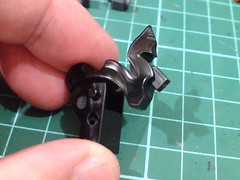
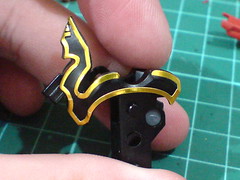
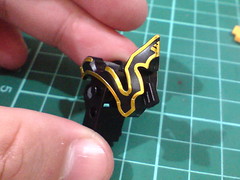
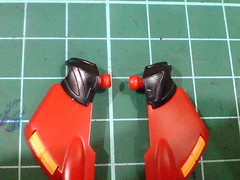
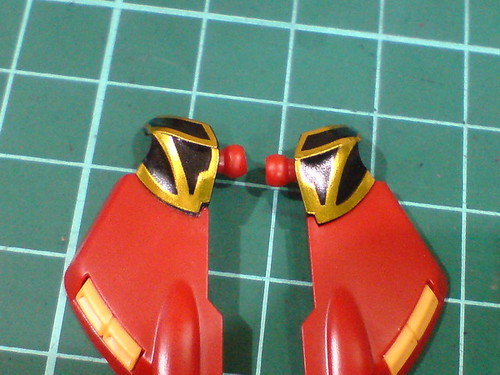
The knee section that is rigged with emblems. ^^
Almost like unexpected to me, the amount of foil sticker for this section is a lot: 5 on each side, 10 in total. That's 2 less than the shield did yesterday.
All in all, 20 for both legs. ^^
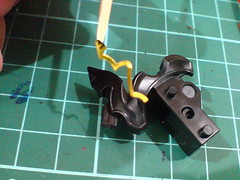
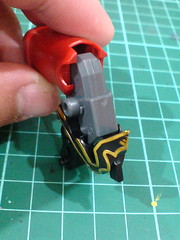
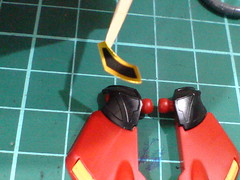
The first curvy worm to go onto the knee. ^^
Both stickers, mirror design of each other, connect nicely and accurately right in the center of the knee.
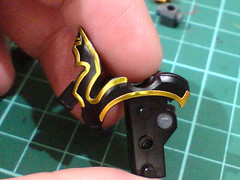
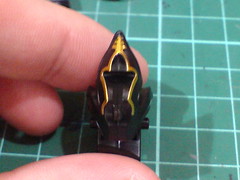
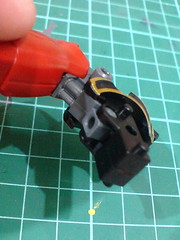
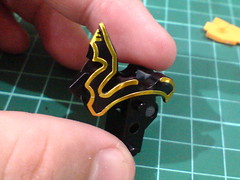
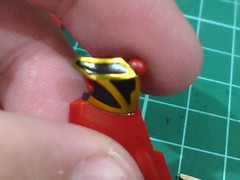
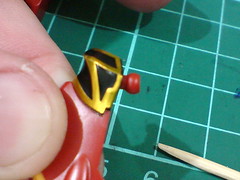
Second and third batch of stickers done according to the manual.
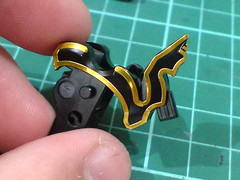
Repeat all that on the other side. ^^
The MG version has 8 stickers in total for this single component, where the protruding knee section is actually a separate part. The stickers have the black portion included, so I imagine they would be somewhat easier to apply that this HGUC version.
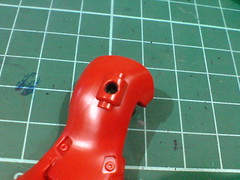
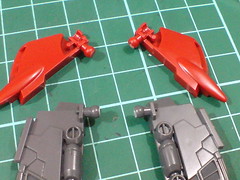
Parts of different colors that made up the leg.
All the intricate knee articulation gimmicks as seen on the MG version are absence for this kit.
Knee articulation.

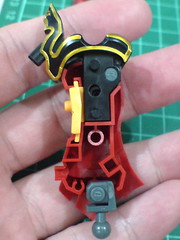
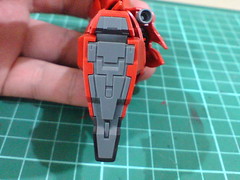
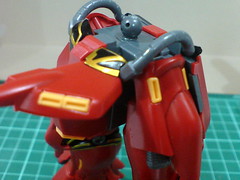
Polycap on the side of the leg for the sliding thrusters and its very obvious "container". XD
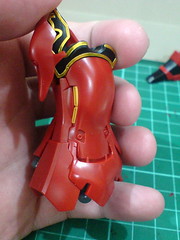
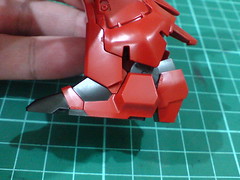
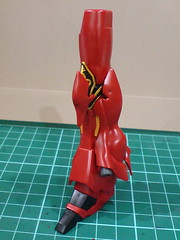
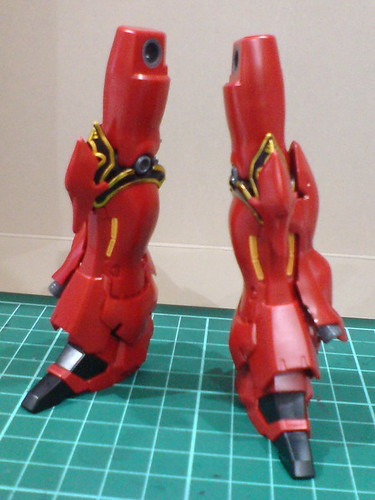
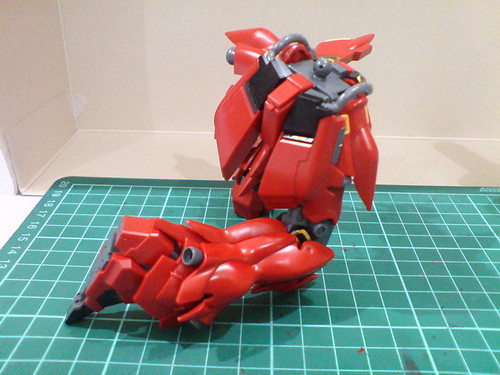
Done for the leg unit.
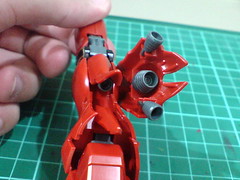
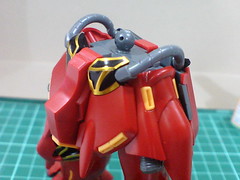
A very solid component this is. ^^
Monster smile congratulates those who completed the kit up till this point. XD
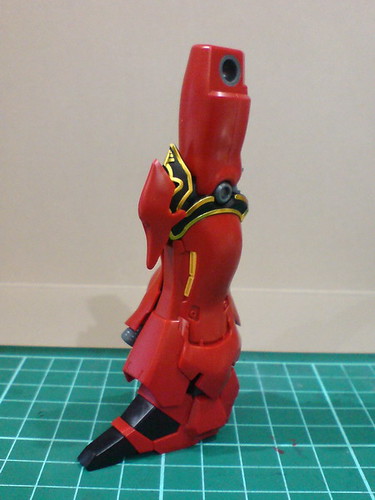
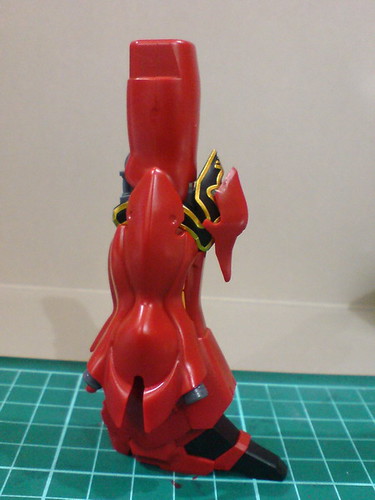
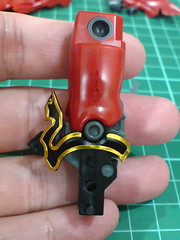
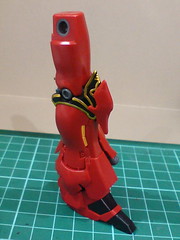
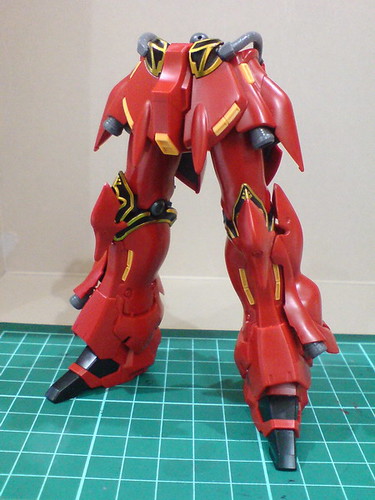
Done for the right leg.
Not accurately shown here, but the knee can bend even more than this really.
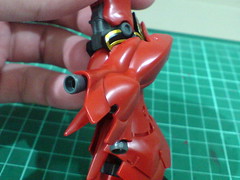
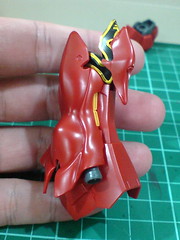
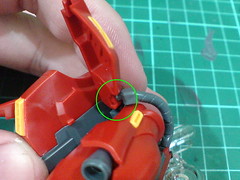
Flipping up the side thrusters. The armor behind the leg that contains another small thruster can be flipped upwards as well.
The side thruster needs to be pulled outwards for a great degree before flipping it upwards. The polycap for this part is super tight by the way.
Forcing the side thruster upwards will scratch and ruin the stickers on the knee.
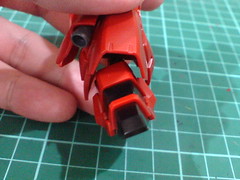
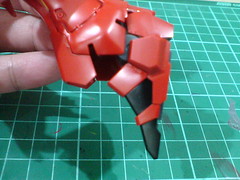
Average articulation for the ankle as well.

The foot can bend outwards for just a little bit from the armor around the ankle.
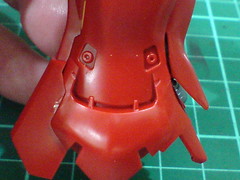
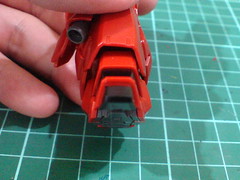
Details beneath the foot.
Parts for the left leg.
The same emblems (and foil sticker work) for the left knee.
This component, together with the foot and knee joint are identical between the two legs.
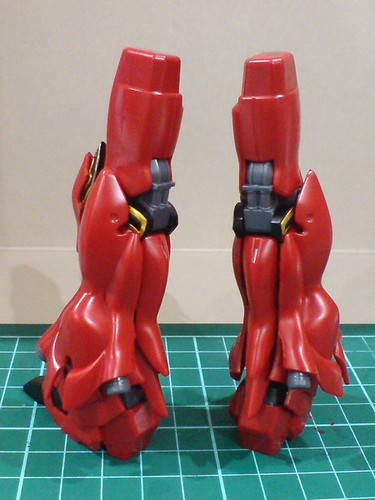
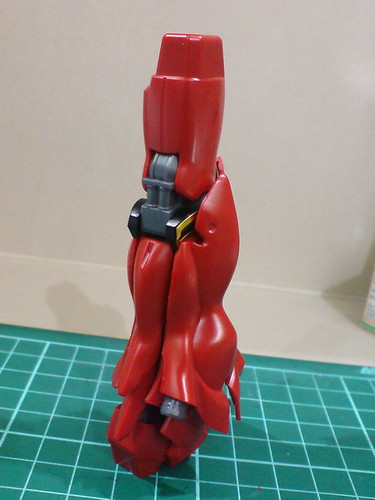
Done for both legs.
[Waist]

Parts for the waist.
As with many other HGUC kits, the front and rear skirt armors are made ready by Bandai to be separated.
The top portion of the front skirt armors that has the emblem design.

2 pieces of stickers with the black portion included, which is basically the same design as the MG version.
No separated gold stripe for this part is perhaps due to how heavy duty the skirt armor is going to be for Sinanju's action poses, and the risk of scratching upon the emblems?
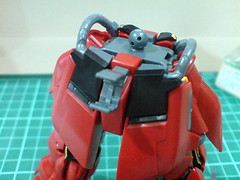
Done for the front skirt armor.

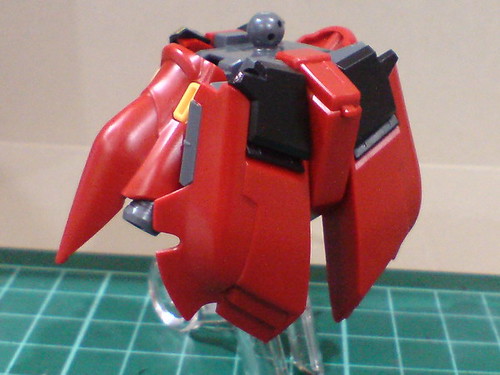
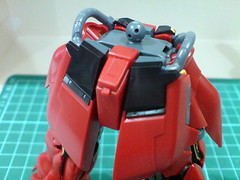
Done for the waist.
The various colors are nicely separated into different parts, including the 2 little vents on the side skirt armor and a little gray part sticking out on the side of the rear skirt armor.
Except for the rear skirt armors, very little details can be seen behind the parts of the waist.
No fight when compared to HGUC Nu Gundam. ^^;
Somewhat like the elbow joint mentioned in the previous posting, there are two tabs on the crotch area that will prevent the front skirt armor from bending backwards.
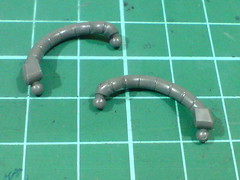
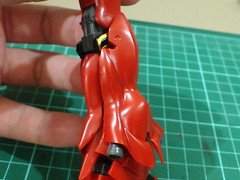
Two conductive pipes for the waist that can only be attached after putting on the legs.
Have ball-type joints on both ends as connectors to allow some degree of articulation for the front and rear skirt armors.
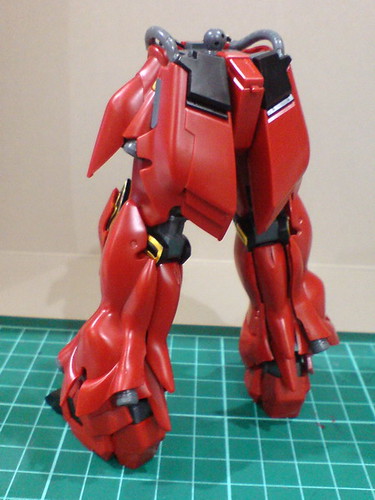
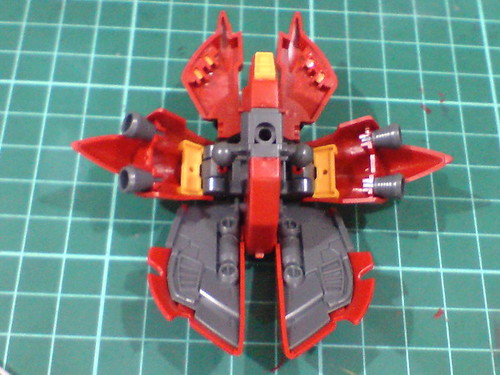
Done for the lower body.
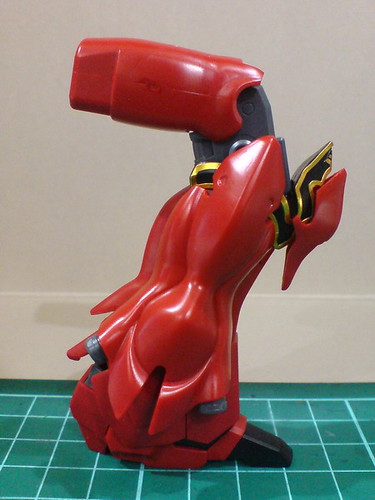
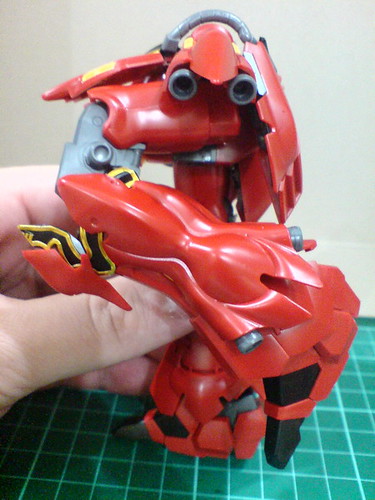
90 degree uplifting for the front skirt armor. Very amazing ^^
The joint for the conductive pipe is still tightly connected to the skirt armor. ^^
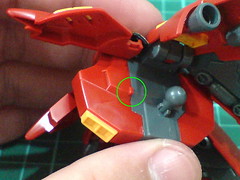
The edge of the emblem on the top portion is sunk in between the two parts though. The sticker will definitely take a toll from this.
The actual articulation range of the knee. Pretty impressive given its size and bulky design around the knee area.
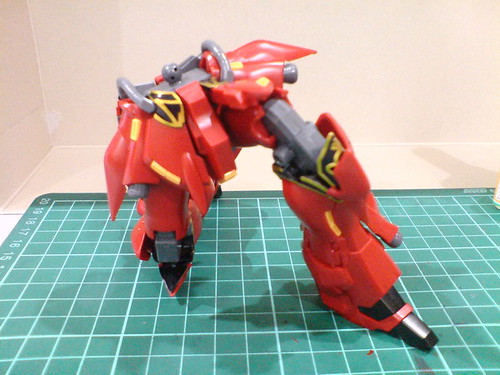
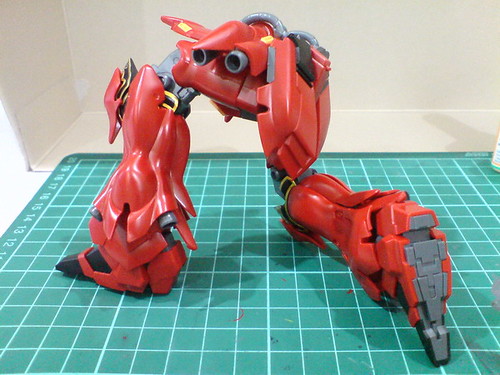
Kneeling pose is possible, but not that natural. ^^;
Part swapping for the beam rifle's mount latch.
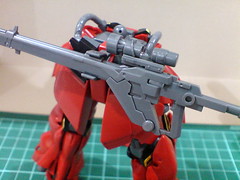
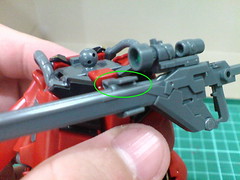
A simple clip on to mount the beam rifle.
Done for this part of the review. The backpack, body and head, basically completing this kit will be covered in the next posting.


7 comments:
Looking very nice, indeed. Looking forward to the finished product.^^ Are you going to do any additional painting for any detail work?
Wow. Your's is coming nicely.
p.s. the ball connector that joins with the front and rear skirt tends to pop out at times when doing poses (for me, that is).
Hey NK, wouldn't it be easier to just paint those parts with a gold marker instead of putting on those endless strips of gold stickers? Just wondering why you would go through all this trouble when it seems like a paintjob would actually be easier with this particular model...
The level of detail on the model itself looks pretty delicious though.
lol Monster smile. You have an interesting perspective, like the smiley face on HGUC Nu's back.
Wow.. it is amazing OOB job from you using the foil stickers.. btw, how do you remove the nubs mark completely?? i can't see any cutter marks on your kit.. did you use sand paper??
The tabs on the crotch would have been awesome for any number of Exia kits ^^
>>C.R.
No painting this time, just straight building.
>>bd77
I was expecting the joint of the pipes to have such a weakness initially, but it turned out pretty well.
>>David D.
Either painting or stickers have their strengths and weaknesses. With painting, you have to consider how to treat spill-over paint, or having to paint in really tight and narrow spots, but the effect would be better; No paint issue if you use stickers, but it won't give you the same realistic effect painting would. When I said the stickers are quite a trouble to put on, I really don't mean it as a bad design, or other methods are definitely better than using these stickers. I just meant that there are a lot of stickers to put on, but the process is still very fun, since you don't get that kind of work on other models, not that kind of very artistic design definitely. I did enjoy the work, despite the workload.
>>Chris
There are always this sort of "unintended" goodies in all model kits. ^^
>>Anon
Just like all my other model kits, I cleaned up the nub marks and then painted them with corresponding colors using normal markers to hide the "wounds".
>>Anon
That design is used on the BB Senshi version. ^^
Post a Comment