Continuation of HG 1/144 Cherudim Gundam's assembly after the previous posting.
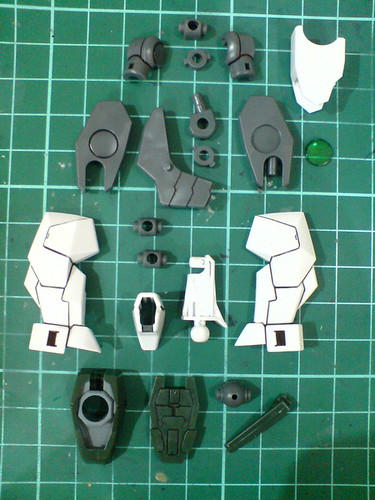
Parts of the left leg.
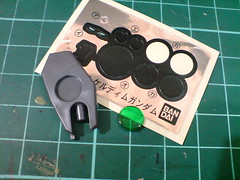
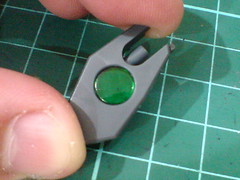
Foil sticker and painted clear part for the knee's GN Condenser.
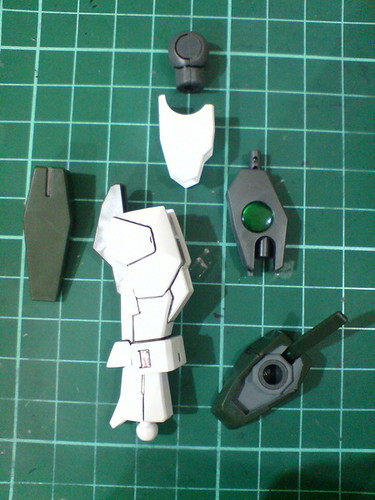
Separable components of the left leg before the final assembly.
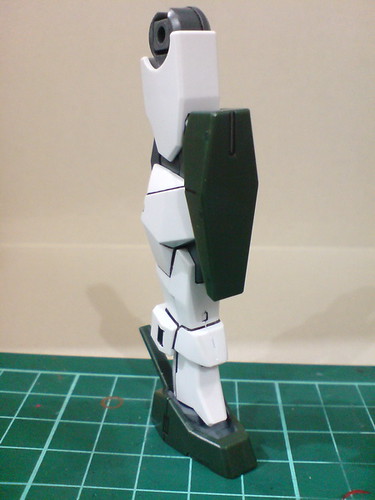
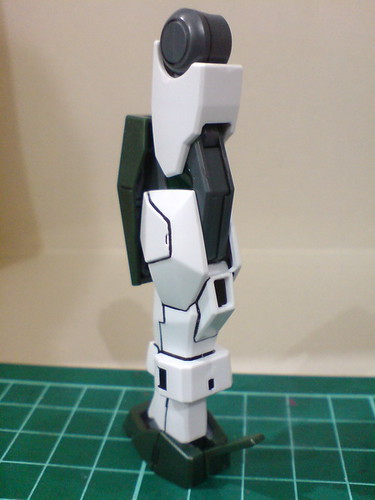
Left leg completed.
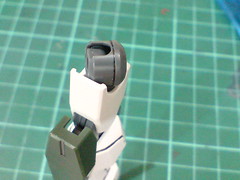
Double-joint for the thigh is a great design for the leg's posability and stability in sustaining various action poses. ^^
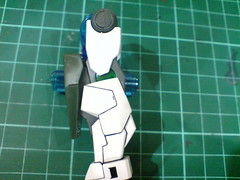
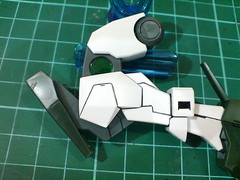
Very wide knee articulation on this kit is pretty amazing to see, especially given how unconventional the design is. ^^
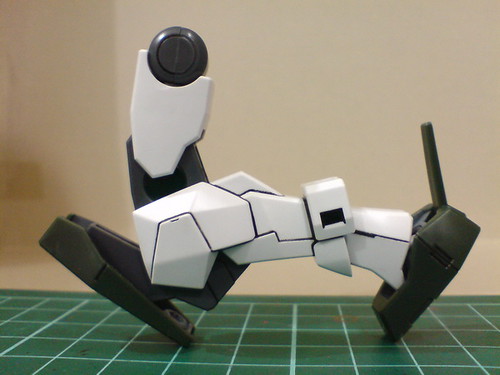
The shield bit mounted on the knee seems to be a great support for the model's kneeling pose. ^^
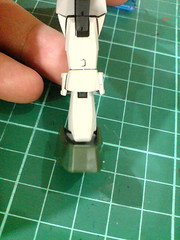
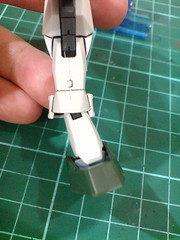
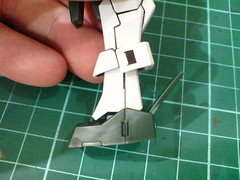
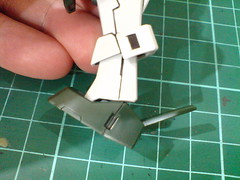
A combination of hinge and ball-type joint for the ankle allows the foot to be adjustable to various angles easily.
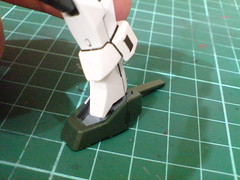
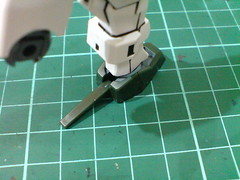
(Left) The foot can be slide to the side.
(Right) Already shown in the left image, the little plate on the heel is movable.
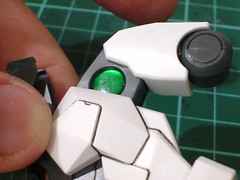
Nice outcome for the painted GN Condenser. ^^
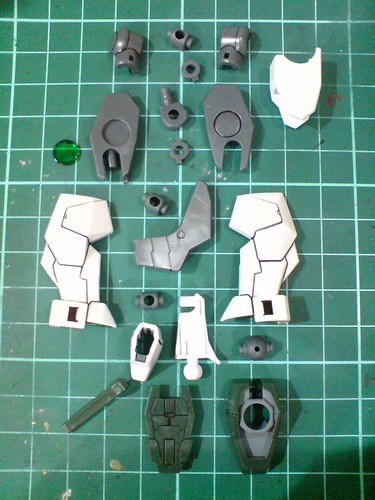
Parts of the right leg.
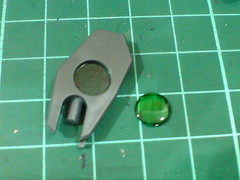
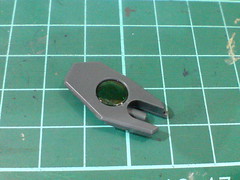
Foil sticker and painted clear part for the knee's GN Condenser.
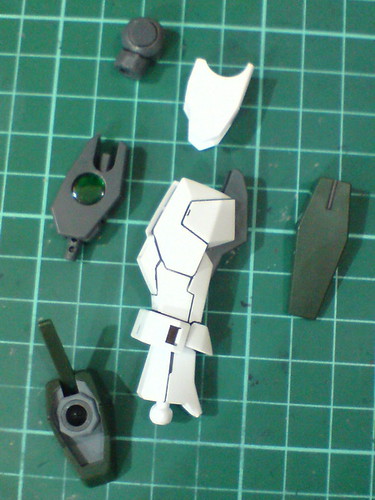
Separable components of the right leg before the final assembly.
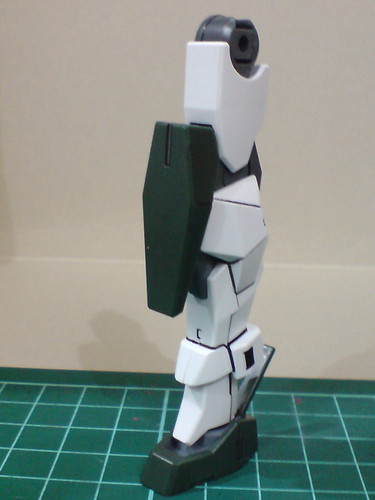
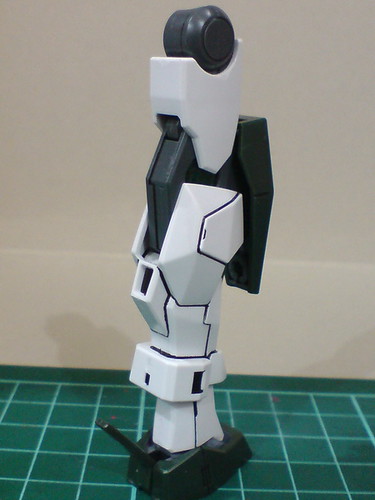
Right leg completed.
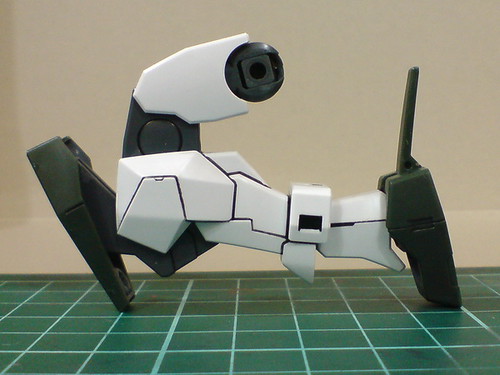
The same articulation design as the left leg.
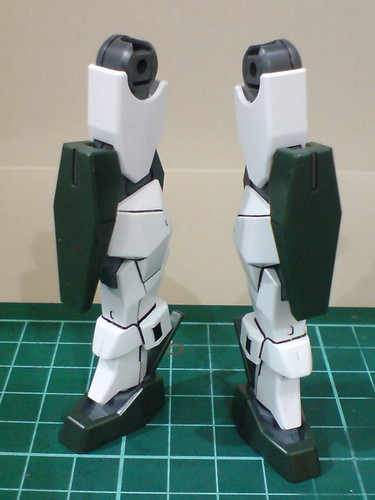
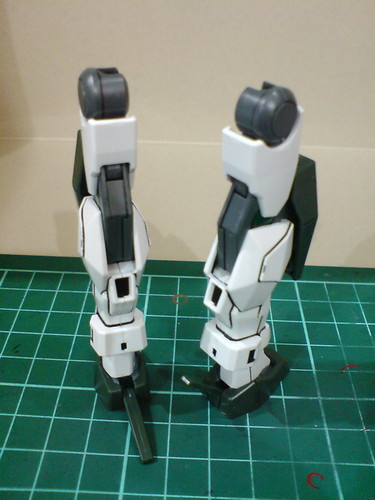
Both legs are now completed
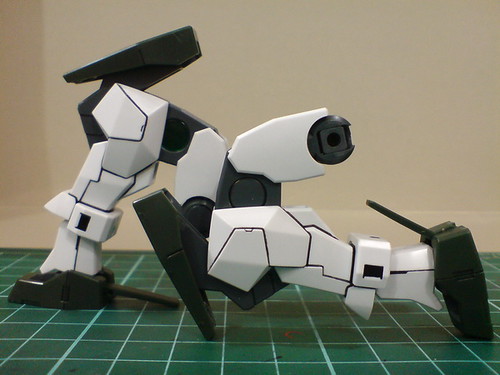
An overview of the legs' articulation.
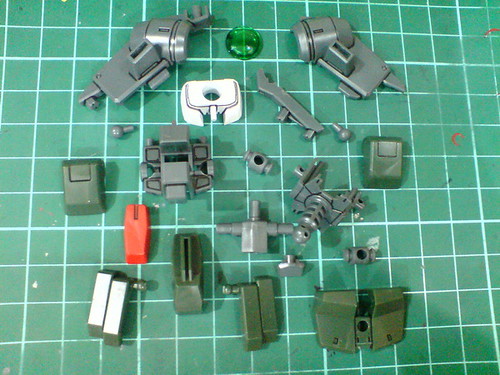
Parts of the waist.
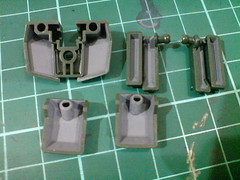
All the skirt armors' interior painted back in Part 3.
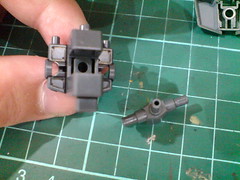
The polycap inside the crotch turns out to be one of the most resourceful parts that will enable a great deal of articulation for the hip joint. ^^
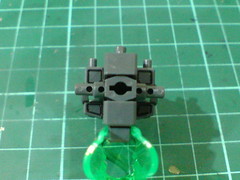
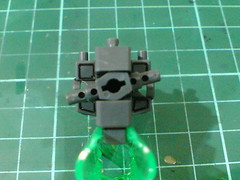
The more standard rotation for the hip joint is possible.
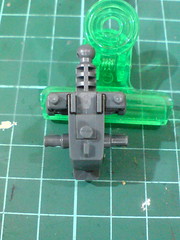
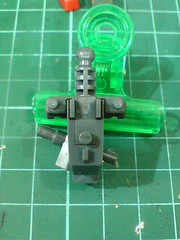
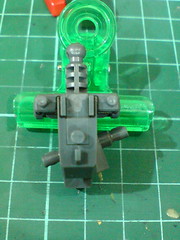
A little space around the polycap mentioned just now also allows the hip joint to "swing" from side to side.
Some crazy poses not possible on other kits are going to get their green light for Cherudim Gundam it seems. ^^
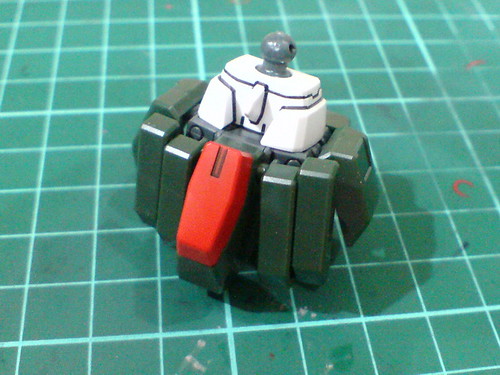
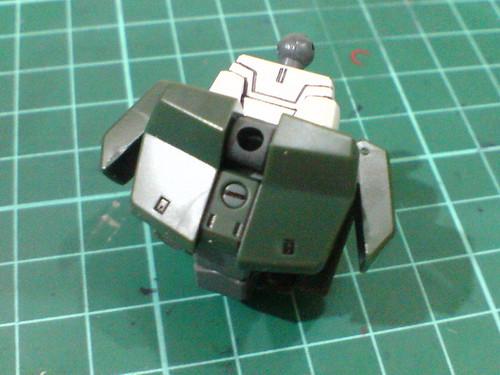
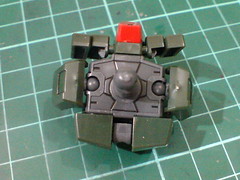
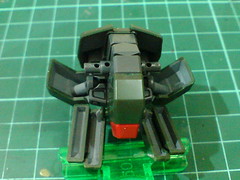
Done for the waist.
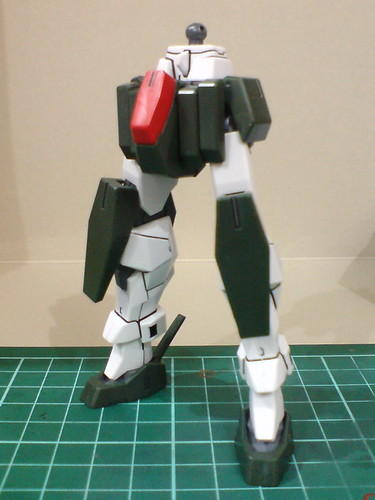
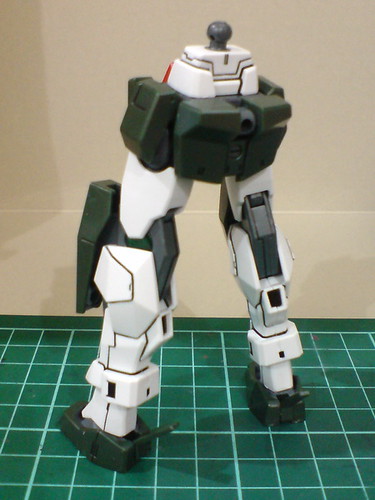
Combined with the legs done earlier on, the entire lower body is completed.
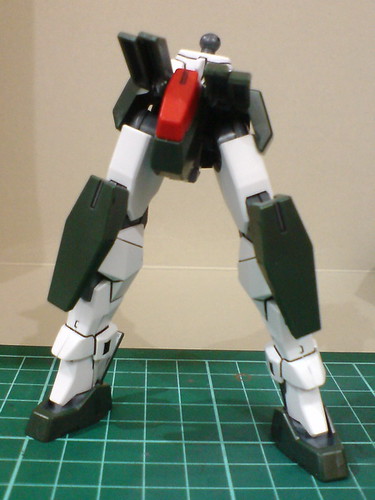
Separated in Part 3, the front skirt armors can move independently of each other.
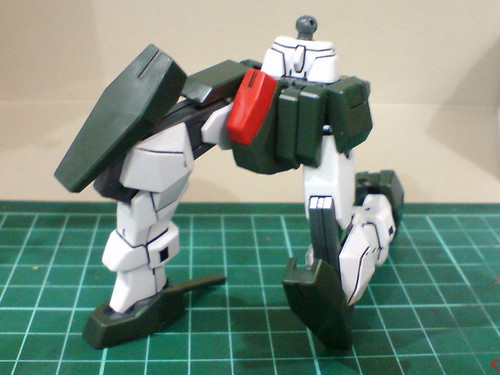
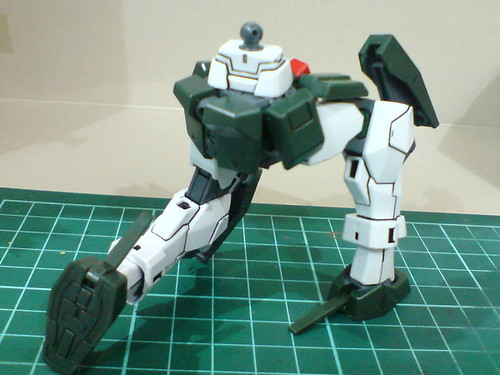
Kneeling is too easy for HG Gundam Cherudim. ^^
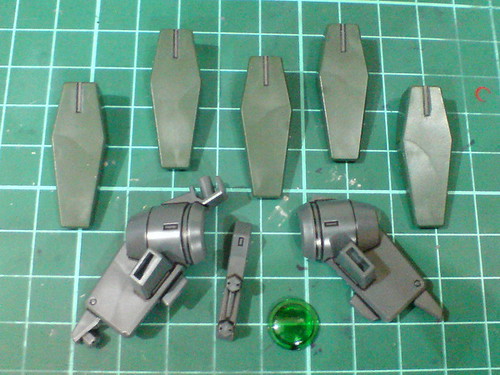
Parts of the GN Drive and its five GN Shield Bits.
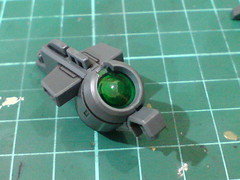
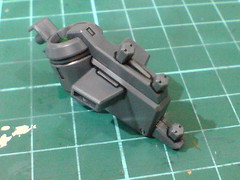
(Left) Foil sticker and painted clear part for the GN Drive.
(Right) Three hexagonal pins and two slots to store the shield bits.
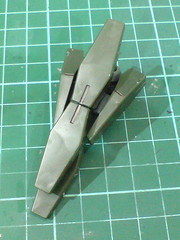
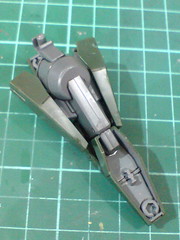
With the shield bits attached.
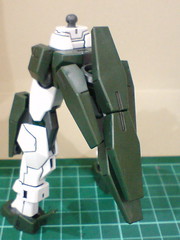
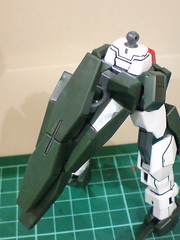
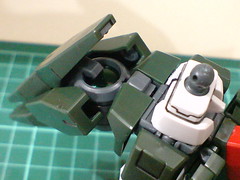
The GN Drive is attached to the polycap on the rear skirt armor.
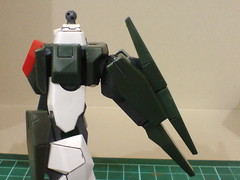
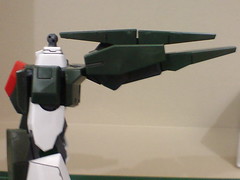
The entire "tail" unit can be lifted for a wide degree, but that flexibility would get a discount once the upper body is assembled. ^^;
Moving on to the body and head of Cherudim Gundam next. ^^


1 comment:
i dont know if youve mentioned this before but im new to your blog so.... how do you do your panel lines they are so dark and perfect i love em
Post a Comment