Going back to Lego bricks after completing the review of HG 1/144 Cherudim Gundam. ^^
This will be the assembly of Lego Creator No. 4993 Cool Convertible's second and last alternate vehicle model - a mini loader. The main model was assembled in late December last year, while the first alternate model, a flat nose truck was done about three weeks ago. The gap between dismantling and reassembling the truck into a loader is certainly shorter than the gap between the convertible and the truck. ^^; I had no plan of keeping the truck model for as long as the convertible because the loader seems a lot more unique and fun. Looking at the images on the box, its movable lift arm gimmick seems a lot cooler than the truck's cab tilting as well. ^^ While the truck model is pretty big and has its own unique details, it's not too special in my perception. After completing the truck, I was really looking forward to assembling the last alternate model of this Lego set. ^^
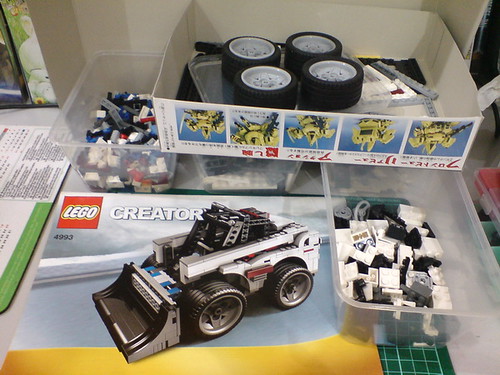
The flat nose truck is dismantled and the parts are reorganized before starting the (re)assembly.
BB Senshi The O's box cover is helping out as the temporary storage for certain parts XD

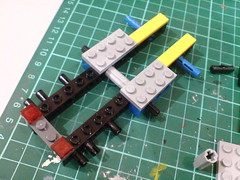
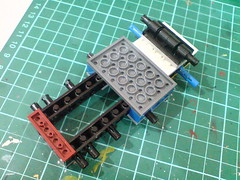
Unlike the convertible and truck, the loader's assembly begins with the cab's frame.
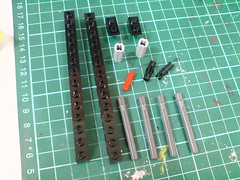
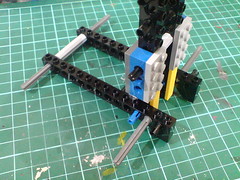
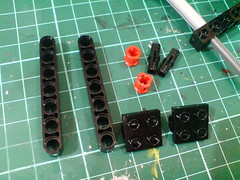


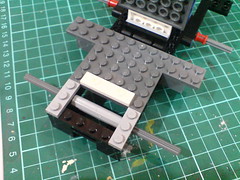
The body frame, which was assembled first for the convertible and truck comes second for the mini loader as it's added to the cab's frame done earlier on.
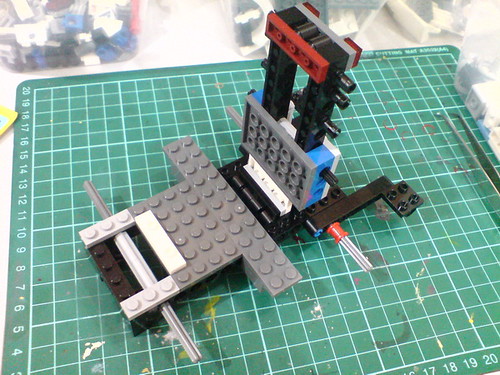
The basic structure of the loader.
It's unbelievably small as compared to the previous two models. ^^;

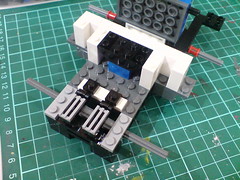
Adding on parts to build up the seat area.
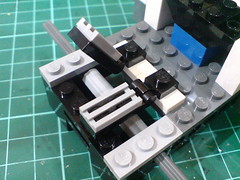
Two grill parts that were used for the convertible and truck's V8 engines now become control pads inside the cab, and they are movable. ^^
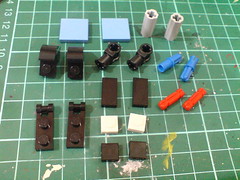
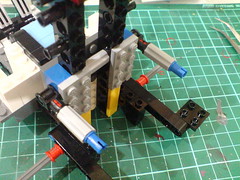
Adding on parts to the back of the cab.

The same light blue bricks as seen on the convertible and truck are also used as the seat for this loader. ^^

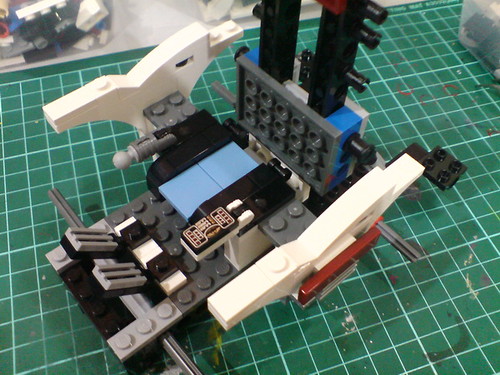
Building up the vehicle's wall.
The control stick and panel are added as well.

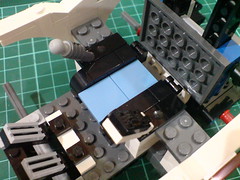
Like the pads, the control stick and panel are movable via hinge joints.
The space between all the said components looks sufficient to actually host a driver figure. ^^
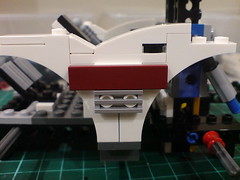
Some parts that add to the loader's details are assembled onto both sides of the body.


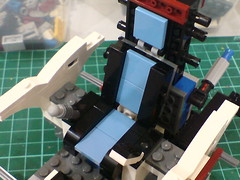
Adding on more light blue and black parts to complete the driver seat. ^^
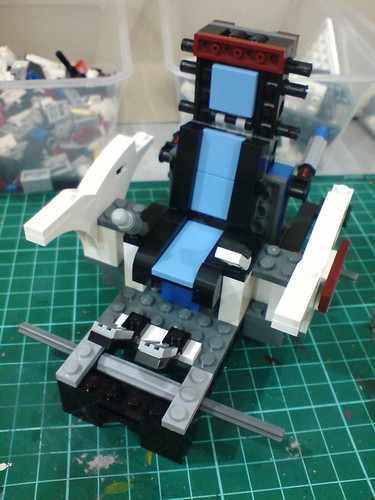
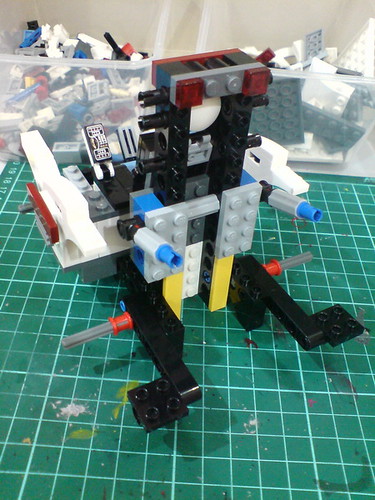
Progress so far. ^^

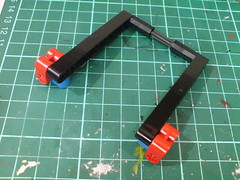
A giant lever to be used to move the loader's lift arm later on. ^^
All are Lego Technic parts it seems. ^^
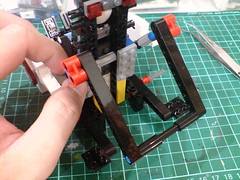
The lever is attached to the back of the vehicle.
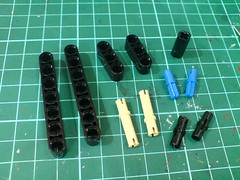
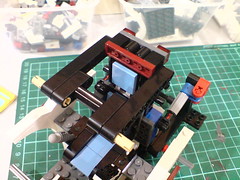
Adding on parts that form the loader's roof.

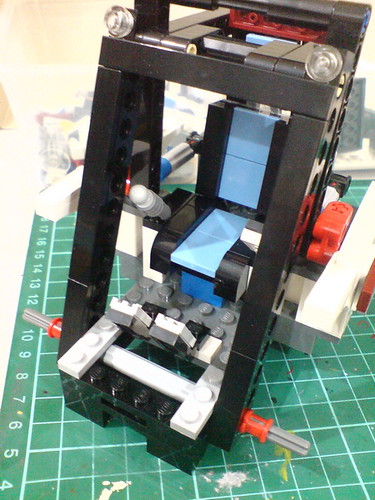
Adding on parts that form the cab's front poles.
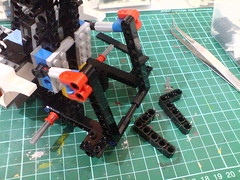
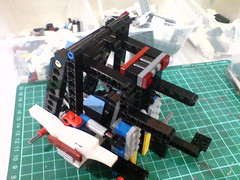
The lever is tilted forward until it rests right beside the cab.
The two L-shaped connectors will be used to linked the lever to the bucket's lift arms.
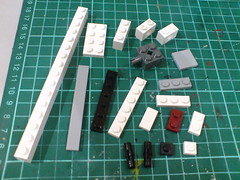
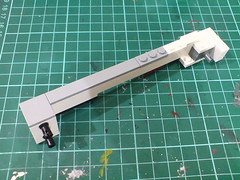
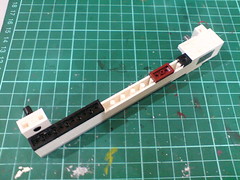
Completed one half of the lift arm.
The combination of light gray and white parts that formed the component looks nice. ^^
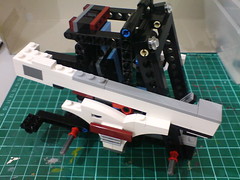
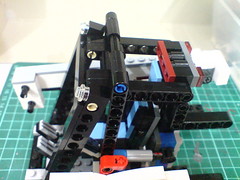
Connected the lift arm to the lever.
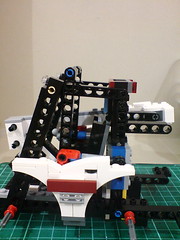

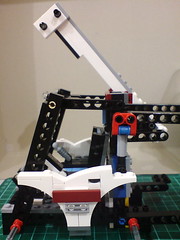
A look at how the lever and lift arm works. ^^
As the lever is pulled to the back, the lift arm will rise. ^^
Even with just half of the lift arm done, the lever's gimmick can be executed.
Video clip is from Youtube. Follow this link to the website if you can't see anything.
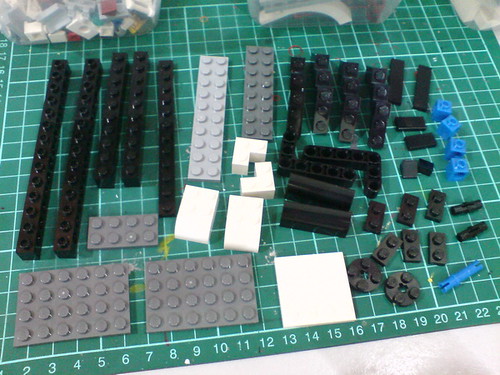
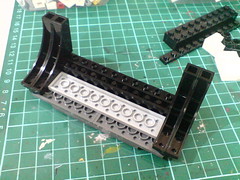
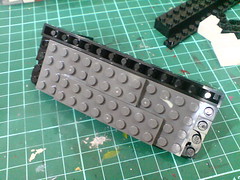

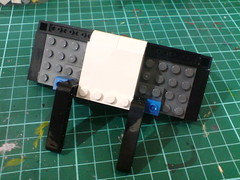
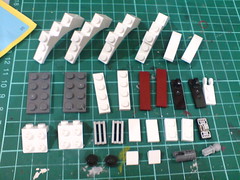
Plenty of parts to form the bucket. ^^
It's great fun to see the creative design of taking the curved parts previously used as wheel arcs and fuel tanks on the flat nose truck and turning them into the loader's bucket. ^^
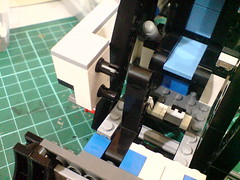
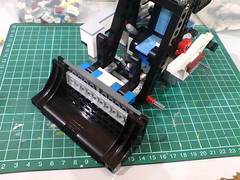
The bucket is linked to the lift arm.


Assembled the other half of the lift arms, which is a complete mirror component of the previous one.
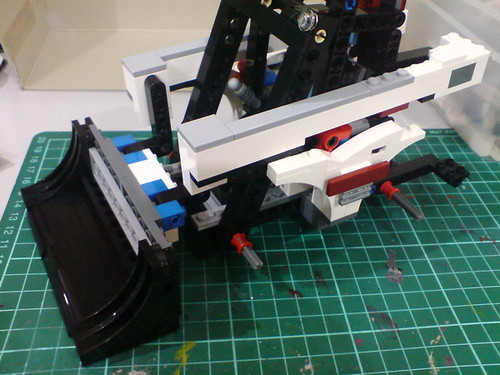
The lift arm and the bucket are done. ^^
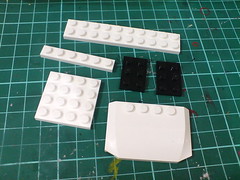
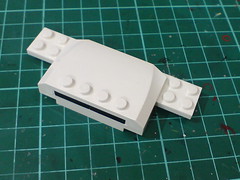
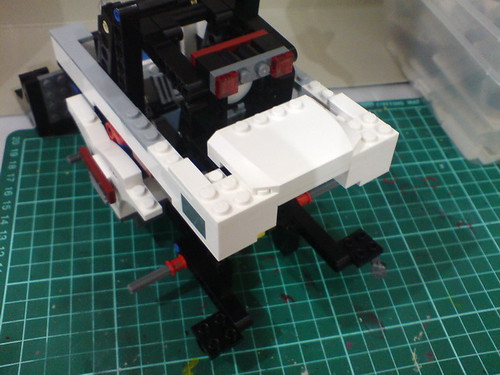
Adding on parts to decorate the back of the lift arm. ^^
The lever and bucket's linked movement gimmick with the completed lift arms.
Video clip is from Youtube. Follow this link to the website if you can't see anything.
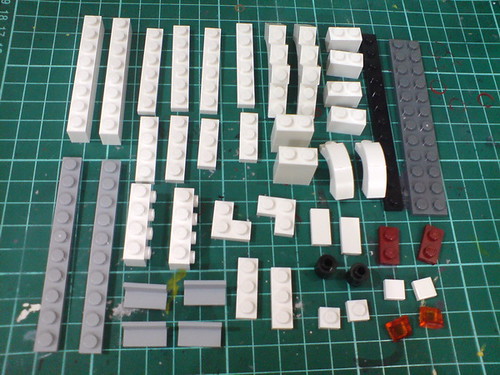
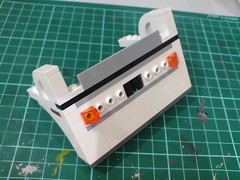
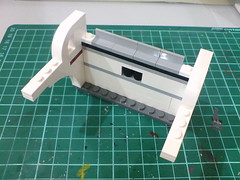
Plenty of parts to form the loader's rear bumper.
Those curved wheel arcs and "ears" on top are very nice contrast to the completely sharp edges of the whole component. ^^
The color combo is awesome too! ^^
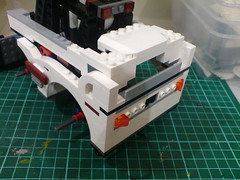
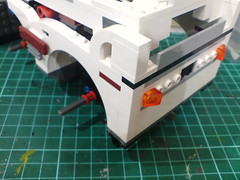
Attached the bumper onto the loader.


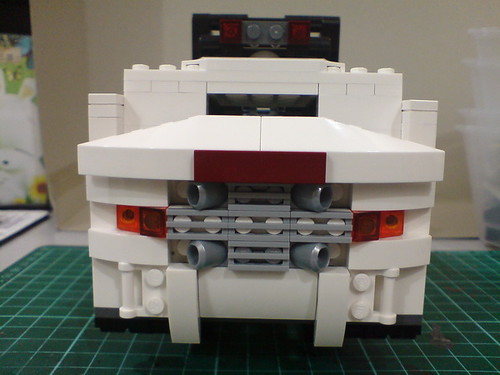
Adding on parts to decorate the bumper.
A lot of attention is given to the bumper's appearance, since there's nothing more that needs to be added to the bucket or cab. I personally like how the bumper is large and heavy to balance out the bucket's weight in front. ^^
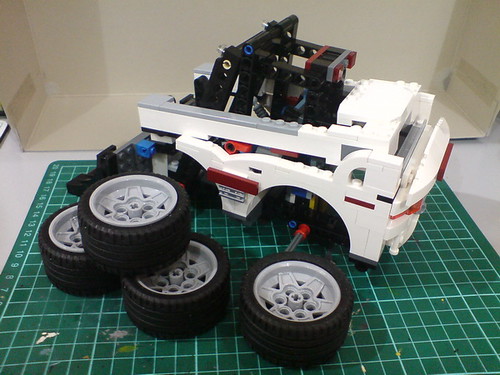
The wheels are the last parts to be added on to the vehicle. ^^
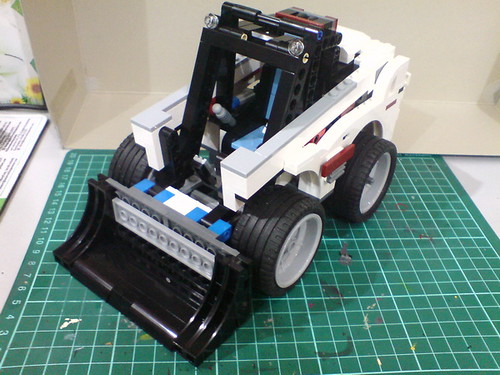
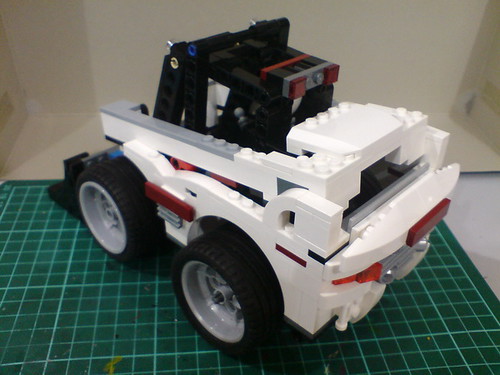
All done for the mini loader. ^^
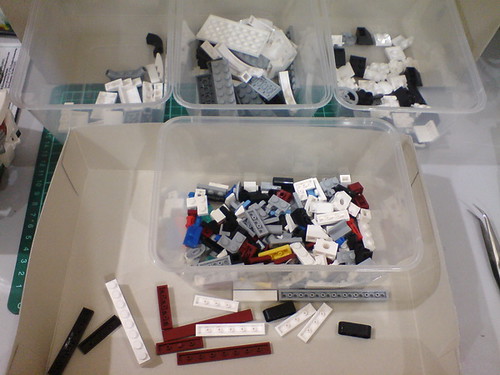
Tons of leftover parts from the assembly. ^^
A mini loader indeed. XD Only one posting and everything is done. ^^
More images of the completed model in the next posting. ^^


No comments:
Post a Comment