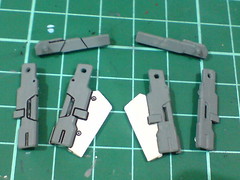
Working on more parts of HG 1/144 Cherudim Gundam after the previous posting. ^^
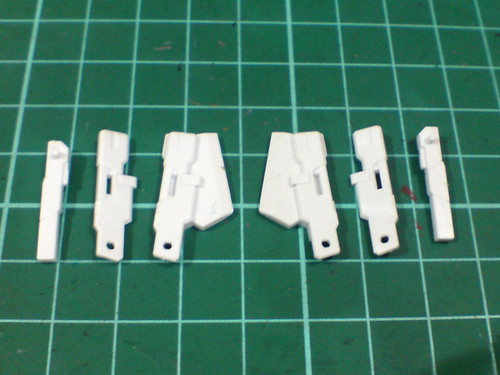
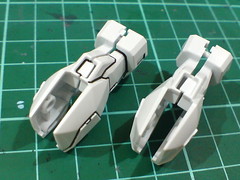
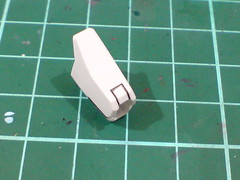
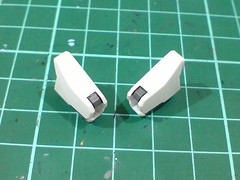
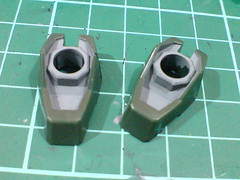
All the parts of GN Beam Pistol II are molded in plain white, so they would have to be painted.
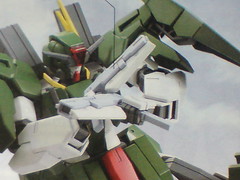

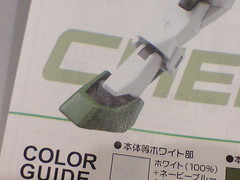
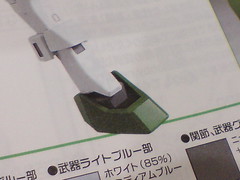
The color of the pistols' body is light blue on the Gunpla version (left - as shown in the manual), while the HCM-Pro version shows the weapon in dark gray (right - image from this previous posting).
The latter seems more appropriate as the weapon's color in my opinion since it matches the beam rifle, and, who likes a pair of light blue pew-pew anyway? XD
The two parts fixed with the axes are panel lined first to separate between areas to be painted or unpainted.
Painted using Tamiya Color Acrylic Paint Mini XF-53 Neutral Grey, the same color for the Shield Bits in the previous posting.
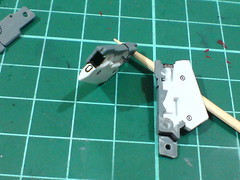
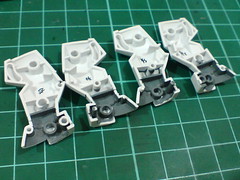
(Left) Started to panel line the parts when the paint has dried.
(Right) The muzzle is painted black for obvious reason.

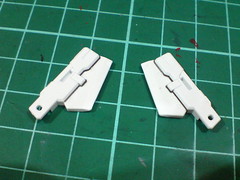
All the parts are panel lined.
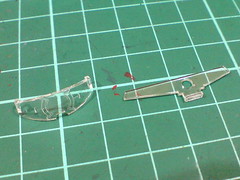
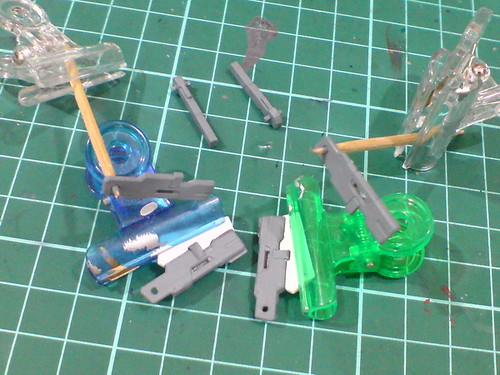
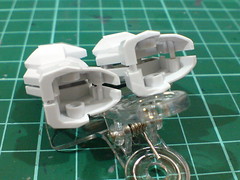
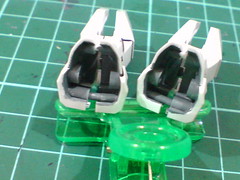
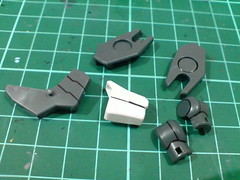
The Holoscreen and beam rifle targeting scope which are molded in clear color have to be painted as well.
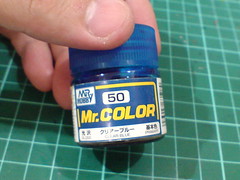
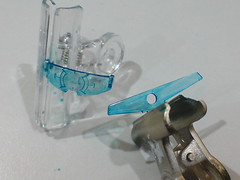
(Left) Using paper clip and Tack-It adhesive to hold the parts for the paint work.
(Right) Trying out a new paint for these two parts: Mr. Color 50 Clear Blue Gloss.
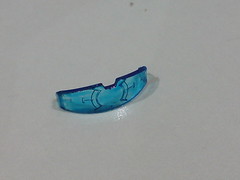
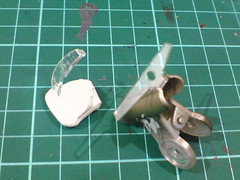
(Left) Just one layer of paint seems to be too light as the parts' color it seems. ^^;
(Right) A more "satisfying" result for Holoscreen with more layers of clear blue paint added. ^^
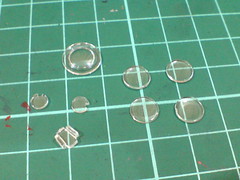
All the GN Drive and Condensers' clear parts need to be painted as well.
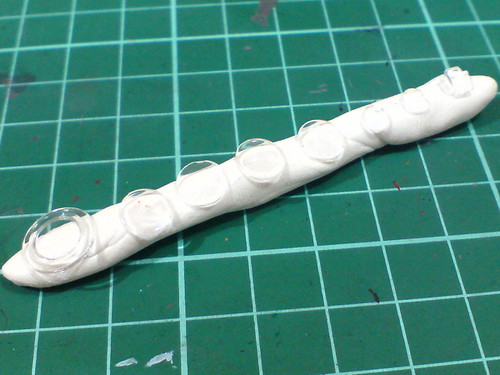
All the parts are lined up on a row of Tack-It adhesive which acts as the base to hold the parts for the paint work.
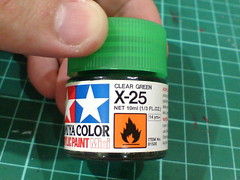
Trying out another new paint for these parts: Tamiya Color Acrylic Paint Mini X-25 Clear Green.
Normally I just use green highlighter for these clear parts, but I wanted to try something new for Cherudim Gundam. ^^ There are still quite a few "Gundam Double O" kits for the highlighter to be useful XD

Temporary result still sitting on the adhesive.
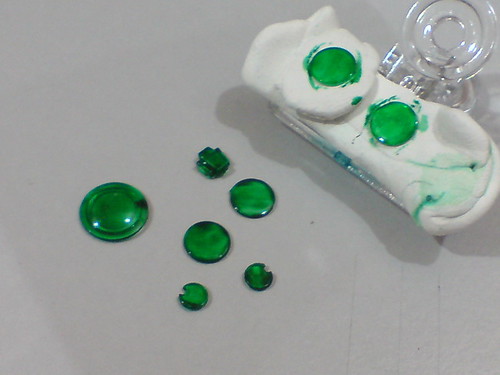
Final result when the paint has dried.
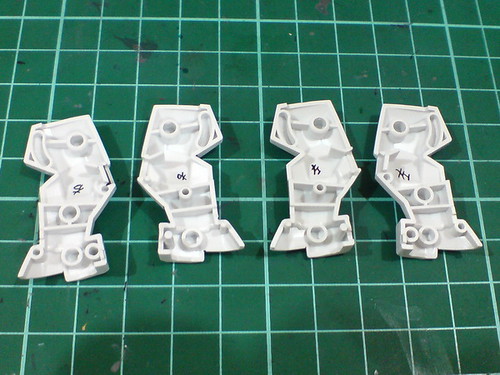
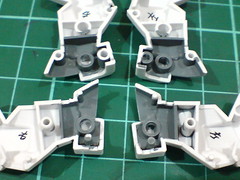
A bit of paint work to be applied to the leg parts, but before that, the parts must be labelled properly to differentiate which part is for which leg.
(Left) Since the ankle joint is somewhat thin and long, the ankle guard which is wider in size would get exposed easily in high angled poses, so they would have to be painted.
(Right) The vents (?) on the calf need to be painted too.
The interior of the ankle guard is painted with Tamiya Neutral Grey.

While waiting for the paint to dry, the external line details are panel lined.
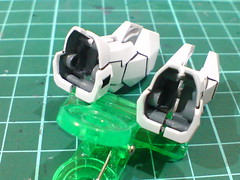
Excessive paint on the parts' edges are scratched away using a knife.
The vents on the calf are painted black using normal marker.
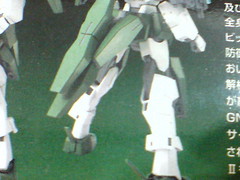

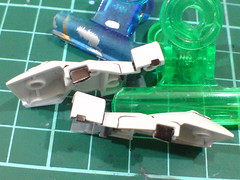
Discrepancy regarding the vents spotted on the manual: those sunken areas are indeed vents on the completed model (left), but are shown as the top portion of the calf armor instead on the lineart (right). ^^
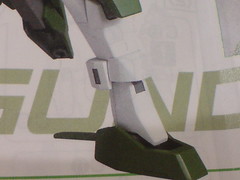

A little area on top of the ankle is painted gray using Gundam Marker.
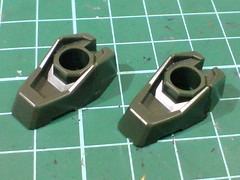
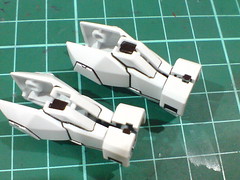
The top portion of the feet are going to be painted to distinguish it as the mecha portion of the feet, wrapped inside dark green armor.
The completed model in the manual showed that area to be painted in dark gray I think.
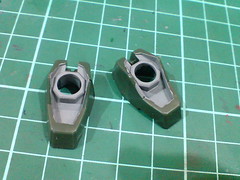
I painted it with Tamiya Neutral Gray to be consistent with the ankle guard's color.


(Left) Panel lining for some line details on the sides of the feet part.
(Right) Panel lining for the sole parts.
Simple "like-nothing-at-all" panel lining for the other leg parts. ^^
Done with the legs, the work will continue with the arms next, but that won't be anytime too soon though, as I'll be busy eating, drinking, meeting friends, talking nonsense, sleeping and dreaming about being busy eating, drinking, meeting friends, talking nonsense, XD for it's Chinese New Year tomorrow. ^^ Gunpla stuff will have to wait till the day when I return from this compulsory merry break. ^^


No comments:
Post a Comment